2014 NISSAN PATHFINDER HYBRID ECO mode
[x] Cancel search: ECO modePage 273 of 571
Manual control............................... 4-129
Troubleshooting guide ........................ 4-130
Bluetooth® Hands-Free Phone System with
Navigation System (if so equipped) ................4-131
Regulatory Information ........................ 4-133
Voice commands ............................. 4-133
Connecting procedure ........................ 4-133
Vehicle Phonebook ........................... 4-135
Handset phonebook .......................... 4-137
Making a call ................................. 4-138
Receiving a call .............................. 4-139
During a call ................................. 4-140
Ending a call ................................. 4-140
Phone settings ............................... 4-141Bluetooth settings
............................ 4-142
Call volume .................................. 4-143
NISSAN Voice Recognition System
(if so equipped) . . . .............................. 4-144
NISSAN Voice Recognition Standard Mode .....4-144
Using the system ............................. 4-147
Before starting ............................... 4-147
Giving voice commands ....................... 4-147
NISSAN Voice Recognition Alternate
Command Mode ............................. 4-152
Using the system ............................. 4-156
Speaker Adaptation function ...................4-159
Troubleshooting guide ........................ 4-160
Page 279 of 571
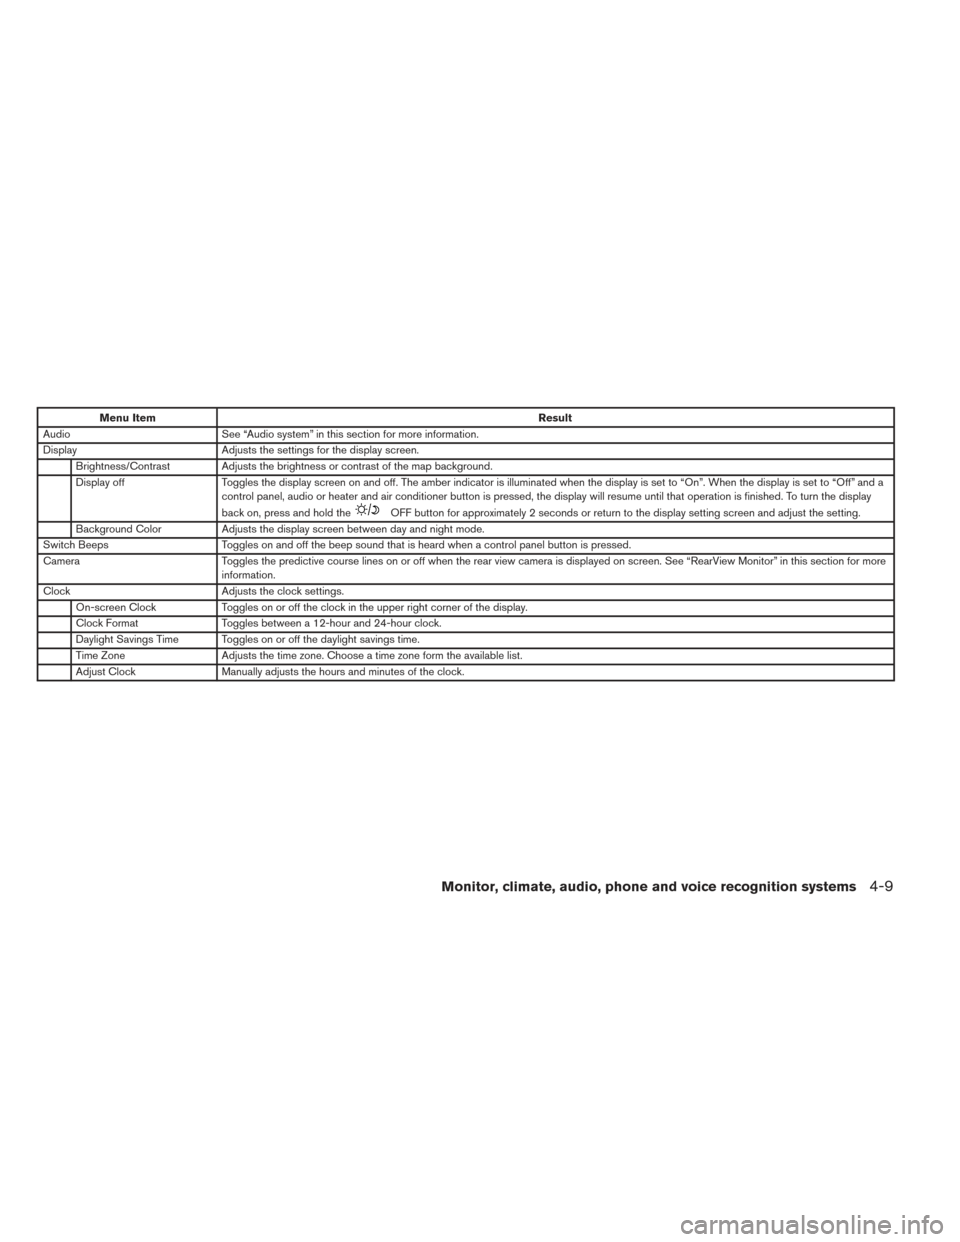
Menu ItemResult
Audio See “Audio system” in this section for more information.
Display Adjusts the settings for the display screen.
Brightness/Contrast Adjusts the brightness or contrast of the map background.
Display off Toggles the display screen on and off. The amber indicator is illuminated when the display is set to “On”. When the display is set to “Off” and a
control panel, audio or heater and air conditioner button is pressed, the display will resume until that operation is finished. To turn the display
back on, press and hold the
OFF button for approximately 2 seconds or return to the display setting screen and adjust the setting.
Background Color Adjusts the display screen between day and night mode.
Switch Beeps Toggles on and off the beep sound that is heard when a control panel button is pressed.
Camera Toggles the predictive course lines on or off when the rear view camera is displayed on screen. See “RearView Monitor” in this section for more
information.
Clock Adjusts the clock settings.
On-screen Clock Toggles on or off the clock in the upper right corner of the display.
Clock Format Toggles between a 12-hour and 24-hour clock.
Daylight Savings Time Toggles on or off the daylight savings time.
Time Zone Adjusts the time zone. Choose a time zone form the available list.
Adjust Clock Manually adjusts the hours and minutes of the clock.
Monitor, climate, audio, phone and voice recognition systems4-9
Page 288 of 571
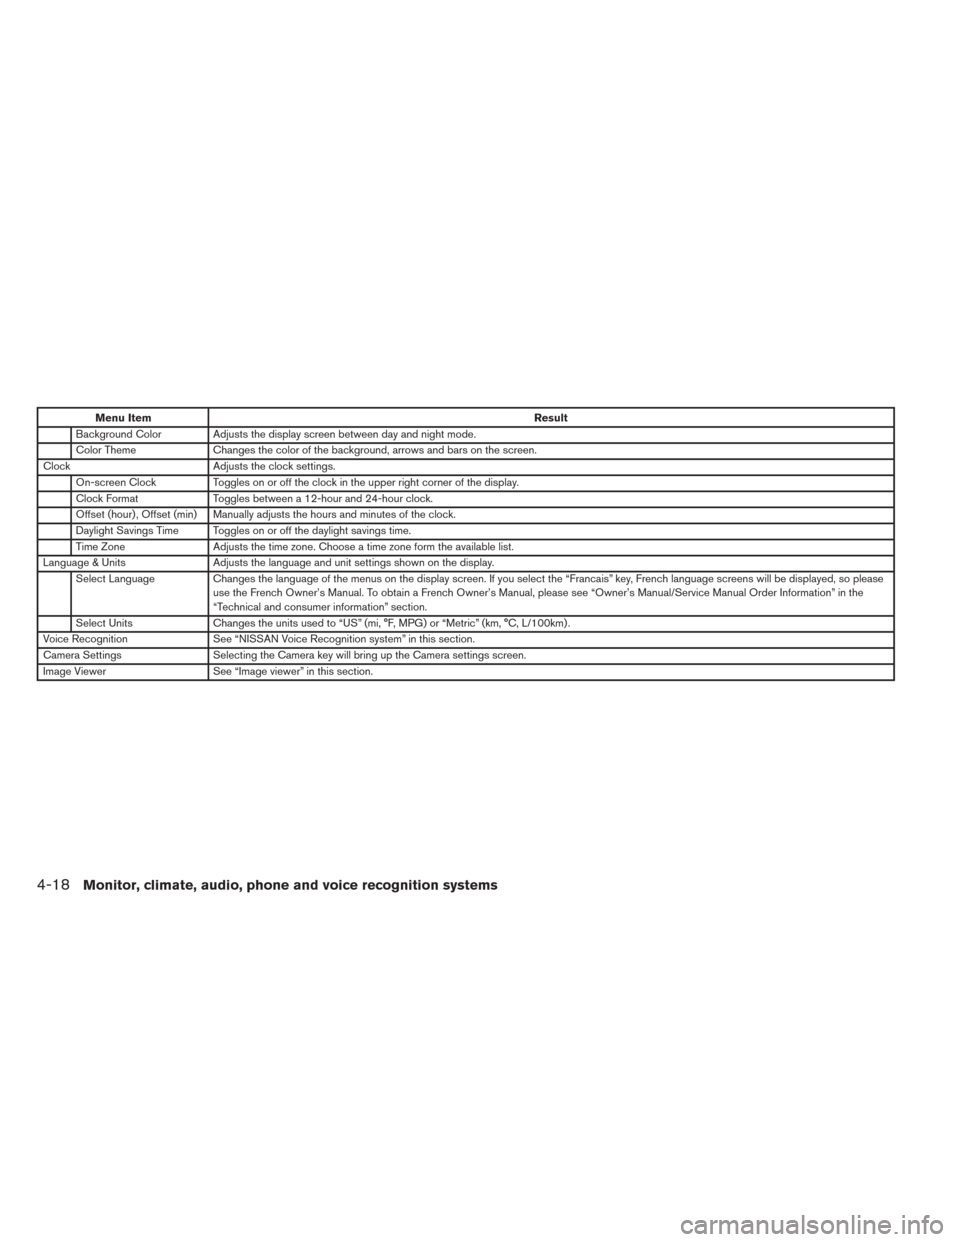
Menu ItemResult
Background Color Adjusts the display screen between day and night mode.
Color Theme Changes the color of the background, arrows and bars on the screen.
Clock Adjusts the clock settings.
On-screen Clock Toggles on or off the clock in the upper right corner of the display.
Clock Format Toggles between a 12-hour and 24-hour clock.
Offset (hour) , Offset (min) Manually adjusts the hours and minutes of the clock.
Daylight Savings Time Toggles on or off the daylight savings time.
Time Zone Adjusts the time zone. Choose a time zone form the available list.
Language & Units Adjusts the language and unit settings shown on the display.
Select Language Changes the language of the menus on the display screen. If you select the “Francais” key, French language screens will be displayed, so please
use the French Owner’s Manual. To obtain a French Owner’s Manual, please see “Owner’s Manual/Service Manual Order Information” in the
“Technical and consumer information” section.
Select Units Changes the units used to “US” (mi, °F, MPG) or “Metric” (km, °C, L/100km) .
Voice Recognition See “NISSAN Voice Recognition system” in this section.
Camera Settings Selecting the Camera key will bring up the Camera settings screen.
Image Viewer See “Image viewer” in this section.
4-18Monitor, climate, audio, phone and voice recognition systems
Page 291 of 571
Select the “Full Screen Display” key and press
the ENTER button to view a full screen version of
the image.
Image requirements:● Image type: JPEG
● File extensions: *.jpg, *.jpeg
● Maximum resolution: 2048 x 1536
● Maximum size: 2 MB
● Colors: 32,768 (15-bit)
● Maximum file name length: 253 bytes (dis-
play only shows first 8 characters)
● Maximum folders: 500
● Maximum images per folder: 1024Viewing images in a slideshow
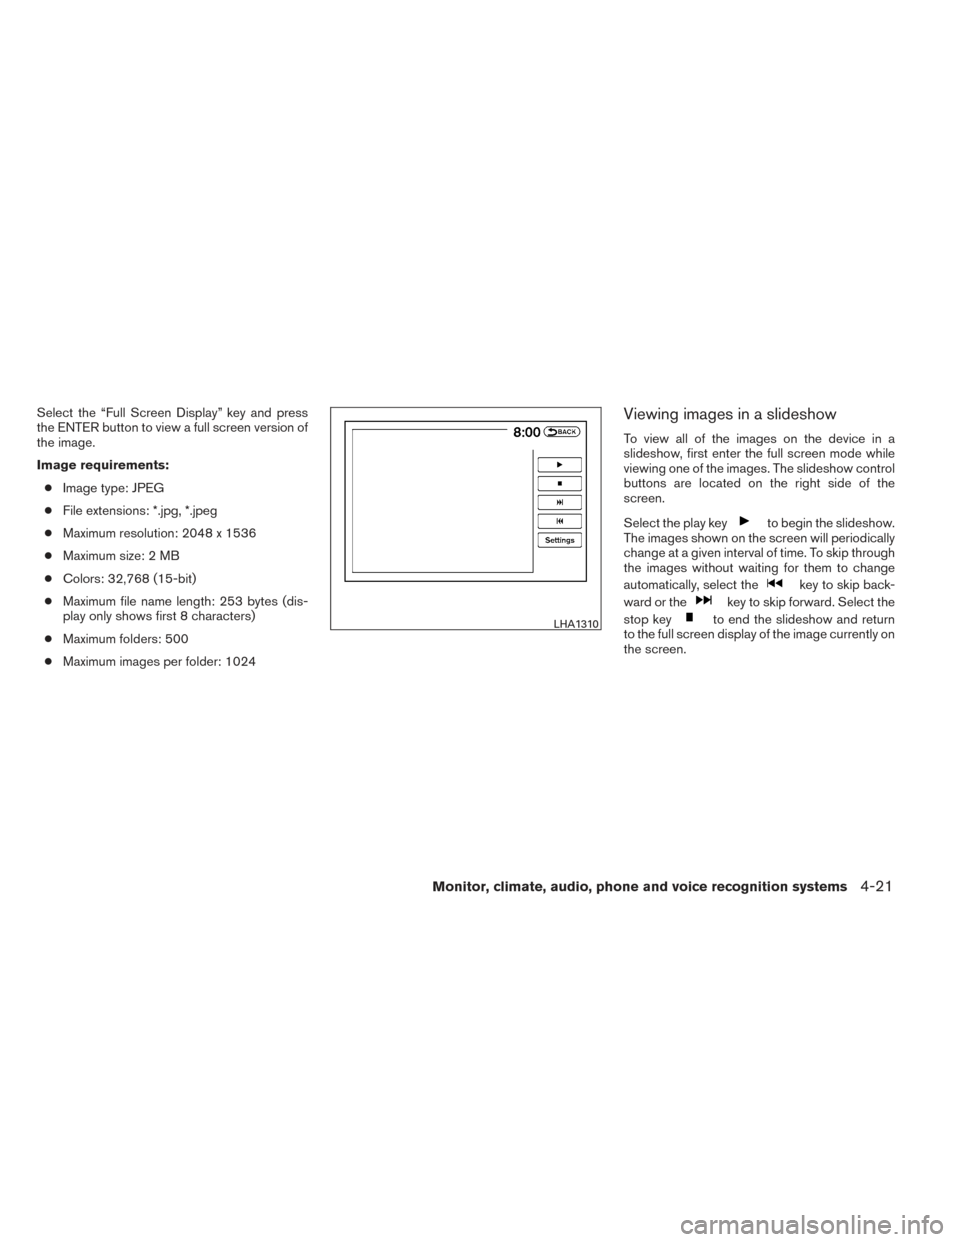
To view all of the images on the device in a
slideshow, first enter the full screen mode while
viewing one of the images. The slideshow control
buttons are located on the right side of the
screen.
Select the play key
to begin the slideshow.
The images shown on the screen will periodically
change at a given interval of time. To skip through
the images without waiting for them to change
automatically, select the
key to skip back-
ward or the
key to skip forward. Select the
stop key
to end the slideshow and return
to the full screen display of the image currently on
the screen.LHA1310
Monitor, climate, audio, phone and voice recognition systems4-21
Page 292 of 571
Slideshow settings
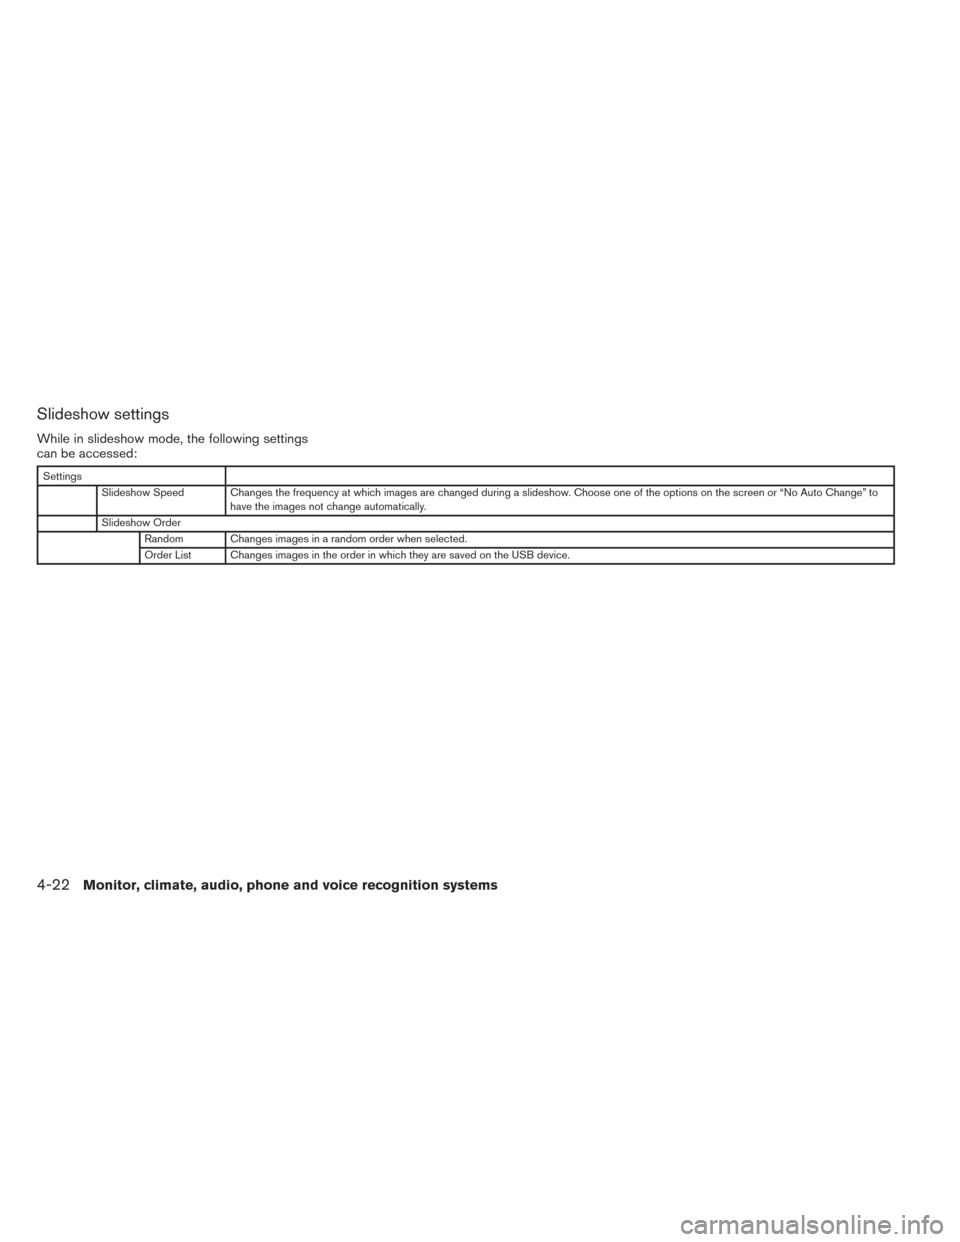
While in slideshow mode, the following settings
can be accessed:
SettingsSlideshow Speed Changes the frequency at which images are changed during a slideshow. Choose one of the options on the screen or “No Auto Change” to have the images not change automatically.
Slideshow Order Random Changes images in a random order when selected.
Order List Changes images in the order in which they are saved on the USB device.
4-22Monitor, climate, audio, phone and voice recognition systems
Page 298 of 571
OPERATING TIPS
●When the shift lever is shifted to the R (Re-
verse) position, the display screen automati-
cally changes to the RearView Monitor
mode. However, the radio can be heard.
● When the view is switched, the display im-
ages on the screen may be displayed with
some delay.
● When the temperature is extremely high or
low, the screen may not clearly display ob-
jects. This is not a malfunction.
● When strong light is directly coming on the
camera, objects may not be displayed
clearly. This is not a malfunction.
● Vertical lines may be seen in objects on the
screen. This is due to strong reflected light
from the bumper. This is not a malfunction.
● The screen may flicker under fluorescent
light. This is not a malfunction.
● The colors of objects on the RearView Moni-
tor may differ somewhat from those of the
actual color of the objects. This is not a
malfunction. ●
Objects on the monitor may not be clear in a
dark environment. This is not a malfunction.
● If dirt, rain or snow accumulates on the cam-
era, the RearView Monitor may not display
objects clearly. Clean the camera.
● Do not use wax on the camera window.
Wipe off any wax with a clean cloth damp-
ened with mild detergent diluted with water.
CAUTION
● Do not use alcohol, benzine or thinner
to clean the camera. This will cause
discoloration. To clean the camera,
wipe with a cloth dampened with di-
luted mild cleaning agent and then wipe
with a dry cloth.
● Do not damage the camera as the moni-
tor screen may be adversely affected. With the ignition switch in the ON position, press
the CAMERA button or move the shift lever to the
R (Reverse) position to operate the Around View
Monitor. The monitor displays various views of
the position of the vehicle in a split screen format.
WARNING
●
The Around View Monitor is a conve-
nience feature. It is not a substitute for
proper vehicle operation because it has
areas where objects cannot be viewed.
The four corners of the vehicle in par-
ticular are blind spots where objects do
not appear in the bird’s-eye, front or
rear views. Always look out the win-
dows and check with your own eyes to
be sure that it is safe to move before
operating the vehicle. Always operate
the vehicle slowly.
● The driver is always responsible for
safety during parking and other
maneuvers.
● Do not use the Around View Monitor
with the outside mirror in the stored
position, and make sure that the liftgate
is securely closed when operating the
vehicle using the Around View Monitor.
AROUND VIEW® MONITOR (if so
equipped)
4-28Monitor, climate, audio, phone and voice recognition systems
Page 310 of 571
1. Temperature control buttons (driver’sside)
2. AUTO climate control ON button
3.
(front defroster) button
4.
Air recirculation button
5. MODE (manual air flow control) button
6. Temperature control buttons (passen-
ger’s side)
7. DUAL (passenger side temperature
control) ON/OFF button
8. REAR button 9.
(fan speed control) dial/ON/OFF
button
10.
(rear window defroster) button
11. A/C (air conditioner) ON/OFF button
WARNING
● The air conditioner cooling function op-
erates only when the engine is running. ●
Do not leave children or adults who
would normally require the assistance
of others alone in your vehicle. Pets
should also not be left alone. They
could accidentally injure themselves or
others through inadvertent operation of
the vehicle. Also, on hot, sunny days,
temperatures in a closed vehicle could
quickly become high enough to cause
severe or possibly fatal injuries to
people or animals.
● Do not use the recirculation mode for
long periods as it may cause the interior
air to become stale and the windows to
fog up.
Start the engine and operate the controls to
activate the air conditioner. ● Odors from inside and outside the vehicle
can build up in the air conditioner unit. Odor
can enter the passenger compartment
through the vents.
● When parking, set the heater and air condi-
tioner controls to turn off air recirculation to
allow fresh air into the passenger compart-
ment. This should help reduce odors inside
the vehicle.
Type A
LHA2472
HEATER AND AIR CONDITIONER
(automatic) (Type A)
4-40Monitor, climate, audio, phone and voice recognition systems
Page 311 of 571
AUTOMATIC OPERATION
Cooling and/or dehumidified heating
(AUTO)
This mode may be used all year round as the
system automatically works to keep a constant
temperature. Air flow distribution and fan speed
are also controlled automatically.1. Press the AUTO button on. (The indicator on the button will illuminate and AUTO will be
displayed.)
2. Operate the driver’s side temperature con- trol buttons.
● Adjust the temperature display to about
75°F (24°C) for normal operation.
● The temperature of the passenger compart-
ment will be maintained automatically. Air
flow distribution and fan speed are also con-
trolled automatically.
● A visible mist may be seen coming from the
ventilators in hot, humid conditions as the air
is cooled rapidly. This does not indicate a
malfunction.
3. You can individually set driver’s and front passenger’s side temperature using each
temperature control button. When the DUAL
button or passenger’s side temperature but-
ton is pressed, the DUAL indicator will come
on. To turn off the passenger’s side tempera-
ture control, press the DUAL button.
Heating (A/C OFF)
The air conditioner does not activate. When you
need to heat only, use this mode.
1. Press the A/C button. (A/C OFF will be displayed and A/C indicator will turn off.)
2. Operate the temperature control buttons to set the desired temperature.
● The temperature of the passenger compart-
ment will be maintained automatically. Air
flow distribution and fan speed are also con-
trolled automatically.
● Do not set the temperature lower than the
outside air temperature. Otherwise the sys-
tem may not work properly.
● Not recommended if windows fog up.
Dehumidified defrosting or defogging
1. Press thefront defroster button on.
(The indicator light on the button will come
on.)
2. Operate the temperature control buttons to set the desired temperature.
● To quickly remove ice from the outside of the
windows, use the fan speed control dial to
set the fan speed to maximum. ●
As soon as possible after the windshield is
clean, press the AUTO button to return to
the automatic mode.
● When the
front defroster button is
pressed, the air conditioner will automati-
cally be turned on at outside temperatures
above 36°F (2°C) . The air recirculate mode
automatically turns off, allowing outside air
to be drawn into the passenger compart-
ment to further improve the defogging per-
formance.
MANUAL OPERATION
Fan speed control
Turn thefan speed control dial to manually
control the fan speed.
Press the AUTO button to return to automatic
control of the fan speed.
Air recirculation
Press theair recirculation button to recir-
culate interior air inside the vehicle. The
indicator light on the button will come on.
The air recirculation cannot be activated when
the air conditioner is in the
front defrosting
mode or the
front defrosting and foot out-
let mode.
Monitor, climate, audio, phone and voice recognition systems4-41