2014 NISSAN MAXIMA ignition
[x] Cancel search: ignitionPage 7 of 24

5
NISSAN INTELLIGENT KEY® SYSTE M
The NISSAN Intelligent Key® system allows you to lock
or unlock the vehicle, open the trunk and start the engine.
It is important to make sure the Intelligent Key is with you
(that is, in your pocket or purse).
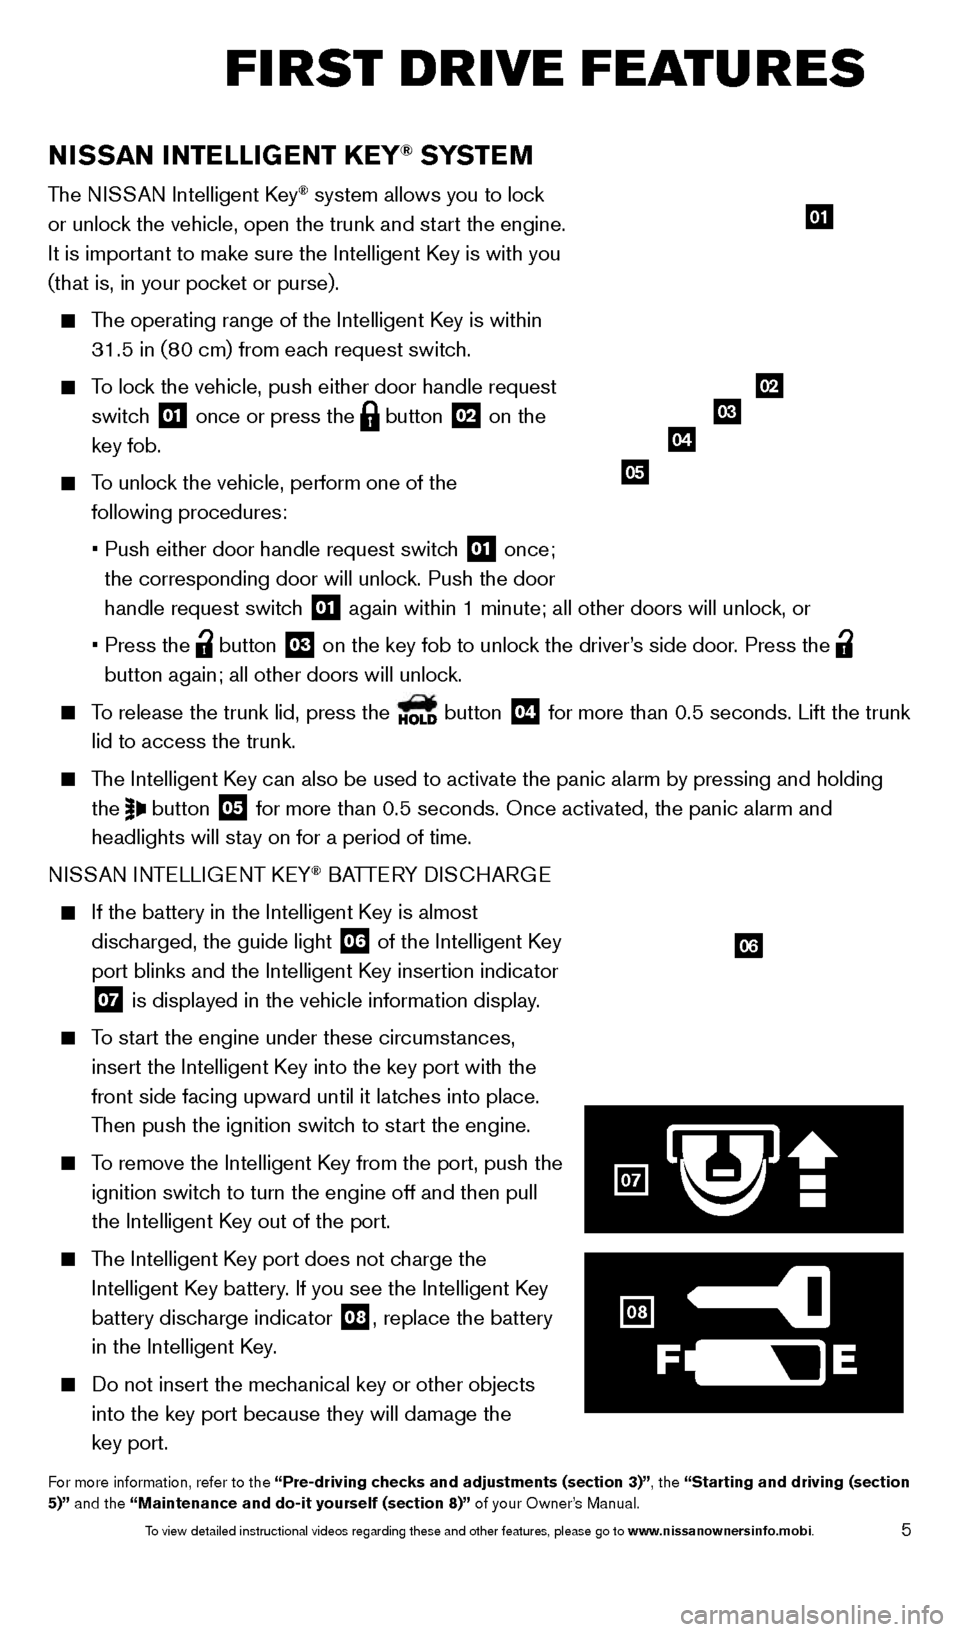
The operating range of the Intelligent Key is within 31.5 in (80 cm) from each request switch.
To lock the vehicle, push either door handle request switch
01 once or press the
button
02 on the
key fob.
To unlock the vehicle, perform one of the following procedures:
•
Push either door handle request switc
h
01 once;
the corresponding door will unlock. Push the door
handle request switch
01 again within 1 minute; all other doors will unlock, or
•
Press the button
03 on the key fob to unlock the driver’s side door. Press the
button again; all other doors will unlock.
To release the trunk lid, press the button
04 for more than 0.5 seconds. Lift the trunk
lid to access the trunk.
The Intelligent Key can also be used to activate the panic alarm by pressing and holding \
the
button
05 for more than 0.5 seconds. Once activated, the panic alarm and
headlights will stay on for a period of time.
NISSAN INTELLIGENT KEY
® BATTERY DISCHARGE
If the battery in the Intelligent K ey is almost
discharged, the guide light
06 of the Intelligent Key
port blinks and the Intelligent Key insertion indicator
07 is displayed in the vehicle information display.
To start the engine under these circumstances,
insert the Intelligent Key into the key port with the
front side facing upward until it latches into place.
Then push the ignition switch to start the engine.
To remove the Intelligent Key from the port, push the ignition switch to turn the engine off and then pull
the Intelligent Key out of the port.
The Intelligent Key port does not charge the Intelligent Key battery. If you see the Intelligent Key
battery discharge indicator
08, replace the battery
in the Intelligent Key.
Do not insert the mec hanical key or other objects
into the key port because they will damage the
key port.
For more information, refer to the “Pre-driving checks and adjustments (section 3)”, the “Starting and driving (section
5)” and the “Maintenance and do-it yourself (section 8)” of your Owner’s Manual.
01
0203
04
05
06
07
FIRST DRIVE FEATURES
08
1655343_14b_Maxima_QRG_012914.indd 51/29/14 4:00 PM
To view detailed instructional videos regarding these and other features, please go\
to www.nissanownersinfo.mobi.
Page 9 of 24

7
OUTSIDE MIRROR CONTROL SWITCH
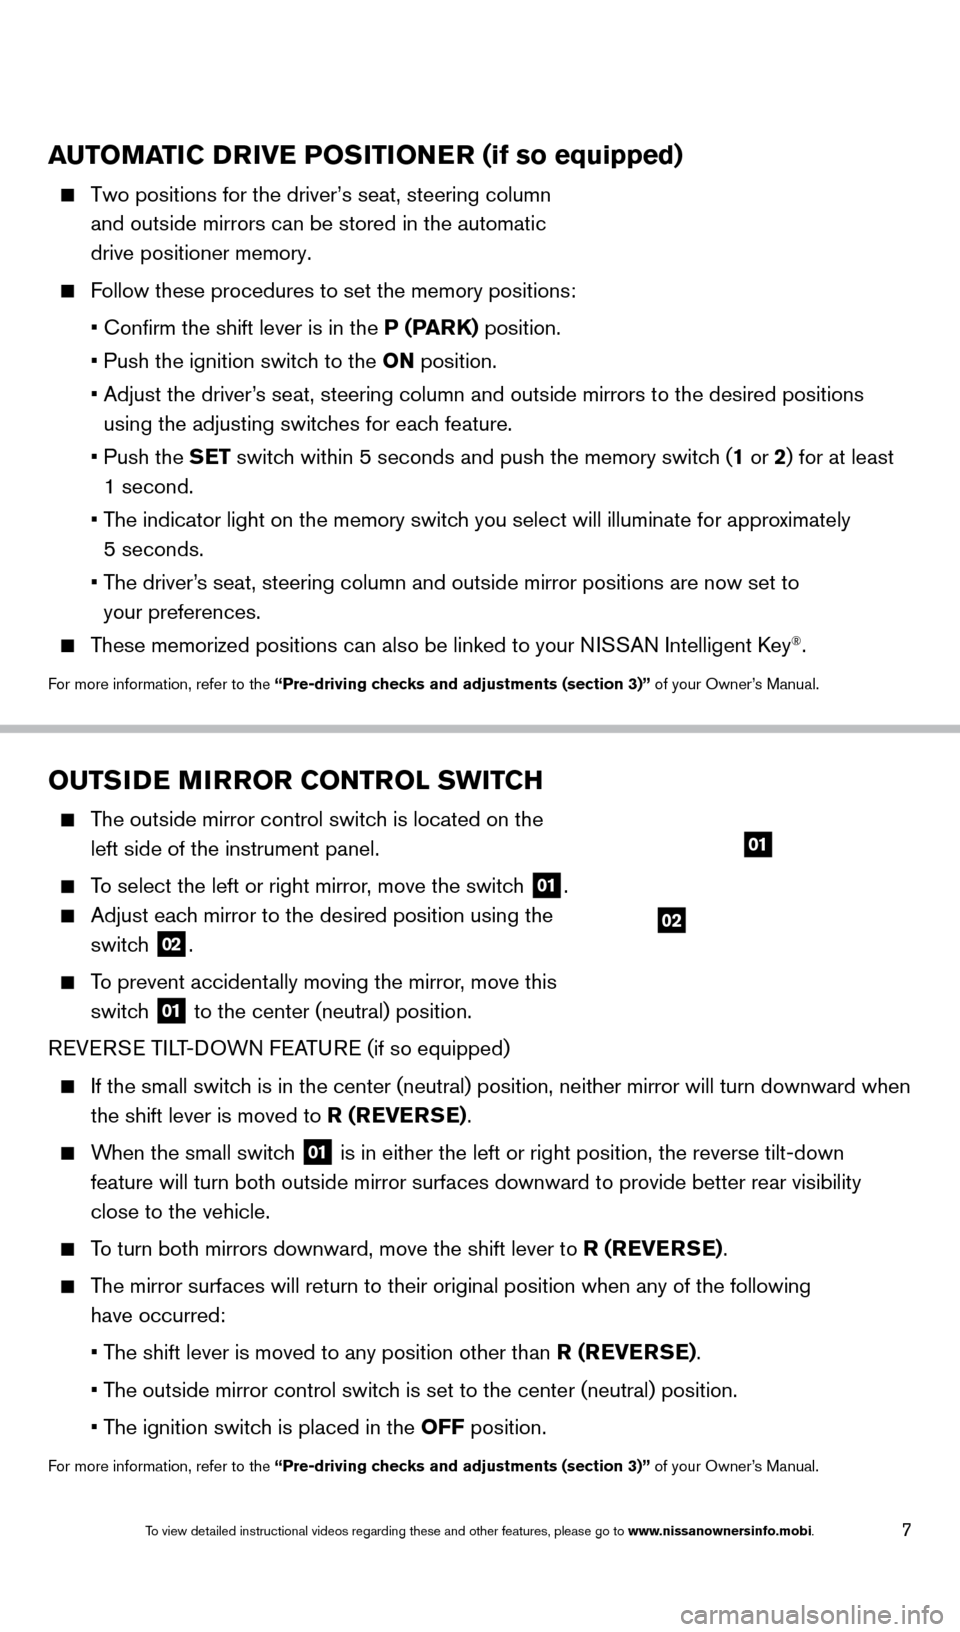
The outside mirror control switch is located on the left side of the instrument panel.
To select the left or right mirror, move the switch 01.
Adjust each mirror to the desired position using the
switch
02.
To prevent accidentally moving the mirror, move this
switch
01 to the center (neutral) position.
REVERSE TILT-DOWN FEATURE (if so equipped)
If the small switc h is in the center (neutral) position, neither mirror will turn downwa\
rd when
the shift lever is moved to R (REVERSE).
When the small switch 01 is in either the left or right position, the reverse tilt-down
feature will turn both outside mirror surfaces downward to provide bette\
r rear visibility
close to the vehicle.
To turn both mirrors downward, move the shift lever to R (REVERSE).
The mirror surfaces will return to their original position when any of th\
e following have occurred:
•
T
he shift lever is moved to any position other than R (REVERSE).
•
T
he outside mirror control switch is set to the center (neutral) position.
•
T
he ignition switch is placed in the OFF position.
For more information, refer to the “Pre-driving checks and adjustments (section 3)” of your Owner’s Manual.
AUTOMATIC DRIVE POSITIONER (if so equipped)
Two positions for the driver’s seat, steering column
and outside mirrors can be stored in the automatic
drive positioner memory.
Follow these procedures to set the memory positions:
•
Confirm the shift lever is in the
P (PARK) position.
•
Push the ignition switc
h to the ON position.
•
Adjust the driver
’s seat, steering column and outside mirrors to the desired positions
using the adjusting switches for each feature.
•
Push the
SET switch within 5 seconds and push the memory switch (1 or 2) for at least
1 second.
• T
he indicator light on the memory switch you select will illuminate for approximately
5 seconds.
• T
he driver’s seat, steering column and outside mirror positions are now set to
your preferences.
These memorized positions can also be linked to your NISSAN Intelligent Key®.
For more information, refer to the “Pre-driving checks and adjustments (section 3)” of your Owner’s Manual.
01
02
1655343_14b_Maxima_QRG_012914.indd 71/29/14 4:00 PM
To view detailed instructional videos regarding these and other features, please go\
to www.nissanownersinfo.mobi.
Page 10 of 24

8
FIRST DRIVE FEATURES
STARTING/STOPPING THE ENGINE
It is important to make sure the NISSAN Intelligent
Key® is with you (that is, in your pocket or purse).
Depress the brake pedal.
•
If the brake pedal is not depressed, pushing the
ignition switc
h once enters the ACC mode.
•
If the ignition is pushed a second time, the vehicle
will enter the
ON mode.
Press the ignition switc h START/STOP button to start the engine.
TURNING THE ENGINE OFF
Move the shift lever to the P (PARK) position and apply the parking brake.
Press the ignition switch START/STOP button to turn the engine off.
For more information, refer to the “Starting and driving (section 5)” of your Owner’s Manual.
HEADLIGHT CONTROL SWITCH
HEADLIGHT CONTROL
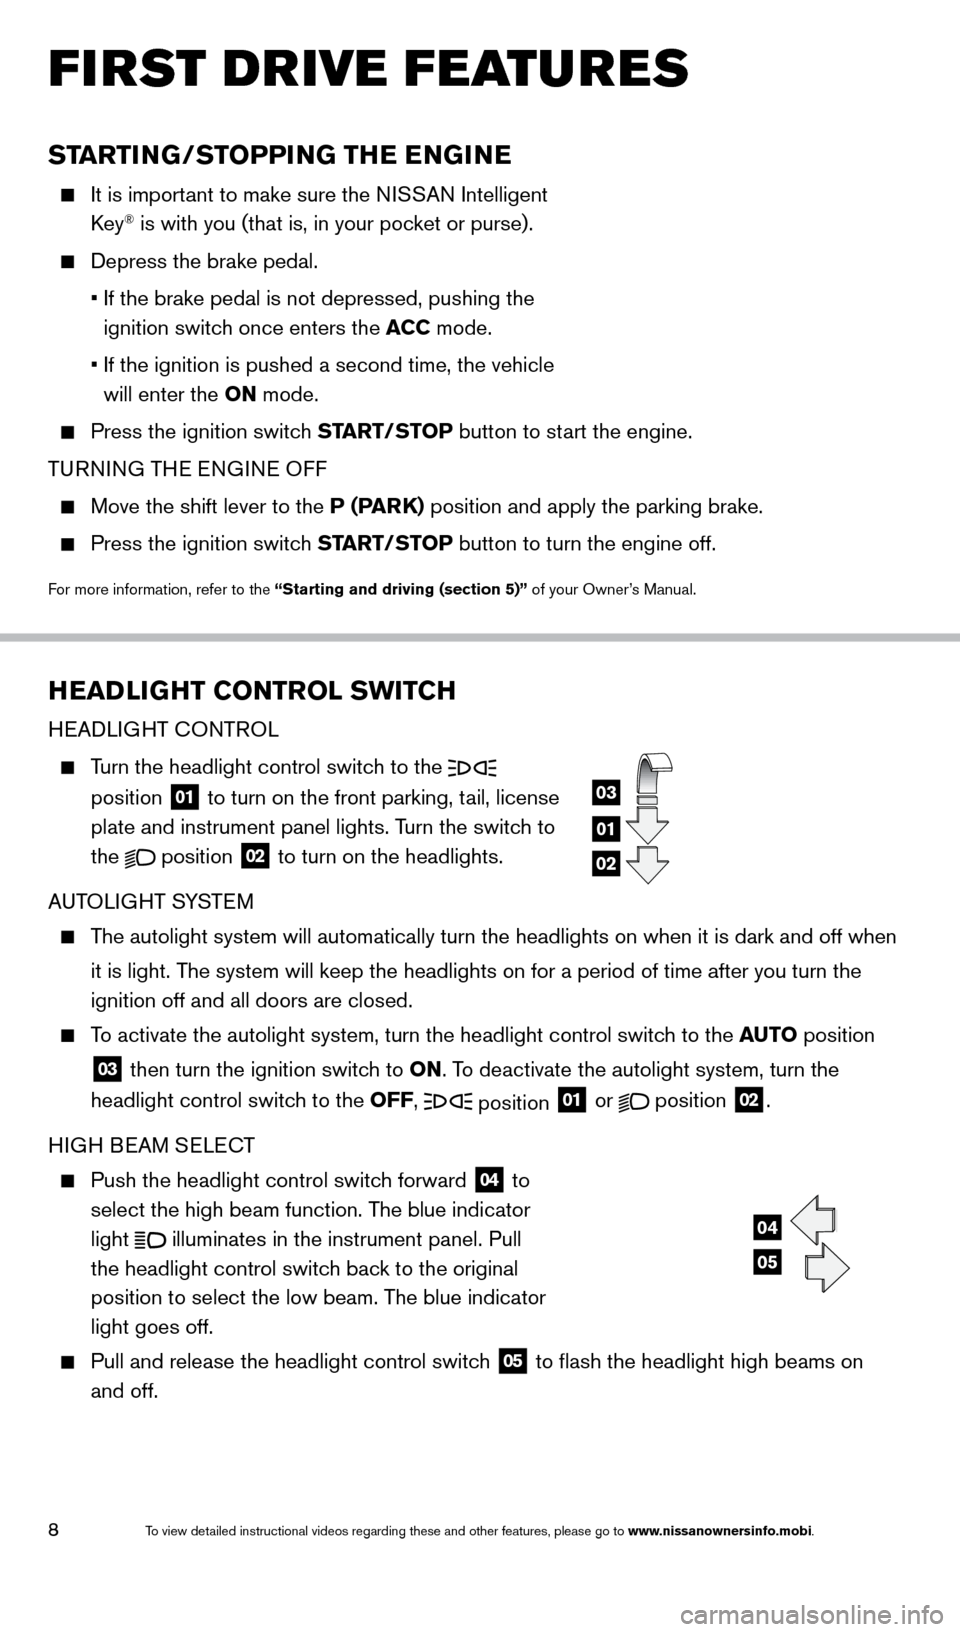
Turn the headlight control switch to the
position
01 to turn on the front parking, tail, license
plate and instrument panel lights. Turn the switch to
the
position
02 to turn on the headlights.
AUTOLIGHT SYSTEM
The autolight system will automatically turn the headlights on when it is\
dark and off when it is light. The system will keep the headlights on for a period of time after you tur\
n the
ignition off and all doors are closed.
To activate the autolight system, turn the headlight control switch to the AUTO position
03 then turn the ignition switch to ON. To deactivate the autolight system, turn the
headlight control switch to the OFF, position 01 or
position
02.
HIGH BEAM SELECT
Push the headlight control switc h forward
04 to
select the high beam function. The blue indicator
light
illuminates in the instrument panel. Pull
the headlight control switch back to the original
position to select the low beam. The blue indicator
light goes off.
Pull and release the headlight control switch 05 to flash the headlight high beams on
and off.
01
03
02
04
05
1655343_14b_Maxima_QRG_012914.indd 81/29/14 4:00 PM
To view detailed instructional videos regarding these and other features, please go\
to www.nissanownersinfo.mobi.