2014 NISSAN JUKE display
[x] Cancel search: displayPage 2 of 25
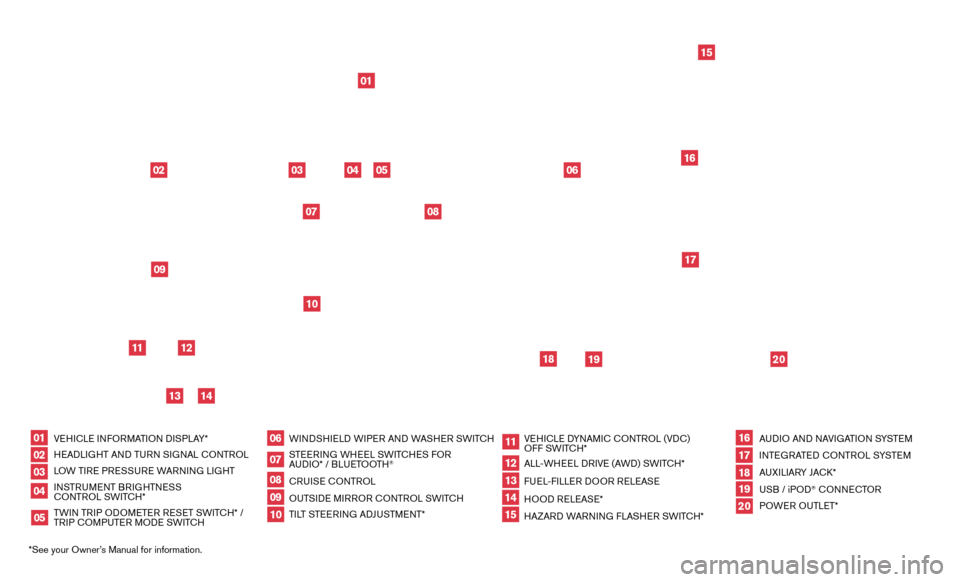
*See your Owner’s Manual for information.VEHICLE INFORMATION DISPLAY*
HEADLIGHT AND TURN SIGNAL CONTROL
LOW TIRE PRESSURE WARNING LIGHT
INSTRUMENT BRIGHTNESS
CONTROL SWITCH*
TWIN TRIP ODOMETER RESET SWITCH* /
TRIP COMPUTER MODE SWITCH
WINDSHIELD WIPER AND WASHER SWITCH
STEERING WHEEL SWITCHES FOR
AUDIO* / BLUETOOTH
®
CRUISE CONTROL
OUTSIDE MIRROR CONTROL SWITCH
TILT STEERING ADJUSTMENT*
VEHICLE DYNAMIC CONTROL (VDC)
OFF SWITCH*
ALL-WHEEL DRIVE (AWD) SWITCH*
FUEL-FILLER DOOR RELEASE
HOOD RELEASE*
HAZARD WARNING FLASHER SWITCH*AUDIO AND NAVIGATION SYSTEM
INTEGRATED CONTROL SYSTEM
AUXILIARY JACK*
USB / iPOD
® CONNECTOR
POWER OUTLET*
0102030405
0910
16
06
11
17181920
07
1214
08
1315
02
03
0104
05
09
15
12
1617
18
19
20
13
14
11
1007
06
08
Page 4 of 25
2To view detailed instructional videos regarding these and other features, please go to www.nissanownersinfo.mobi.
ESSE NTIAL I N FOR MATION
FUEL EFFICIENT DRIVING
Fuel Effi cient Driving Tips can be found in your Owner’s Manual. These tips are intended to
help you achieve the most fuel economy from your vehicle.
For more information, refer to the “Starting and driving (section 5) ” of your Owner’s Manual.
TIRE PRESSURE MONITORING SYSTEM (TPMS)
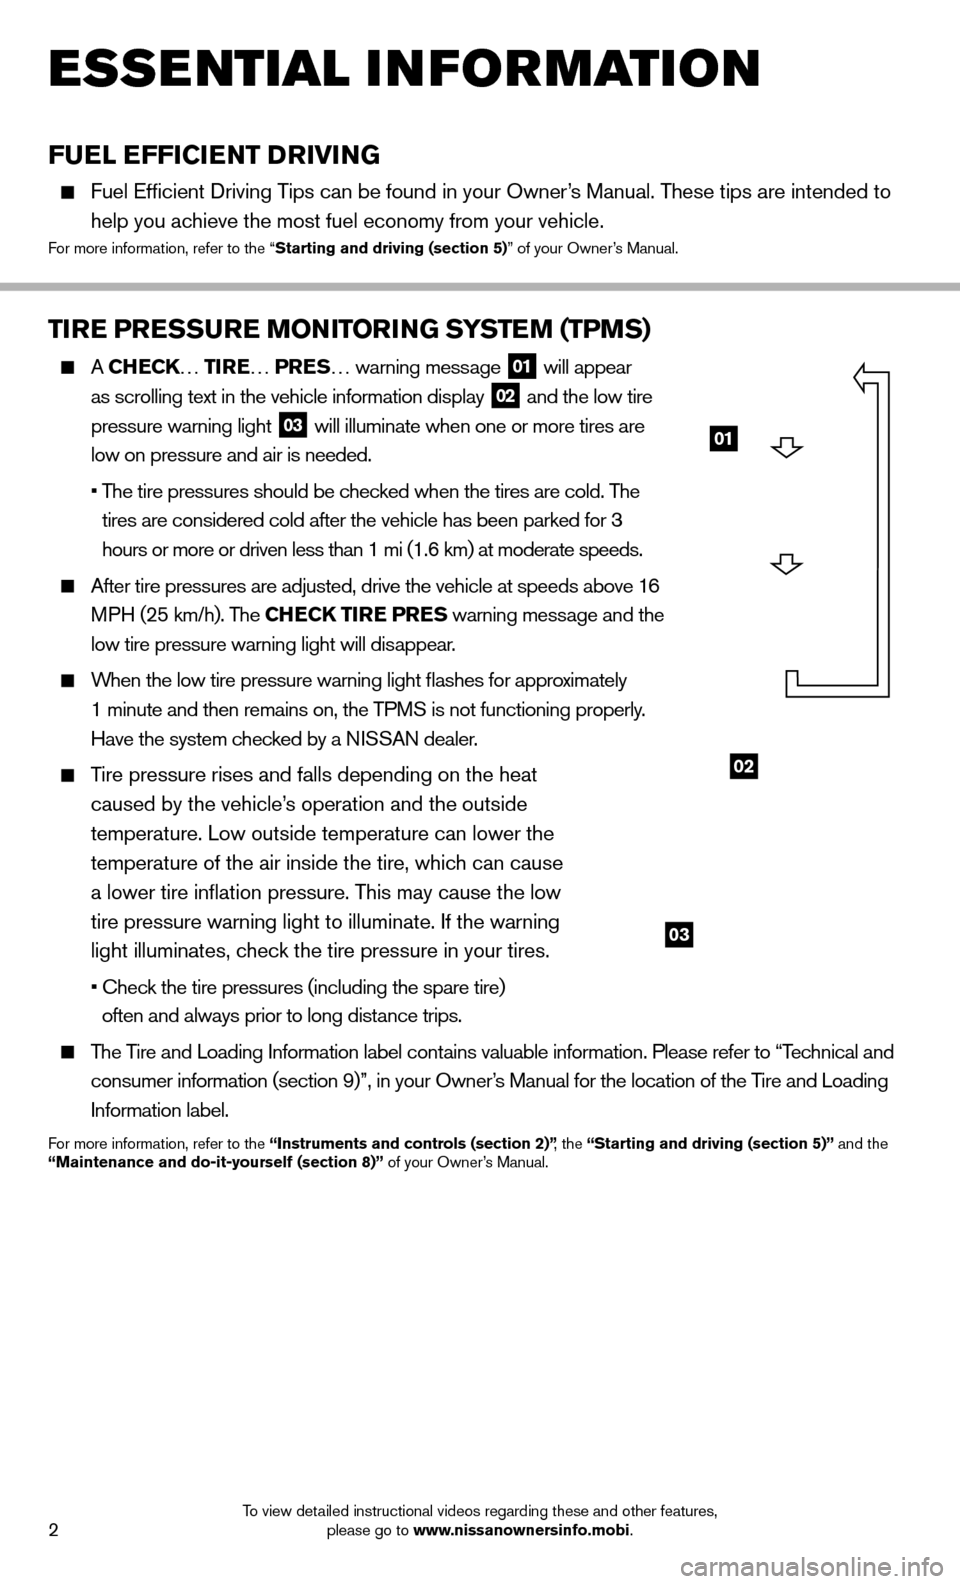
A CHECK… TIRE … PRES… warning message 01 will appear
as scrolling text in the vehicle information display 02 and the low tire
pressure warning light 03 will illuminate when one or more tires are
low on pressure and air is needed.
• The tire pressures should be checked when the tires are cold. The
tires are considered cold after the vehicle has been parked for 3
hours or more or driven less than 1 mi (1.6 km) at moderate speeds.
After tire pressures are adjusted, drive the vehicle at speeds above 16
MPH (25 km/h). The CHECK TIRE PRES warning message and the
low tire pressure warning light will disappear.
When the low tire pressure warning light
fl
ashes for approximately
1 minute and then remains on, the TPMS is not functioning properly.
Have the system checked by a NISSAN dealer.
Tire pressure rises and falls depending on the heat
caused by the vehicle’s operation and the outside
temperature. Low outside temperature can lower the
temperature of the air inside the tire, which can cause
a lower tire infl ation pressure. This may cause the low
tire pressure warning light to illuminate. If the warning
light illuminates, check the tire pressure in your tires.
• Check the tire pressures (including the spare tire) often and always prior to long distance trips.
The Tire and Loading Information label contains valuable information. Please refer to “Technical and
consumer information (section 9)”, in your Owner’s Manual for the location of the Tire and Loading
Information label.
For more information, refer to the “Instruments and controls (section 2)” , the “Starting and driving (section 5)” and the
“Maintenance and do-it-yourself (section 8)” of your Owner’s Manual.
02
03
01
Page 5 of 25
3To view detailed instructional videos regarding these and other features, please go to www.nissanownersinfo.mobi.
LOOSE FUEL CAP
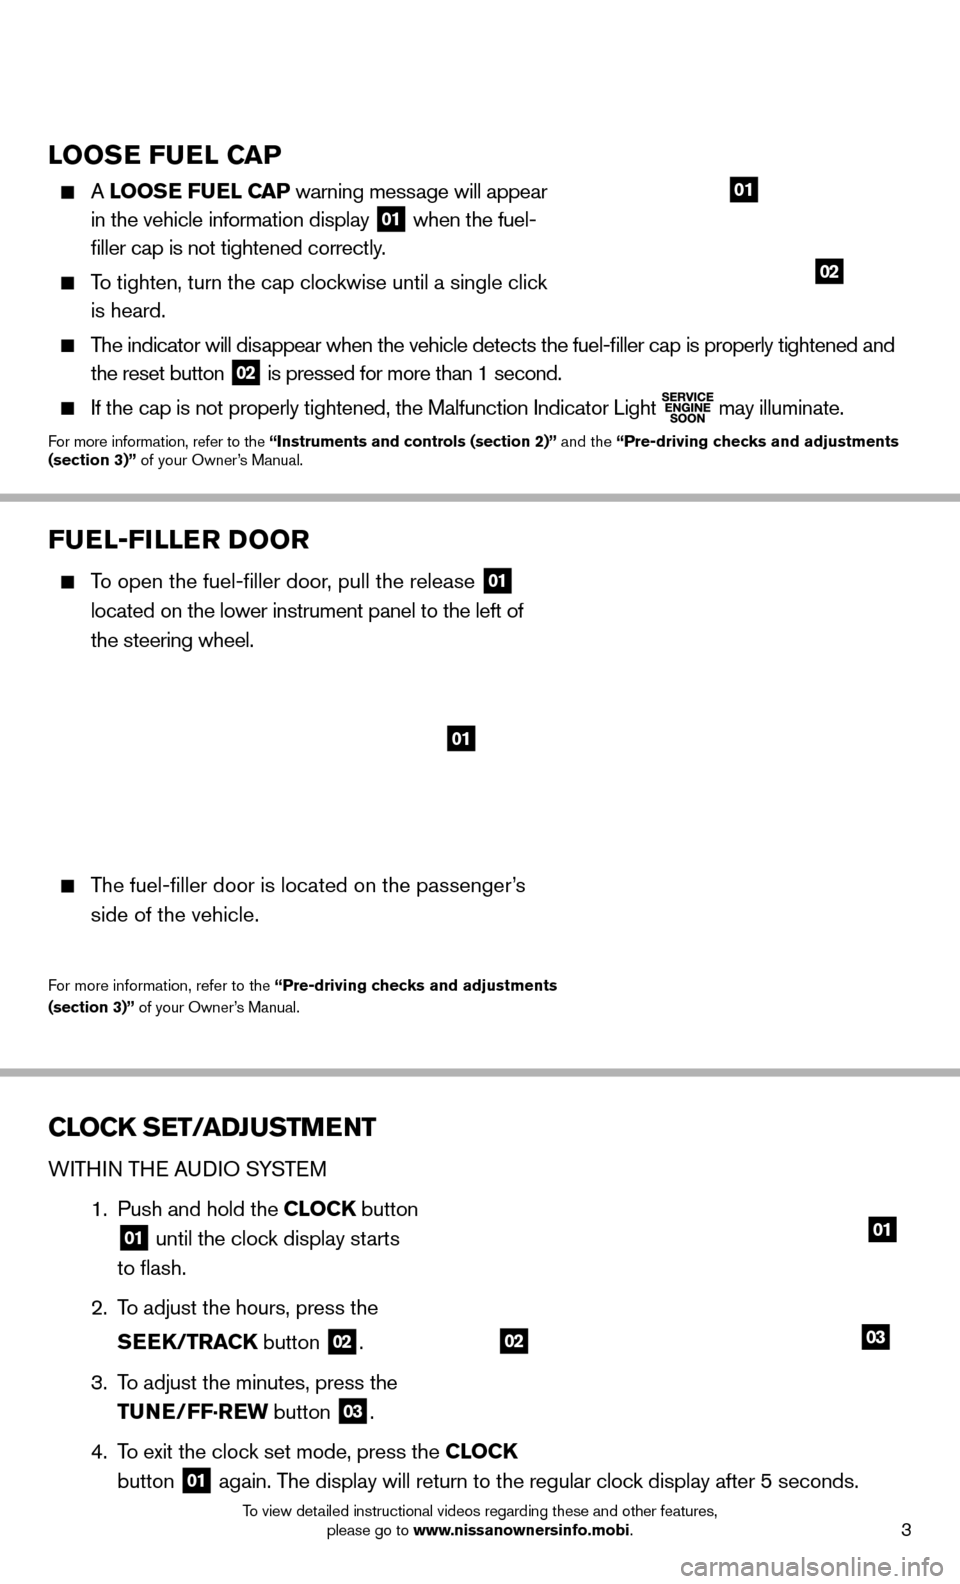
A LOOSE FUEL CAP warning message will appear
in the vehicle information display
01 when the fuel-
fi ller cap is not tightened correctly.
To tighten, turn the cap clockwise until a single click
is heard.
The indicator will disappear when the vehicle detects the fuel-fi ller cap is properly tightened and
the reset button
02 is pressed for more than 1 second.
If the cap is not properly tightened, the Malfunction Indicator Light
may illuminate.For more information, refer to the “Instruments and controls (section 2)”
and the “Pre-driving checks and adjustments
(section 3)” of your Owner’s Manual.
01
02
FUEL-FILLER DOOR
To open the fuel-fi ller door, pull the release 01
located on the lower instrument panel to the left of
the steering wheel.
The fuel-fi ller door is located on the passenger’s
side of the vehicle.
For more information, refer to the “Pre-driving checks and adjustments
(section 3)” of your Owner’s Manual.
01
CLOCK SET/ADJUSTMENT
WITHIN THE AUDIO SYSTEM
1. Push and hold the CLOCK button
01 until the clock display starts
to fl ash.
2. To adjust the hours, press the
SEEK/TRACK button
02.
3. To adjust the minutes, press the
TUNE/FF·REW button
03.
4. To exit the clock set mode, press the CLOCK
button
01 again. The display will return to the regular clock display after 5 seconds.
0302
01
Page 6 of 25
4To view detailed instructional videos regarding these and other features, please go to www.nissanownersinfo.mobi.
CLOCK SET/ADJUSTMENT
WITHIN THE NAVIGATION SYSTEM
To adjust the time and the
appearance of the clock on
the display:
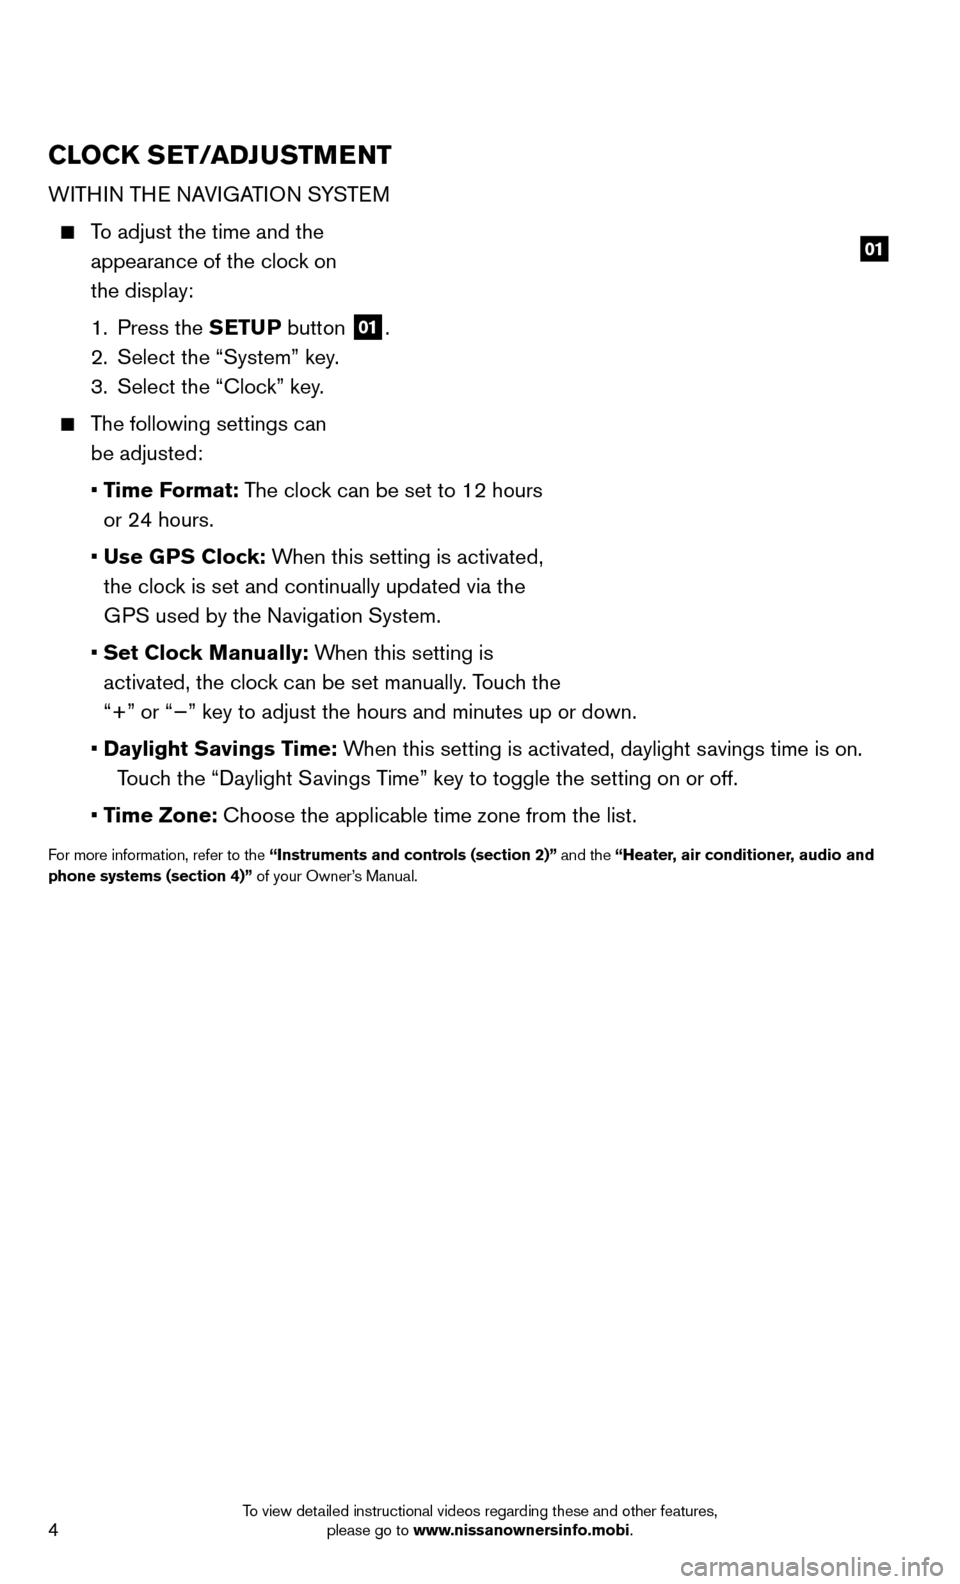
1. Press the SETUP button
01.
2. Select the “System” key.
3. Select the “Clock” key.
The following settings can
be adjusted:
• Time Format: The clock can be set to 12 hours
or 24 hours.
• Use GPS Clock: When this setting is activated,
the clock is set and continually updated via the
GPS used by the Navigation System.
• Set Clock Manually: When this setting is
activated, the clock can be set manually. Touch the
“+” or “−” key to adjust the hours and minutes up or down\
.
• Daylight Savings Time: When this setting is activated, daylight savings time is on.
Touch the “Daylight Savings Time” key to toggle the setting on or off.
• Time Zone: Choose the applicable time zone from the list.
For more information, refer to the “Instruments and controls (section 2)” and the “Heater, air conditioner, audio and
phone systems (section 4)” of your Owner’s Manual.
01
Page 12 of 25
10To view detailed instructional videos regarding these and other features, please go to www.nissanownersinfo.mobi.
FIRST DRIVE FEATURES
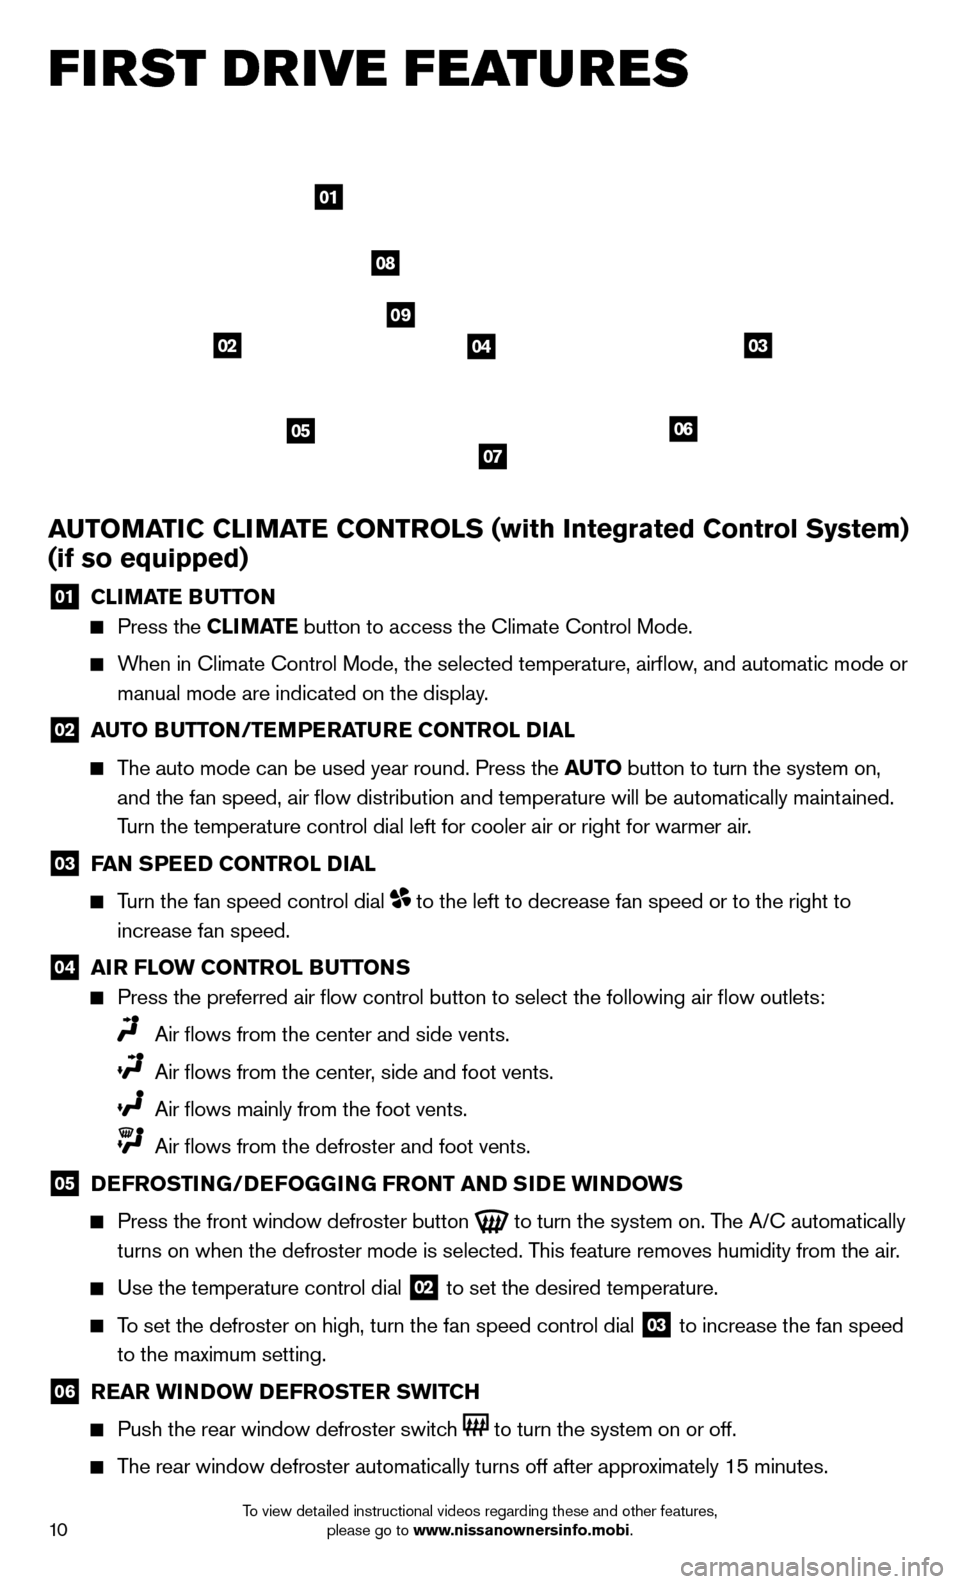
AUTOMATIC CLIMATE CONTROLS (with Integrated Control System)
(if so equipped)
01 CLIMATE B UTTON
Press the CLIMATE button to access the Climate Control Mode.
When in Climate Control Mode, the selected temperature, airfl ow, and automatic mode or
manual mode are indicated on the display.
02 AUTO BUTTON/TEMPERATURE CONTROL DIAL
The auto mode can be used year round. Press the AUTO button to turn the system on,
and the fan speed, air fl ow distribution and temperature will be automatically maintained.
Turn the temperature control dial left for cooler air or right for warmer\
air.
03 FAN SPEED CONTROL DIAL
Turn the fan speed control dial to the left to decrease fan speed or to the right to
increase fan speed.
04 AIR FLOW CONTROL BUTTONS
Press the preferred air fl ow control button to select the following air fl ow outlets:
Air fl ows from the center and side vents.
Air fl ows from the center, side and foot vents.
Air fl ows mainly from the foot vents.
Air fl ows from the defroster and foot vents.
05 DEFROSTIN
G/DEFOGGING FR ONT AND SIDE WINDOWS
Press the front window defroster button
to turn the system on. The A/C automatically
turns on when the defroster mode is selected. This feature removes humidity from the air.
Use the temperature control dial
02 to set the desired temperature.
To set the defroster on high, turn the fan speed control dial 03 to increase the fan speed
to the maximum setting.
06 REAR WINDOW DEFROSTER SWITCH
Push the rear window defroster switch to turn the system on or off.
The rear window defroster automatically turns off after approximately 15 minutes.
0302
01
08
09
070506
04
Page 13 of 25
11To view detailed instructional videos regarding these and other features, please go to www.nissanownersinfo.mobi.
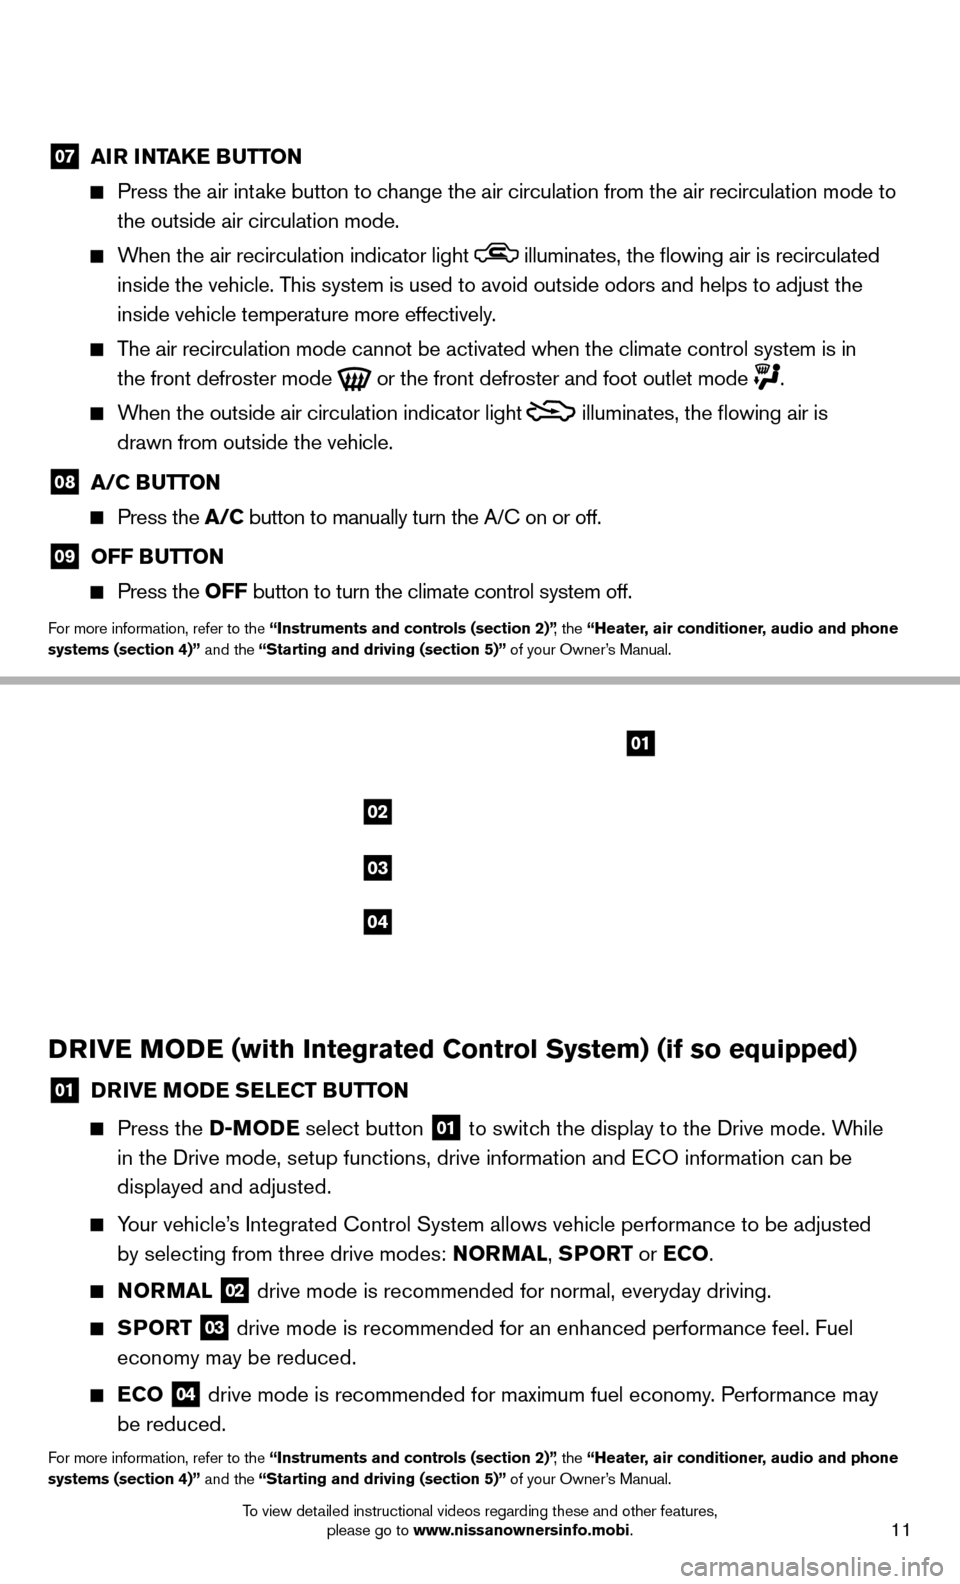
07 AIR INTAKE BUTTON
Press the air intake button to change the air circulation from the air recirculation mode to
the outside air circulation mode.
When the air recirculation indicator light illuminates, the fl owing air is recirculated
inside the vehicle. This system is used to avoid outside odors and helps to adjust the
inside vehicle temperature more effectively.
The air recirculation mode cannot be activated when the climate control s\
ystem is in
the front defroster mode
or the front defroster and foot outlet mode .
When the outside air circulation indicator light
illuminates, the fl owing air is
drawn from outside the vehicle.
08 A/C BUTTON
Press the A/C button to manually turn the A/C on or off.
09 OFF BUTTON
Press the OFF button to turn the climate control system off.
For more information, refer to the “Instruments and controls (section 2)” , the “Heater, air conditioner, audio and phone
systems (section 4)” and the “Starting and driving (section 5)” of your Owner’s Manual.
02
01
03
04
DRIVE MODE (with Integrated Control System) (if so equipped)
01 DRIVE MODE SELECT BUTTON
Press the D-MODE select button 01 to switch the display to the Drive mode. While
in the Drive mode, setup functions, drive information and ECO information can be
displayed and adjusted.
Your vehicle’s Integrated Control System allows vehicle performance to be adjusted
by selecting from three drive modes: NORMAL, SPORT or ECO .
NORMAL
02 drive mode is recommended for normal, everyday driving.
SPORT
03 drive mode is recommended for an enhanced performance feel. Fuel
economy may be reduced.
ECO
04 drive mode is recommended for maximum fuel economy. Performance may
be reduced.
For more information, refer to the “Instruments and controls (section 2)” , the “Heater, air conditioner, audio and phone
systems (section 4)” and the “Starting and driving (section 5)” of your Owner’s Manual.
Page 14 of 25
12To view detailed instructional videos regarding these and other features, please go to www.nissanownersinfo.mobi.
FIRST DRIVE FEATURES
0201
0605
03
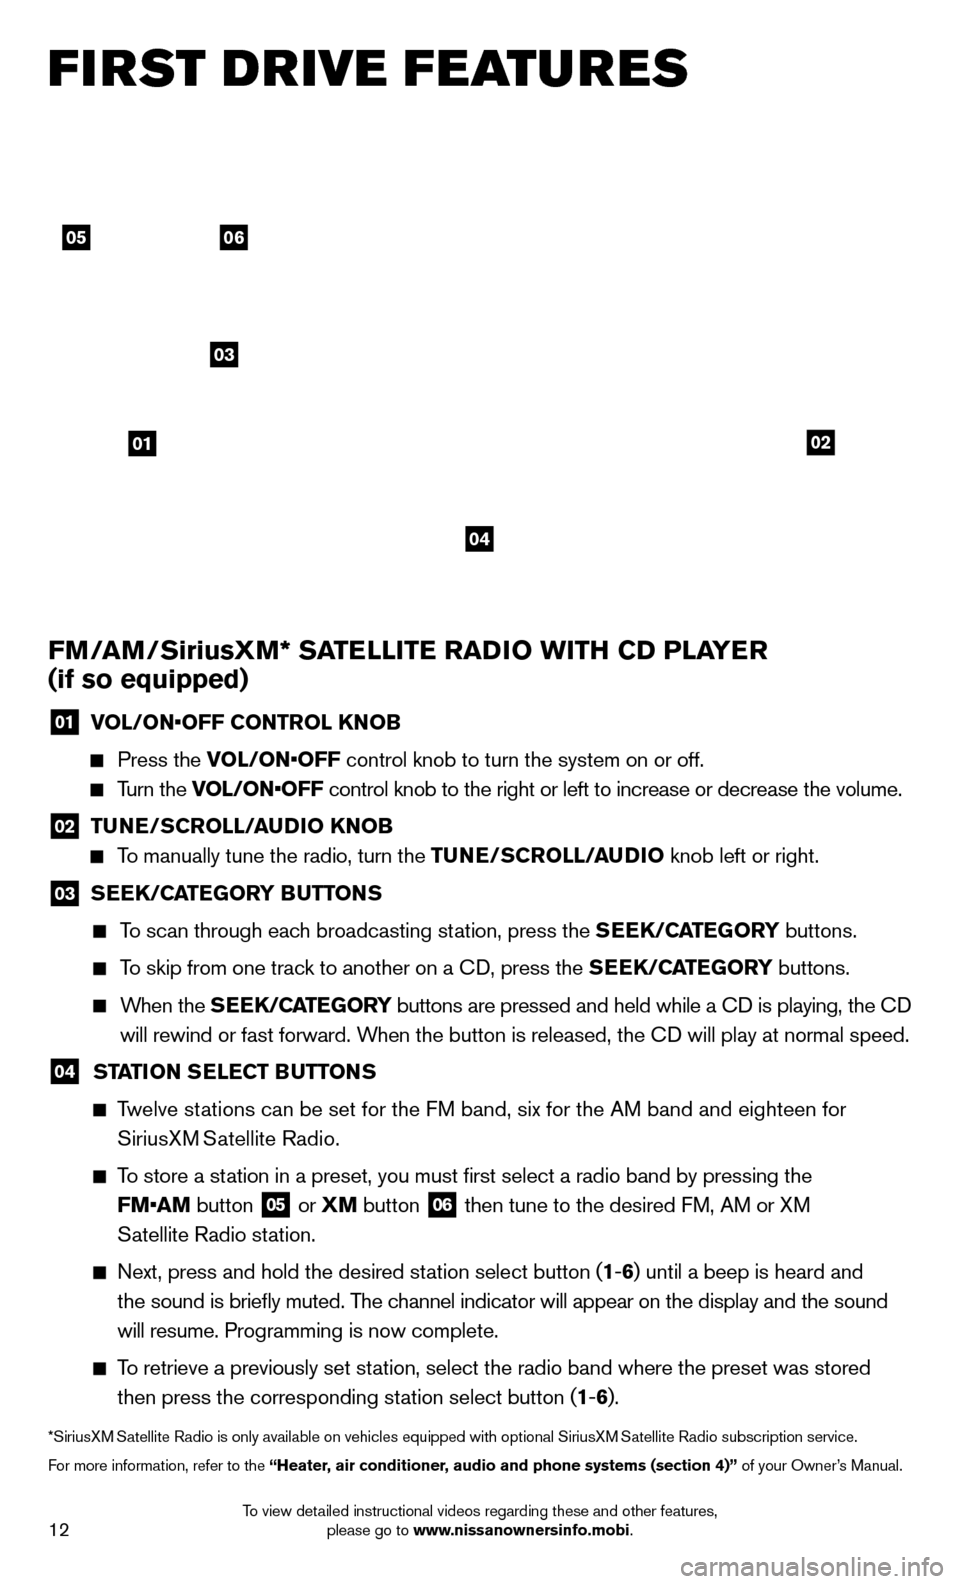
FM/AM/SiriusXM* SATELLITE RADIO WITH CD PLAYER
(if so equipped)
01 VOL/ON•OFF CONTROL KNOB
Press the VOL/ON•OFF control knob to turn the system on or off.
Turn the VOL/ON•OFF control knob to the right or left to increase or decrease the volume.
02 TUNE/SCR
OLL/AUDIO KNOB
To manually tune the radio, turn the TUNE/SCROLL/AUDIO knob left or right.
03
SEEK/CATEGORY BUTTONS
To scan through each broadcasting station, press the SEEK/CATEGORY buttons.
To skip from one track to another on a CD, press the SEEK/CATEGORY buttons.
When the SEEK/CATEGORY buttons are pressed and held while a CD is playing, the CD
will rewind or fast forward. When the button is released, the CD will play at normal speed.
04 STATION SELECT BUTTONS
Twelve stations can be set for the FM band, six for the AM band and eighteen for
SiriusXM Satellite Radio.
To store a station in a preset, you must fi rst select a radio band by pressing the
FM•AM button
05 or XM button
06 then tune to the desired FM, AM or XM
Satellite Radio station.
Next, press and hold the desired station select button ( 1-6 ) until a beep is heard and
the sound is briefl y muted. The channel indicator will appear on the display and the sound
will resume. Programming is now complete.
To retrieve a previously set station, select the radio band where the preset was stored
then press the corresponding station select button ( 1-6 ).
*SiriusXM Satellite Radio is only available on vehicles equipped with optional Siri\
usXM Satellite Radio subscription service.
For more information, refer to the “Heater, air conditioner, audio and phone systems (section 4)” of your Owner’s Manual.
04
Page 16 of 25
14To view detailed instructional videos regarding these and other features, please go to www.nissanownersinfo.mobi.
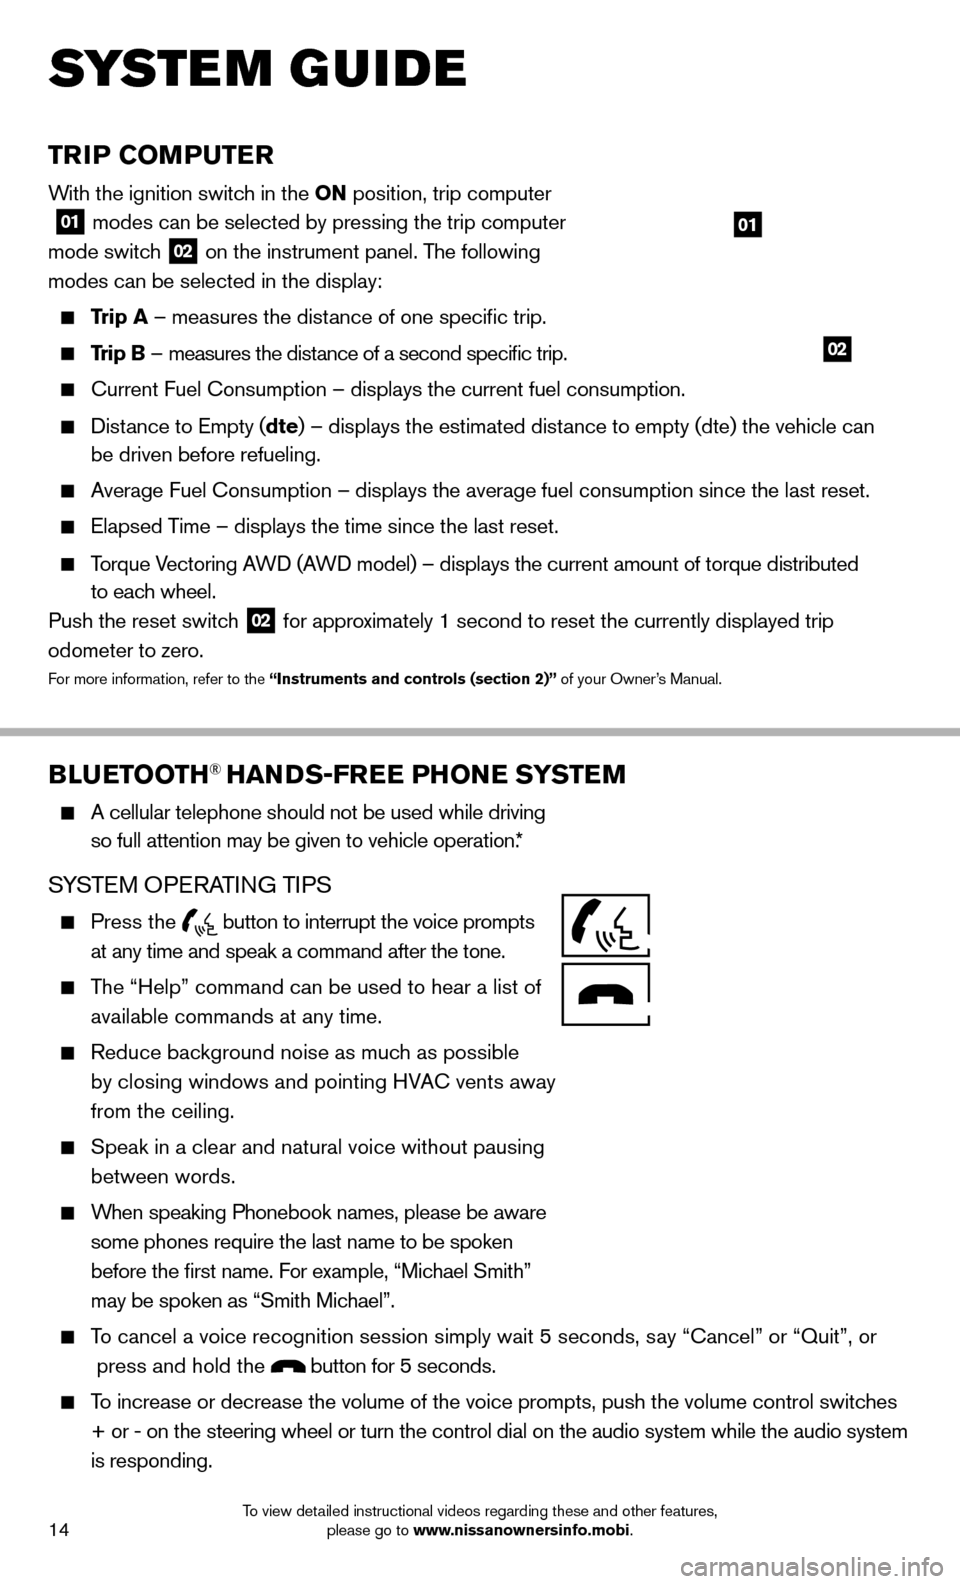
TRIP COMPUTER
With the ignition switch in the ON position, trip computer
01 modes can be selected by pressing the trip computer
mode switch 02 on the instrument panel. The following
modes can be selected in the display:
Trip A – measures the distance of one specifi c trip.
Trip B – measures the distance of a second specifi c trip.
Current Fuel Consumption – displays the current fuel consumption.
Distance to Empty (dte) – displays the estimated distance to empty (dte) the vehicle can
be driven before refueling.
Average Fuel Consumption – displays the average fuel consumption since\
the last reset.
Elapsed Time – displays the time since the last reset.
Torque Vectoring AWD (AWD model) – displays the current amount of torque distributed
to each wheel.
Push the reset switch
02 for approximately 1 second to reset the currently displayed trip
odometer to zero.
For more information, refer to the “Instruments and controls (section 2)” of your Owner’s Manual.
BLUETOOTH® HANDS-FREE PHONE SYSTEM
A cellular telephone should not be used while driving
so full attention may be given to vehicle operation.*
SYSTEM OPERATING TIPS
Press the button to interrupt the voice prompts
at any time and speak a command after the tone.
The “Help” command can be used to hear a list of
available commands at any time.
Reduce background noise as much as possible
by closing windows and pointing HVAC vents away
from the ceiling.
Speak in a clear and natural voice without pausing
between words.
When speaking Phonebook names, please be aware
some phones require the last name to be spoken
before the fi rst name. For example, “Michael Smith”
may be spoken as “Smith Michael”.
To cancel a voice recognition session simply wait 5 seconds, say “Cancel” or “Quit”, or
press and hold the
button for 5 seconds.
To increase or decrease the volume of the voice prompts, push the volume \
control switches
+ or - on the steering wheel or turn the control dial on the audio syste\
m while the audio system
is responding.
02
01
SYSTEM GUIDE