2014 NISSAN JUKE Follow me lights
[x] Cancel search: Follow me lightsPage 88 of 402
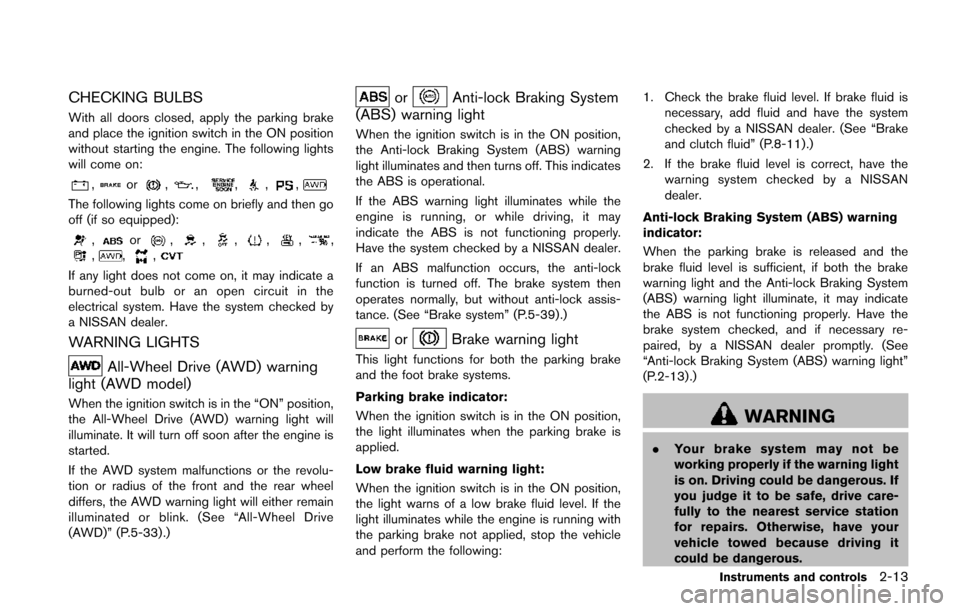
CHECKING BULBS
With all doors closed, apply the parking brake
and place the ignition switch in the ON position
without starting the engine. The following lights
will come on:
,or,,,,,
The following lights come on briefly and then go
off (if so equipped):
,or,,,,,,,,,
If any light does not come on, it may indicate a
burned-out bulb or an open circuit in the
electrical system. Have the system checked by
a NISSAN dealer.
WARNING LIGHTS
All-Wheel Drive (AWD) warning
light (AWD model)
When the ignition switch is in the “ON” position,
the All-Wheel Drive (AWD) warning light will
illuminate. It will turn off soon after the engine is
started.
If the AWD system malfunctions or the revolu-
tion or radius of the front and the rear wheel
differs, the AWD warning light will either remain
illuminated or blink. (See “All-Wheel Drive
(AWD)” (P.5-33) .)
orAnti-lock Braking System
(ABS) warning light
When the ignition switch is in the ON position,
the Anti-lock Braking System (ABS) warning
light illuminates and then turns off. This indicates
the ABS is operational.
If the ABS warning light illuminates while the
engine is running, or while driving, it may
indicate the ABS is not functioning properly.
Have the system checked by a NISSAN dealer.
If an ABS malfunction occurs, the anti-lock
function is turned off. The brake system then
operates normally, but without anti-lock assis-
tance. (See “Brake system” (P.5-39).)
orBrake warning light
This light functions for both the parking brake
and the foot brake systems.
Parking brake indicator:
When the ignition switch is in the ON position,
the light illuminates when the parking brake is
applied.
Low brake fluid warning light:
When the ignition switch is in the ON position,
the light warns of a low brake fluid level. If the
light illuminates while the engine is running with
the parking brake not applied, stop the vehicle
and perform the following: 1. Check the brake fluid level. If brake fluid is
necessary, add fluid and have the system
checked by a NISSAN dealer. (See “Brake
and clutch fluid” (P.8-11).)
2. If the brake fluid level is correct, have the warning system checked by a NISSAN
dealer.
Anti-lock Braking System (ABS) warning
indicator:
When the parking brake is released and the
brake fluid level is sufficient, if both the brake
warning light and the Anti-lock Braking System
(ABS) warning light illuminate, it may indicate
the ABS is not functioning properly. Have the
brake system checked, and if necessary re-
paired, by a NISSAN dealer promptly. (See
“Anti-lock Braking System (ABS) warning light”
(P.2-13) .)
WARNING
. Your brake system may not be
working properly if the warning light
is on. Driving could be dangerous. If
you judge it to be safe, drive care-
fully to the nearest service station
for repairs. Otherwise, have your
vehicle towed because driving it
could be dangerous.
Instruments and controls2-13
Page 92 of 402
occupied. For about 5 seconds after the ignition
switch is in the ON position, the system does
not activate the warning light for the front
passenger.
See “Seat belts” (P.1-10) for precautions on
seat belt usage.
Supplemental air bag warning light
After turning the ignition switch to the ON
position, the supplemental air bag warning light
will illuminate. The supplemental air bag warning
light will turn off after about 7 seconds if the
supplemental front air bag and supplemental
side air bag, curtain side-impact air bag systems
and/or pretensioner seat belt are operational.
If any of the following conditions occur, the front
air bag, side air bag, curtain air bag and
pretensioner systems need servicing and your
vehicle must be taken to your nearest NISSAN
dealer.
.The supplemental air bag warning light
remains on after approximately 7 seconds.
. The supplemental air bag warning light
flashes intermittently.
. The supplemental air bag warning light does
not illuminate at all.
Unless checked and repaired, the Supplemental
Restraint Systems and/or the pretensioners may
not function properly. For additional information, see “Supplemental
restraint system” (P.1-38) .
WARNING
If the supplemental air bag warning
light is on, it could mean that the front
air bag, side air bag, curtain air bag
and/or pretensioner systems will not
operate in an accident. To help avoid
injury to yourself or others, have your
vehicle checked by a NISSAN dealer as
soon as possible.
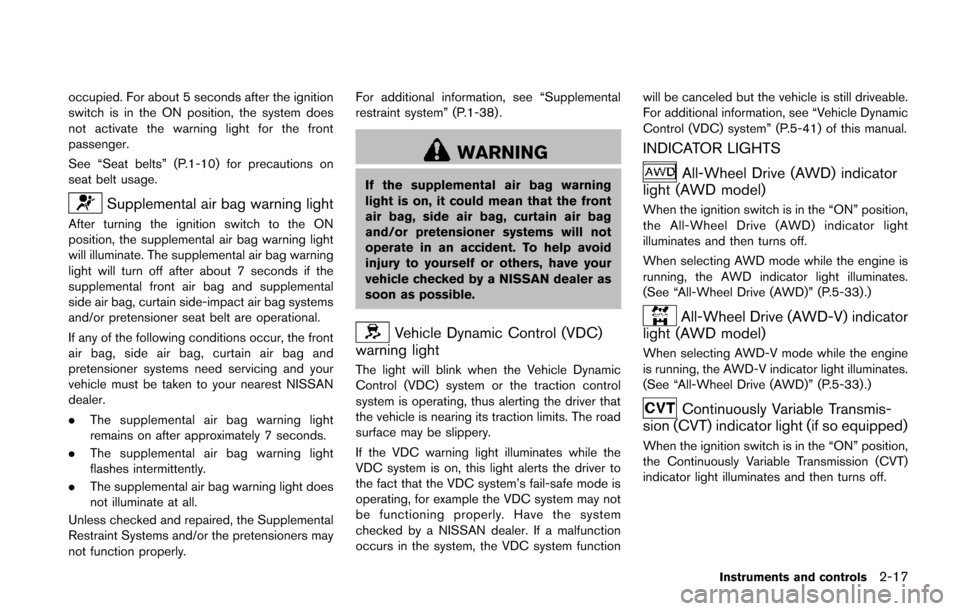
Vehicle Dynamic Control (VDC)
warning light
The light will blink when the Vehicle Dynamic
Control (VDC) system or the traction control
system is operating, thus alerting the driver that
the vehicle is nearing its traction limits. The road
surface may be slippery.
If the VDC warning light illuminates while the
VDC system is on, this light alerts the driver to
the fact that the VDC system’s fail-safe mode is
operating, for example the VDC system may not
be functioning properly. Have the system
checked by a NISSAN dealer. If a malfunction
occurs in the system, the VDC system function will be canceled but the vehicle is still driveable.
For additional information, see “Vehicle Dynamic
Control (VDC) system” (P.5-41) of this manual.
INDICATOR LIGHTS
All-Wheel Drive (AWD) indicator
light (AWD model)
When the ignition switch is in the “ON” position,
the All-Wheel Drive (AWD) indicator light
illuminates and then turns off.
When selecting AWD mode while the engine is
running, the AWD indicator light illuminates.
(See “All-Wheel Drive (AWD)” (P.5-33) .)
All-Wheel Drive (AWD-V) indicator
light (AWD model)
When selecting AWD-V mode while the engine
is running, the AWD-V indicator light illuminates.
(See “All-Wheel Drive (AWD)” (P.5-33) .)
Continuously Variable Transmis-
sion (CVT) indicator light (if so equipped)
When the ignition switch is in the “ON” position,
the Continuously Variable Transmission (CVT)
indicator light illuminates and then turns off.
Instruments and controls2-17
Page 105 of 402
2-30Instruments and controls
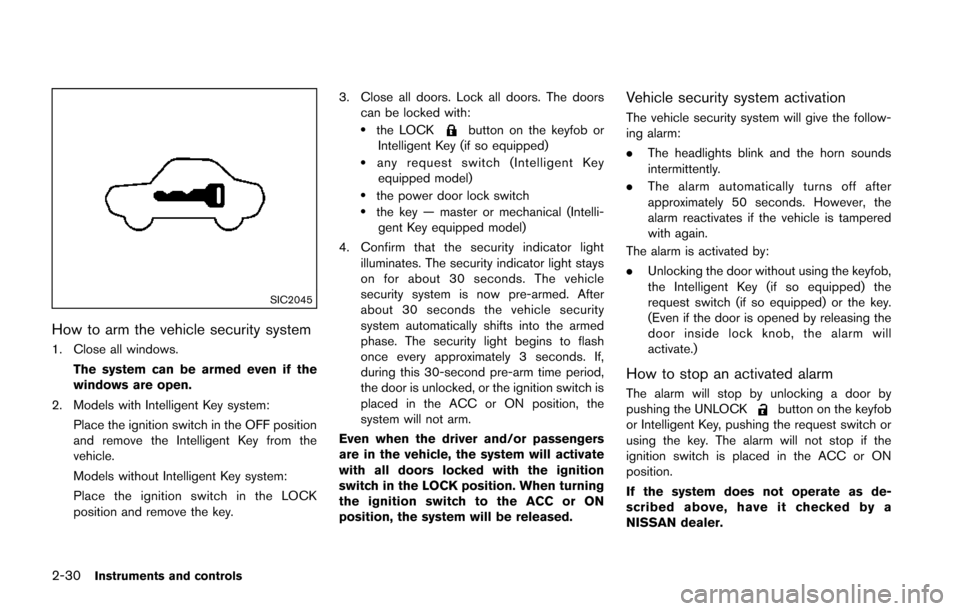
SIC2045
How to arm the vehicle security system
1. Close all windows.The system can be armed even if the
windows are open.
2. Models with Intelligent Key system: Place the ignition switch in the OFF position
and remove the Intelligent Key from the
vehicle.
Models without Intelligent Key system:
Place the ignition switch in the LOCK
position and remove the key. 3. Close all doors. Lock all doors. The doors
can be locked with:
.the LOCKbutton on the keyfob or
Intelligent Key (if so equipped)
.any request switch (Intelligent Key equipped model)
.the power door lock switch.the key — master or mechanical (Intelli- gent Key equipped model)
4. Confirm that the security indicator light illuminates. The security indicator light stays
on for about 30 seconds. The vehicle
security system is now pre-armed. After
about 30 seconds the vehicle security
system automatically shifts into the armed
phase. The security light begins to flash
once every approximately 3 seconds. If,
during this 30-second pre-arm time period,
the door is unlocked, or the ignition switch is
placed in the ACC or ON position, the
system will not arm.
Even when the driver and/or passengers
are in the vehicle, the system will activate
with all doors locked with the ignition
switch in the LOCK position. When turning
the ignition switch to the ACC or ON
position, the system will be released.
Vehicle security system activation
The vehicle security system will give the follow-
ing alarm:
. The headlights blink and the horn sounds
intermittently.
. The alarm automatically turns off after
approximately 50 seconds. However, the
alarm reactivates if the vehicle is tampered
with again.
The alarm is activated by:
. Unlocking the door without using the keyfob,
the Intelligent Key (if so equipped) the
request switch (if so equipped) or the key.
(Even if the door is opened by releasing the
door inside lock knob, the alarm will
activate.)
How to stop an activated alarm
The alarm will stop by unlocking a door by
pushing the UNLOCKbutton on the keyfob
or Intelligent Key, pushing the request switch or
using the key. The alarm will not stop if the
ignition switch is placed in the ACC or ON
position.
If the system does not operate as de-
scribed above, have it checked by a
NISSAN dealer.
Page 124 of 402
Auto reverse function
WARNING
There are some small distances imme-
diately before the closed position which
cannot be detected. Make sure that all
passengers have their hands, etc., in-
side the vehicle before closing the
moonroof.
If the control unit detects something caught in
the moonroof when it is closing, the moonroof
will be immediately opened.
The auto reverse function can be activated when
the moonroof is closed by automatic operation
when the ignition switch is in the ON position or
for about 45 seconds after the ignition switch is
turned to the OFF position.
If the moonroof cannot be closed automatically
when the auto reverse function activates due to
a malfunction, push and hold the switch toward
*2.
Depending on the environment or driving
conditions, the auto reverse function may
be activated if an impact or load similar to
something being caught in the moonroof
occurs.
If the moonroof does not operate
If the moonroof does not operate properly,
perform the following procedure to initialize the
moonroof operation system.
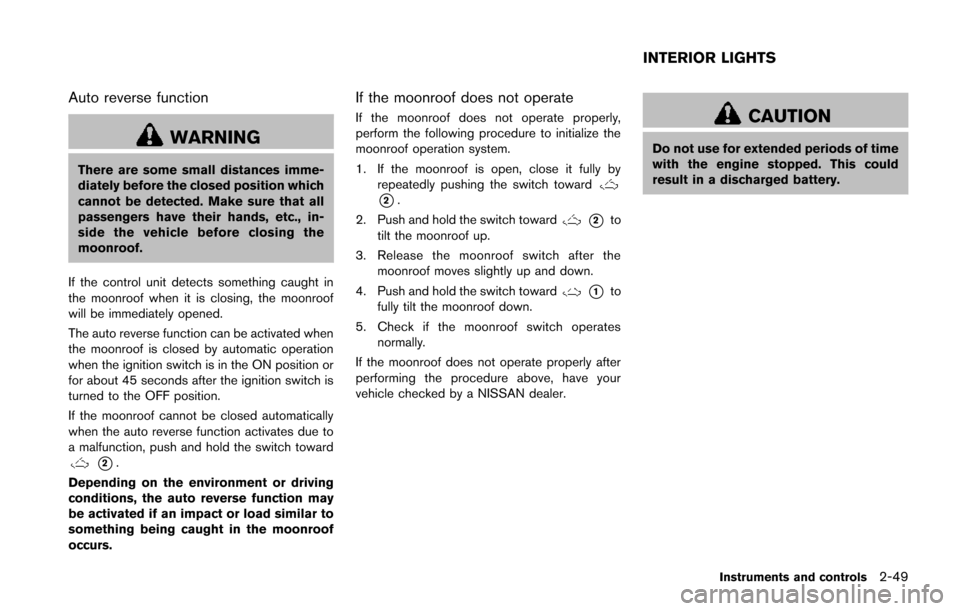
1. If the moonroof is open, close it fully by repeatedly pushing the switch toward
*2.
2. Push and hold the switch toward
*2to
tilt the moonroof up.
3. Release the moonroof switch after the moonroof moves slightly up and down.
4. Push and hold the switch toward
*1to
fully tilt the moonroof down.
5. Check if the moonroof switch operates normally.
If the moonroof does not operate properly after
performing the procedure above, have your
vehicle checked by a NISSAN dealer.
CAUTION
Do not use for extended periods of time
with the engine stopped. This could
result in a discharged battery.
Instruments and controls2-49
INTERIOR LIGHTS
Page 125 of 402
2-50Instruments and controls
SIC4572
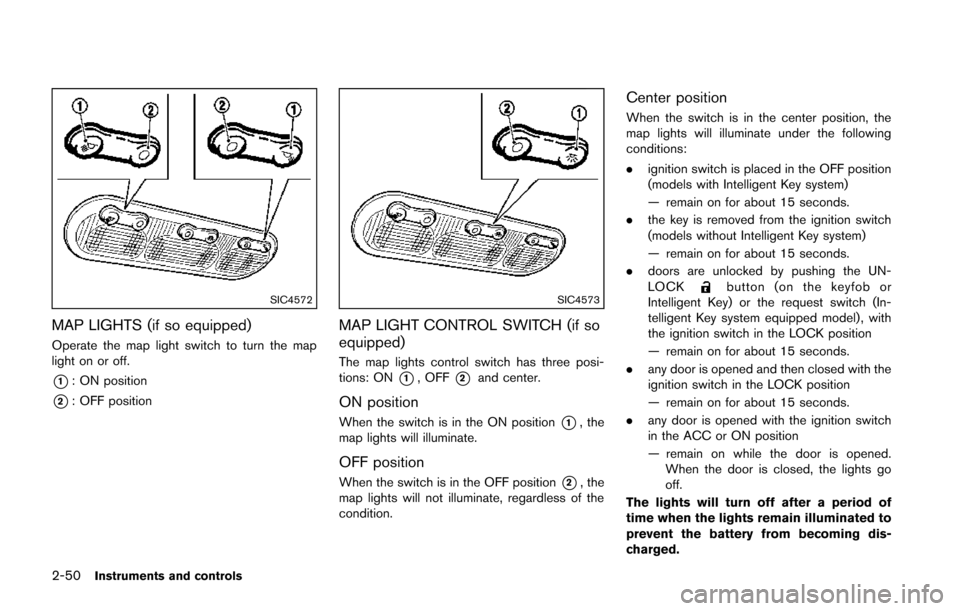
MAP LIGHTS (if so equipped)
Operate the map light switch to turn the map
light on or off.
*1: ON position
*2: OFF position
SIC4573
MAP LIGHT CONTROL SWITCH (if so
equipped)
The map lights control switch has three posi-
tions: ON
*1, OFF*2and center.
ON position
When the switch is in the ON position*1, the
map lights will illuminate.
OFF position
When the switch is in the OFF position*2, the
map lights will not illuminate, regardless of the
condition.
Center position
When the switch is in the center position, the
map lights will illuminate under the following
conditions:
. ignition switch is placed in the OFF position
(models with Intelligent Key system)
— remain on for about 15 seconds.
. the key is removed from the ignition switch
(models without Intelligent Key system)
— remain on for about 15 seconds.
. doors are unlocked by pushing the UN-
LOCK
button (on the keyfob or
Intelligent Key) or the request switch (In-
telligent Key system equipped model) , with
the ignition switch in the LOCK position
— remain on for about 15 seconds.
. any door is opened and then closed with the
ignition switch in the LOCK position
— remain on for about 15 seconds.
. any door is opened with the ignition switch
in the ACC or ON position
— remain on while the door is opened.
When the door is closed, the lights go
off.
The lights will turn off after a period of
time when the lights remain illuminated to
prevent the battery from becoming dis-
charged.
Page 133 of 402
3-6Pre-driving checks and adjustments
Lockout protection
Lockout protection function helps to prevent the
keys from being accidentally locked inside the
vehicle.
For models with Intelligent Key system:
.When the power door lock switch is moved
to the lock position with the ignition switch
placed in the ACC or ON position and any
door open, all doors will lock and then
unlock automatically.
. When the power door lock switch is moved
to the lock position with the Intelligent Key
left in the vehicle and any door open, all
doors will unlock automatically and a chime
will sound after the door is closed.
For models without Intelligent Key system:
When the power door lock switch is moved to
the lock position with the key in the ignition
switch and any door open, all doors will lock and
then unlock automatically.
AUTOMATIC DOOR LOCKS
. All doors lock automatically when the vehicle
speed reaches 15 MPH (24 km/h) .
. All doors unlock automatically when the
ignition switch is placed in the OFF position
(models with Intelligent Key system) . .
All doors unlock automatically when the key
is removed from the ignition switch (models
without Intelligent Key system) .
The automatic unlock function can be
deactivated or activated.
To deactivate or activate the automatic door
unlock system, perform the following procedure.
1. Close all doors.
2. Place the ignition switch in the ON position.
3. Within 20 seconds of performing step 2.
.Push and hold the power door lock switch to the(UNLOCK) position
for more than 5 seconds.
4. When activated, the hazard warning lights will flash twice. When deactivated, the
hazard warning lights will flash once.
5. The ignition switch must be placed in the OFF and ON position again between each
setting change.
When the automatic door unlock system is
deactivated, the doors do not unlock when the
ignition is placed in the OFF position. To unlock
the door manually, use the inside lock knob or
the power door lock switch.SPA2801
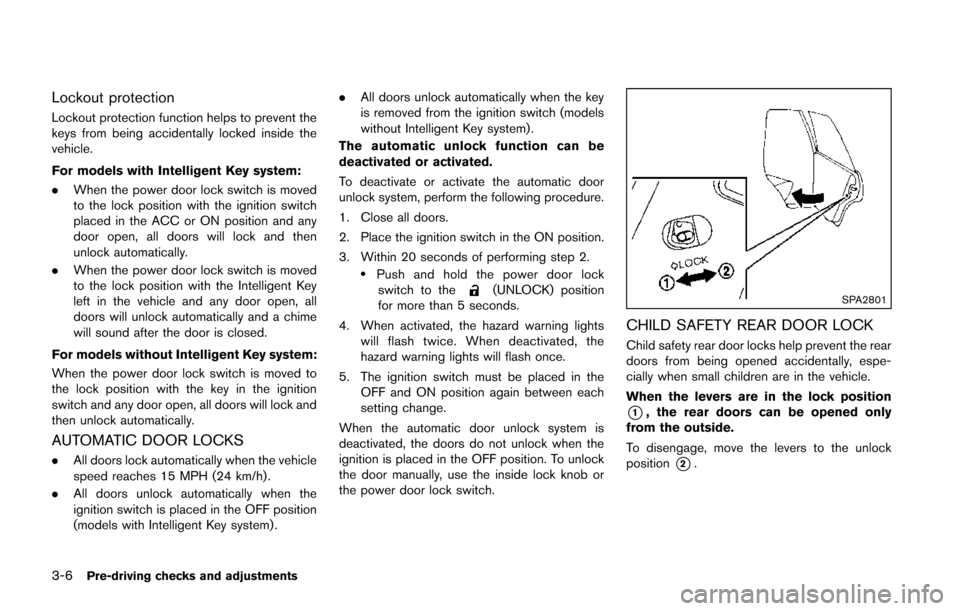
CHILD SAFETY REAR DOOR LOCK
Child safety rear door locks help prevent the rear
doors from being opened accidentally, espe-
cially when small children are in the vehicle.
When the levers are in the lock position
*1, the rear doors can be opened only
from the outside.
To disengage, move the levers to the unlock
position
*2.
Page 135 of 402
3-8Pre-driving checks and adjustments
JVP0213X
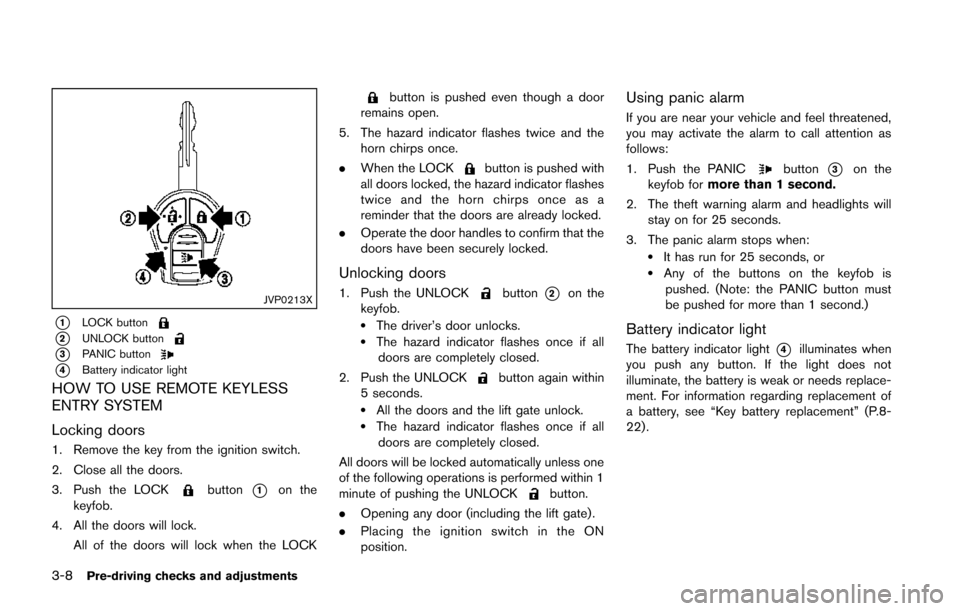
*1LOCK button
*2UNLOCK button
*3PANIC button
*4Battery indicator light
HOW TO USE REMOTE KEYLESS
ENTRY SYSTEM
Locking doors
1. Remove the key from the ignition switch.
2. Close all the doors.
3. Push the LOCK
button*1on the
keyfob.
4. All the doors will lock. All of the doors will lock when the LOCK
button is pushed even though a door
remains open.
5. The hazard indicator flashes twice and the horn chirps once.
. When the LOCK
button is pushed with
all doors locked, the hazard indicator flashes
twice and the horn chirps once as a
reminder that the doors are already locked.
. Operate the door handles to confirm that the
doors have been securely locked.
Unlocking doors
1. Push the UNLOCKbutton*2on the
keyfob.
.The driver’s door unlocks..The hazard indicator flashes once if all doors are completely closed.
2. Push the UNLOCK
button again within
5 seconds.
.All the doors and the lift gate unlock..The hazard indicator flashes once if all doors are completely closed.
All doors will be locked automatically unless one
of the following operations is performed within 1
minute of pushing the UNLOCK
button.
. Opening any door (including the lift gate) .
. Placing the ignition switch in the ON
position.
Using panic alarm
If you are near your vehicle and feel threatened,
you may activate the alarm to call attention as
follows:
1. Push the PANIC
button*3on the
keyfob for more than 1 second.
2. The theft warning alarm and headlights will stay on for 25 seconds.
3. The panic alarm stops when:
.It has run for 25 seconds, or.Any of the buttons on the keyfob is pushed. (Note: the PANIC button must
be pushed for more than 1 second.)
Battery indicator light
The battery indicator light*4illuminates when
you push any button. If the light does not
illuminate, the battery is weak or needs replace-
ment. For information regarding replacement of
a battery, see “Key battery replacement” (P.8-
22).
Page 141 of 402
3-14Pre-driving checks and adjustments
Locking doors
1. Place the ignition switch in the OFF positionand carry the Intelligent Key with you.*1
2. Close all the doors.*2
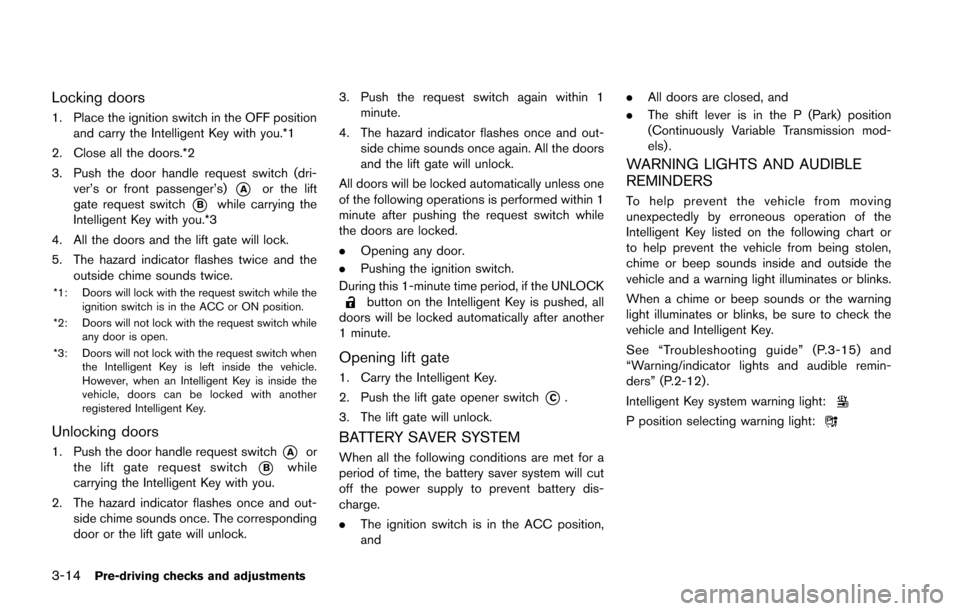
3. Push the door handle request switch (dri- ver’s or front passenger’s)
*Aor the lift
gate request switch
*Bwhile carrying the
Intelligent Key with you.*3
4. All the doors and the lift gate will lock.
5. The hazard indicator flashes twice and the outside chime sounds twice.
*1: Doors will lock with the request switch while the
ignition switch is in the ACC or ON position.
*2: Doors will not lock with the request switch while any door is open.
*3: Doors will not lock with the request switch when the Intelligent Key is left inside the vehicle.
However, when an Intelligent Key is inside the
vehicle, doors can be locked with another
registered Intelligent Key.
Unlocking doors
1. Push the door handle request switch*Aor
the lift gate request switch
*Bwhile
carrying the Intelligent Key with you.
2. The hazard indicator flashes once and out- side chime sounds once. The corresponding
door or the lift gate will unlock. 3. Push the request switch again within 1
minute.
4. The hazard indicator flashes once and out- side chime sounds once again. All the doors
and the lift gate will unlock.
All doors will be locked automatically unless one
of the following operations is performed within 1
minute after pushing the request switch while
the doors are locked.
. Opening any door.
. Pushing the ignition switch.
During this 1-minute time period, if the UNLOCK
button on the Intelligent Key is pushed, all
doors will be locked automatically after another
1 minute.
Opening lift gate
1. Carry the Intelligent Key.
2. Push the lift gate opener switch
*C.
3. The lift gate will unlock.
BATTERY SAVER SYSTEM
When all the following conditions are met for a
period of time, the battery saver system will cut
off the power supply to prevent battery dis-
charge.
. The ignition switch is in the ACC position,
and .
All doors are closed, and
. The shift lever is in the P (Park) position
(Continuously Variable Transmission mod-
els) .
WARNING LIGHTS AND AUDIBLE
REMINDERS
To help prevent the vehicle from moving
unexpectedly by erroneous operation of the
Intelligent Key listed on the following chart or
to help prevent the vehicle from being stolen,
chime or beep sounds inside and outside the
vehicle and a warning light illuminates or blinks.
When a chime or beep sounds or the warning
light illuminates or blinks, be sure to check the
vehicle and Intelligent Key.
See “Troubleshooting guide” (P.3-15) and
“Warning/indicator lights and audible remin-
ders” (P.2-12) .
Intelligent Key system warning light:
P position selecting warning light: