2014 NISSAN GT-R maintenance
[x] Cancel search: maintenancePage 96 of 354
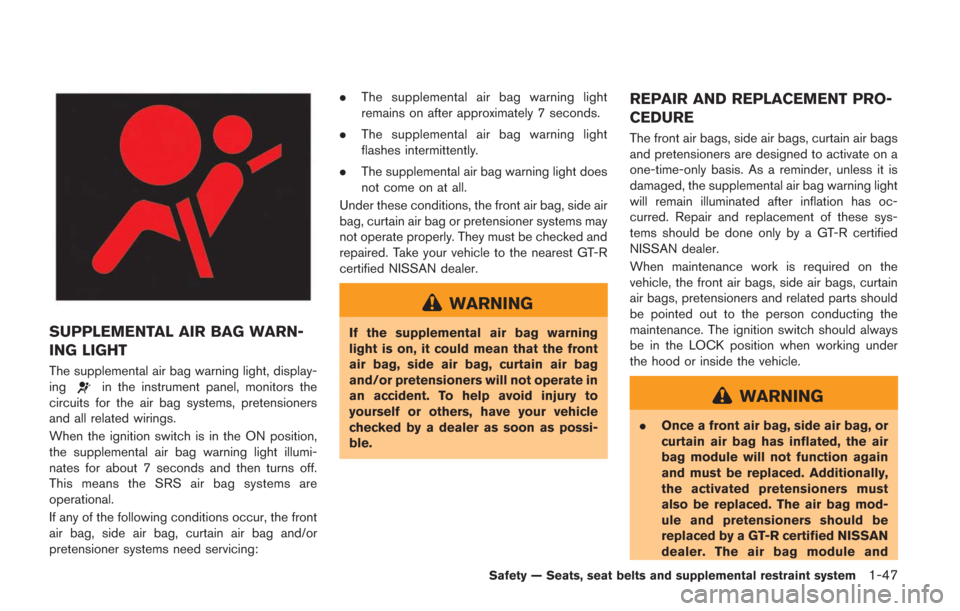
SUPPLEMENTAL AIR BAG WARN-
ING LIGHT
The supplemental air bag warning light, display-
ingin the instrument panel, monitors the
circuits for the air bag systems, pretensioners
and all related wirings.
When the ignition switch is in the ON position,
the supplemental air bag warning light illumi-
nates for about 7 seconds and then turns off.
This means the SRS air bag systems are
operational.
If any of the following conditions occur, the front
air bag, side air bag, curtain air bag and/or
pretensioner systems need servicing: .
The supplemental air bag warning light
remains on after approximately 7 seconds.
. The supplemental air bag warning light
flashes intermittently.
. The supplemental air bag warning light does
not come on at all.
Under these conditions, the front air bag, side air
bag, curtain air bag or pretensioner systems may
not operate properly. They must be checked and
repaired. Take your vehicle to the nearest GT-R
certified NISSAN dealer.
WARNING
If the supplemental air bag warning
light is on, it could mean that the front
air bag, side air bag, curtain air bag
and/or pretensioners will not operate in
an accident. To help avoid injury to
yourself or others, have your vehicle
checked by a dealer as soon as possi-
ble.
REPAIR AND REPLACEMENT PRO-
CEDURE
The front air bags, side air bags, curtain air bags
and pretensioners are designed to activate on a
one-time-only basis. As a reminder, unless it is
damaged, the supplemental air bag warning light
will remain illuminated after inflation has oc-
curred. Repair and replacement of these sys-
tems should be done only by a GT-R certified
NISSAN dealer.
When maintenance work is required on the
vehicle, the front air bags, side air bags, curtain
air bags, pretensioners and related parts should
be pointed out to the person conducting the
maintenance. The ignition switch should always
be in the LOCK position when working under
the hood or inside the vehicle.
WARNING
. Once a front air bag, side air bag, or
curtain air bag has inflated, the air
bag module will not function again
and must be replaced. Additionally,
the activated pretensioners must
also be replaced. The air bag mod-
ule and pretensioners should be
replaced by a GT-R certified NISSAN
dealer. The air bag module and
Safety — Seats, seat belts and supplemental restraint system1-47
Page 110 of 354
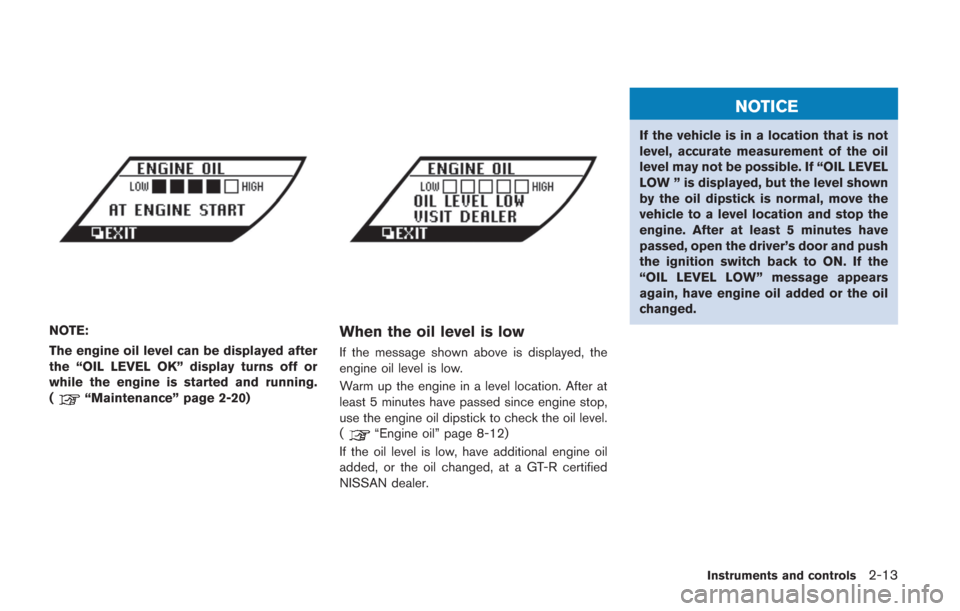
NOTE:
The engine oil level can be displayed after
the “OIL LEVEL OK” display turns off or
while the engine is started and running.
(
“Maintenance” page 2-20)
When the oil level is low
If the message shown above is displayed, the
engine oil level is low.
Warm up the engine in a level location. After at
least 5 minutes have passed since engine stop,
use the engine oil dipstick to check the oil level.
(
“Engine oil” page 8-12)
If the oil level is low, have additional engine oil
added, or the oil changed, at a GT-R certified
NISSAN dealer.
NOTICE
If the vehicle is in a location that is not
level, accurate measurement of the oil
level may not be possible. If “OIL LEVEL
LOW ” is displayed, but the level shown
by the oil dipstick is normal, move the
vehicle to a level location and stop the
engine. After at least 5 minutes have
passed, open the driver’s door and push
the ignition switch back to ON. If the
“OIL LEVEL LOW” message appears
again, have engine oil added or the oil
changed.
Instruments and controls2-13
Page 116 of 354
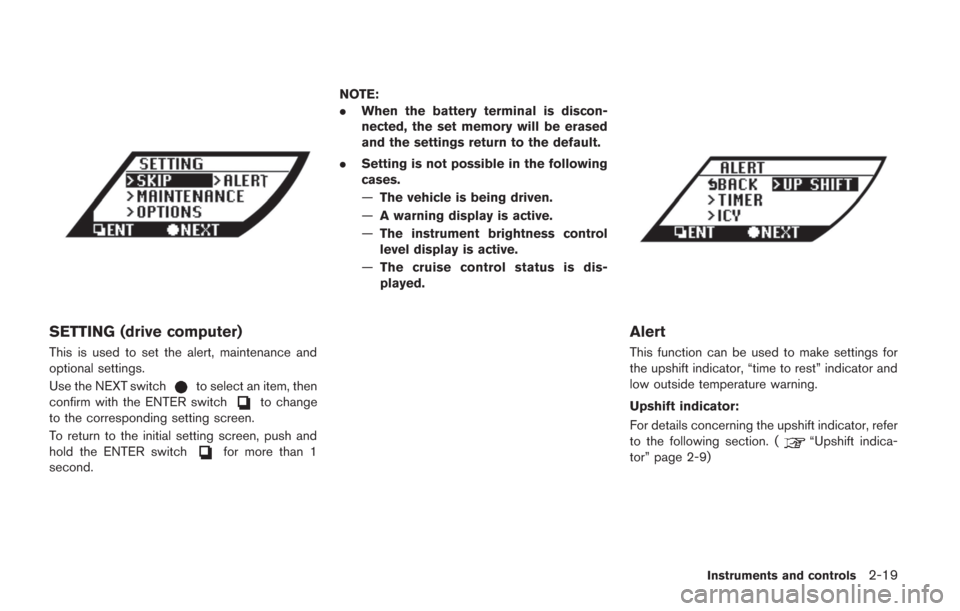
SETTING (drive computer)
This is used to set the alert, maintenance and
optional settings.
Use the NEXT switch
to select an item, then
confirm with the ENTER switchto change
to the corresponding setting screen.
To return to the initial setting screen, push and
hold the ENTER switch
for more than 1
second. NOTE:
.
When the battery terminal is discon-
nected, the set memory will be erased
and the settings return to the default.
. Setting is not possible in the following
cases.
—The vehicle is being driven.
— A warning display is active.
— The instrument brightness control
level display is active.
— The cruise control status is dis-
played.
Alert
This function can be used to make settings for
the upshift indicator, “time to rest” indicator and
low outside temperature warning.
Upshift indicator:
For details concerning the upshift indicator, refer
to the following section. (
“Upshift indica-
tor” page 2-9)
Instruments and controls2-19
Page 117 of 354
2-20Instruments and controls
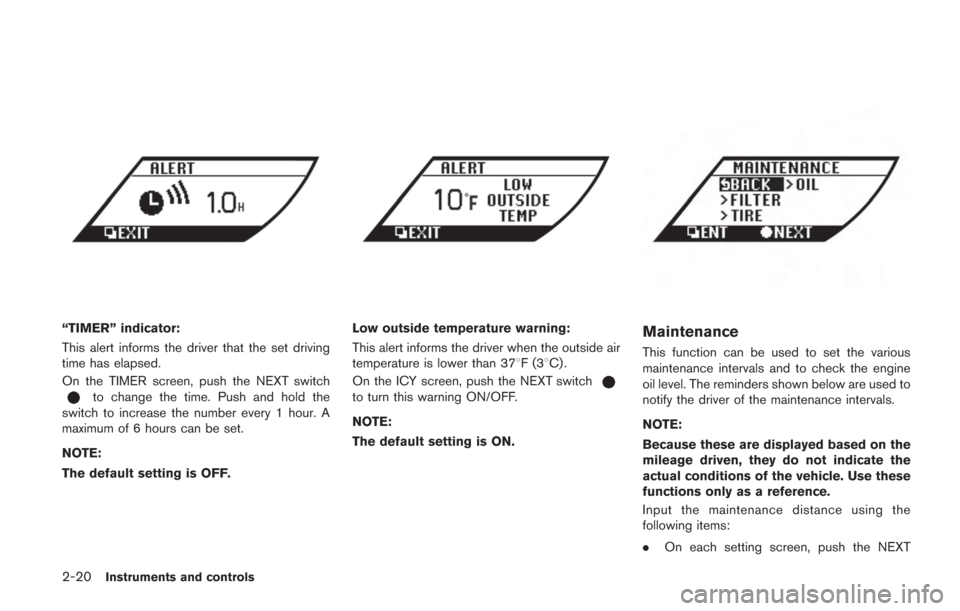
“TIMER” indicator:
This alert informs the driver that the set driving
time has elapsed.
On the TIMER screen, push the NEXT switch
to change the time. Push and hold the
switch to increase the number every 1 hour. A
maximum of 6 hours can be set.
NOTE:
The default setting is OFF.
Low outside temperature warning:
This alert informs the driver when the outside air
temperature is lower than 378F(3 8C) .
On the ICY screen, push the NEXT switch
to turn this warning ON/OFF.
NOTE:
The default setting is ON.
Maintenance
This function can be used to set the various
maintenance intervals and to check the engine
oil level. The reminders shown below are used to
notify the driver of the maintenance intervals.
NOTE:
Because these are displayed based on the
mileage driven, they do not indicate the
actual conditions of the vehicle. Use these
functions only as a reference.
Input the maintenance distance using the
following items:
. On each setting screen, push the NEXT
Page 118 of 354
switchto change the mileage. Push and
hold the switch to increase the number every
600 miles (1,000 km) .
. Set to “—” to set no reminders.
. To reset the accumulated mileage to zero,
go to the RESET screen, then push the
NEXT switch
and confirm with the
ENTER switch.
NOTE:
. To restore the mileage to the original
figure after resetting, push the NEXT
switch
again.
. When the battery terminal is discon-
nected, the set mileage will be erased
and the settings will return to their
default settings.
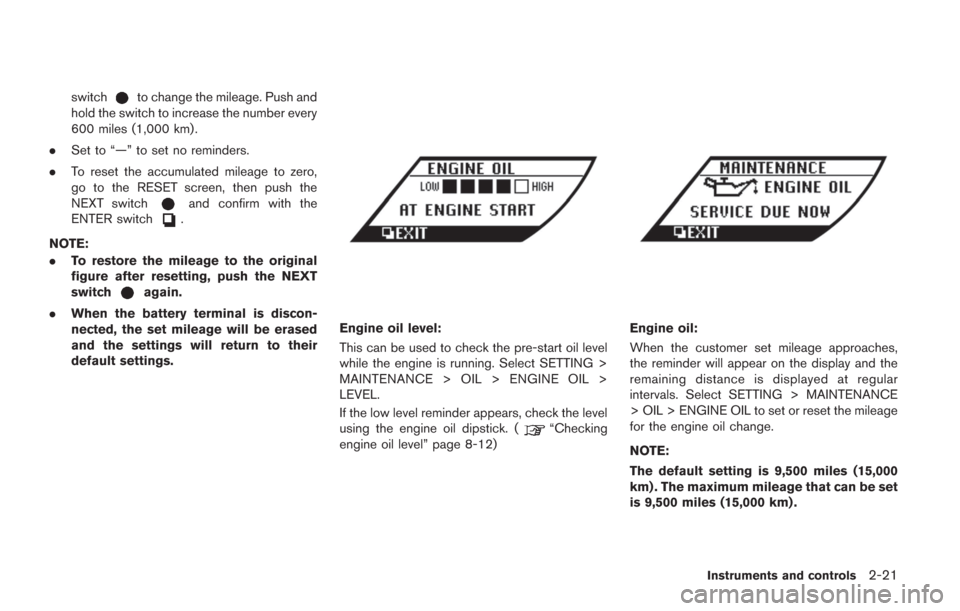
Engine oil level:
This can be used to check the pre-start oil level
while the engine is running. Select SETTING >
MAINTENANCE > OIL > ENGINE OIL >
LEVEL.
If the low level reminder appears, check the level
using the engine oil dipstick. (
“Checking
engine oil level” page 8-12)
Engine oil:
When the customer set mileage approaches,
the reminder will appear on the display and the
remaining distance is displayed at regular
intervals. Select SETTING > MAINTENANCE
> OIL > ENGINE OIL to set or reset the mileage
for the engine oil change.
NOTE:
The default setting is 9,500 miles (15,000
km) . The maximum mileage that can be set
is 9,500 miles (15,000 km) .
Instruments and controls2-21
Page 119 of 354
2-22Instruments and controls
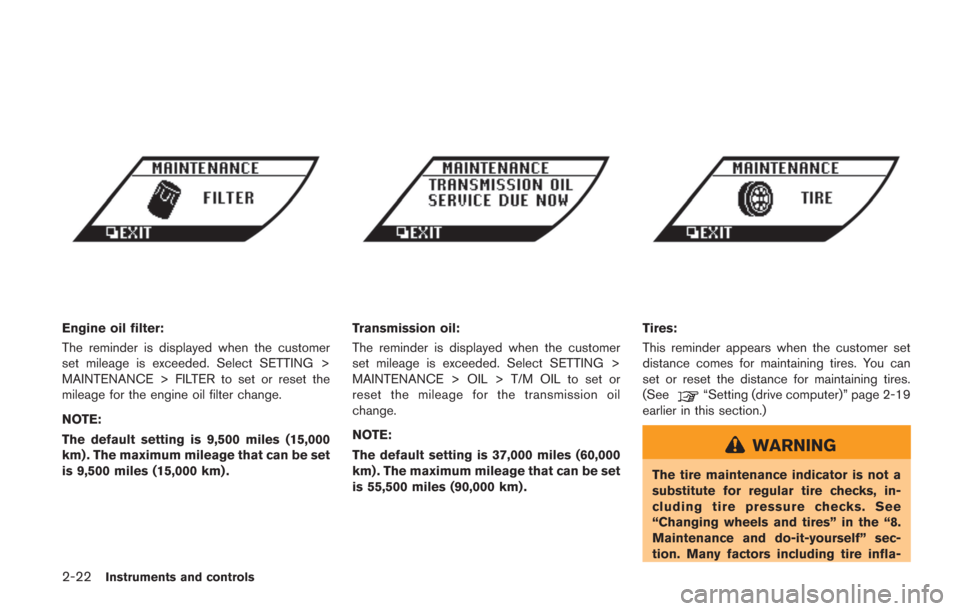
Engine oil filter:
The reminder is displayed when the customer
set mileage is exceeded. Select SETTING >
MAINTENANCE > FILTER to set or reset the
mileage for the engine oil filter change.
NOTE:
The default setting is 9,500 miles (15,000
km) . The maximum mileage that can be set
is 9,500 miles (15,000 km) .Transmission oil:
The reminder is displayed when the customer
set mileage is exceeded. Select SETTING >
MAINTENANCE > OIL > T/M OIL to set or
reset the mileage for the transmission oil
change.
NOTE:
The default setting is 37,000 miles (60,000
km) . The maximum mileage that can be set
is 55,500 miles (90,000 km) .Tires:
This reminder appears when the customer set
distance comes for maintaining tires. You can
set or reset the distance for maintaining tires.
(See
“Setting (drive computer)” page 2-19
earlier in this section.)
WARNING
The tire maintenance indicator is not a
substitute for regular tire checks, in-
cluding tire pressure checks. See
“Changing wheels and tires” in the “8.
Maintenance and do-it-yourself” sec-
tion. Many factors including tire infla-
Page 120 of 354
tion, alignment, driving habits and road
conditions affect tire wear and when
tires should be replaced. Setting the
tire maintenance reminder for a certain
driving distance does not mean your
tires will last that long. Use the tire
maintenance reminder as a guide only
and always perform regular tire checks.
Failure to perform regular tire checks,
including tire pressure checks could
result in tire failure. Serious vehicle
damage could occur and may lead to a
collision, which could result in serious
personal injury or death.
NOTE:
The default setting is OFF.
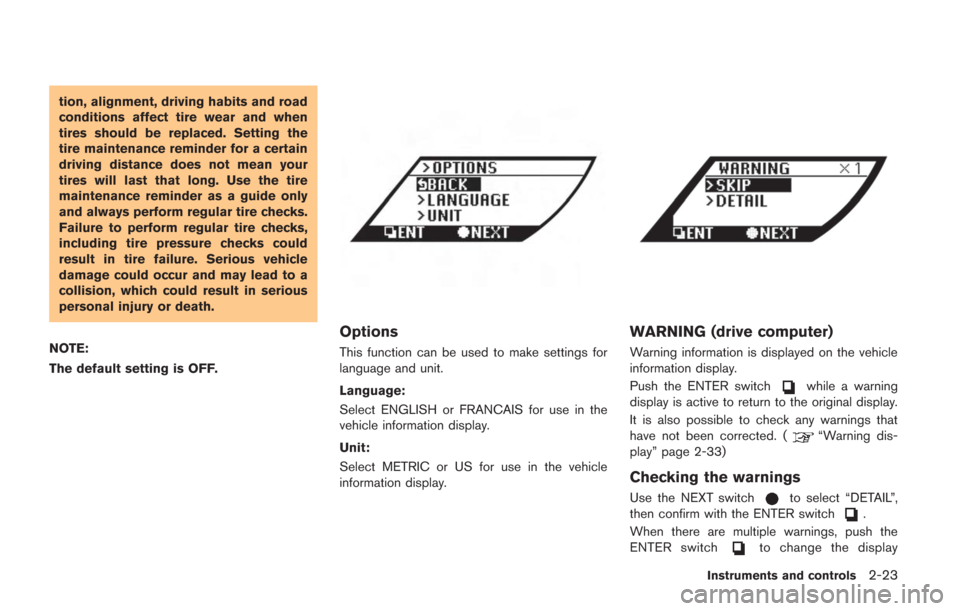
Options
This function can be used to make settings for
language and unit.
Language:
Select ENGLISH or FRANCAIS for use in the
vehicle information display.
Unit:
Select METRIC or US for use in the vehicle
information display.
WARNING (drive computer)
Warning information is displayed on the vehicle
information display.
Push the ENTER switch
while a warning
display is active to return to the original display.
It is also possible to check any warnings that
have not been corrected. (
“Warning dis-
play” page 2-33)
Checking the warnings
Use the NEXT switchto select “DETAIL”,
then confirm with the ENTER switch.
When there are multiple warnings, push the
ENTER switch
to change the display
Instruments and controls2-23
Page 129 of 354
2-32Instruments and controls
and then blinks for 10 seconds when the engine
is not running, it indicates that the vehicle is not
ready for an emission control system inspection/
maintenance test. (
“Readiness for Inspec-
tion/Maintenance (I/M) test (US only)” page 9-
20)
Operation:
The malfunction indicator light will come on in
one of two ways:
. Malfunction indicator light on steady — An
emission control system malfunction has
been detected. Check the fuel-filler cap. If
the fuel-filler cap is loose or missing, tighten
or install the cap and continue to drive the
vehicle. The
light should turn off after a
few driving trips. If thelight does not
turn off after a few driving trips, have the
vehicle inspected by a GT-R certified
NISSAN dealer. You do not need to have
your vehicle towed to the dealer.
. Malfunction indicator light blinking — An
engine misfire has been detected which may
damage the emission control system.
To reduce or avoid emission control system
damage:
a. Do not drive at speeds above 45 MPH
(72 km/h). b. Avoid hard acceleration or deceleration.
c. Avoid steep uphill grades.
d. If possible, reduce the amount of cargo
being hauled or towed.
The malfunction indicator light may stop
blinking and remain on.
Have the vehicle inspected by a GT-R
certified NISSAN dealer. You do not need
to have your vehicle towed to the dealer.
NOTICE
Continued vehicle operation without
having the emission control system
checked and repaired as necessary
could lead to poor driveability, reduced
fuel economy, and possible damage to
the emission control system.
Turn signal/hazard indicator
lights
The light flashes when the turn signal switch
lever or hazard switch is turned on.
Vehicle Dynamic Control (VDC)
off indicator light
The light comes on when the Vehicle Dynamic
Control (VDC) set up switch is pushed to OFF for more than 1 second. (
“VDC, transmis-
sion and suspension setup switches” page 5-
24)
This indicates that the vehicle dynamic control
system and traction control system are not
operating. (
“Vehicle Dynamic Control
(VDC) system” page 5-49)
AUDIBLE REMINDERS
Key reminder chime
A chime will sound if the driver side door is
opened while the ignition switch is pushed to
the ACC position or pushed to the OFF or
LOCK position with the Intelligent Key left in the
Intelligent Key port. Make sure the ignition
switch is pushed to the OFF position, and take
the Intelligent Key with you when leaving the
vehicle.
Light reminder chime
A chime will sound when the driver side door is
opened with the light switch in theorposition and the ignition switch in the ACC, OFF
or LOCK position.
Turn the light switch off when you leave the
vehicle.