2014 NISSAN GT-R oil change
[x] Cancel search: oil changePage 111 of 354
2-14Instruments and controls
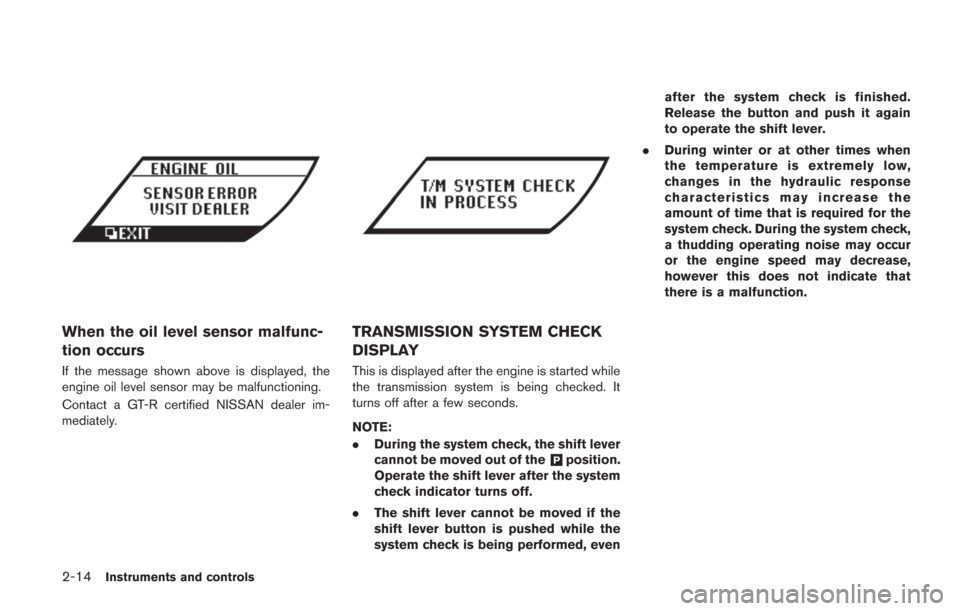
When the oil level sensor malfunc-
tion occurs
If the message shown above is displayed, the
engine oil level sensor may be malfunctioning.
Contact a GT-R certified NISSAN dealer im-
mediately.
TRANSMISSION SYSTEM CHECK
DISPLAY
This is displayed after the engine is started while
the transmission system is being checked. It
turns off after a few seconds.
NOTE:
.During the system check, the shift lever
cannot be moved out of the
&Pposition.
Operate the shift lever after the system
check indicator turns off.
. The shift lever cannot be moved if the
shift lever button is pushed while the
system check is being performed, even after the system check is finished.
Release the button and push it again
to operate the shift lever.
. During winter or at other times when
the temperature is extremely low,
changes in the hydraulic response
characteristics may increase the
amount of time that is required for the
system check. During the system check,
a thudding operating noise may occur
or the engine speed may decrease,
however this does not indicate that
there is a malfunction.
Page 117 of 354
2-20Instruments and controls
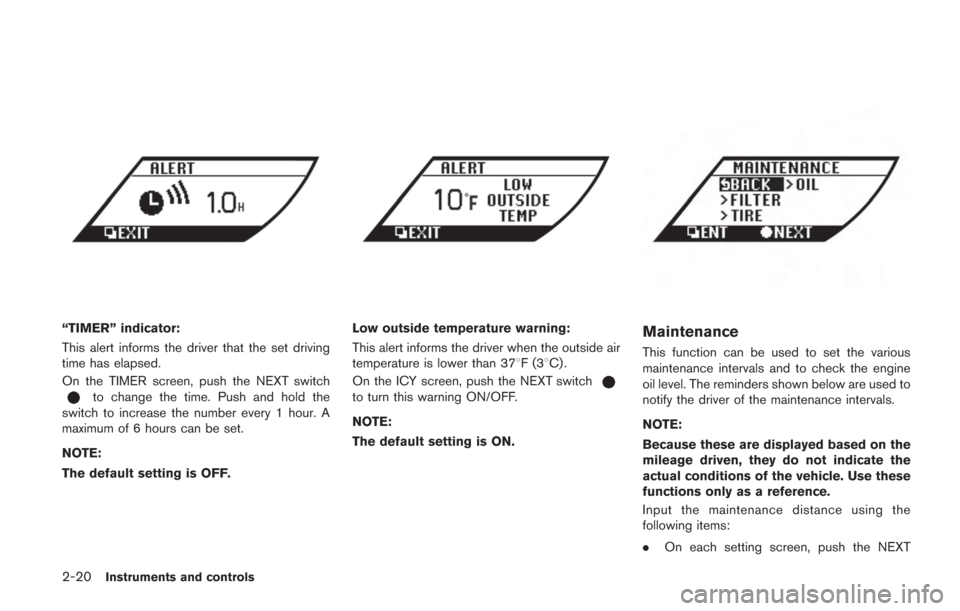
“TIMER” indicator:
This alert informs the driver that the set driving
time has elapsed.
On the TIMER screen, push the NEXT switch
to change the time. Push and hold the
switch to increase the number every 1 hour. A
maximum of 6 hours can be set.
NOTE:
The default setting is OFF.
Low outside temperature warning:
This alert informs the driver when the outside air
temperature is lower than 378F(3 8C) .
On the ICY screen, push the NEXT switch
to turn this warning ON/OFF.
NOTE:
The default setting is ON.
Maintenance
This function can be used to set the various
maintenance intervals and to check the engine
oil level. The reminders shown below are used to
notify the driver of the maintenance intervals.
NOTE:
Because these are displayed based on the
mileage driven, they do not indicate the
actual conditions of the vehicle. Use these
functions only as a reference.
Input the maintenance distance using the
following items:
. On each setting screen, push the NEXT
Page 118 of 354
switchto change the mileage. Push and
hold the switch to increase the number every
600 miles (1,000 km) .
. Set to “—” to set no reminders.
. To reset the accumulated mileage to zero,
go to the RESET screen, then push the
NEXT switch
and confirm with the
ENTER switch.
NOTE:
. To restore the mileage to the original
figure after resetting, push the NEXT
switch
again.
. When the battery terminal is discon-
nected, the set mileage will be erased
and the settings will return to their
default settings.
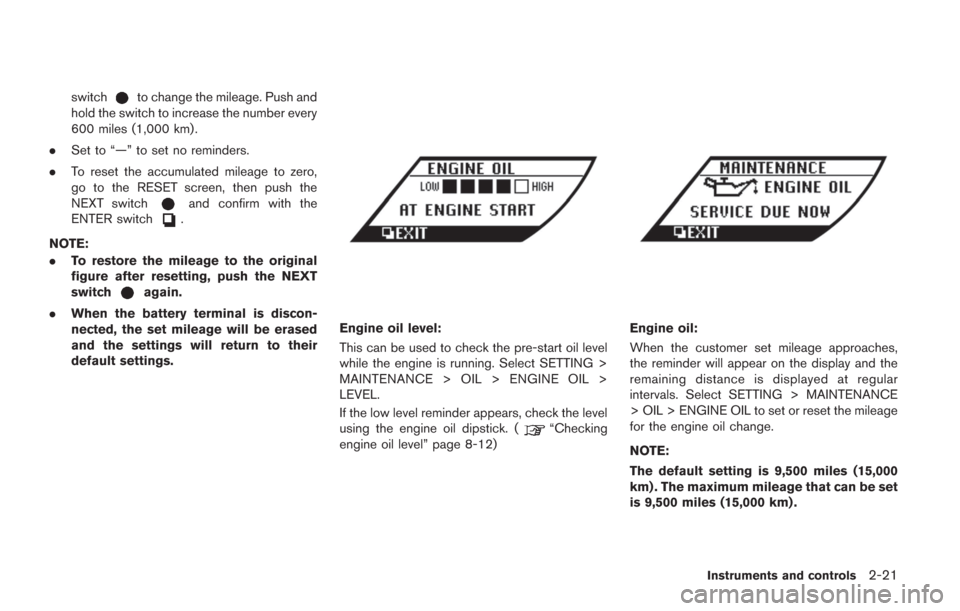
Engine oil level:
This can be used to check the pre-start oil level
while the engine is running. Select SETTING >
MAINTENANCE > OIL > ENGINE OIL >
LEVEL.
If the low level reminder appears, check the level
using the engine oil dipstick. (
“Checking
engine oil level” page 8-12)
Engine oil:
When the customer set mileage approaches,
the reminder will appear on the display and the
remaining distance is displayed at regular
intervals. Select SETTING > MAINTENANCE
> OIL > ENGINE OIL to set or reset the mileage
for the engine oil change.
NOTE:
The default setting is 9,500 miles (15,000
km) . The maximum mileage that can be set
is 9,500 miles (15,000 km) .
Instruments and controls2-21
Page 119 of 354
2-22Instruments and controls
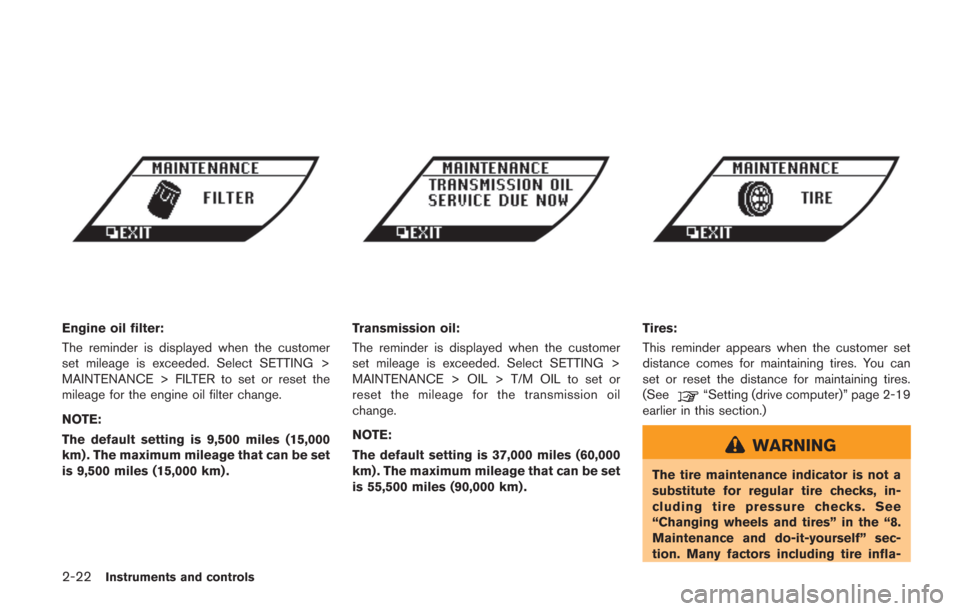
Engine oil filter:
The reminder is displayed when the customer
set mileage is exceeded. Select SETTING >
MAINTENANCE > FILTER to set or reset the
mileage for the engine oil filter change.
NOTE:
The default setting is 9,500 miles (15,000
km) . The maximum mileage that can be set
is 9,500 miles (15,000 km) .Transmission oil:
The reminder is displayed when the customer
set mileage is exceeded. Select SETTING >
MAINTENANCE > OIL > T/M OIL to set or
reset the mileage for the transmission oil
change.
NOTE:
The default setting is 37,000 miles (60,000
km) . The maximum mileage that can be set
is 55,500 miles (90,000 km) .Tires:
This reminder appears when the customer set
distance comes for maintaining tires. You can
set or reset the distance for maintaining tires.
(See
“Setting (drive computer)” page 2-19
earlier in this section.)
WARNING
The tire maintenance indicator is not a
substitute for regular tire checks, in-
cluding tire pressure checks. See
“Changing wheels and tires” in the “8.
Maintenance and do-it-yourself” sec-
tion. Many factors including tire infla-
Page 211 of 354
5-14Starting and driving
NOTE:
.Care should be taken to avoid situa-
tions that can lead to potential battery
discharge and potential no-start condi-
tions such as:
a. Installation or extended use of elec-
tronic accessories that consume
battery power when the engine is
not running (Phone chargers, GPS,
DVD players, etc.)
b. Vehicle is not driven regularly and/
or only driven short distances.
In these cases, the battery may need to
be charged to maintain battery health.
. If the engine is difficult to start, de-
press the accelerator pedal all the way
to the floor and hold it. Push the
ignition switch with the brake pedal
depressed to start cranking the engine.
After 5 or 6 seconds, stop cranking by
pushing the ignition switch to the OFF
position, and then release the accel-
erator pedal. Then perform steps 1 to 5
to start the engine. If the engine starts,
but fails to run, repeat this procedure.
. Starting and stopping the engine over a
short period of time may make the
vehicle more difficult to start. If this
occurs, wait for more than 3 minutes, and then push the ignition switch again
to start the engine.
. To maintain high performance over a
long period of time, the engine speed is
limited to 5,000 rpm when the engine is
revved with the shift lever in the
&Nor
&Pposition, and to 4,000 rpm when the
engine oil or coolant temperature is
low or higher than normal.
. If the ignition switch is pushed before
the shift lever is moved to the
&P
position, the ignition switch will not
change to the OFF position. If this
occurs, the SHIFT
&Pwarning display
appears on the vehicle information
display. When stopping the engine, be
sure to move the shift lever to the
&P
position and then push the ignition
switch. Failure to do so may result in
discharge of the battery. (
“Shift
“P” warning” page 2-43)
. If the shift lever was in the
&A↔&Mor&R
position when the engine was stopped,
then be sure to move the shift lever to
the
&Pposition before starting the
engine the next time. If the engine is
started with the shift lever in the
&N
position, then it may not be possible to drive the vehicle even when the shift
lever is moved to the
&A↔&Mor&R
position. If this occurs, the SHIFT&P
warning appears on the vehicle infor-
mation display. (“Shift “P” warn-
ing” page 2-43)
CAUTION
If the engine was stopped soon when
the engine is hot, the cooling fan may
operate for approximately 2 minutes
after the engine was stopped to cool
the components in the engine compart-
ment. When the cooling fan is operat-
ing, be sure that hands or other items
do not get caught in it.
Page 216 of 354
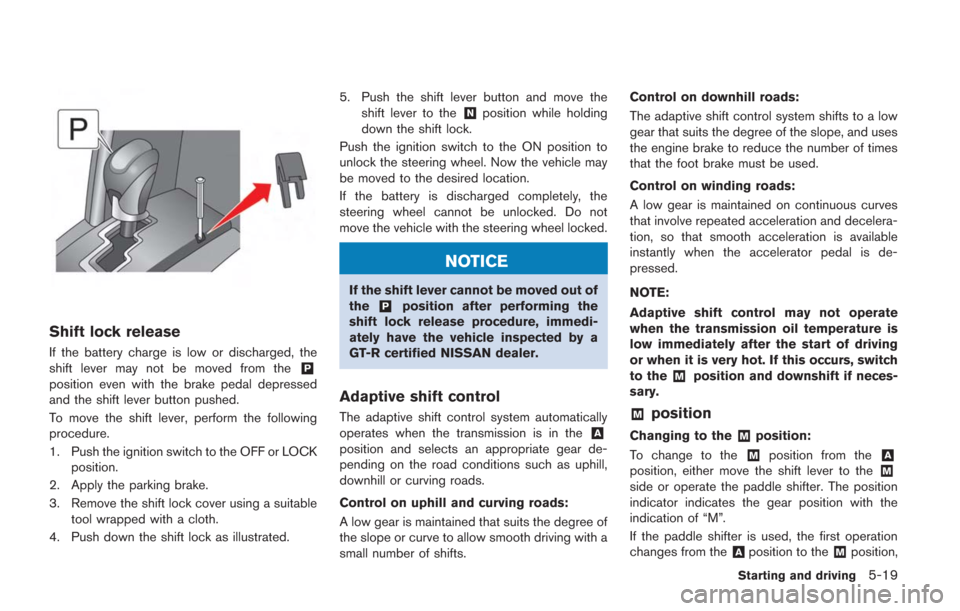
Shift lock release
If the battery charge is low or discharged, the
shift lever may not be moved from the&P
position even with the brake pedal depressed
and the shift lever button pushed.
To move the shift lever, perform the following
procedure.
1. Push the ignition switch to the OFF or LOCKposition.
2. Apply the parking brake.
3. Remove the shift lock cover using a suitable tool wrapped with a cloth.
4. Push down the shift lock as illustrated. 5. Push the shift lever button and move the
shift lever to the
&Nposition while holding
down the shift lock.
Push the ignition switch to the ON position to
unlock the steering wheel. Now the vehicle may
be moved to the desired location.
If the battery is discharged completely, the
steering wheel cannot be unlocked. Do not
move the vehicle with the steering wheel locked.
NOTICE
If the shift lever cannot be moved out of
the&Pposition after performing the
shift lock release procedure, immedi-
ately have the vehicle inspected by a
GT-R certified NISSAN dealer.
Adaptive shift control
The adaptive shift control system automatically
operates when the transmission is in the&A
position and selects an appropriate gear de-
pending on the road conditions such as uphill,
downhill or curving roads.
Control on uphill and curving roads:
A low gear is maintained that suits the degree of
the slope or curve to allow smooth driving with a
small number of shifts. Control on downhill roads:
The adaptive shift control system shifts to a low
gear that suits the degree of the slope, and uses
the engine brake to reduce the number of times
that the foot brake must be used.
Control on winding roads:
A low gear is maintained on continuous curves
that involve repeated acceleration and decelera-
tion, so that smooth acceleration is available
instantly when the accelerator pedal is de-
pressed.
NOTE:
Adaptive shift control may not operate
when the transmission oil temperature is
low immediately after the start of driving
or when it is very hot. If this occurs, switch
to the
&Mposition and downshift if neces-
sary.
&Mposition
Changing to the&Mposition:
To change to the
&Mposition from the&A
position, either move the shift lever to the&M
side or operate the paddle shifter. The position
indicator indicates the gear position with the
indication of “M”.
If the paddle shifter is used, the first operation
changes from the
&Aposition to the&Mposition,
Starting and driving5-19
Page 227 of 354
5-30Starting and driving
See your 2014 Warranty Information Booklet for
important related information and warranty
coverage exclusions. See also section 2 (page
“Transmission warning light” page 2-30)
and section 5 (page“Vehicle Dynamic
Control (VDC) system” page 5-49) of this
Owner’s Manual, “Transmission Clutch Tem-
perature High” and “Vehicle Dynamic Control
(VDC) System” for important additional related
information.
The turbocharger system uses engine oil for
lubrication and cooling of its rotating compo-
nents. The turbocharger turbine turns at extre-
mely high speeds and it can get very hot. It is
essential to maintain a supply of oil flowing
through the turbocharger system. Therefore, a
sudden interruption of oil supply may cause a
malfunction in the turbocharger.
To ensure prolonged life and performance of the
turbocharger, it is essential to perform the
following maintenance procedure:
. Change your engine oil according to the
recommended intervals shown in the sepa-
rate Service and Maintenance Guide. Use
only the recommended engine oil.
. If the engine had been operating at high
engine speed for an extended period of time,
let it idle for a few minutes prior to shut-
down.
. Do not accelerate your engine to high
engine speed immediately after start.
NOTICE
.This vehicle includes spark plugs
that are designed for high perfor-
mance. For this reason, if the engine
is repeatedly started and stopped over a short time, the spark plugs
may become fouled, making the
engine difficult to start. To prevent
diminished starting performance,
avoid starting and stopping the
engine repeatedly during a short
period of time.
NOTE:
. When the vehicle is delivered, the
engine oil level is 0.39 in (10 mm)
below the H mark on the engine oil
dipstick for optimum high performance
driving. The engine oil can be filled up
to the H mark if not engaging in
performance driving.
. Because of the high performance char-
acteristics of the GT-R engine, more
frequent oil level inspections are ne-
cessary. Check the oil level every 1,800
miles (3,000km) and adjust as neces-
sary. Also, change the engine oil based
on the driving conditions. For the
information regarding oil replacement
intervals, refer to the 2014 NISSAN
GT-R Service and Maintenance Guide.
. Some amount of oil is consumed by
your engine under normal operating
TURBOCHARGER SYSTEM
Page 266 of 354
WAXING
Regular waxing protects the paint surface and
helps retain new vehicle appearance. Polishing
is recommended to remove built-up wax residue
and to avoid a weathered appearance before
reapplying wax.
A GT-R certified NISSAN dealer can assist you
in choosing the proper product.
.Wax your vehicle only after a thorough
washing. Follow the instructions supplied
with the wax.
. Do not use a wax containing any abrasives,
cutting compounds or cleaners that may
damage the vehicle finish.
Machine compound or aggressive polishing on a
base coat/clear coat paint finish may dull the
finish or leave swirl marks.
WARNING
Do not use wax on the glass, rubber or
plastic parts around the glass or door.
This may prevent the window operation
or cause poor visibility and the wax
cannot be coated uniformly.
NOTICE
Never use wax on the carbon parts
(such as the rear diffuser or the op-
tional dry carbon fiber rear spoiler) .
This may cause deterioration or corro-
sion.
REMOVING SPOTS
Remove tar and oil spots, industrial dust,
insects, and tree sap as quickly as possible
from the paint surface to avoid lasting damage
or staining. Special cleaning products are
available at a GT-R certified NISSAN dealer or
any automotive accessory stores.
UNDERBODY
In areas where road salt is used in winter, the
underbody must be cleaned regularly. This will
prevent dirt and salt from building up and
causing the acceleration of corrosion on the
underbody and suspension. Before the winter
period and again in the spring, the underseal
must be checked and, if necessary, re-treated.
GLASS
Use glass cleaner to remove smoke and dust
film from the glass surfaces. It is normal for glass
to become coated with a film after the vehicle is
parked in the hot sun. Glass cleaner and a soft
cloth will easily remove this film.
NOTICE
When cleaning the inside of the win-
dows, do not use sharp-edged tools,
abrasive cleaners or chlorine-based
disinfectant cleaners. They could da-
mage the electrical conductors, radio
antenna elements or rear window
defroster elements.
WHEELS
Wash the wheels when washing the vehicle to
maintain their appearance.
. Clean the inner side of the wheels when the
wheel is changed or the underside of the
vehicle is washed.
. Inspect wheel rims regularly for dents or
corrosion. Such damage may cause loss of
pressure or poor seal at the tire bead.
. NISSAN recommends that the road wheels
Appearance and care7-3