Page 146 of 354
USING THE WASHER
Pull the lever toward you to operate the washer.
Then the wiper will also operate several times.
NOTE:
When the level of washer fluid is low, a
warning display appears on the vehicle
information display. (
“Low washer
fluid warning” page 2-41)
To defog/defrost the rear window, start the
engine and push the switch on. The indicator
light on the switch will come on. Push the switch
again to turn the defroster off.
It will automatically turn off in approximately 15
minutes.
NOTE:
When the rear window defroster switch is
pressed, the heated outside mirrors also
operate at the same time. (
“Outside
mirrors” page 3-28)
NOTICE
When cleaning the inner side of the rear
window, be careful not to scratch or
damage the rear window defroster.
Instruments and controls2-49
REAR WINDOW DEFROSTER
SWITCH
Page 147 of 354
2-50Instruments and controls
XENON HEADLIGHTS
WARNING
HIGH VOLTAGE
. When xenon headlights are on, they
produce a high voltage. To prevent
an electric shock, never attempt to
modify or disassemble. Always have
your xenon headlights replaced at a
GT-R certified NISSAN dealer.
. Xenon headlights provide consider-
ably more light than conventional
headlights. If they are not correctly
aimed, they might temporarily blind
an oncoming driver or the driver
ahead of you and cause a serious
accident. If headlights are not aimed
correctly, immediately take your ve-
hicle to a GT-R certified NISSAN
dealer and have the headlights
adjusted correctly.
When the xenon headlight is initially turned on,
its brightness or color varies slightly. However,
the color and brightness will soon stabilize. NOTE:
.
The life of xenon headlights will be
shortened by frequent on-off opera-
tion. It is generally desirable not to turn
off the headlights for short intervals
(for example, when the vehicle stops at
a traffic signal) . Even when the daytime
running lights are active, the xenon
headlights do not turn on. This way the
life of the xenon headlights is not
reduced.
. If the xenon headlight bulb is close to
burning out, the brightness will drasti-
cally decrease, the light will start
blinking, or the color of the light will
become reddish. If one or more of the
above signs appear, contact a GT-R
certified NISSAN dealer.
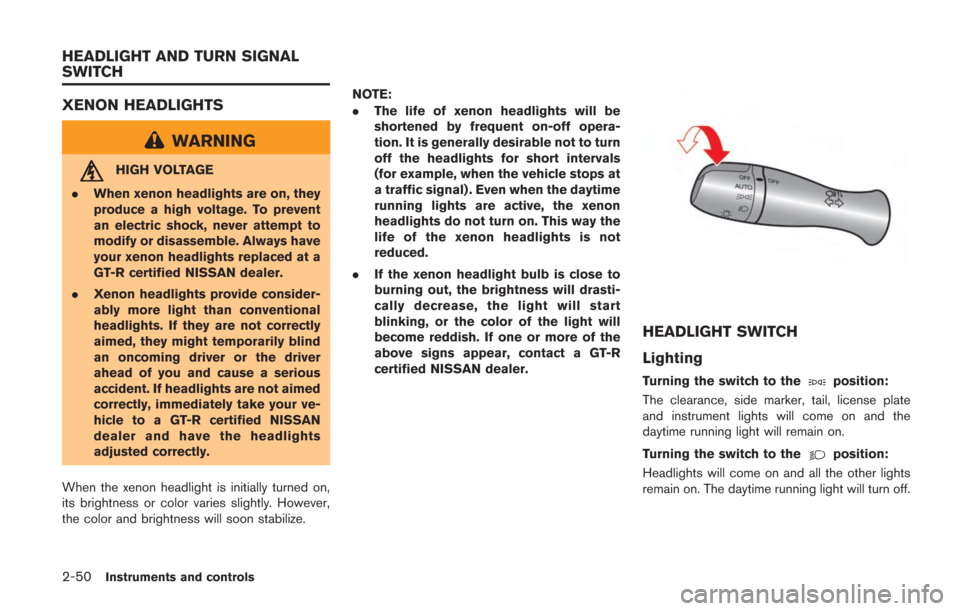
HEADLIGHT SWITCH
Lighting
Turning the switch to theposition:
The clearance, side marker, tail, license plate
and instrument lights will come on and the
daytime running light will remain on.
Turning the switch to the
position:
Headlights will come on and all the other lights
remain on. The daytime running light will turn off.
HEADLIGHT AND TURN SIGNAL
SWITCH
Page 149 of 354
2-52Instruments and controls
CAUTION
Use low beams when there are cars
approaching from the opposite direc-
tion, during city driving and at similar
times.
Battery saver system
A chime will sound when the driver side door is
opened with the light switch in theorposition and the ignition switch in the ACC,
OFF or LOCK position. (“Light reminder
chime” page 2-32)
When the headlight switch is in the
orposition while the ignition switch is in the ON
position, the lights will automatically turn off after
a period of time when the ignition switch has
been pushed to the OFF position.
When the headlight switch remains in the
orposition after the lights automatically turn
off, the lights will turn on when the ignition
switch is pushed to the ON position.
NOTICE
. When you turn on the headlight
switch again after the lights auto-
matically turn off, the lights will not
turn off automatically. Be sure to
turn the light switch to the OFF
position when you leave the vehicle
for extended periods of time, other-
wise the battery will be discharged.
. Never leave the light switch on
when the engine is not running for
extended periods of time even if the
headlights turn off automatically.
Daytime running light system
The daytime running lights automatically illumi-
nate when the engine is started with the parking
brake released. The daytime running lights
operate with the headlight switch in the OFF
position. Turn the headlight switch to the
position for full illumination when driving at night.
If the parking brake is applied before the engine
is started, the daytime running lights do not
illuminate. The daytime running lights illuminate
once the parking brake is released. The daytime
running lights will remain on until the ignition
switch is pushed to the OFF position.
WARNING
When the daytime running light system
is active, tail lights on your vehicle are
not on. It is necessary at dusk to turn on
your headlights. Failure to do so could
cause an accident injuring yourself and
others.
Page 150 of 354
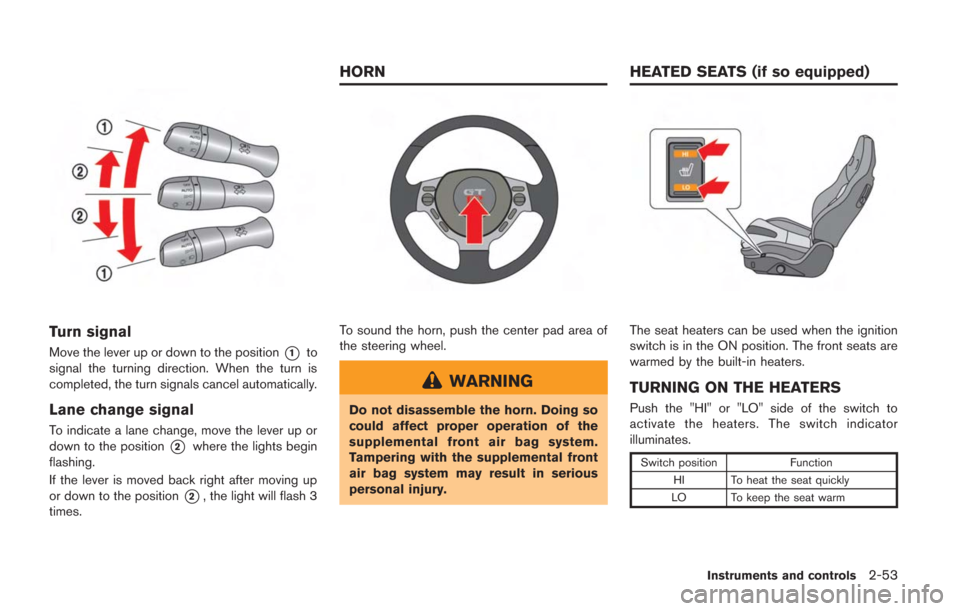
Turn signal
Move the lever up or down to the position*1to
signal the turning direction. When the turn is
completed, the turn signals cancel automatically.
Lane change signal
To indicate a lane change, move the lever up or
down to the position
*2where the lights begin
flashing.
If the lever is moved back right after moving up
or down to the position
*2, the light will flash 3
times.
To sound the horn, push the center pad area of
the steering wheel.
WARNING
Do not disassemble the horn. Doing so
could affect proper operation of the
supplemental front air bag system.
Tampering with the supplemental front
air bag system may result in serious
personal injury.
The seat heaters can be used when the ignition
switch is in the ON position. The front seats are
warmed by the built-in heaters.
TURNING ON THE HEATERS
Push the "HI" or "LO" side of the switch to
activate the heaters. The switch indicator
illuminates.
Switch position Function
HI To heat the seat quickly
LO To keep the seat warm
Instruments and controls2-53
HORN HEATED SEATS (if so equipped)
Page 151 of 354
2-54Instruments and controls
TURNING OFF THE HEATERS
Move the switch to the level position. The switch
indicator turns off.
WARNING
Do not use or allow occupants to use
the seat heater if you or the occupants
cannot monitor elevated seat tempera-
tures or have an inability to feel pain in
those body parts in contact with the
seat. Use of the seat heater by such
people could result in serious injury.
CAUTION
.Do not put anything on the seat
which insulates heat, such as a
blanket, cushion, seat cover, etc.
Otherwise, the seat may become
overheated.
. Do not place anything hard or heavy
on the seat or pierce it with a pin or
similar object. This may result in
damage to the heater.
. Any liquid spilled on the heated seat
should be removed immediately with a dry cloth.
. If any malfunctions are found or the
heated seat does not operate, turn
the switch off and have the system
checked by a GT-R certified NISSAN
dealer.
NOTICE
.The battery could run down if the
seat heater is operated while the
engine is not running.
. Do not use the seat heater for
extended periods or when no one
is using the seat.
. When cleaning the seat, never use
gasoline, thinner, or any similar
materials.
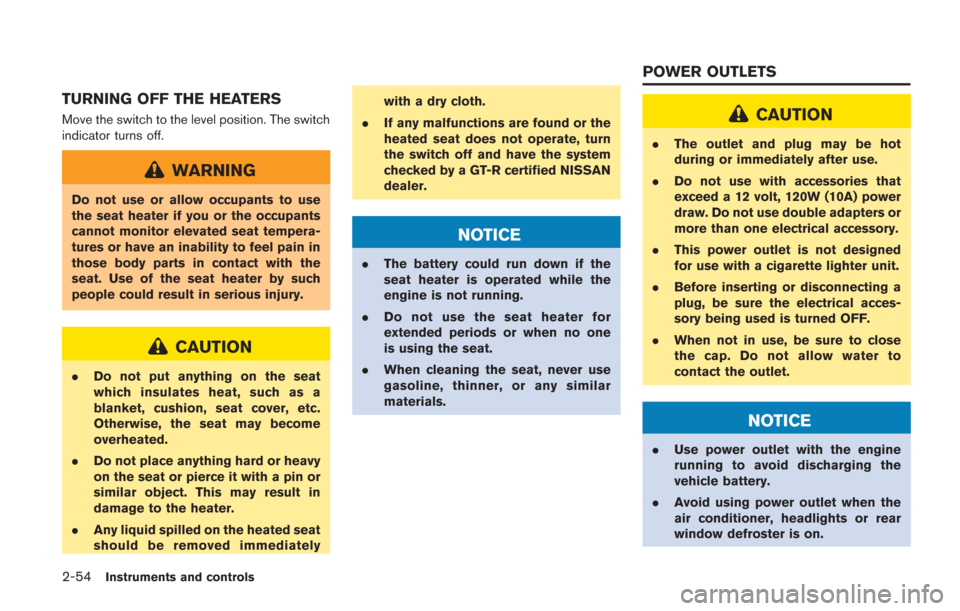
CAUTION
.The outlet and plug may be hot
during or immediately after use.
. Do not use with accessories that
exceed a 12 volt, 120W (10A) power
draw. Do not use double adapters or
more than one electrical accessory.
. This power outlet is not designed
for use with a cigarette lighter unit.
. Before inserting or disconnecting a
plug, be sure the electrical acces-
sory being used is turned OFF.
. When not in use, be sure to close
the cap. Do not allow water to
contact the outlet.
NOTICE
.Use power outlet with the engine
running to avoid discharging the
vehicle battery.
. Avoid using power outlet when the
air conditioner, headlights or rear
window defroster is on.
POWER OUTLETS
Page 154 of 354
SUNGLASSES HOLDER
WARNING
Keep the sunglasses holder closed
while driving to prevent an accident.
To open the sunglasses holder, push
*1.
CAUTION
Do not use for anything other than
glasses.
NOTICE
Do not leave glasses in the sunglasses
holder while parking in direct sunlight.
The heat may damage the glasses.
DOOR POCKET
Door pockets are located inside the driver’s side
and passenger’s side doors.
NOTICE
Do not grasp the door pockets to open
and close the doors. Doing so may
damage the pockets.
Instruments and controls2-57
Page 155 of 354
2-58Instruments and controls
GLOVE BOX
WARNING
Keep glove box lid closed while driving
to help prevent injury in an accident or a
sudden stop.
Pull the knob toward you to open the glove box.
To close the glove box, press the lid forward until
it locks in place.
Use the mechanical key to lock*1and unlock
*2the glove box. (“Mechanical key” page
3-3)
The mechanical key stops when it is inserted
approximately halfway in.CONSOLE BOX
Lift up the lock knob*1to open the lid.
To close the center console box, press on the lid
until it locks in place.
NOTE:
The console box contains a power outlet.
Page 156 of 354
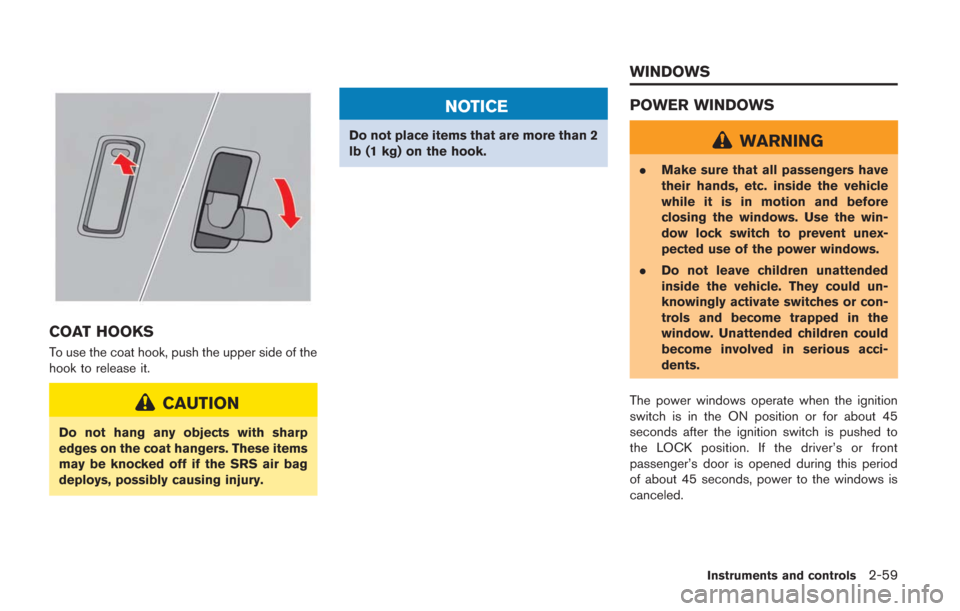
COAT HOOKS
To use the coat hook, push the upper side of the
hook to release it.
CAUTION
Do not hang any objects with sharp
edges on the coat hangers. These items
may be knocked off if the SRS air bag
deploys, possibly causing injury.
NOTICE
Do not place items that are more than 2
lb (1 kg) on the hook.
POWER WINDOWS
WARNING
.Make sure that all passengers have
their hands, etc. inside the vehicle
while it is in motion and before
closing the windows. Use the win-
dow lock switch to prevent unex-
pected use of the power windows.
. Do not leave children unattended
inside the vehicle. They could un-
knowingly activate switches or con-
trols and become trapped in the
window. Unattended children could
become involved in serious acci-
dents.
The power windows operate when the ignition
switch is in the ON position or for about 45
seconds after the ignition switch is pushed to
the LOCK position. If the driver’s or front
passenger’s door is opened during this period
of about 45 seconds, power to the windows is
canceled.
Instruments and controls2-59
WINDOWS