Page 7 of 20

5
FI RST DRIVE FEATURES
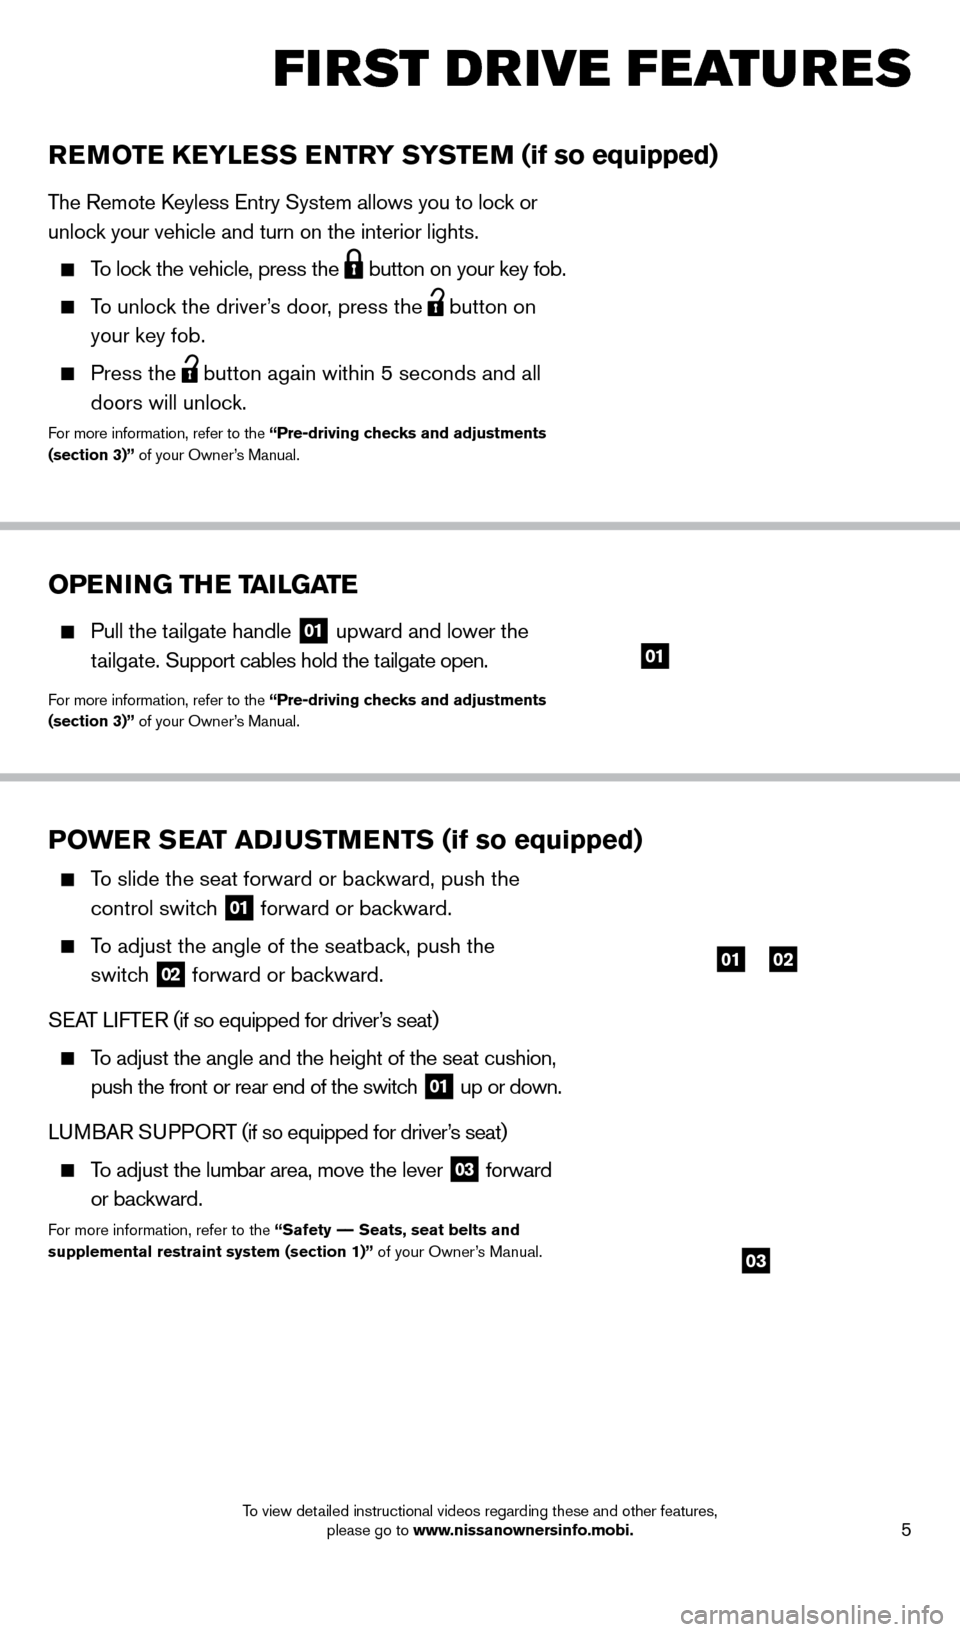
POWER SEAT ADJUSTMENTS (if so equipped)
To slide the seat forward or backward, push the control switch
01 forward or backward.
To adjust the angle of the seatback, push the
switch
02 forward or backward.
SEAT LIFTER (if so equipped for driver’s seat)
To adjust the angle and the height of the seat cushion,
push the front or rear end of the switch
01 up or down.
LUMBAR SUPPORT (if so equipped for driver’s seat)
To adjust the lumbar area, move the lever
03 forward
or backward.
For more information, refer to the “Safety –– Seats, seat belts and
supplemental restraint system (section 1)” of your Owner’s Manual.
REMOTE KEYLESS ENTRY SYSTEM (if so equipped)
The Remote Keyless Entry System allows you to lock or
unlock your vehicle and turn on the interior lights.
To lock the vehicle, press the button on your key fob.
To unlock the driver’s door, press the
button on
your key fob.
Press the button again within 5 seconds and all
doors will unlock.
For more information, refer to the “Pre-driving checks and adjustments
(section 3)” of your Owner’s Manual.
0102
03
OPENING THE TAILGATE
Pull the tailgate handle 01 upward and lower the
tailgate. Support cables hold the tailgate open.
For more information, refer to the “Pre-driving checks and adjustments
(section 3)” of your Owner’s Manual.
01
1667122_14b_Frontier_QRG_020414.indd 52/4/14 1:43 PM
To view detailed instructional videos regarding these and other features, please go to www.nissanownersinfo.mobi.
Page 9 of 20

7
HEADLIGHT CONTROL SWITCH
HEADLIGHT CONTROL
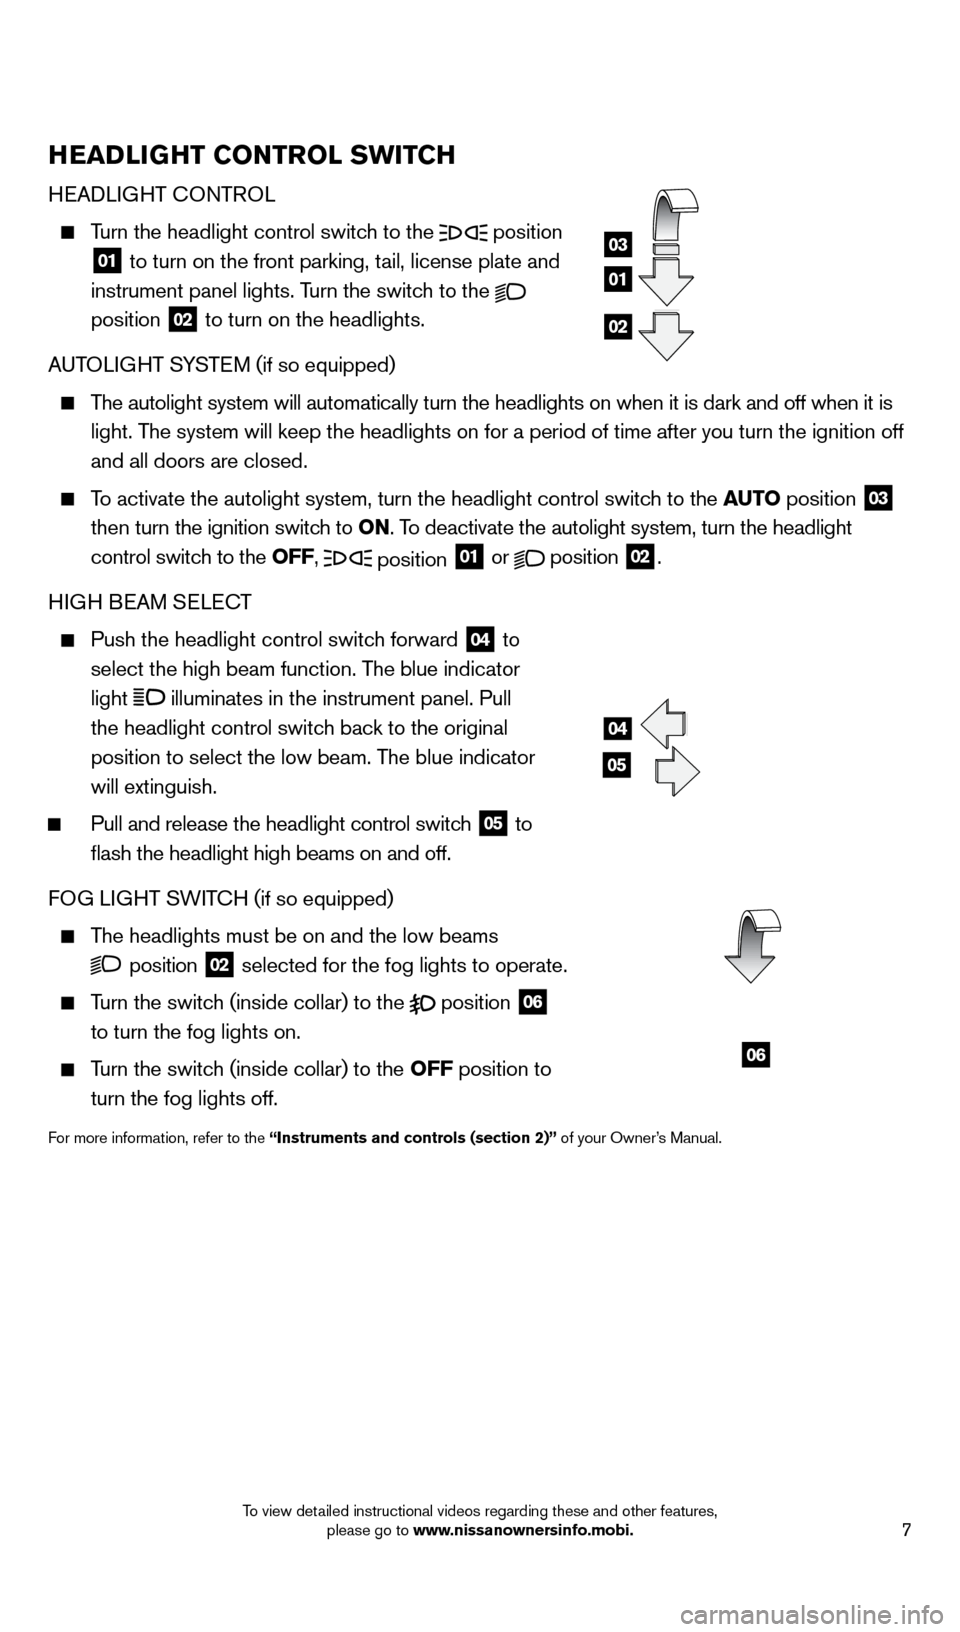
Turn the headlight control switch to the position
01 to turn on the front parking, tail, license plate and
instrument panel lights. Turn the switch to the
position 02 to turn on the headlights.
AUTOLIGHT SYSTEM (if so equipped)
The autolight system will automatically turn the headlights on when it is\
dark and off when it is
light. The system will keep the headlights on for a period of time after you tur\
n the ignition off
and all doors are closed.
To activate the autolight system, turn the headlight control switch to the AUTO position
03
then turn the ignition switch to ON. To deactivate the autolight system, turn the headlight
control switch to the OFF,
position 01 or
position
02.
HIGH BEAM SELECT
Push the headlight control switc h forward
04 to
select the high beam function. The blue indicator
light
illuminates in the instrument panel. Pull
the headlight control switch back to the original
position to select the low beam. The blue indicator
will extinguish.
Pull and release the headlight control switc h
05 to
flash the headlight high beams on and off.
FOG LIGHT SWITCH (if so equipped)
The headlights must be on and the low beams
position 02 selected for the fog lights to operate.
Turn the switch (inside collar) to the
position
06
to turn the fog lights on.
Turn the switch (inside collar) to the OFF position to
turn the fog lights off.
For more information, refer to the “Instruments and controls (section 2)” of your Owner’s Manual.
04
05
06
01
03
02
1667122_14b_Frontier_QRG_020414.indd 72/4/14 1:43 PM
To view detailed instructional videos regarding these and other features, please go to www.nissanownersinfo.mobi.
Page 19 of 20

17
HOMELINK® UNIVERSAL TRANSCEIVER (if so equipped)
The HomeLink® Universal Transceiver can learn and consolidate the functions of up to 3
different hand-held transmitters, operating items such as garage doors, property gates,
outdoor and indoor lights or alarm systems.
To program the HomeLink® Universal Transceiver:
•
P
osition the handheld transceiver 1-3 in (26-76 mm) away from the HomeLink surface,
keeping the HomeLink indicator light in view.
•
Press and hold the desired HomeLink
button and the handheld transmitter button
simultaneously until the HomeLink indicator light flashes slowly and then ra\
pidly.
•
B
oth buttons may be released when the indicator light flashes rapidly.
To verify the programing is complete, press and hold the HomeLink button \
and observe the
indicator light:
•
A solid, continuous light indicates the programing is complete and the H\
omeLink button
will activate your device.
•
A blinking light that turns to a solid, continuous light after 2 seconds\
indicates additional
steps are required to complete the programing.
An additional person may make the remaining steps easier
. To complete the
programing process:
•
At the receiver of the device that you are programing to the HomeLink sy\
stem, press
and release the “learn” or “smart” button (the name may var\
y by manufacturer but it is
usually located near where the hanging antenna wire is att
ached to the unit). You have
approximately 30 seconds to initiate the following step.
•
Press and hold the programed HomeLink button for 2 seconds and release.
You may have to repeat the previous 2 steps up to 3 times to complete the\
programing
process. HomeLink should now activate your device.
For more information, refer to the “Instruments and controls (section 2)” of your Owner’s Manual, the HomeLink website at
www.homelink.com or call 1-800-355-3515.
HOMELINK
1667122_14b_Frontier_QRG_020414.indd 172/4/14 1:43 PM
To view detailed instructional videos regarding these and other features, please go to www.nissanownersinfo.mobi.