Page 196 of 226

196 Navi Settings
Guidance
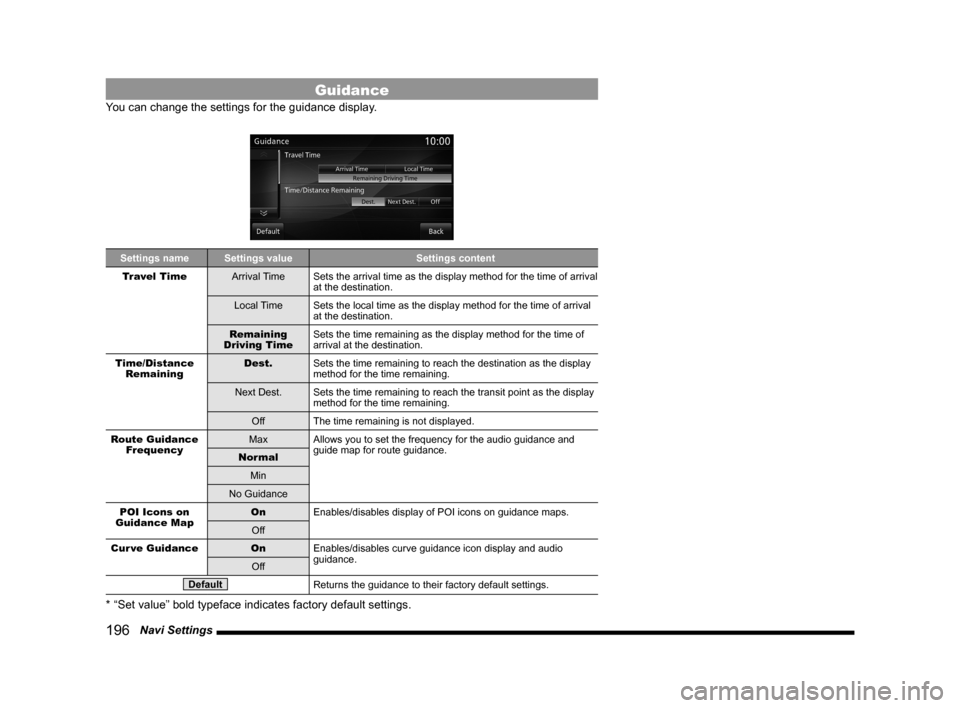
You can change the settings for the guidance display.
Settings name Settings value Settings content
Travel Time Arrival TimeSets the arrival time as the display method for the time of arrival
at the destination.
Local Time Sets the local time as the display method for the time of arrival
at the destination.
Remaining
Driving Time Sets the time remaining as the display method for the time of
arrival at the destination.
Time/Distance Remaining Dest.
Sets the time remaining to reach the destination as the display
method for the time remaining.
Next Dest. Sets the time remaining to reach the transit point as the display
method for the time remaining.
Off The time remaining is not displayed.
Route Guidance Frequency Max
Allows you to set the frequency for the audio guidance and
guide map for route guidance.
Normal
Min
No Guidance
POI Icons on
Guidance Map On
Enables/disables display of POI icons on guidance maps.
Off
Cur ve Guidance OnEnables/disables curve guidance icon display and audio
guidance.
Off
DefaultReturns the guidance to their factory default settings.
* “Set value” bold typeface indicates factory default settings.
Page 198 of 226

198 Navi Settings
Settings name Settings value Settings content
Current Street Name On
Enables/disables display of the name of the current location.
Off
Address Book Names On
Enables/disables display of the Address book name.
Off
Lane Information OnEnables/disables display of lane information displayed on the
map screen.
Off
Route Tracking OnEnables/disables display of route tracking displayed on the
map.
(Even when it is set not to be displayed, the route tracking
information is stored.)
Off
Erase Clears the stored route tracking information for your car.
Searched Root Ar rowAllows you to change the method route guidance marks
(P29)
are displayed.
Line
AV Icon ShowAllows you to set whether or not to display the AV icons (audio
status icons) displayed on the map screen.
Hide
Mobile Phone Icon ShowAllows you to set whether or not to display the telephone icon
displayed on the map screen.
Hide
Speed Indicator OnEnables/disables display of the speed indicator.
Off
Change 3D point of view Change
Allows you to change the 3D
(P35) point of view.→“Change 3D point of view”(P199)
DefaultReturns the screen options settings to their factory default
settings.
* “Set value” bold typeface indicates factory default settings.
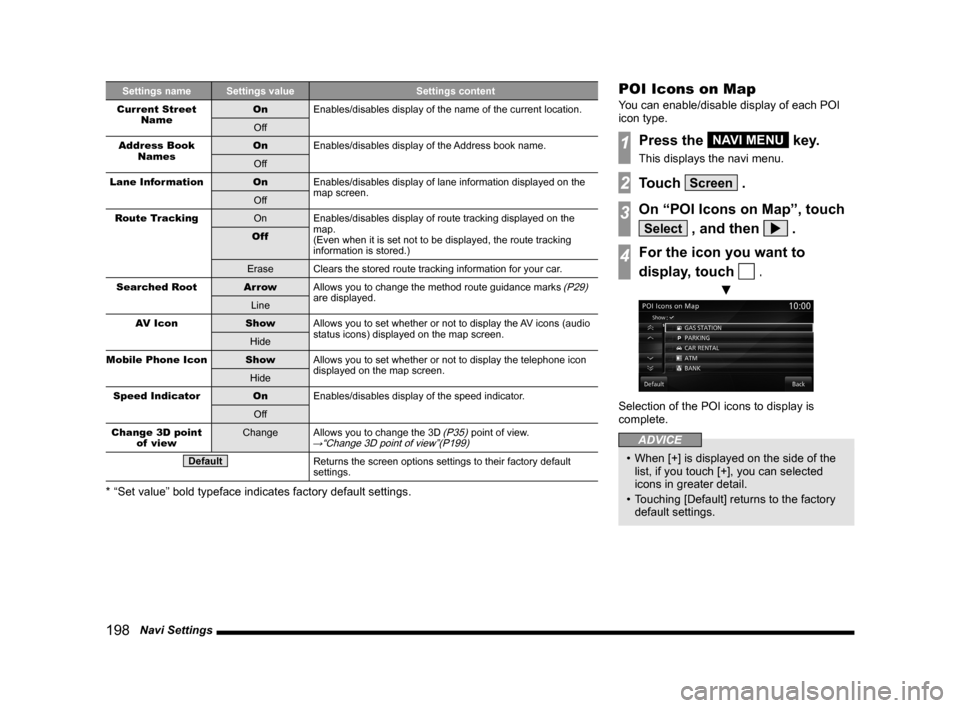
POI Icons on Map
You can enable/disable display of each POI
icon type.
1Press the NAVI MENU key.
This displays the navi menu.
2Touch Screen .
3On “POI Icons on Map”, touch
Select , and then .
4For the icon you want to
display, touch
.
▼
Selection of the POI icons to display is
complete.
ADVICE
• When [+] is displayed on the side of the
list, if you touch [+], you can selected
icons in greater detail.
• Touching [Default] returns to the factory
default settings.
Page 202 of 226
202 Navi Settings
Navi Voice/Others
You can set the settings for the volume and other settings.
Settings name Settings value Settings content
Beep Sound Volume OFF
Allows you to set the operation volume.(The factory default
setting is [2].)
The larger the number, the higher the volume. [Off] mutes the
operation sound.
1~3
Guidance Voice Volume +
Allows you to set the volume for audio guidance etc.(The factory
default setting is [4].)
The larger the number, the higher the volume. [Off] mutes the
operation sound.
-
Speed
Compensated Volume ON
Enables/disables the function for adjusting the volume
automatically according to the vehicle speed.
OFF
Sensor
Calibration Enter
Deletes the speed sensor and gyro sensor automatic learning
information.
→“Sensor Calibration”(P203)
Page 205 of 226

Adjust Audio Sound Quality 205
INFO/SETTINGSSETTINGS
Adjust Audio Sound
Quality
Change audio quality settings.
NOTE
• You cannot adjust the sound quality when
the audio is OFF.
vehicles with and without premium am p
Balance/Fader
The level of the sound output from each
speaker can be adjusted with the cursor
switches.
1Press the SOUND key.
This displays the sound quality setting
screen.
2Touch Balance/Fader .
▼
3Touch or to adjust the
balance.
You can set L11 to L1, 0, or R1 to R11.
(The factory setting is “0”.)
4Touch ▲ or ▼ to adjust
the fader.
You can set F11 to F1, 0, or R1 to R11.
(The factory setting is “0”.)
▼
The balance/fader adjustment is complete.
ADVICE
• Touching [Default] returns all the sound
quality adjustments to their factory default
settings.
vehicles with and without premium am p
Equalizer Settings
You can set the sound type and the level for
the sound qualities.
1Press the SOUND key.
This displays the sound quality setting
screen.
2Touch Equalizer .
3Touch the sound “type”.
4Touch ▲ or ▼ to adjust
the level of each sound quality.
▼
The equalizer settings are complete.
Continued on the next page
Page 206 of 226

206 Adjust Audio Sound Quality
NOTE
• If your car is equipped with premium
audio, you can set the “Punch” level. You
can set one of 7 levels from 0 to 6.
(The factory setting is “3”.)
ADVICE
• Touching [Default] returns only the
equalizer settings to their factory default
settings.
• Touching [Default] returns all the sound
quality adjustments to their factory default
settings.
Setting Contents
BASS Allows you to set the bass to one
of 11 levels, from -5 to +5.
(The factory setting is “0”.)
MID Allows you to set the medium
tone to one of 11 levels, from -5
to +5.
(The factory setting is “0”.)
TREBLE Allows you to set the treble to one
of 11 levels, from -5 to +5.
(The factory setting is “0”.)
vehicles equipped with premium am p
Surround Settings
You can set the surround and sound field
center.
1Press the SOUND key.
This displays the sound quality setting
screen.
2Touch Acoustics Setting .
3Touch the surround “type”.
To not set surround, touch [OFF].
4Touch the “sound field type” to
set.
▼
The surround settings are complete.
ADVICE
• Touching [Default] returns all the sound
quality adjustments to their factory default
settings.
Other Settings
The settings are different for vehicles with and
without premium audio.
vehicles equipped with premium am p
1Press the SOUND key.
This displays the sound quality setting
screen.
2Touch Others .
3Touch “setting” for the item
to set.
▼
The setting changes are complete.
ADVICE
• Touching [Default] returns all the sound
quality adjustments to their factory default
settings.
Page 207 of 226

Adjust Audio Sound Quality 207
INFO/SETTINGSSETTINGS
Setting Contents
Speed
Compensated Volume Sets the levels for when the
volume is adjusted automatically
according to the vehicle speed.
PremiDIA HD
*1,*2,*3Allows you to adjust the amount
of compensation for reproducing
the feeling of solidity and depth of
the original sound by forecasting
and supplementing for the high-
pass audio information lost during
audio data compression.
* There is also an effect for non-
compressed sound sources.
DOLBY
VOLUME
*2Allows you to select the level
for the automatic real-time
adjustment function, which
provides the same output levels
for the different volumes of
different sources and songs.
*1 This is also effective for non-compressed sound
sources.
*2 This is disabled when the audio source is radio.
*3 “DTS Neural” and “PremiDIA HD” cannot be set
at the same time.
ADVICE
• If you feel that the Dolby volume effect
does not match the image of the music
being played back, switch it OFF.
vehicles not equipped with premium am p
1Press the SOUND key.
This displays the sound quality setting
screen.
2Touch
Speed Compensated Volume .
You can set the levels for when the volume
is adjusted automatically according to the
vehicle speed.
3Touch “setting”.
▼
The setting change is complete.
Page 209 of 226

System Settings 209
INFO/SETTINGS SETTINGS
A/C Cutin
This sets whether or not to display an interrupt
for air conditioner operations.(Only on vehicles
that support this function)
1Press the SETTINGS key.
This displays the settings menu.
2Touch System , and then
A/C Cutin .
3Touch On or Off .
▼
The interrupt display setting is complete.
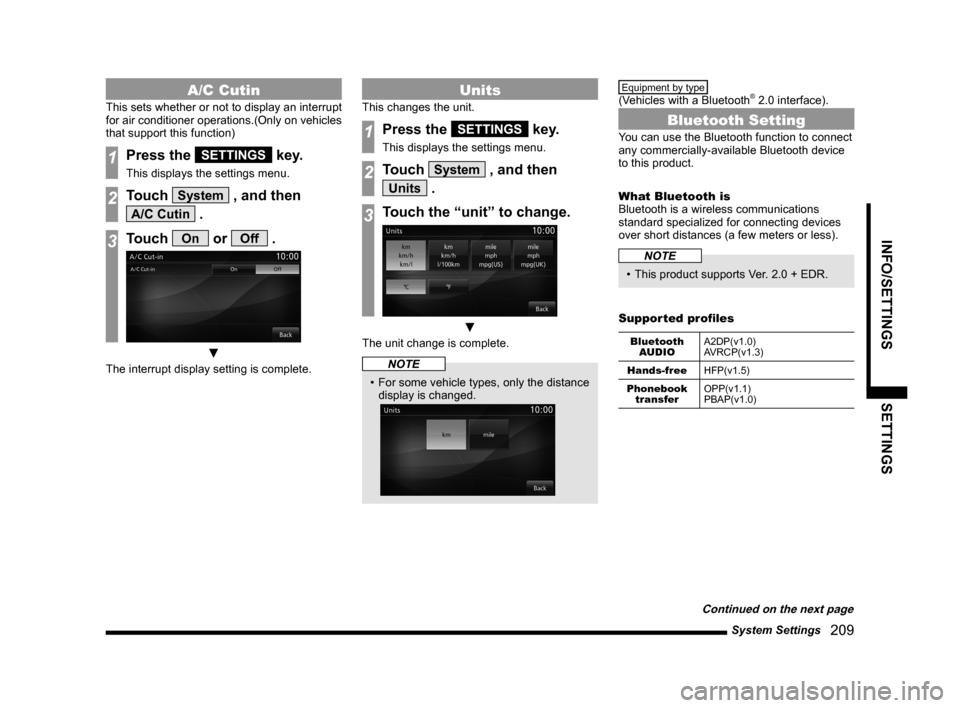
Units
This changes the unit.
1Press the SETTINGS key.
This displays the settings menu.
2Touch System , and then
Units .
3Touch the “unit” to change.
▼
The unit change is complete.
NOTE
• For some vehicle types, only the distance
display is changed.
Equipment by type
(Vehicles with a Bluetooth® 2.0 interface).
Bluetooth Setting
You can use the Bluetooth function to connect
any commercially-available Bluetooth device
to this product.
What Bluetooth is
Bluetooth is a wireless communications
standard specialized for connecting devices
over short distances (a few meters or less).
NOTE
• This product supports Ver. 2.0 + EDR.
Supported profiles
Bluetooth AUDIO A2DP(v1.0)
AVRCP(v1.3)
Hands-free HFP(v1.5)
Phonebook transfer OPP(v1.1)
PBAP(v1.0)
Continued on the next page
Page 210 of 226

210 System Settings
NOTE
• This function can be used on vehicles
equipped with a Bluetooth® 2.0 interface.
• Cancel functions such as the mobile
phone “dial lock”, and connect while on
the standby screen.
• While connected, operations on the
Bluetooth device (receiving calls, etc.)
may not function correctly.
• For details on how to enter the passkey
for your Bluetooth device, refer to its user
manual.
• The connection fails sometimes. Register
again.
• Depending on the distance between this
product and your Bluetooth device, the
conditions within the vehicle, and types
of screening, connection may not be
possible. In this case, put your Bluetooth
as close as possible to this product.
• Even though a device is Bluetooth-
capable, its characteristics and
specifications may mean that correct
operation is not possible.
• Some Bluetooth devices cannot be
connected.
• Depending on the Bluetooth device,
connecting may take some time.
• Up to 7 Bluetooth devices can be
registered.
If 7 devices are already registered, you
must delete one before you can register
a new Bluetooth device.
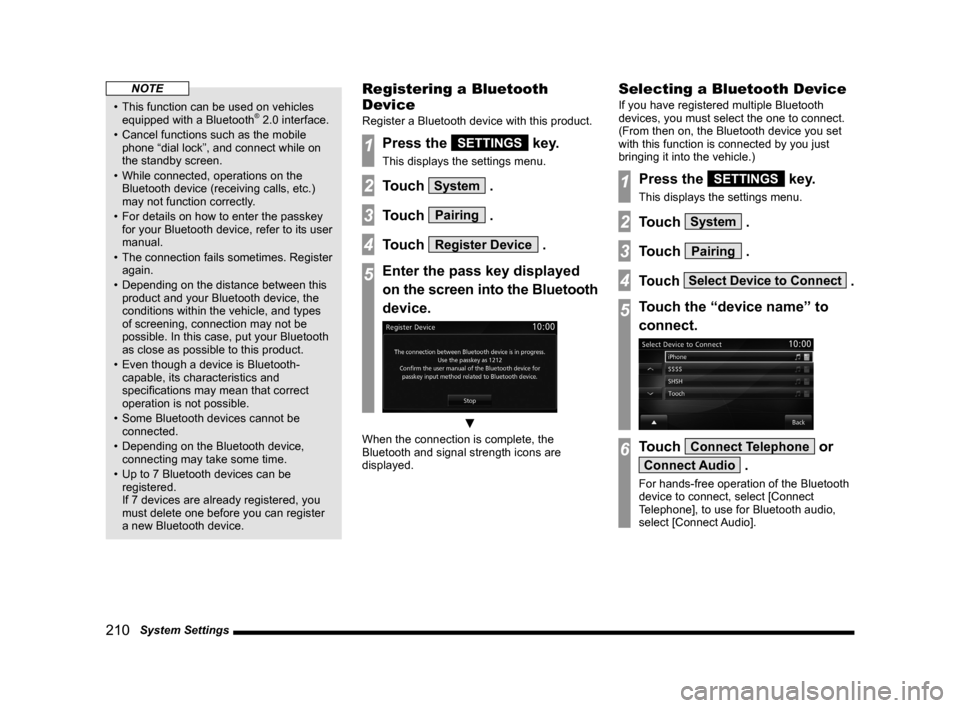
Registering a Bluetooth
Device
Register a Bluetooth device with this product.
1Press the SETTINGS key.
This displays the settings menu.
2Touch System .
3Touch Pairing .
4Touch Register Device .
5Enter the pass key displayed
on the screen into the Bluetooth
device.
▼
When the connection is complete, the
Bluetooth and signal strength icons are
displayed.
Selecting a Bluetooth Device
If you have registered multiple Bluetooth
devices, you must select the one to connect.
(From then on, the Bluetooth device you set
with this function is connected by you just
bringing it into the vehicle.)
1Press the SETTINGS key.
This displays the settings menu.
2Touch System .
3Touch Pairing .
4Touch Select Device to Connect .
5Touch the “device name” to
connect.
6Touch Connect Telephone or
Connect Audio .
For hands-free operation of the Bluetooth
device to connect, select [Connect
Telephone], to use for Bluetooth audio,
select [Connect Audio].