2014 MERCEDES-BENZ SLS AMG GT COUPE trailer
[x] Cancel search: trailerPage 143 of 290

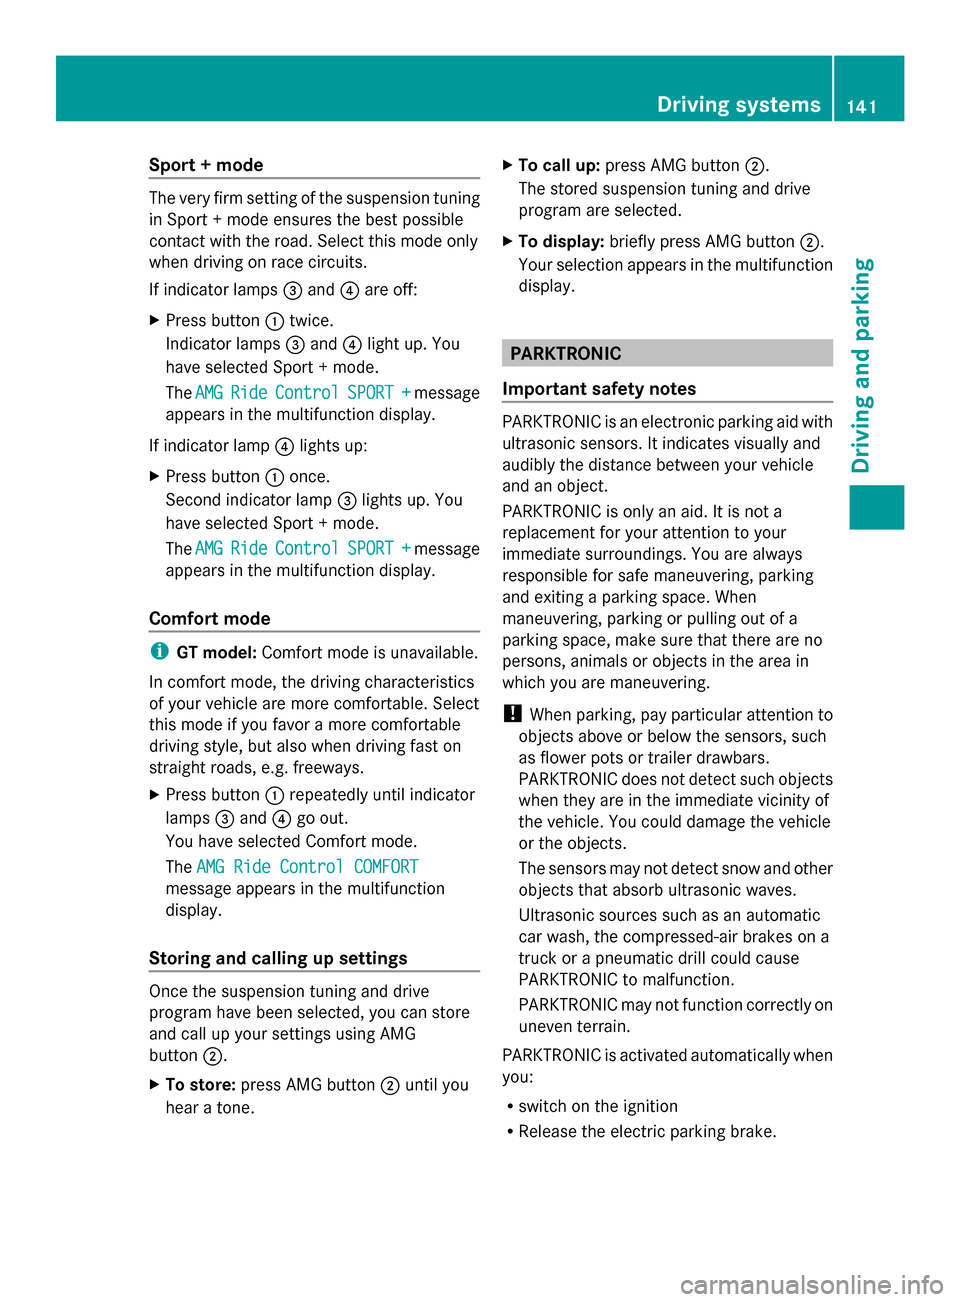
Sport + mode
The very firm setting of the suspension tuning
in Sport + mode ensures the best possible
contact with the road. Select this mode only
when driving on race circuits.
If indicator lamps 0087and 0085are off:
X Press button 0043twice.
Indicator lamps 0087and 0085light up. You
have selected Sport + mode.
The AMG
AMG Ride Ride Control
Control SPORT +
SPORT +message
appears in the multifunction display.
If indicator lamp 0085lights up:
X Press button 0043once.
Second indicator lamp 0087lights up. You
have selected Sport + mode.
The AMG
AMG Ride Ride Control
Control SPORT +
SPORT +message
appears in the multifunction display.
Comfort mode i
GT model: Comfort mode is unavailable.
In comfort mode, the driving characteristics
of your vehicle are more comfortable. Select
this mode if you favor a more comfortable
driving style, but also when driving fast on
straight roads, e.g. freeways.
X Press button 0043repeatedly until indicator
lamps 0087and 0085go out.
You have selected Comfort mode.
The AMG Ride Control COMFORT AMG Ride Control COMFORT
message appears in the multifunction
display.
Storing and calling up settings Once the suspension tuning and drive
program have been selected, you can store
and call up your settings using AMG
button 0044.
X To store: press AMG button 0044until you
hear a tone. X
To call up: press AMG button 0044.
The stored suspension tuning and drive
program are selected.
X To display: briefly press AMG button 0044.
Your selection appears in the multifunction
display. PARKTRONIC
Important safety notes PARKTRONIC is an electronic parking aid with
ultrasonic sensors. It indicates visually and
audibly the distance between your vehicle
and an object.
PARKTRONIC is only an aid. It is not a
replacement for your attention to your
immediate surroundings. You are always
responsible for safe maneuvering, parking
and exiting a parking space. When
maneuvering, parking or pulling out of a
parking space, make sure that there are no
persons, animals or objects in the area in
which you are maneuvering.
!
When parking, pay particular attention to
objects above or below the sensors, such
as flower pots or trailer drawbars.
PARKTRONIC does not detect such objects
when they are in the immediate vicinity of
the vehicle. You could damage the vehicle
or the objects.
The sensors may not detect snow and other
objects that absorb ultrasonic waves.
Ultrasonic sources such as an automatic
car wash, the compressed-air brakes on a
truck or a pneumatic drill could cause
PARKTRONIC to malfunction.
PARKTRONIC may not function correctly on
uneven terrain.
PARKTRONIC is activated automatically when
you:
R switch on the ignition
R Release the electric parking brake. Driving systems
141Driving and parking Z
Page 147 of 290

General notes
Rear view camera
0043is an optical parking aid.
It shows the area behind your vehicle in the
COMAND display. View through the camera
The area behind the vehicle is displayed as a
mirror image, as in the rear view mirror.
! Objects not at ground level may appear to
be further away than they actually are, e.g.:
R the bumper of a parked vehicle
R the drawbar of a trailer
R the ball coupling of a trailer tow hitch
R the rear section of an HGV
R a slanted post
Use the guidelines only for orientation.
Approach objects no further than the
bottom-most guideline.
The rear view camera may show a distorted
view of obstacles, show them incorrectly or
not at all. The rear view camera does not show
objects in the following positions:
R very close to the rear bumper
R under the rear bumper
R in the area immediately above the tailgate
handle
Activating the rear view camera X
Ensure that key position 2has been
selected with the Start/Stop button.
X Make sure that the "rear view camera"
function is selected in COMAND (see the separate operating instructions for
COMAND).
X Engage reverse gear.
The COMAND display shows the area
behind the vehicle.
You can also switch off the display of the area
behind the vehicle in the COMAND display. Blind Spot Assist
General notes Blind Spot Assist uses a radar sensor system
to monitor the areas on both sides of your
vehicle. It supports you from a speed of
approximately 20 mph
(30 km/h). A warning
display in the exterior mirrors draws your
attention to vehicles detected in the
monitored area. If you then switch on the
corresponding turn signal to change lanes,
you will also receive a visual and audible
collision warning. For this purpose, Blind Spot
Assist uses sensors in the rear bumper.
Important safety notes Blind Spot Assist is only an aid. It may fail to
detect some vehicles and is no substitute for
attentive driving.
G
WARNING
Blind Spot Assist does not react to:
R vehicles overtaken too closely on the side,
placing them in the blind spot area
R vehicles which approach with a large speed
differential and overtake your vehicle
As a result, Blind Spot Assist may not give
warnings in such situations. There is a risk of
an accident.
Always observe the traffic conditions
carefully, and maintain a safe lateral distance.
i USA only:
This device has been approved by the FCC
as a "Vehicular Radar System". The radar
sensor is intended for use in an automotive
radar system only. Removing, tampering Driving systems
145Driving and parking Z
Page 244 of 290

X
First, remove the jumper cables from earth point 0085and negative terminal 0087, then from
positive clamp 0043and positive terminal 0044. Each time beginning with your vehicle's battery.
X Slide cover 0083of the positive terminal in the opposite direction to the arrow.
X Have the battery checked at a qualified specialist workshop.
i Jump-starting is not considered to be a normal operating condition.
i Jumper cables and further information regarding jump-starting can be obtained at any
qualified specialist workshop. Towing and tow-starting
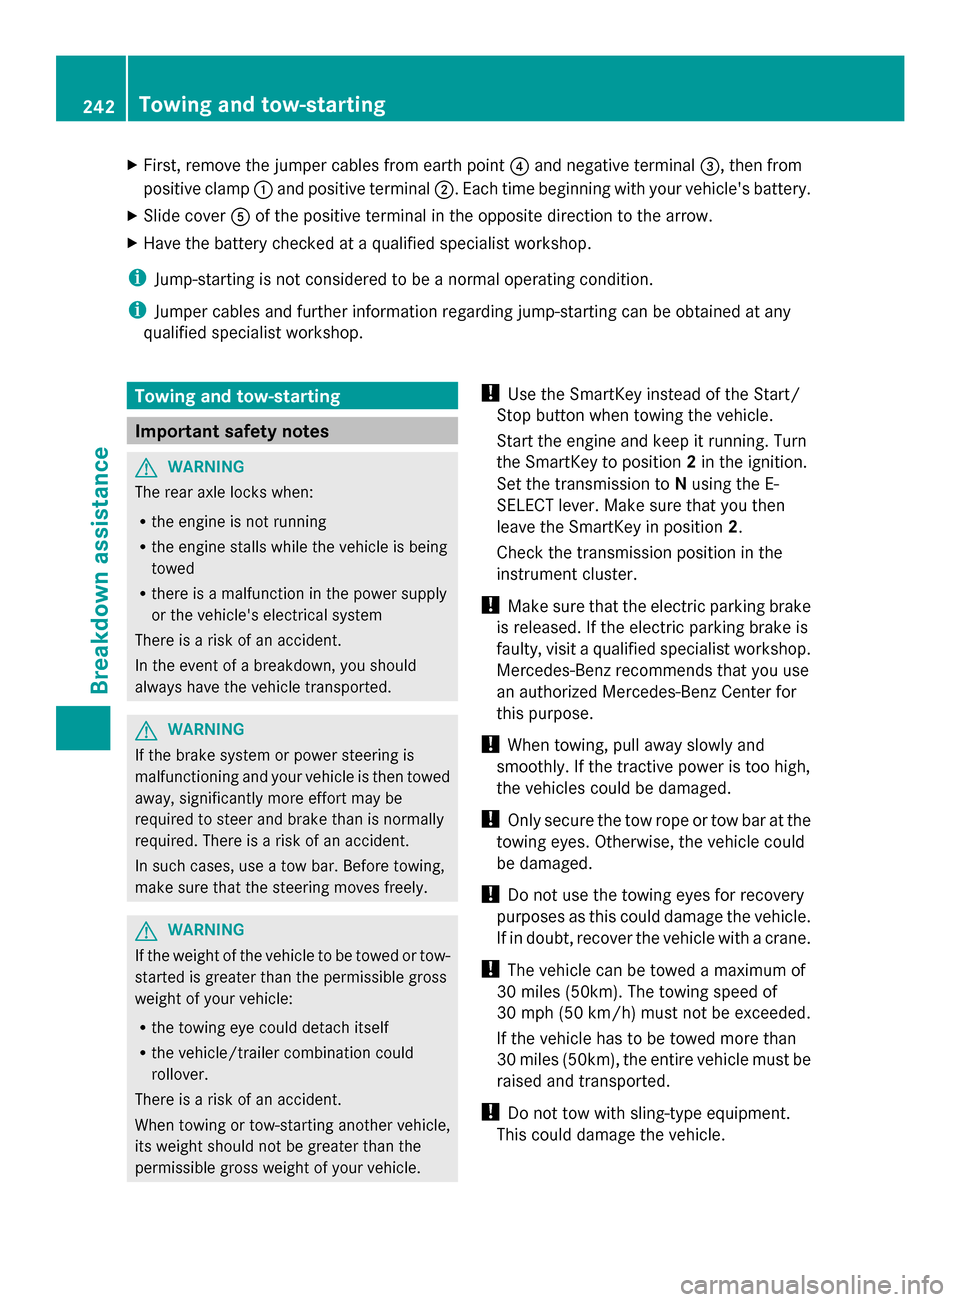
Important safety notes
G
WARNING
The rear axle locks when:
R the engine is not running
R the engine stalls while the vehicle is being
towed
R there is a malfunction in the power supply
or the vehicle's electrical system
There is a risk of an accident.
In the event of a breakdown, you should
always have the vehicle transported. G
WARNING
If the brake system or power steering is
malfunctioning and your vehicle is then towed
away, significantly more effort may be
required to steer and brake than is normally
required. There is a risk of an accident.
In such cases, use a tow bar. Before towing,
make sure that the steering moves freely. G
WARNING
If the weight of the vehicle to be towed or tow-
started is greater than the permissible gross
weight of your vehicle:
R the towing eye could detach itself
R the vehicle/trailer combination could
rollover.
There is a risk of an accident.
When towing or tow-starting another vehicle,
its weight should not be greater than the
permissible gross weight of your vehicle. !
Use the SmartKey instead of the Start/
Stop button when towing the vehicle.
Start the engine and keep it running. Turn
the SmartKey to position 2in the ignition.
Set the transmission to Nusing the E-
SELECT lever. Make sure that you then
leave the SmartKey in position 2.
Check the transmission position in the
instrument cluster.
! Make sure that the electric parking brake
is released. If the electric parking brake is
faulty, visit a qualified specialist workshop.
Mercedes-Benz recommends that you use
an authorized Mercedes-Benz Center for
this purpose.
! When towing, pull away slowly and
smoothly. If the tractive power is too high,
the vehicles could be damaged.
! Only secure the tow rope or tow bar at the
towing eyes. Otherwise, the vehicle could
be damaged.
! Do not use the towing eyes for recovery
purposes as this could damage the vehicle.
If in doubt, recover the vehicle with a crane.
! The vehicle can be towed a maximum of
30 miles (50km). The towing speed of
30 mph (50 km/h) must not be exceeded.
If the vehicle has to be towed more than
30 miles (50km), the entire vehicle must be
raised and transported.
! Do not tow with sling-type equipment.
This could damage the vehicle. 242
Towing and tow-startingBreakdown assistance
Page 246 of 290

X
Switch on the hazard warning lamps
(Y page 98).
X Make sure that the SmartKey is in position
2 in the ignition and that the engine is
running throughout the towing procedure.
X Move the transmission to Nwith the E-
SELECT lever. Check the transmission
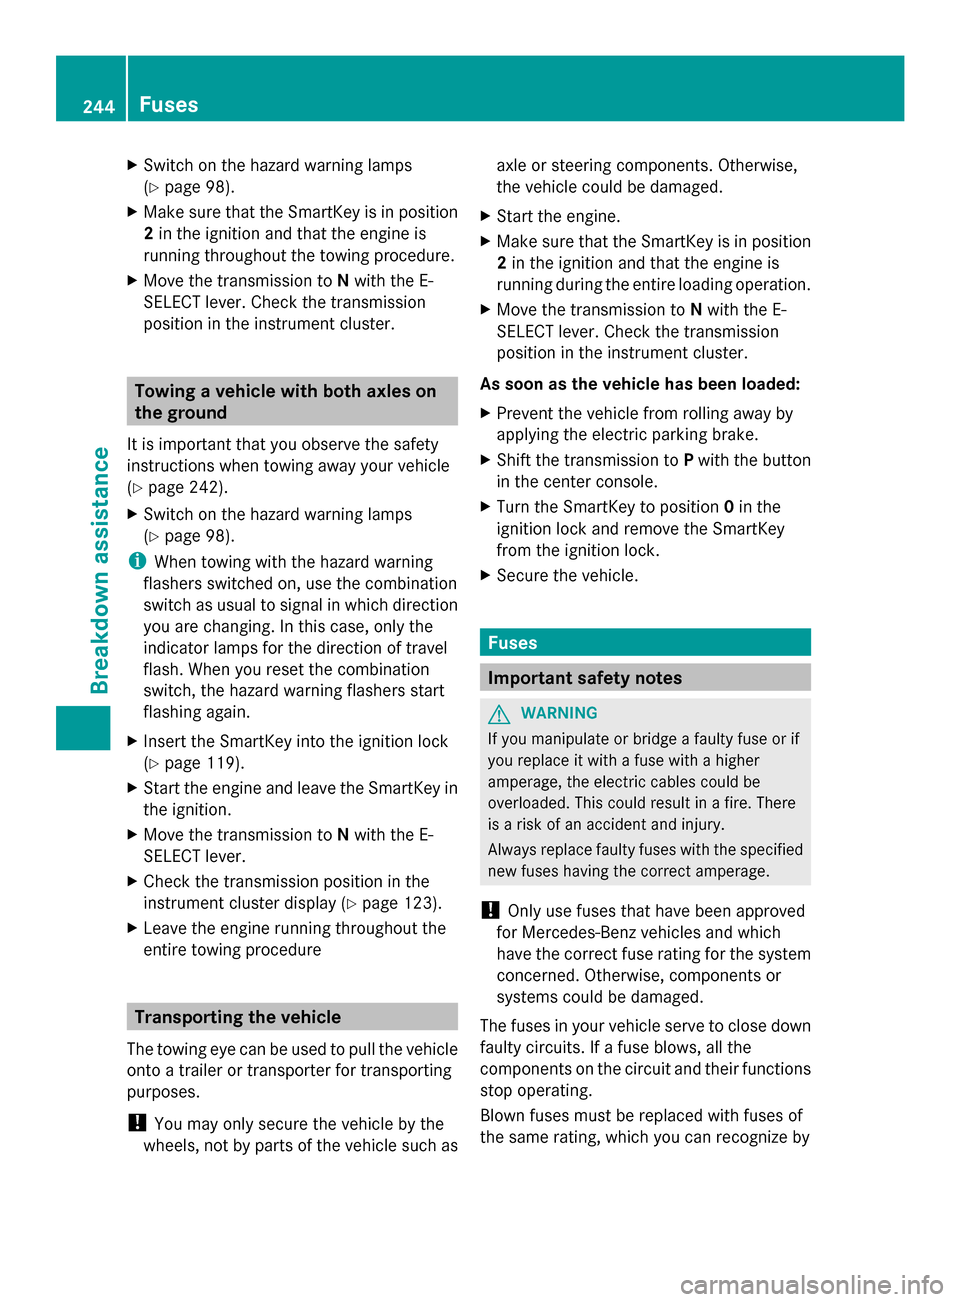
position in the instrument cluster. Towing a vehicle with both axles on
the ground
It is important that you observe the safety
instructions when towing away your vehicle
(Y page 242).
X Switch on the hazard warning lamps
(Y page 98).
i When towing with the hazard warning
flashers switched on, use the combination
switch as usual to signal in which direction
you are changing. In this case, only the
indicator lamps for the direction of travel
flash. When you reset the combination
switch, the hazard warning flashers start
flashing again.
X Insert the SmartKey into the ignition lock
(Y page 119).
X Start the engine and leave the SmartKey in
the ignition.
X Move the transmission to Nwith the E-
SELECT lever.
X Check the transmission position in the
instrument cluster display (Y page 123).
X Leave the engine running throughout the
entire towing procedure Transporting the vehicle
The towing eye can be used to pull the vehicle
onto a trailer or transporter for transporting
purposes.
! You may only secure the vehicle by the
wheels, not by parts of the vehicle such as axle or steering components. Otherwise,
the vehicle could be damaged.
X Start the engine.
X Make sure that the SmartKey is in position
2in the ignition and that the engine is
running during the entire loading operation.
X Move the transmission to Nwith the E-
SELECT lever. Check the transmission
position in the instrument cluster.
As soon as the vehicle has been loaded:
X Prevent the vehicle from rolling away by
applying the electric parking brake.
X Shift the transmission to Pwith the button
in the center console.
X Turn the SmartKey to position 0in the
ignition lock and remove the SmartKey
from the ignition lock.
X Secure the vehicle. Fuses
Important safety notes
G
WARNING
If you manipulate or bridge a faulty fuse or if
you replace it with a fuse with a higher
amperage, the electric cables could be
overloaded. This could result in a fire. There
is a risk of an accident and injury.
Always replace faulty fuses with the specified
new fuses having the correct amperage.
! Only use fuses that have been approved
for Mercedes-Benz vehicles and which
have the correct fuse rating for the system
concerned. Otherwise, components or
systems could be damaged.
The fuses in your vehicle serve to close down
faulty circuits. If a fuse blows, all the
components on the circuit and their functions
stop operating.
Blown fuses must be replaced with fuses of
the same rating, which you can recognize by 244
FusesBreakdown assistance
Page 260 of 290

Loading the vehicle
Instruction labels for tires and loads
G
WARNING
Overloaded tires can overheat, causing a
blowout. Overloaded tires can also impair the
steering and driving characteristics and lead
to brake failure. There is a risk of accident.
Observe the load rating of the tires. The load
rating must be at least half of the GAWR of
your vehicle. Never overload the tires by
exceeding the maximum load.
Two instruction labels on your vehicle show
the maximum possible load.
(1) The Tire and Loading Information placard is on the B-pillar on the driver's side. The
Tire and Loading Information placard
shows the maximum permissible number
of occupants and the maximum
permissible vehicle load. It also contains
details of the tire sizes and
corresponding pressures for tires
mounted at the factory.
(2) The vehicle identification plate is on the B-pillar on the driver's side. The vehicle
identification plate informs you of the
gross vehicle weight rating. It is made up
of the vehicle weight, all vehicle
occupants, the fuel and the cargo. You
can also find information about the
maximum gross axle weight rating on the
front and rear axle.
The maximum gross axle weight rating is
the maximum weight that can be carried
by one axle (front or rear axle). Never
exceed the maximum load or the
maximum gross axle weight rating for the
front or rear axle. 0043
B-pillar, driver's side Maximum permissible gross vehicle
weight rating
X
Specification for maximum gross vehicle
weight 0043is listed in the Tire and Loading
Information placard: "The combined weight
of occupants and cargo should never
exceed XXX kilograms or XXX lbs."
The gross weight of all vehicle occupants,
cargo, luggage and trailer load/noseweight (if
applicable) must not exceed the specified
value.
i The specifications shown on the Tire and
Loading Information placard in the
illustration are examples. The maximum
permissible gross vehicle weight rating is
vehicle-specific and may differ from that in
the illustration. You can find the valid
maximum permissible gross vehicle weight
rating for your vehicle on the Tire and
Loading Information placard. 258
Loading the vehicleWheels and tires
Page 262 of 290

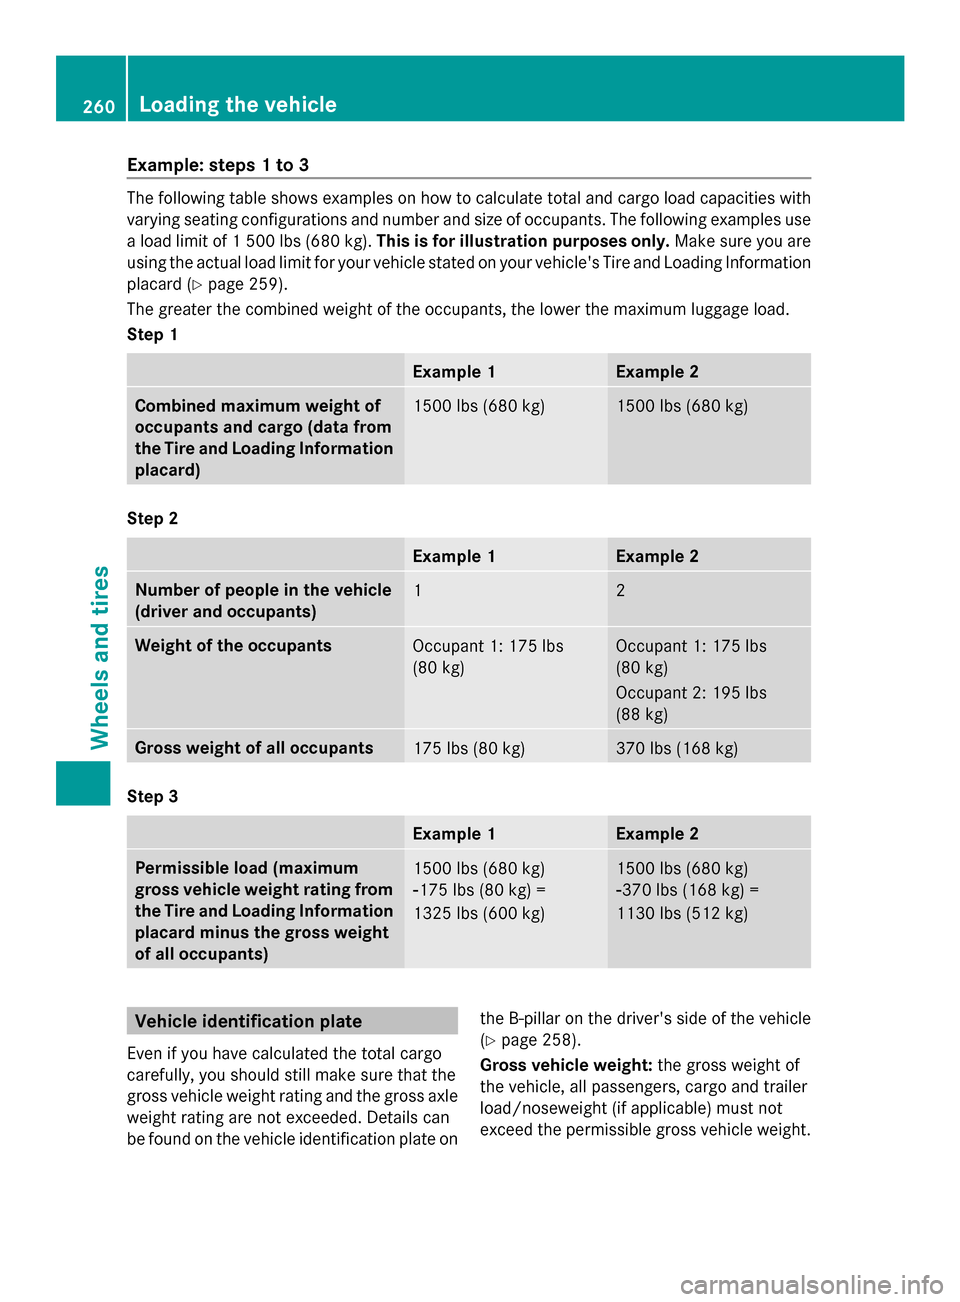
Example: steps 1 to 3
The following table shows examples on how to calculate total and cargo load capacities with
varying seating configurations and number and size of occupants. The following examples use
a load limit of 1 500 lbs (680 kg). This is for illustration purposes only. Make sure you are
using the actual load limit for your vehicle stated on your vehicle's Tire and Loading Information
placard (Y page 259).
The greater the combined weight of the occupants, the lower the maximum luggage load.
Step 1 Example 1 Example 2
Combined maximum weight of
occupants and cargo (data from
the Tire and Loading Information
placard)
1500 lbs (680 kg) 1500 lbs (680 kg)
Step 2
Example 1 Example 2
Number of people in the vehicle
(driver and occupants)
1 2
Weight of the occupants
Occupant 1: 175 lbs
(80 kg) Occupant 1: 175 lbs
(80 kg)
Occupant 2: 195 lbs
(88 kg)
Gross weight of all occupants
175 lbs (80 kg) 370 lbs (168 kg)
Step 3
Example 1 Example 2
Permissible load (maximum
gross vehicle weight rating from
the Tire and Loading Information
placard minus the gross weight
of all occupants)
1500 lbs (680 kg)
00F8175 lbs (80 kg) =
1325 lbs (600 kg) 1500 lbs (680 kg)
00F8370 lbs (168 kg) =
1130 lbs (512 kg)
Vehicle identification plate
Even if you have calculated the total cargo
carefully, you should still make sure that the
gross vehicle weight rating and the gross axle
weight rating are not exceeded. Details can
be found on the vehicle identification plate on the B-pillar on the driver's side of the vehicle
(Y
page 258).
Gross vehicle weight: the gross weight of
the vehicle, all passengers, cargo and trailer
load/noseweight (if applicable) must not
exceed the permissible gross vehicle weight. 260
Loading the vehicleWheels and tires
Page 263 of 290

Gross axle weight rating:
the maximum
permissible weight that can be carried by one
axle (front or rear axle).
To ensure that your vehicle does not exceed
the maximum permissible values (gross
vehicle weight and maximum gross axle
weight rating), have your loaded vehicle
(including driver, occupants, cargo, and full
trailer load if applicable) weighed on a
suitable vehicle weighbridge. All about wheels and tires
Uniform Tire Quality Grading
Standards
Overview of Tire Quality Grading
Standards Uniform Tire Quality Grading Standards are
U.S. government specifications. Their
purpose is to provide drivers with uniform
reliable information on tire performance data.
tire manufacturers have to grade tires using
three performance factors: tread wear 0043,
tire traction 0044and heat resistance 0087. All
tires sold in North America are provided with
the corresponding quality class mark on the
sidewall of the tire, even though these
regulations do not apply to Canada.
Quality grades can be found, where
applicable, on the tire sidewall between the
tread shoulder and maximum tire width. Example:
R
Treadwear grade: 200
R Traction grade: AA
R Temperature grade: A
All passenger car tires must conform to the
statutory safety requirements in addition to
these grades.
i The actual values for tires are vehicle-
specific and may deviate from the values in
the illustration.
Treadwear The treadwear grade is a comparative rating
based on the wear rate of the tire when tested
under controlled conditions on a specified
U.S. government course. For example, a tire
graded 150 would wear one and one-half
times as well on the government course as a
tire graded 100.
The relative performance of tires depends
upon the actual conditions of their use,
however, and may depart significantly from
the norm due to variations in driving habits,
service practices and differences in road
characteristics and climate conditions.
Traction
G
WARNING
The traction grade assigned to this tire is
based on straight-ahead braking traction
tests, and does not include acceleration,
cornering, hydroplaning, or peak traction
characteristics.
! Avoid wheelspin. This can lead to damage
to the drive train.
The traction grades – from highest to lowest
– are AA, A, B and C. Those grades represent
the tire's ability to stop on wet pavement as
measured under controlled conditions on
specified government test surfaces of asphalt
and concrete. A tire marked C may have poor
traction performance. All about wheels and tires
261Wheels and tires Z