2014 MERCEDES-BENZ SLS AMG GT COUPE turn signal
[x] Cancel search: turn signalPage 176 of 290

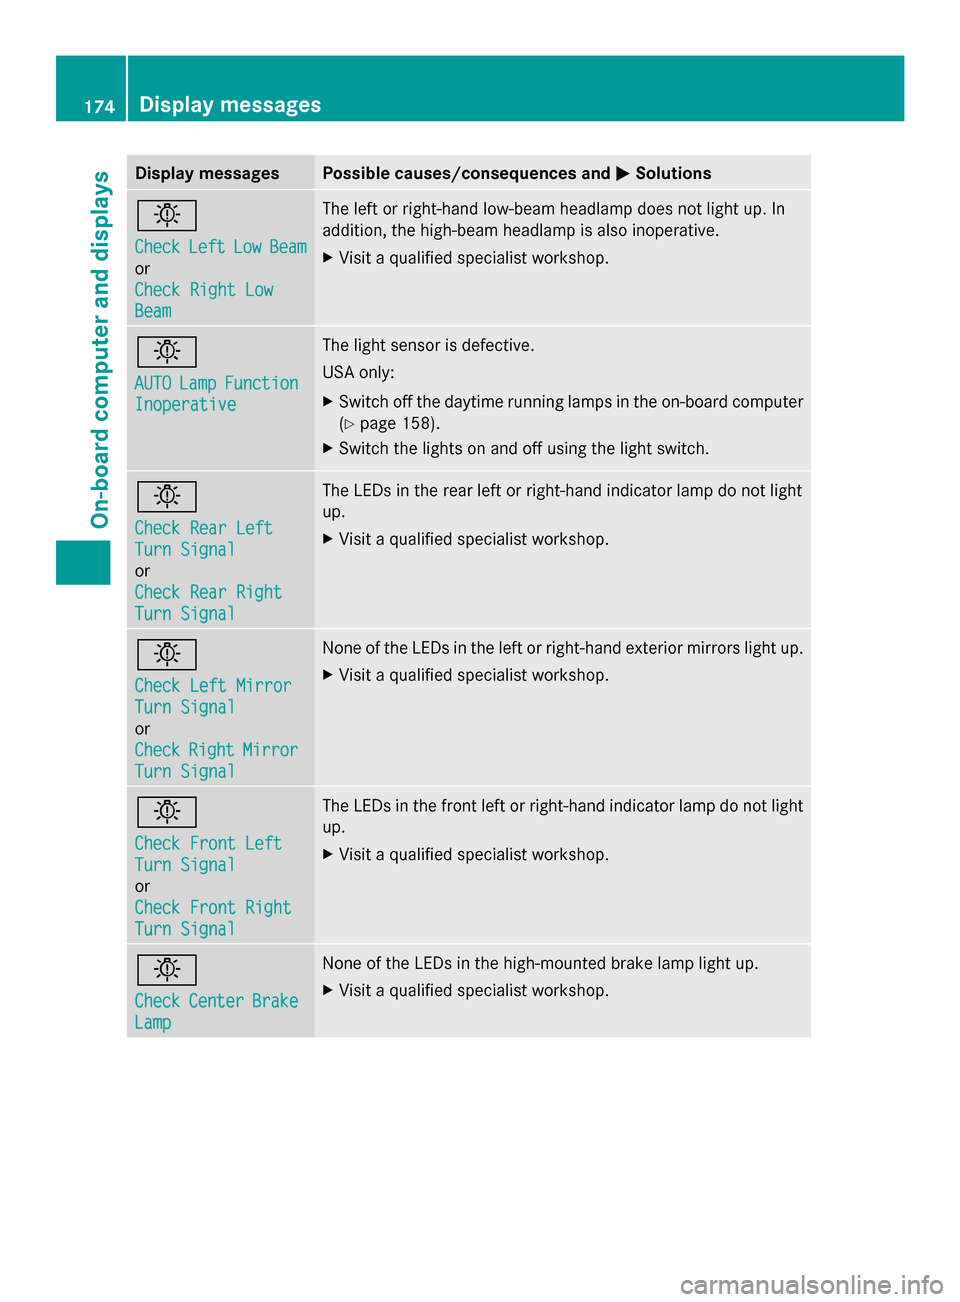
Display messages Possible causes/consequences and
0050
0050Solutions 0049
Check Check
Left
LeftLow
LowBeam
Beam
or
Check Right Low Check Right Low
Beam Beam The left or right-hand low-beam headlamp does not light up. In
addition, the high-beam headlamp is also inoperative.
X
Visit a qualified specialist workshop. 0049
AUTO AUTO
Lamp
LampFunction
Function
Inoperative
Inoperative The light sensor is defective.
USA only:
X
Switch off the daytime running lamps in the on-board computer
(Y page 158).
X Switch the lights on and off using the light switch. 0049
Check Rear Left Check Rear Left
Turn Signal Turn Signal
or
Check Rear Right Check Rear Right
Turn Signal Turn Signal The LEDs in the rear left or right-hand indicator lamp do not light
up.
X
Visit a qualified specialist workshop. 0049
Check Left Mirror Check Left Mirror
Turn Signal Turn Signal
or
Check Check
Right
RightMirror
Mirror
Turn Signal
Turn Signal None of the LEDs in the left or right-hand exterior mirrors light up.
X
Visit a qualified specialist workshop. 0049
Check Front Left Check Front Left
Turn Signal Turn Signal
or
Check Front Right Check Front Right
Turn Signal Turn Signal The LEDs in the front left or right-hand indicator lamp do not light
up.
X
Visit a qualified specialist workshop. 0049
Check Check
Center
Center Brake
Brake
Lamp
Lamp None of the LEDs in the high-mounted brake lamp light up.
X
Visit a qualified specialist workshop. 174
Display
messagesOn-board computer and displays
Page 215 of 290

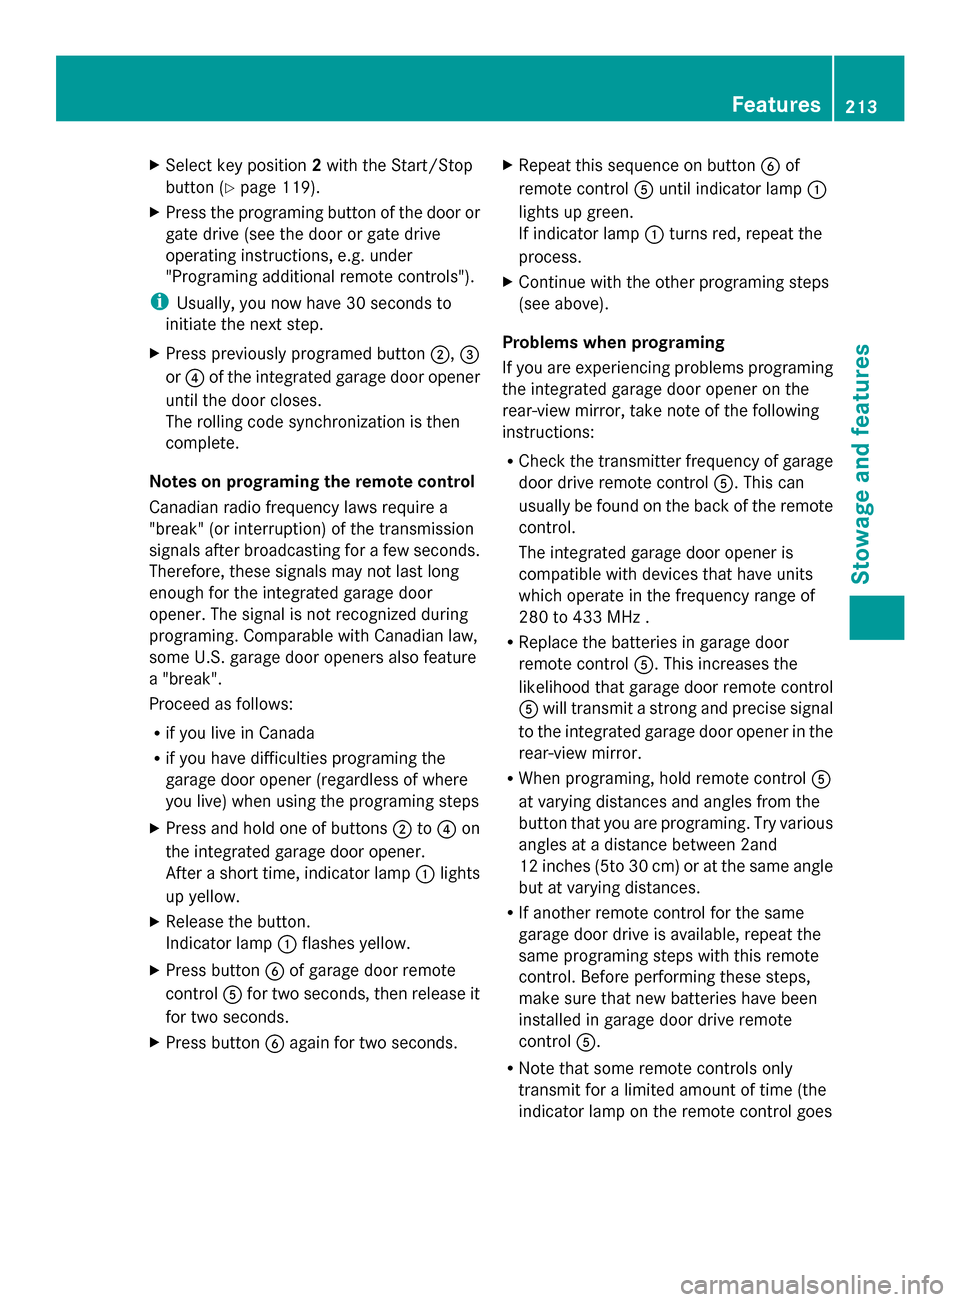
X
Select key position 2with the Start/Stop
button (Y page 119).
X Press the programing button of the door or
gate drive (see the door or gate drive
operating instructions, e.g. under
"Programing additional remote controls").
i Usually, you now have 30 seconds to
initiate the next step.
X Press previously programed button 0044,0087
or 0085 of the integrated garage door opener
until the door closes.
The rolling code synchronization is then
complete.
Notes on programing the remote control
Canadian radio frequency laws require a
"break" (or interruption) of the transmission
signals after broadcasting for a few seconds.
Therefore, these signals may not last long
enough for the integrated garage door
opener. The signal is not recognized during
programing. Comparable with Canadian law,
some U.S. garage door openers also feature
a "break".
Proceed as follows:
R if you live in Canada
R if you have difficulties programing the
garage door opener (regardless of where
you live) when using the programing steps
X Press and hold one of buttons 0044to0085 on
the integrated garage door opener.
After a short time, indicator lamp 0043lights
up yellow.
X Release the button.
Indicator lamp 0043flashes yellow.
X Press button 0084of garage door remote
control 0083for two seconds, then release it
for two seconds.
X Press button 0084again for two seconds. X
Repeat this sequence on button 0084of
remote control 0083until indicator lamp 0043
lights up green.
If indicator lamp 0043turns red, repeat the
process.
X Continue with the other programing steps
(see above).
Problems when programing
If you are experiencing problems programing
the integrated garage door opener on the
rear-view mirror, take note of the following
instructions:
R Check the transmitter frequency of garage
door drive remote control 0083. This can
usually be found on the back of the remote
control.
The integrated garage door opener is
compatible with devices that have units
which operate in the frequency range of
280 to 433 MHz .
R Replace the batteries in garage door
remote control 0083. This increases the
likelihood that garage door remote control
0083 will transmit a strong and precise signal
to the integrated garage door opener in the
rear-view mirror.
R When programing, hold remote control 0083
at varying distances and angles from the
button that you are programing. Try various
angles at a distance between 2and
12 inches (5to 30 cm) or at the same angle
but at varying distances.
R If another remote control for the same
garage door drive is available, repeat the
same programing steps with this remote
control. Before performing these steps,
make sure that new batteries have been
installed in garage door drive remote
control 0083.
R Note that some remote controls only
transmit for a limited amount of time (the
indicator lamp on the remote control goes Features
213Stowage and features Z
Page 216 of 290

out). Press button
0084on remote control
0083 again before transmission ends.
R Align the antenna cable of the garage door
opener unit. This can improve signal
reception/transmission.
Opening/closing the garage door Once programed, the integrated garage door
opener 0083will assume the function of the
garage door system's remote control. Please
also read the operating instructions for the
garage door system.
X Select key position 2with the Start/Stop
button.
X Press button 0044,0087or0085 which you have
programed to operate the garage door.
Garage door system with a fixed code:
indicator lamp 0043lights up green.
Garage door system with a rolling code:
indicator lamp 0043flashes green.
i The transmitter will transmit a signal as
long as the button is pressed. The
transmission is halted after a maximum of
ten seconds and indicator lamp 0043lights
up yellow. Press button 0044,0087or0085 again
if necessary.
Clearing the memory X
Select key position 2with the Start/Stop
button.
X Press buttons 0044and 0085.
The indicator lamp lights up yellow.
X Press and hold buttons 0044and 0085until the
indicator lamp turns green.
i Make sure that you clear the memory of
the integrated garage door opener before
selling the vehicle. Charge maintenance socket
The battery may drain if the vehicle is left
stationary for long periods. In this case,
Mercedes-Benz recommends attaching the trickle charger to the charge maintenance
socket.
The charge maintenance socket is designed
solely for connecting a trickle charger. A
trickle charger can be obtained from an
authorized Mercedes-Benz Center, for
example.
X
Switch the ignition off.
X Open the trunk lid.
X Connect the cable provided in the trunk to
the trickle charger.
X Connect the trickle charger to charge
maintenance socket 0043. Consult the
manufacturer's operating instructions on
how to do so.
i A trickle charger connected to charge
maintenance socket 0043only maintains the
current charge level of the vehicle's
electrical system battery. If the vehicle's
electrical system battery is discharged, it
needs to be charged with a battery charger.
You will find further information on
charging the battery on (Y page 236). Floormat on the driver's side
G
WARNING
Objects in the driver's footwell can restrict the
pedal travel or obstruct a depressed pedal.
The operating and road safety of the vehicle
is jeopardized. There is a risk of an accident.
Make sure that all objects in the vehicle are
stowed correctly, and that they cannot enter
the driver's footwell. Install the floormats 214
FeaturesStowage and features
Page 230 of 290

!
Hold the wiper arm securely when folding
back. The windshield could be damaged if
the wiper arm smacks against it suddenly.
Cleaning the exterior lighting X
Clean the plastic lenses of the exterior
lighting using a wet sponge and a mild
cleaning agent, e.g. Mercedes-Benz car
shampoo or cleaning cloths.
! Only use cleaning agents or cleaning
cloths which are suitable for plastic light
lenses. Unsuitable cleaning agents or
cleaning cloths could scratch or damage
the plastic light lenses.
Cleaning the mirror turn signals !
Only use cleaning agents or cleaning
cloths that are suitable for plastic lenses.
Unsuitable cleaning agents or cleaning
cloths could scratch or damage the plastic
lenses of the mirror turn signals.
X Clean the plastic lenses of the mirror turn
signals in the exterior mirror housing using
a wet sponge and a mild cleaning agent,
e.g. Mercedes-Benz car shampoo or
cleaning cloths.
Cleaning the sensors !
If you clean the sensors with a power
washer, make sure that you keep a
distance of at least 11.8 in (30 cm) between
the vehicle and the power washer nozzle.
Information about the correct distance is
available from the equipment
manufacturer. X
Clean sensors 0043of the driving systems
with water, car shampoo and a soft cloth.
Cleaning the rear view camera X
Use clear water and a soft cloth to clean
camera lens 0043.
! Do not clean the camera lens and the area
around the rear view camera with a power
washer.
Cleaning the exhaust pipes !
Do not clean the exhaust pipe with acid-
based cleaning agents such as sanitary
cleansers or wheel cleaners.
X Clean the exhaust pipe with a chrome care
product tested and approved by Mercedes-
Benz. 228
CareMaintenance and care
Page 246 of 290

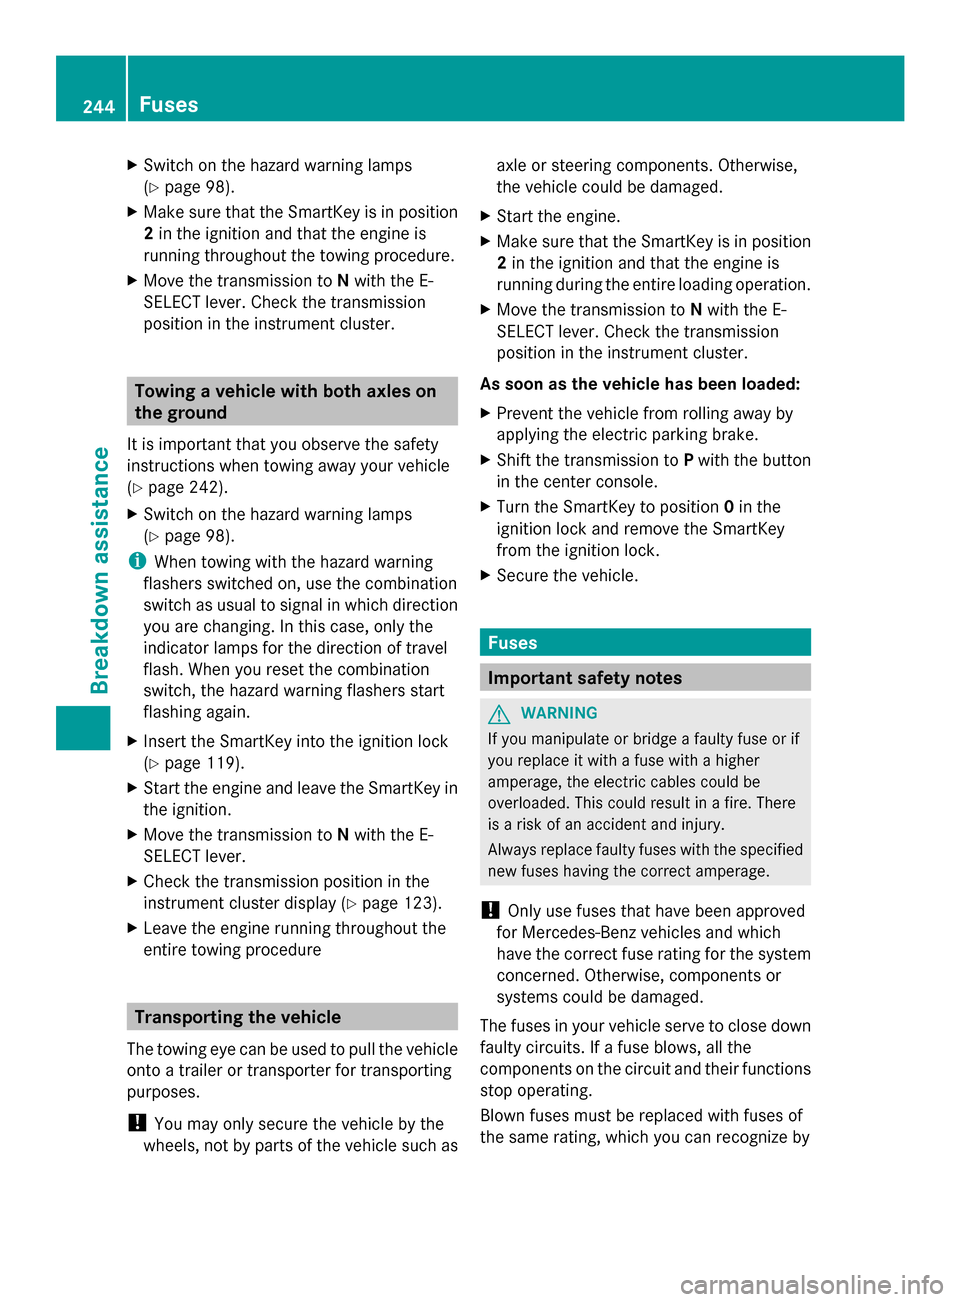
X
Switch on the hazard warning lamps
(Y page 98).
X Make sure that the SmartKey is in position
2 in the ignition and that the engine is
running throughout the towing procedure.
X Move the transmission to Nwith the E-
SELECT lever. Check the transmission
position in the instrument cluster. Towing a vehicle with both axles on
the ground
It is important that you observe the safety
instructions when towing away your vehicle
(Y page 242).
X Switch on the hazard warning lamps
(Y page 98).
i When towing with the hazard warning
flashers switched on, use the combination
switch as usual to signal in which direction
you are changing. In this case, only the
indicator lamps for the direction of travel
flash. When you reset the combination
switch, the hazard warning flashers start
flashing again.
X Insert the SmartKey into the ignition lock
(Y page 119).
X Start the engine and leave the SmartKey in
the ignition.
X Move the transmission to Nwith the E-
SELECT lever.
X Check the transmission position in the
instrument cluster display (Y page 123).
X Leave the engine running throughout the
entire towing procedure Transporting the vehicle
The towing eye can be used to pull the vehicle
onto a trailer or transporter for transporting
purposes.
! You may only secure the vehicle by the
wheels, not by parts of the vehicle such as axle or steering components. Otherwise,
the vehicle could be damaged.
X Start the engine.
X Make sure that the SmartKey is in position
2in the ignition and that the engine is
running during the entire loading operation.
X Move the transmission to Nwith the E-
SELECT lever. Check the transmission
position in the instrument cluster.
As soon as the vehicle has been loaded:
X Prevent the vehicle from rolling away by
applying the electric parking brake.
X Shift the transmission to Pwith the button
in the center console.
X Turn the SmartKey to position 0in the
ignition lock and remove the SmartKey
from the ignition lock.
X Secure the vehicle. Fuses
Important safety notes
G
WARNING
If you manipulate or bridge a faulty fuse or if
you replace it with a fuse with a higher
amperage, the electric cables could be
overloaded. This could result in a fire. There
is a risk of an accident and injury.
Always replace faulty fuses with the specified
new fuses having the correct amperage.
! Only use fuses that have been approved
for Mercedes-Benz vehicles and which
have the correct fuse rating for the system
concerned. Otherwise, components or
systems could be damaged.
The fuses in your vehicle serve to close down
faulty circuits. If a fuse blows, all the
components on the circuit and their functions
stop operating.
Blown fuses must be replaced with fuses of
the same rating, which you can recognize by 244
FusesBreakdown assistance