2014 MERCEDES-BENZ S-CLASS COUPE odometer
[x] Cancel search: odometerPage 18 of 413

O
Occupant safety Automatic measures after an acci-
dent .................................................60
Children in the vehicle .................... .60
Important safety notes .................... 43
Pets in the vehicle ........................... 69
PRE-SAFE ®
(anticipatory occu-
pant protection) ............................... 59
Odometer
see Total distance recorder
see Trip meter
Oil
see Engine oil
On-board computer
AMG menu .....................................2 63
Assistance graphic menu .............. .256
Assistance menu ........................... 257
Display messages .......................... 265
Displaying a service message ....... .342
DISTRONIC PLUS ........................... 198
Factory settings ............................ .263
Head-up displa y............................. 245
Important safety notes .................. 242
Instrument cluster menu ............... 261
Light menu ..................................... 260
Media menu ................................... 252
Menu overview .............................. 247
Message memory .......................... 265
Navigation menu ............................ 249
Operating the TV ............................ 254
Operating video DVD ..................... 253
Operation ....................................... 243
Radio menu ................................... 251
Service menu ................................. 256
Settings menu ............................... 257
Standard display ............................ 247
Telephone menu ............................ 254
Trip menu ...................................... 247
Vehicle menu ................................. 262
Operating instructions
Vehicle equipment ........................... 23
Operating safety
Declaration of conformity ................ 24
Important safety note ...................... 23
Operating system
see On-board computer Outside temperature display
........... 243
Overhead control panel ...................... 38
Owner's Manual
Overview .......................................... 23 P
Paint code .......................................... 402
Paintwork (cleaning instructions) ... 345
Panic alarm .......................................... 42
Panorama roof ................................... 102
Parking
Important safety notes .................. 178
Parking brake ................................ 180
Position of exterior mirror, front-
passenger side ............................... 119
Reversing camera .......................... 217
see PARKTRONIC
Parking aid
Active Parking Assist ..................... 212
see Exterior mirrors
see PARKTRONIC
Parking assistance
see PARKTRONIC
Parking brake
Display message ............................ 269
Electric parking brake .................... 180
Warning lamp ................................. 306
Parking lamps
Display message ............................ 280
Switching on/of f........................... 126
PARKTRONIC
Deactivating/activating ................. 211
Driving system ............................... 209
Function/note s............................. 209
Important safety notes .................. 209
Problem (fault) ............................... 212
Sensor range ................................. 209
Warning display ............................. 210
PASSENGER AIR BAG
Indicator lamps ................................ 43
PASSENGER AIR BAG indicator
lamp
Problem (malfunction) ................... 278
Pedestrian protection
Active bonnet (pedestrian protec-tion) ............................................... 336 Index
15
Page 239 of 413

ted at any time if you steer slightly in the
opposite direction or accelerate.
The course-correcting brake application is
available in the speed range between
30 km/h and 200 km/h.
Either a course-correcting brake application
appropriate to the driving situation, or none at all, may occur if:
R there are vehicles or obstacles, e.g. crash
barriers, on both sides of your vehicle
R a vehicle approaches too closely on the
side
R you have adopted a sporty driving style with
high cornering speeds
R you clearly brake or accelerate
R a driving safety system intervenes, such as
ESP ®
or PRE-SAFE ®
Brake
R ESP ®
is deactivated
R a loss of tyre pressure or a defective tyre is
detected
Activating Active Blind Spot Assist
X Make sure that Active Blind Spot Assist is
activated in the on-board computer
(Y page 259).
X Turn the key to position 2in the ignition
lock.
Warning lamps :in the exterior mirrors
light up red for approximately 1.5 second s.
Grey radar waves propagating backwards
appear next to the vehicle in the assistance
display in the multifunction display. Active Lane Keeping Assist General notes
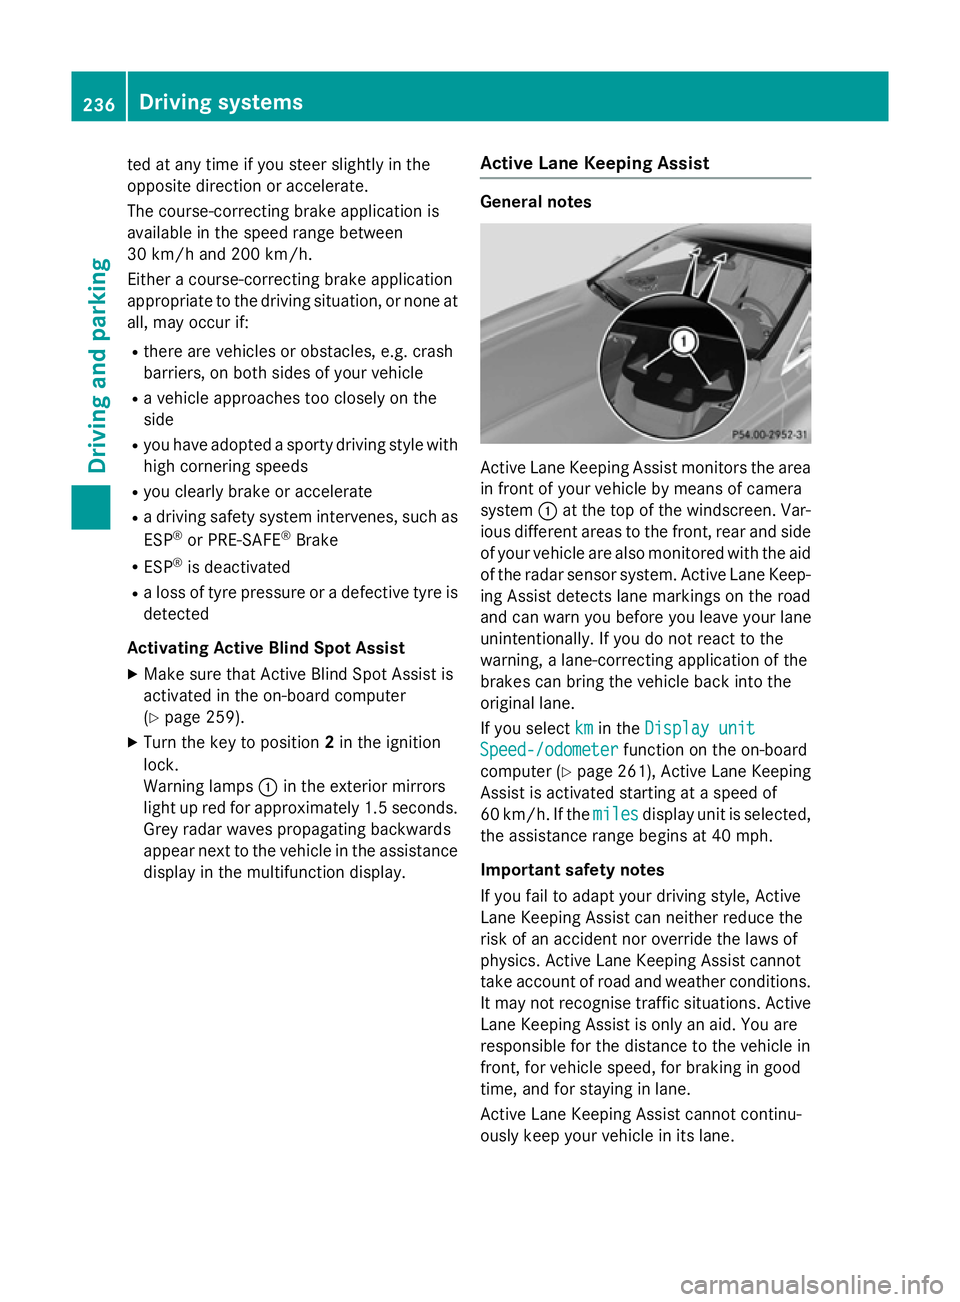
Active Lane Keeping Assist monitors the area
in front of your vehicle by means of camera
system :at the top of the windscreen. Var-
ious different areas to the front, rear and side
of your vehicle are also monitored with the aid
of the radar sensor system. Active Lane Keep-
ing Assist detects lane markings on the road
and can warn you before you leave your lane
unintentionally. If you do not react to the
warning, a lane-correcting application of the
brakes can bring the vehicle back into the
original lane.
If you select km kmin the Display unit
Display unit
Speed-/odometer
Speed-/odometer function on the on-board
computer (Y page 261), Active Lane Keeping
Assist is activated starting at a speed of
60 km/h. If the miles milesdisplay unit is selected,
the assistance range begins at 40 mph.
Important safety notes
If you fail to adapt your driving style, Active
Lane Keeping Assist can neither reduce the
risk of an accident nor override the laws of
physics. Active Lane Keeping Assist cannot
take account of road and weather conditions. It may not recognise traffic situations. Active Lane Keeping Assist is only an aid. You are
responsible for the distance to the vehicle in
front, for vehicle speed, for braking in good
time, and for staying in lane.
Active Lane Keeping Assist cannot continu-
ously keep your vehicle in its lane. 236
Driving systemsDriving and pa
rking
Page 264 of 413

X
Press the :or9 button to select the
Light
Light submenu.
X Press ato confirm.
X Press the :or9 button to select the
Intelligent Light System
Intelligent Light System function.
If the Intelligent Light System
Intelligent Light System func-
tion has been switched on, the cone of light
and the Lsymbol in the multifunction
display are shown in white.
X Press the abutton to save the setting.
When you activate the Intelligent
IntelligentLight
Light
System
System, you activate the following functions:
R Motorway mode
R Active light function
R Cornering light function
R Extended range foglamps
If you set the dipped-beam headlamps for
driving on the right/left, the multifunction
display shows the Inactive for left- Inactive for left-
side traffic
side traffic orInactive for right-
Inactive for right-
side traffic
side traffic display message instead of
the Intelligent
Intelligent Light
LightSystem
System function in
the Light
Light submenu (Y page 261). This dis-
play message will only appear if the setting for
driving on the left/right is set opposite to your
vehicle's country version.
Further information on the Intelligent Light
System (Y page 127).
Switching the spotlight function on or off X Use ò on the steering wheel to call up
the list of menus.
X Press the :or9 button on the steer-
ing wheel to select the Settings
Settings menu.
X Confirm by pressing aon the steering
wheel.
X Press the :or9 button to select the
Light Light submenu.
X Press ato confirm.
X Use : or9 to select the Spotlight
Spotlight
function.
X Press the abutton to save the setting.
When the spotlight function is activated,
the assistance graphic shows the pedes-
trian symbol. Further information on the spotlight function
(Y
page 232).
Setting the dipped-beam headlamps for
driving on the left/right
X Use ò on the steering wheel to call up
the list of menus.
X Press the :or9 button on the steer-
ing wheel to select the Settings
Settings menu.
X Confirm by pressing aon the steering
wheel.
X Press the :or9 button to select the
Light Light submenu.
X Press ato confirm.
X Press :or9 to select the Dipped Dipped
beams Setting for
beams Setting for function.
You will see the selected setting: right-
right-
side traffic
side traffic orleft-side traffic
left-side traffic.
X Press the abutton to save the setting.
If you change the setting, conversion does
not take place until the next time the vehi-
cle is stationary.
This function is only available on vehicles with
the Intelligent Light System.
You can use this function to switch between
symmetrical and asymmetrical dipped beam
(Y page 124).
If you set the dipped-beam headlamps for
driving on the right/left, then motorway
mode and the extended range foglamps are
unavailable. These are only deactivated if the
setting for driving on the left/right is set
opposite to your vehicle's country version.
A qualified specialist workshop can set the
dipped-beam headlamps for driving on the
left/right.
Instrument cluster submenu Selecting the unit of measurement for dis-
tance
The Display unit Speed-/odometer: Display unit Speed-/odometer:
function allows you to choose whether cer-
tain displays appear in kilometres or miles in the multifunction display. Menus and submenus
261On-board computer and displays Z
Page 265 of 413

X
Use ò on the steering wheel to call up
the list of menus.
X Press the :or9 button on the steer-
ing wheel to select the Settings
Settingsmenu.
X Confirm by pressing aon the steering
wheel.
X Press the :or9 button to select the
Instrument cluster
Instrument cluster submenu.
X Press ato confirm.
X Press the :or9 button to select the
Display unit Speed-/odometer
Display unit Speed-/odometer func-
tion.
You will see the selected setting: km
km or
Miles Miles.
X Press the abutton to save the setting.
The selected unit of measurement for dis-
tance applies to:
R speedometer
R digital speedometer in the Trip
Trip menu
R additional speedometer in the status area
on the multi-function display
The unit in the additional speedometer is
displayed inversely to the selected dis-
tance unit.
R total distance recorder and the trip meter
R trip computer
R current consumption and the range
R navigation messages in the Navi Navimenu
R cruise control
R SPEEDTRONIC
R DISTRONIC PLUS
R ASSYST PLUS service interval display
Selecting the permanent display function
Use the Permanent display
Permanent display function to
switch on the following displays in the status area of the multifunction display:
R outside temperature
R coolant temperature
X Use ò on the steering wheel to call up
the list of menus.
X Press the :or9 button on the steer-
ing wheel to select the Settings
Settings menu. X
Confirm by pressing aon the steering
wheel.
X Press the :or9 button to select the
Instrument cluster Instrument cluster submenu.
X Press ato confirm.
X Press :or9 to select the Perma‐ Perma‐
nent display
nent display function.
X Press ato confirm.
The current selection Outside tempera‐
Outside tempera‐
ture
ture orCoolant temperature
Coolant temperature is dis-
played.
X To change the setting: pressaagain.
Switching the additional speedometer
on/off
Use the Additional speedometer Additional speedometer function
to choose whether the status area in the mul- tifunction display shows the speed digitally.
X Use ò on the steering wheel to call up
the list of menus.
X Press the :or9 button on the steer-
ing wheel to select the Settings
Settingsmenu.
X Confirm by pressing aon the steering
wheel.
X Press the :or9 button to select the
Instrument cluster
Instrument cluster submenu.
X Press ato confirm.
X Use : or9 to select the Addi‐
Addi‐
tional speedometer
tional speedometer function.
The current selection is displayed.
X To activate/deactivate: press thea
button again.
Vehicle submenu Setting permanent SPEEDTRONIC
X Use ò on the steering wheel to call up
the list of menus.
X Press the :or9 button on the steer-
ing wheel to select the Settings Settingsmenu.
X Confirm by pressing aon the steering
wheel.
X Press the :or9 button to select the
Vehicle Vehicle submenu. 262
Menus and submenusOn-board computer and displays