2014 MERCEDES-BENZ C-Class ESP
[x] Cancel search: ESPPage 69 of 270
Entering the ZIP code, center and inter-
section Entering the ZIP code
X Call up the address entry menu
(Y page 64).
X Select ZIP ZIPin the address entry menu by
turning 00790052007Aand sliding 009700520064the
COMAND controller and press 0098to con-
firm.
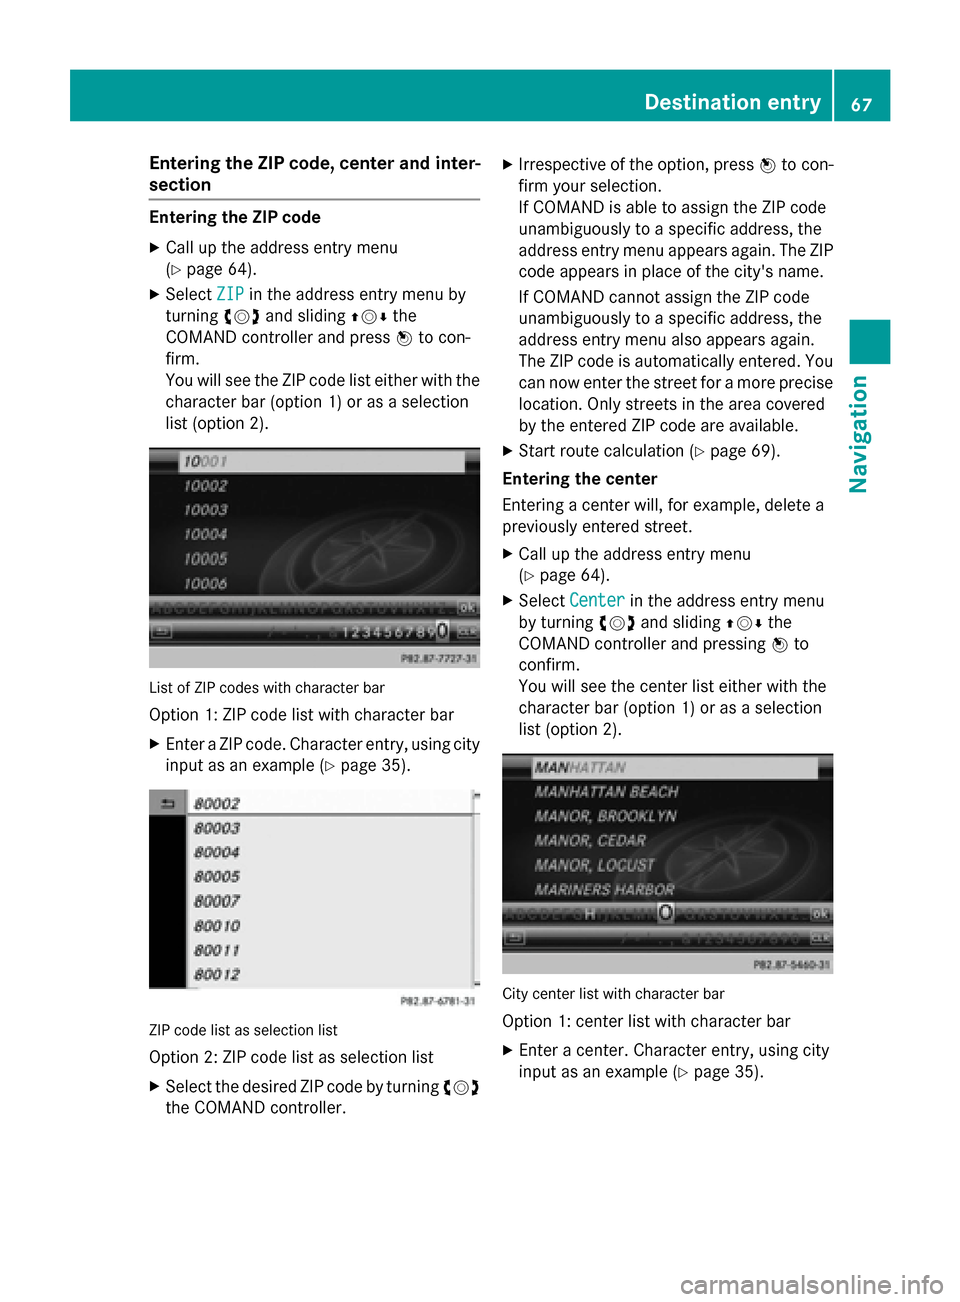
You will see the ZIP code list either with the
character bar (option 1) or as a selection
list (option 2). List of ZIP codes with character bar
Option 1: ZIP code list with character bar
X Enter a ZIP code. Character entry, using city
input as an example (Y page 35).ZIP code list as selection list
Option 2: ZIP code list as selection list
X Select the desired ZIP code by turning 00790052007A
the COMAND controller. X
Irrespective of the option, press 0098to con-
firm your selection.
If COMAND is able to assign the ZIP code
unambiguously to a specific address, the
address entry menu appears again. The ZIP code appears in place of the city's name.
If COMAND cannot assign the ZIP code
unambiguously to a specific address, the
address entry menu also appears again.
The ZIP code is automatically entered. You
can now enter the street for a more precise location. Only streets in the area covered
by the entered ZIP code are available.
X Start route calculation (Y page 69).
Entering the center
Entering a center will, for example, delete a
previously entered street.
X Call up the address entry menu
(Y page 64).
X Select Center
Center in the address entry menu
by turning 00790052007Aand sliding 009700520064the
COMAND controller and pressing 0098to
confirm.
You will see the center list either with the
character bar (option 1) or as a selection
list (option 2). City center list with character bar
Option 1: center list with character bar
X Enter a center. Character entry, using city
input as an example (Y page 35). Destination entry
67Navigation Z
Page 70 of 270
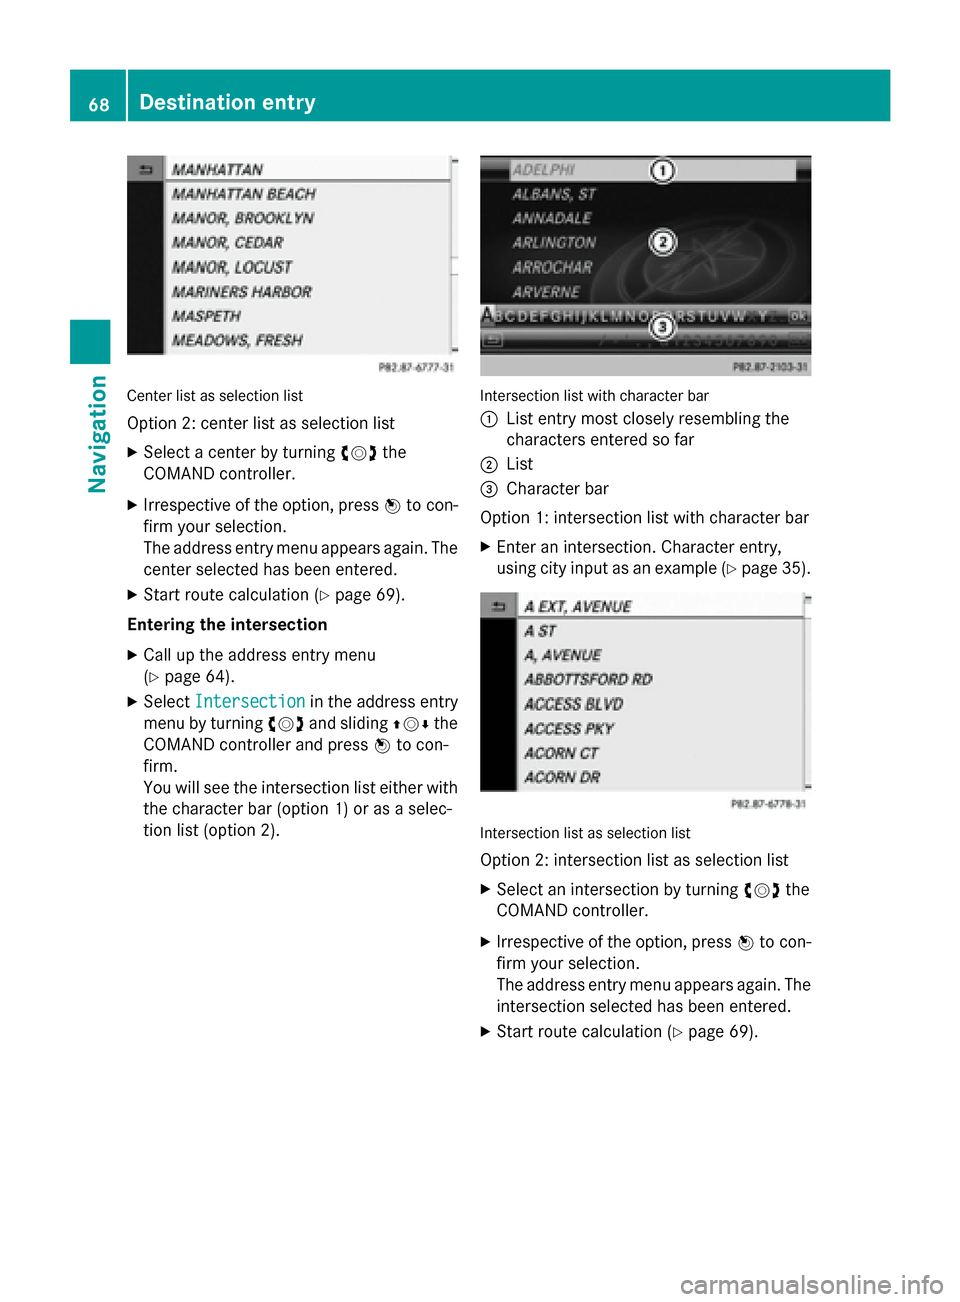
Center list as selection list
Option 2: center list as selection list
X Select a center by turning 00790052007Athe
COMAND controller.
X Irrespective of the option, press 0098to con-
firm your selection.
The address entry menu appears again. The center selected has been entered.
X Start route calculation (Y page 69).
Entering the intersection
X Call up the address entry menu
(Y page 64).
X Select Intersection
Intersection in the address entry
menu by turning 00790052007Aand sliding 009700520064the
COMAND controller and press 0098to con-
firm.
You will see the intersection list either with the character bar (option 1) or as a selec-
tion list (option 2). Intersection list with character bar
0043
List entry most closely resembling the
characters entered so far
0044 List
0087 Character bar
Option 1: intersection list with character bar X Enter an intersection. Character entry,
using city input as an example (Y page 35). Intersection list as selection list
Option 2: intersection list as selection list
X Select an intersection by turning 00790052007Athe
COMAND controller.
X Irrespective of the option, press 0098to con-
firm your selection.
The address entry menu appears again. The intersection selected has been entered.
X Start route calculation (Y page 69).68
Destination entryNavigation
Page 72 of 270
Selecting a destination from the des-
tination memory (e.g. My Address)
Introduction The destination memory always contains an
entry named "My Address". You may wish to
assign your home address to this entry, for
example (Y page 69), and select it for route
guidance. This entry is always located at the
top of the list in the destination memory.
X To switch to navigation mode: press the
00BE button.
X To show the menu: press0098the COMAND
controller.
X Select Destination
Destination in the navigation sys-
tem menu bar by turning 00790052007Athe
COMAND controller and press 0098to con-
firm.
X Select From Memory
From Memory and press0098to con-
firm.
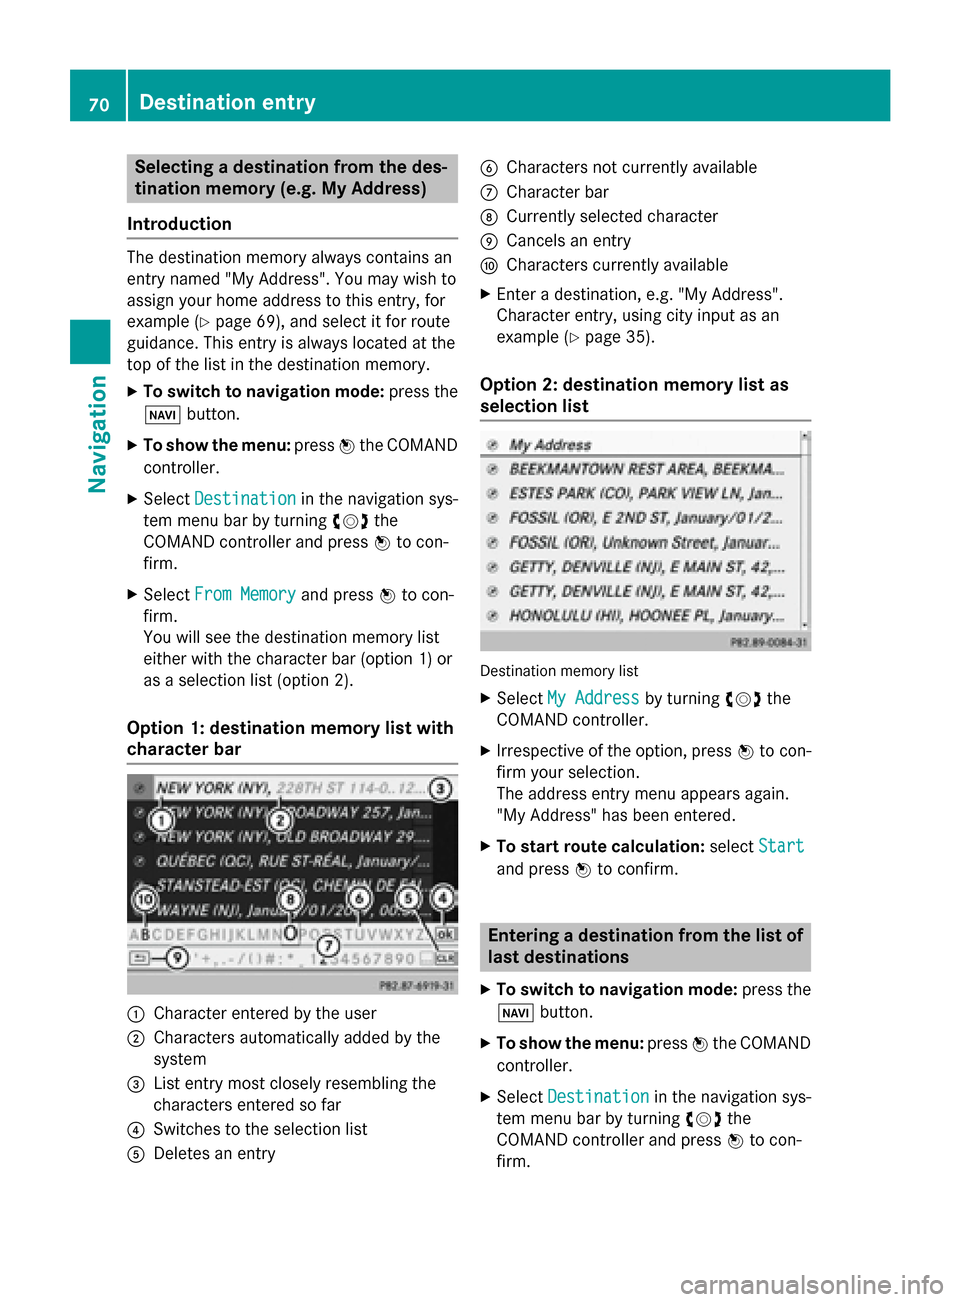
You will see the destination memory list
either with the character bar (option 1) or
as a selection list (option 2).
Option 1: destination memory list with
character bar 0043
Character entered by the user
0044 Characters automatically added by the
system
0087 List entry most closely resembling the
characters entered so far
0085 Switches to the selection list
0083 Deletes an entry 0084
Characters not currently available
006B Character bar
006C Currently selected character
006D Cancels an entry
006E Characters currently available
X Enter a destination, e.g. "My Address".
Character entry, using city input as an
example (Y page 35).
Option 2: destination memory list as
selection list Destination memory list
X Select My Address
My Address by turning00790052007Athe
COMAND controller.
X Irrespective of the option, press 0098to con-
firm your selection.
The address entry menu appears again.
"My Address" has been entered.
X To start route calculation: selectStart Start
and press 0098to confirm. Entering a destination from the list of
last destinations
X To switch to navigation mode: press the
00BE button.
X To show the menu: press0098the COMAND
controller.
X Select Destination
Destination in the navigation sys-
tem menu bar by turning 00790052007Athe
COMAND controller and press 0098to con-
firm. 70
Destination entryNavigation
Page 85 of 270
Selection Explanation
0053
Not Clas‐
Not Clas‐
sified
sified Standard entry for per-
sonal POIs
0053
COMAND COMAND Personal POIs (destina-
tions, routes) that you
have imported via the
online function
(Y
page 171). If you have created your own categories (e.g.
"Fishing", "Hotels"), they are also displayed
(Y page 83).
X Select a category and press 0098to confirm.
The icon display is switched on 0073or off 0053,
depending on the previous status.
i The icons will be displayed in the following
map scales:
R 1/16 mile (50 m)
R 1/8 mile (100 m)
R 1/4 mile (200 m)
R 1/2 mile (500 m)
Visual warning for personal POIs If the vehicle is approaching a personal POI,
this is highlighted on the map. The display for
the corresponding category must be activa-
ted for this. X
Call up the "Personal POIs" menu
(Y page 82).
X In the "Personal POIs" menu, select Vis‐
Vis‐
ual Warning For Personal POIs ual Warning For Personal POIs and
press 0098to confirm.
The menu displays the available categories.
X Select a category and press 0098to confirm.
This will switch the visual warning for all
personal POIs of this category on 0073or off
0053, depending on the previous setting.
Acoustic notification for personal POIs A gong sounds when the vehicle is approach-
ing a personal POI. The function for the cor-
responding category must be activated for
this.
X Call up the "Personal POIs" menu
(Y page 82).
X In the "Personal POIs" menu, select Acous‐ Acous‐
tic Notification for Personal POIs
tic Notification for Personal POIs
and press 0098to confirm.
The menu displays the available categories.
X Select a category and press 0098to confirm.
This will switch the acoustic notification for all personal POIs of this category on 0073or
off 0053, depending on the previous setting.
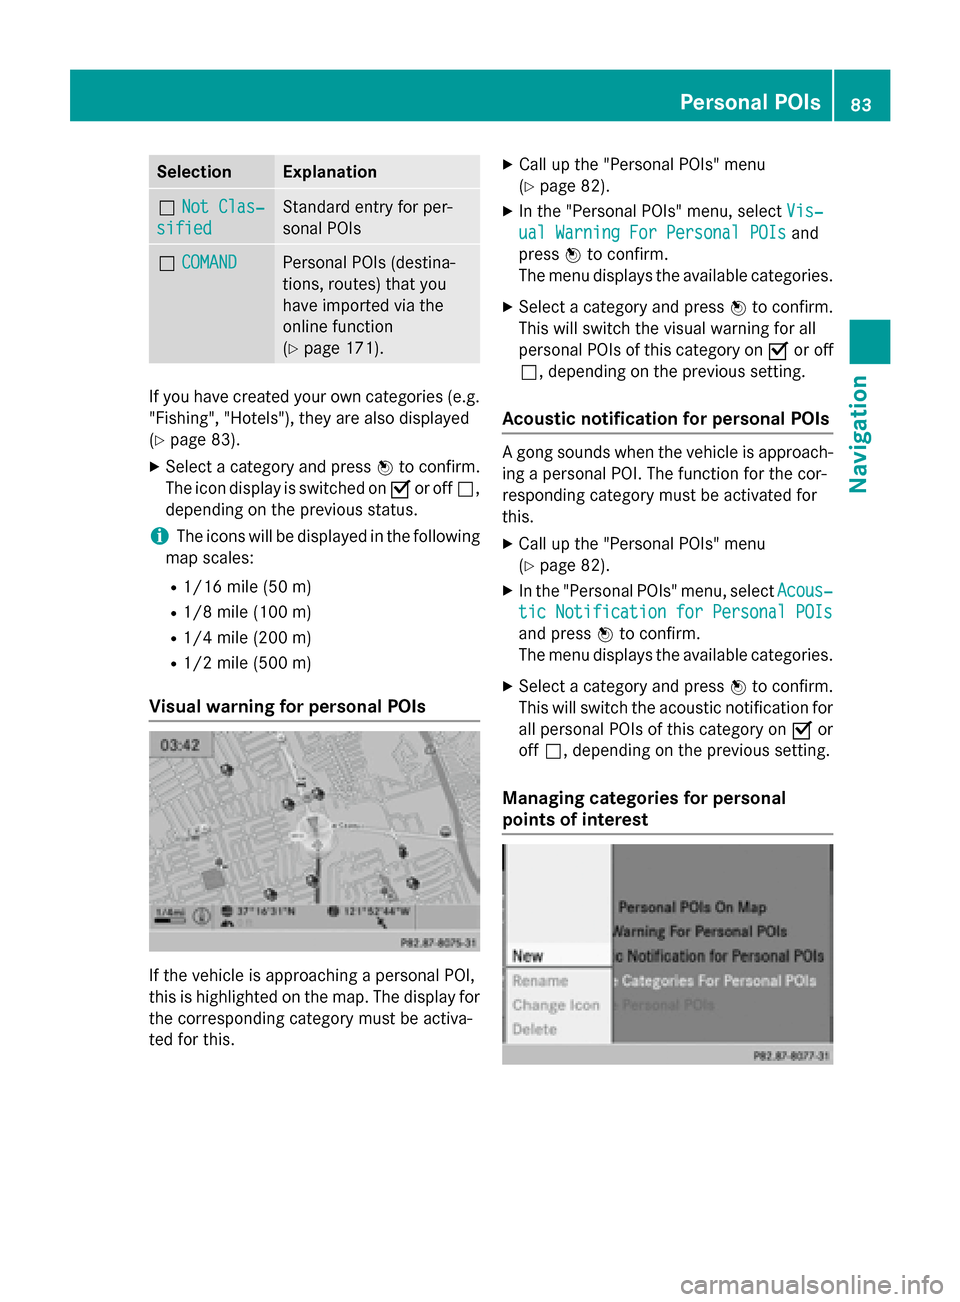
Managing categories for personal
points of interest Personal POIs
83Navigation Z
Page 89 of 270
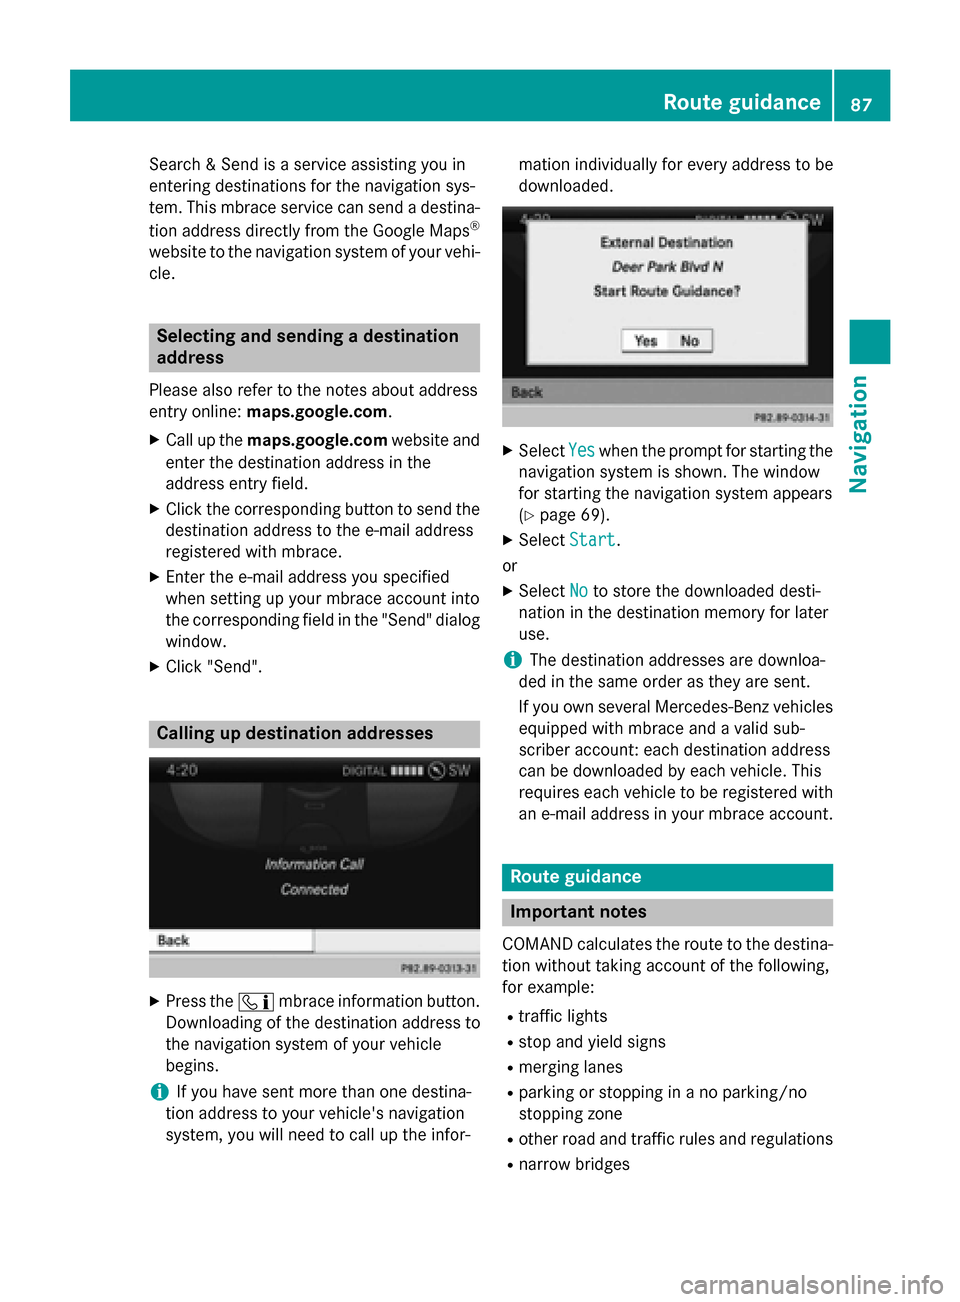
Search & Send is a service assisting you in
entering destinations for the navigation sys-
tem. This mbrace service can send a destina-
tion address directly from the Google Maps ®
website to the navigation system of your vehi-
cle. Selecting and sending a destination
address
Please also refer to the notes about address
entry online: maps.google.com.
X Call up the maps.google.com website and
enter the destination address in the
address entry field.
X Click the corresponding button to send the
destination address to the e-mail address
registered with mbrace.
X Enter the e-mail address you specified
when setting up your mbrace account into
the corresponding field in the "Send" dialog
window.
X Click "Send". Calling up destination addresses
X
Press the 00D9mbrace information button.
Downloading of the destination address to
the navigation system of your vehicle
begins.
i If you have sent more than one destina-
tion address to your vehicle's navigation
system, you will need to call up the infor- mation individually for every address to be
downloaded.
X
Select Yes Yeswhen the prompt for starting the
navigation system is shown. The window
for starting the navigation system appears
(Y page 69).
X Select Start
Start.
or
X Select No Noto store the downloaded desti-
nation in the destination memory for later
use.
i The destination addresses are downloa-
ded in the same order as they are sent.
If you own several Mercedes-Benz vehicles equipped with mbrace and a valid sub-
scriber account: each destination address
can be downloaded by each vehicle. This
requires each vehicle to be registered with
an e-mail address in your mbrace account. Route guidance
Important notes
COMAND calculates the route to the destina- tion without taking account of the following,
for example:
R traffic lights
R stop and yield signs
R merging lanes
R parking or stopping in a no parking/no
stopping zone
R other road and traffic rules and regulations
R narrow bridges Route guidance
87Navigation Z
Page 90 of 270
COMAND may give differing navigation com-
mands if the actual street/traffic situation
does not correspond with the digital map's
data. For example, if the road layout or the
direction of a one-way street has been
changed.
For this reason, you must always observe
road and traffic rules and regulations during
your journey. Road and traffic rules and reg-
ulations always have priority over the sys-
tem's driving recommendations.
Route guidance begins once a route has been calculated (Y page 69).
COMAND guides you to your destination by
means of navigation announcements in the
form of audible navigation announcements
and route guidance displays.
The route guidance displays can be seen if the
display is switched to navigation mode.
If you do not follow the navigation announce- ments or if you leave the calculated route,
COMAND automatically calculates a new
route to the destination.
If the digital map contains the corresponding
information, the following applies:
R during route guidance, COMAND tries to
avoid roads with restricted access. Those
roads, for example, that are closed to
through-traffic.
R roads that have time restrictions (e.g.
closed on Sundays and public holidays) are considered for route guidance on days
when they are open. For this purpose, the
relevant times must be correctly stored in
the database. Displays during route guidance
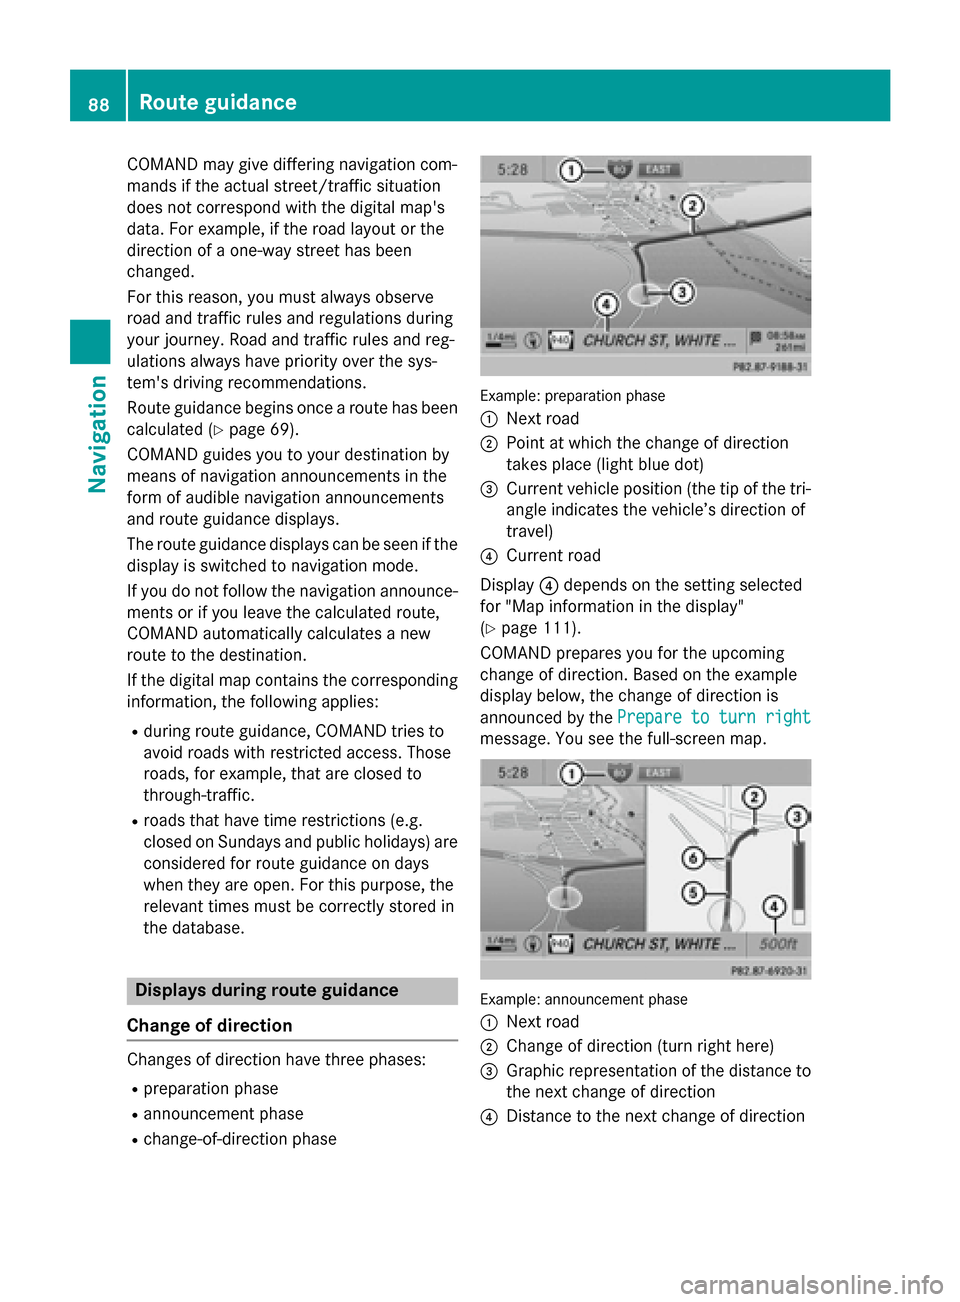
Change of direction Changes of direction have three phases:
R preparation phase
R announcement phase
R change-of-direction phase Example: preparation phase
0043
Next road
0044 Point at which the change of direction
takes place (light blue dot)
0087 Current vehicle position (the tip of the tri-
angle indicates the vehicle’s direction of
travel)
0085 Current road
Display 0085depends on the setting selected
for "Map information in the display"
(Y page 111).
COMAND prepares you for the upcoming
change of direction. Based on the example
display below, the change of direction is
announced by the Prepare to turn right Prepare to turn right
message. You see the full-screen map. Example: announcement phase
0043
Next road
0044 Change of direction (turn right here)
0087 Graphic representation of the distance to
the next change of direction
0085 Distance to the next change of direction 88
Route guidanceNavigation
Page 92 of 270
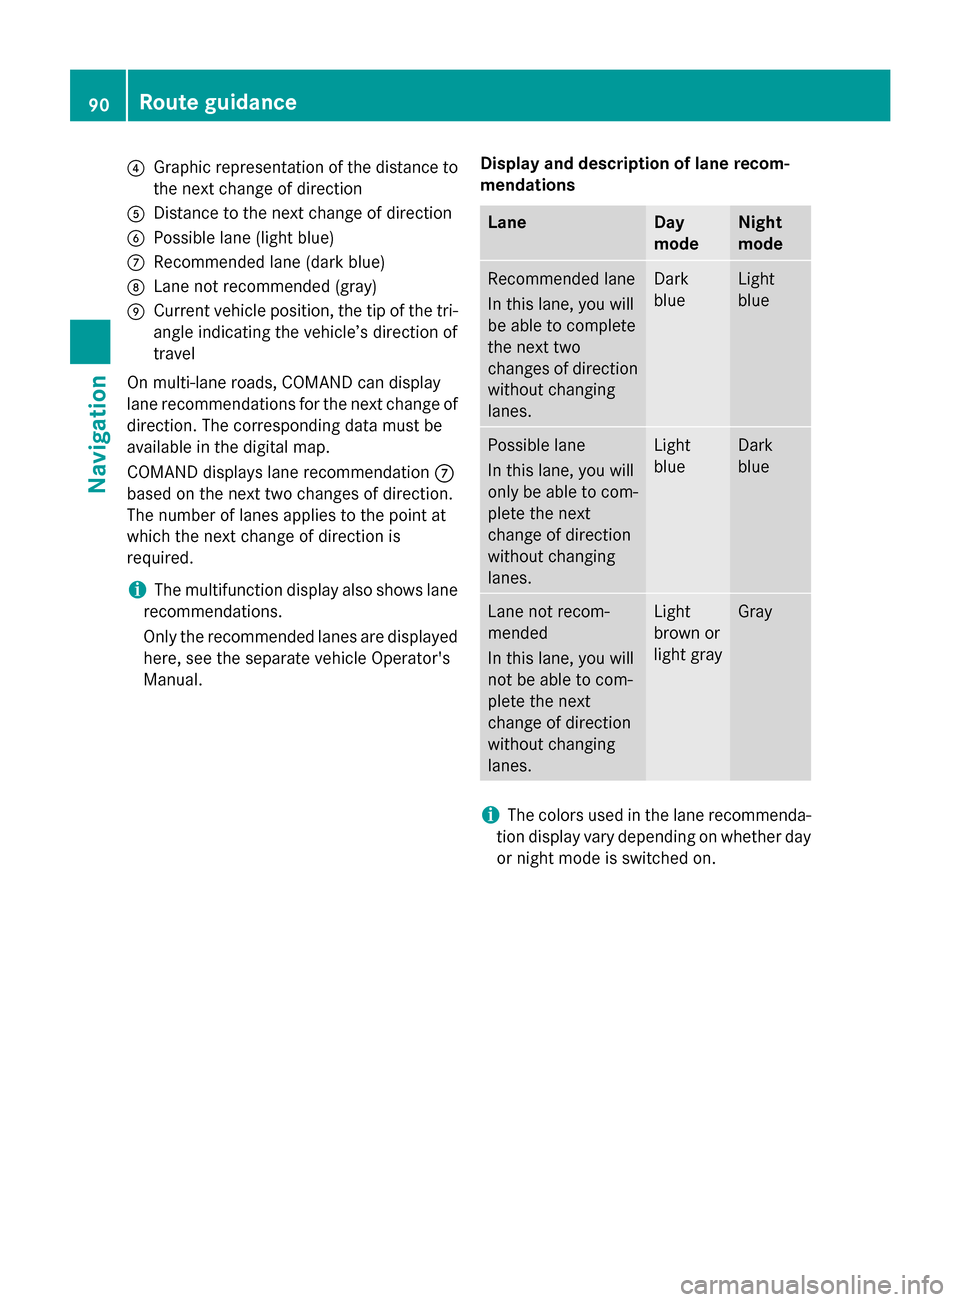
0085
Graphic representation of the distance to
the next change of direction
0083 Distance to the next change of direction
0084 Possible lane (light blue)
006B Recommended lane (dark blue)
006C Lane not recommended (gray)
006D Current vehicle position, the tip of the tri-
angle indicating the vehicle’s direction of
travel
On multi-lane roads, COMAND can display
lane recommendations for the next change of direction. The corresponding data must be
available in the digital map.
COMAND displays lane recommendation 006B
based on the next two changes of direction.
The number of lanes applies to the point at
which the next change of direction is
required.
i The multifunction display also shows lane
recommendations.
Only the recommended lanes are displayed here, see the separate vehicle Operator's
Manual. Display and description of lane recom-
mendations Lane Day
mode Night
mode
Recommended lane
In this lane, you will
be able to complete
the next two
changes of direction
without changing
lanes. Dark
blue Light
blue
Possible lane
In this lane, you will
only be able to com-
plete the next
change of direction
without changing
lanes. Light
blue Dark
blue
Lane not recom-
mended
In this lane, you will
not be able to com-
plete the next
change of direction
without changing
lanes. Light
brown or
light gray Gray
i
The colors used in the lane recommenda-
tion display vary depending on whether day
or night mode is switched on. 90
Route guidanceNavigation
Page 99 of 270

COMAND controller and press
0098to con-
firm.
The map with the crosshair appears.
X Proceed as described in the "Route dem-
onstration" section (Y page 95).
X To begin route calculation: selectStart
Start
in the menu by turning 00790052007Athe COMAND
controller and press 0098to confirm.
COMAND attempts to align the recorded
route with the digital map. Changing route names and icons
X
Select Edit Editin the menu by turning 00790052007A
the COMAND controller and press 0098to
confirm.
X To change the route name: selectRename
Rename
and press 0098to confirm.
i The name cannot be changed while the
vehicle is in motion.
X To change the icon: selectChange Icon
Change Icon
and press 0098to confirm.
Observe the further information on managing categories for personal POIs (Y page 83).
To change direction for route calculation: you can set the icon for the route to the start-
ing point or to the destination, thereby chang- ing the direction for route calculation.
During route calculation, one-way streets or
turn restrictions, for example, are taken into
account. Therefore, the outward and return
routes may differ from each other.
X Select Swap
Swap in the menu by turning 00790052007A
the COMAND controller and press 0098to
confirm. X
To delete a route: selectDelete Delete in the
menu by turning 00790052007Athe COMAND con-
troller and press 0098to confirm.
A prompt appears asking whether the route should be deleted.
X Select Yes YesorNo
No and press 0098to confirm.
If you select Yes
Yes, the route will be deleted.
If you select No
No, the process will be can-
celed.
Scanning the memory The SD memory card is inserted.
X Call up the Routes menu (Y page 96).
X Select Memory
Memory Info
Infoin the Routes menu by
turning 00790052007Athe COMAND controller and
press 0098to confirm.
A message such as Off-road Off-roadRoute RouteMem‐
Mem‐
ory 90% Full.
ory 90% Full. is displayed. Off-road and off-map
Notes The navigation system may guide you to off-
road routes that your vehicle cannot drive on
without causing damage to the tires or wheelsor the vehicle itself. It is the driver’s sole
responsibility to determine the suitability of
the route. The condition of the off-road routes
may vary, and their drivability may be affected by different factors such as time of day, sea-
son and current weather conditions, which
the navigation system cannot judge or take
into account. Route guidance
97Navigation Z