2014 KIA Sportage ignition
[x] Cancel search: ignitionPage 137 of 457
445
Features of your vehicle
D140102AHM-EE-C1
Electrochromic Mirror (ECM) (if equipped)
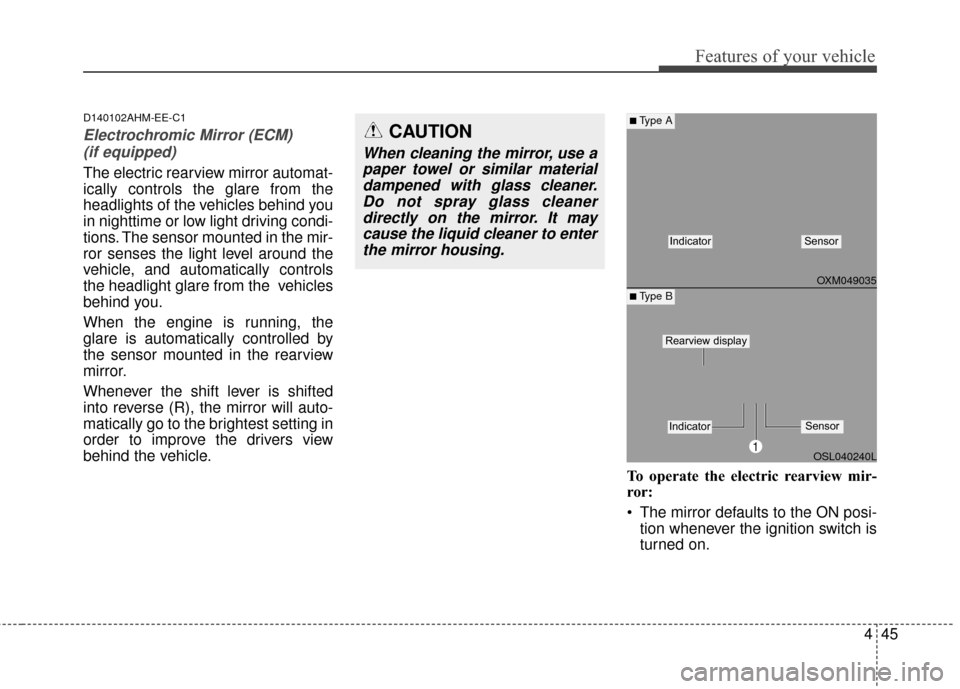
The electric rearview mirror automat-
ically controls the glare from the
headlights of the vehicles behind you
in nighttime or low light driving condi-
tions. The sensor mounted in the mir-
ror senses the light level around the
vehicle, and automatically controls
the headlight glare from the vehicles
behind you.
When the engine is running, the
glare is automatically controlled by
the sensor mounted in the rearview
mirror.
Whenever the shift lever is shifted
into reverse (R), the mirror will auto-
matically go to the brightest setting in
order to improve the drivers view
behind the vehicle.
To operate the electric rearview mir-
ror:
The mirror defaults to the ON posi-tion whenever the ignition switch is
turned on.
OXM049035
OSL040240L
■Type A
■ Type B
IndicatorSensor
1
IndicatorSensor
Rearview display
CAUTION
When cleaning the mirror, use apaper towel or similar materialdampened with glass cleaner.Do not spray glass cleanerdirectly on the mirror. It maycause the liquid cleaner to enterthe mirror housing.
Page 139 of 457
447
Features of your vehicle
Retain the original transmitter for
future programming procedures (i.e.,
new vehicle purchase). It is also sug-
gested that upon the sale of the vehi-
cle, the programmed HomeLink
®but-
tons be erased for security purposes
(follow step 1 in the “Programming”
portion of this text).
Programming
Your vehicle may require the ignition
switch to be turned to the ACC posi-
tion for programming and/or opera-
tion of HomeLink
®. It is also recom-
mended that a new battery be
replaced in the hand-held transmitter
of the device being programmed to
HomeLink
®for quicker training and
accurate transmission of the radio-
frequency.
Follow these steps to train your
HomeLink
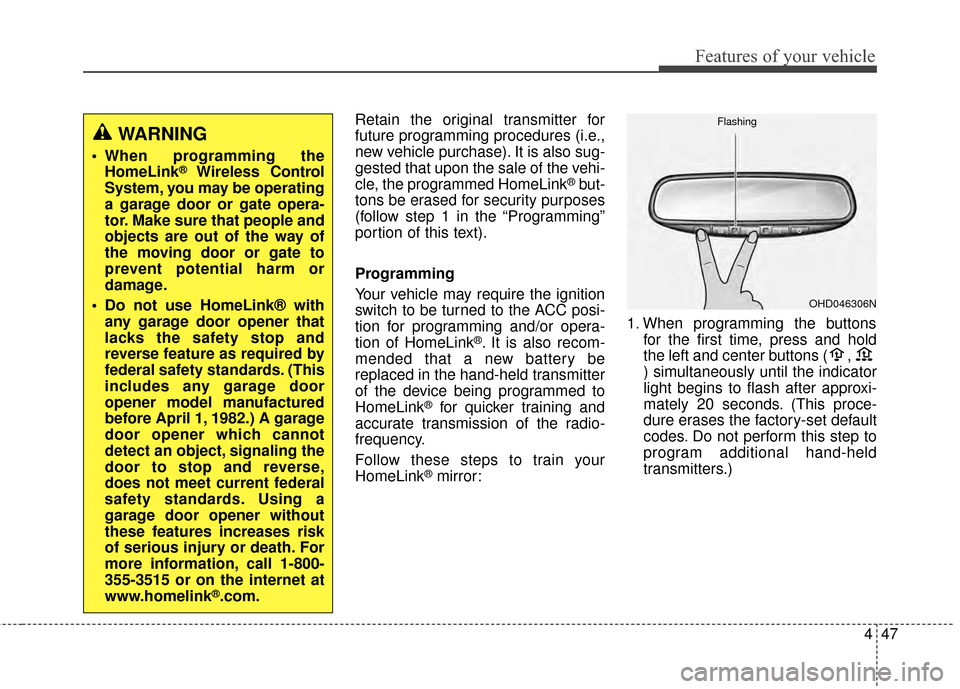
®mirror: 1. When programming the buttons
for the first time, press and hold
the left and center buttons ( ,
) simultaneously until the indicator
light begins to flash after approxi-
mately 20 seconds. (This proce-
dure erases the factory-set default
codes. Do not perform this step to
program additional hand-held
transmitters.)
WARNING
When programming theHomeLink®Wireless Control
System, you may be operating
a garage door or gate opera-
tor. Make sure that people and
objects are out of the way of
the moving door or gate to
prevent potential harm or
damage.
Do not use HomeLink® with any garage door opener that
lacks the safety stop and
reverse feature as required by
federal safety standards. (This
includes any garage door
opener model manufactured
before April 1, 1982.) A garage
door opener which cannot
detect an object, signaling the
door to stop and reverse,
does not meet current federal
safety standards. Using a
garage door opener without
these features increases risk
of serious injury or death. For
more information, call 1-800-
355-3515 or on the internet at
www.homelink
®.com.
OHD046306N
Flashing
Page 144 of 457
Features of your vehicle
52
4
D140201AHM-EE
Remote control
Electric type
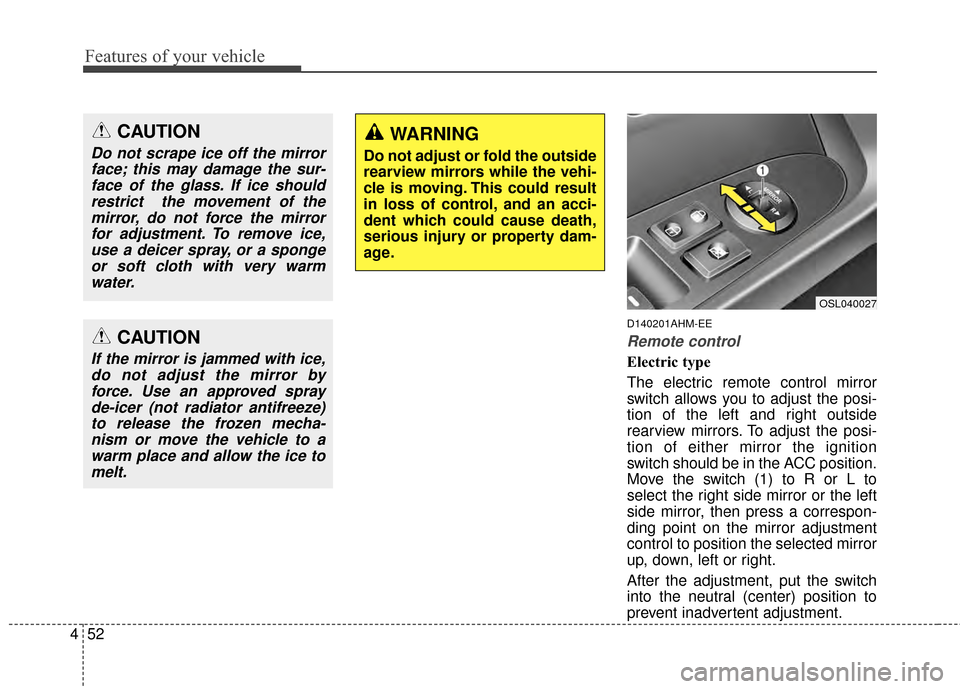
The electric remote control mirror
switch allows you to adjust the posi-
tion of the left and right outside
rearview mirrors. To adjust the posi-
tion of either mirror the ignition
switch should be in the ACC position.
Move the switch (1) to R or L to
select the right side mirror or the left
side mirror, then press a correspon-
ding point on the mirror adjustment
control to position the selected mirror
up, down, left or right.
After the adjustment, put the switch
into the neutral (center) position to
prevent inadvertent adjustment.
CAUTION
Do not scrape ice off the mirror
face; this may damage the sur-face of the glass. If ice shouldrestrict the movement of themirror, do not force the mirrorfor adjustment. To remove ice,use a deicer spray, or a spongeor soft cloth with very warmwater.
CAUTION
If the mirror is jammed with ice,do not adjust the mirror byforce. Use an approved sprayde-icer (not radiator antifreeze)to release the frozen mecha-nism or move the vehicle to awarm place and allow the ice tomelt.
WARNING
Do not adjust or fold the outside
rearview mirrors while the vehi-
cle is moving. This could result
in loss of control, and an acci-
dent which could cause death,
serious injury or property dam-
age.
OSL040027
Page 147 of 457
455
Features of your vehicle
D150100AAM-EU
Instrument panel illumination
When the ignition switch is on, press
the illumination control button to
adjust the brightness of the instru-
ment panel illumination.
Gauges
D150201AHM
Speedometer
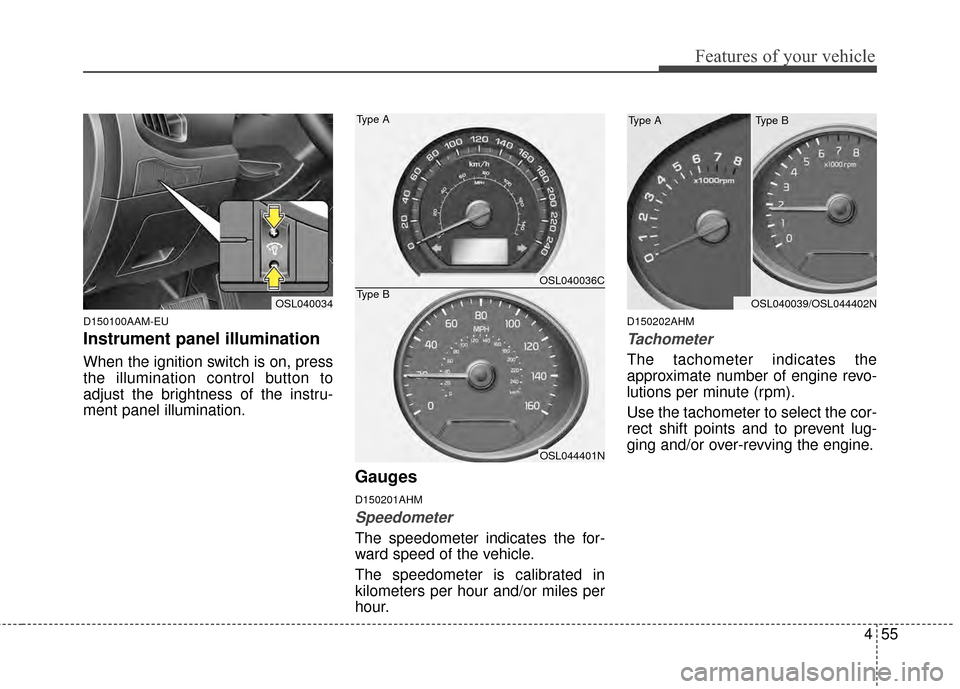
The speedometer indicates the for-
ward speed of the vehicle.
The speedometer is calibrated in
kilometers per hour and/or miles per
hour.
D150202AHM
Tachometer
The tachometer indicates the
approximate number of engine revo-
lutions per minute (rpm).
Use the tachometer to select the cor-
rect shift points and to prevent lug-
ging and/or over-revving the engine.
OSL040034OSL040039/OSL044402N
OSL040036C
OSL044401N
Type A
Type B
Type B
Type A
Page 154 of 457
Features of your vehicle
62
4
D150300AAM
Warnings and indicators
All warning lights are checked by
turning the ignition switch ON (do not
start the engine). Any light that does
not illuminate should be checked by
an authorized Kia dealer.
After starting the engine, check to
make sure that all warning lights are
off. If any warning lights are still on,
this indicates a situation that needs
attention. When releasing the park-
ing brake, the brake system warning
light should go off. The fuel warning
light will stay on if the fuel level is low.
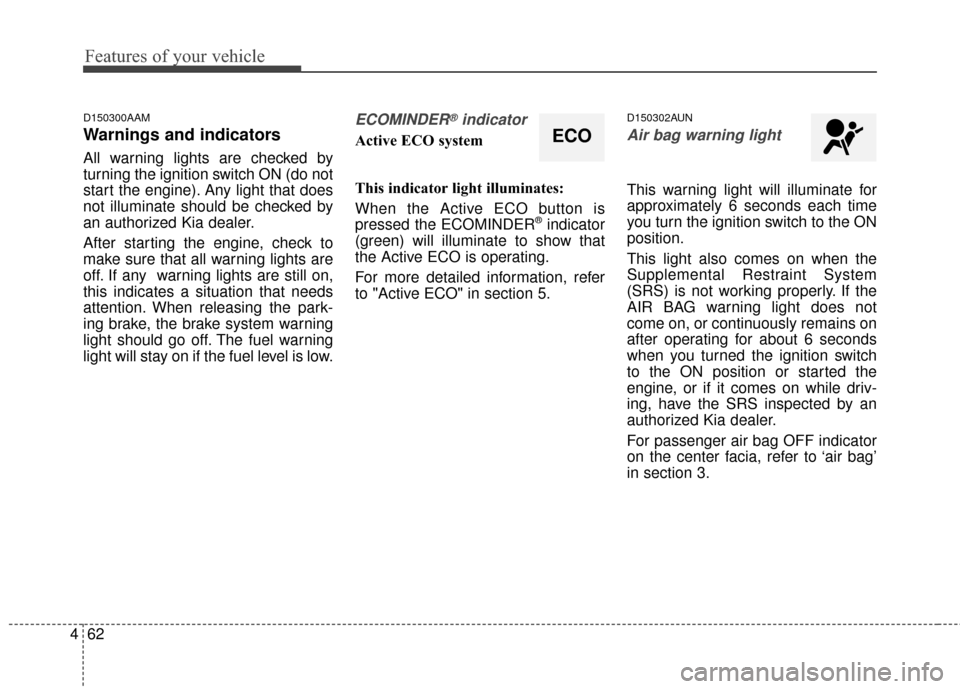
ECOMINDER®indicator
Active ECO system
This indicator light illuminates:
When the Active ECO button is
pressed the ECOMINDER
®indicator
(green) will illuminate to show that
the Active ECO is operating.
For more detailed information, refer
to "Active ECO" in section 5.
D150302AUN
Air bag warning light
This warning light will illuminate for
approximately 6 seconds each time
you turn the ignition switch to the ON
position.
This light also comes on when the
Supplemental Restraint System
(SRS) is not working properly. If the
AIR BAG warning light does not
come on, or continuously remains on
after operating for about 6 seconds
when you turned the ignition switch
to the ON position or started the
engine, or if it comes on while driv-
ing, have the SRS inspected by an
authorized Kia dealer.
For passenger air bag OFF indicator
on the center facia, refer to ‘air bag’
in section 3.
ECO
Page 155 of 457
463
Features of your vehicle
D150303AHM-U1
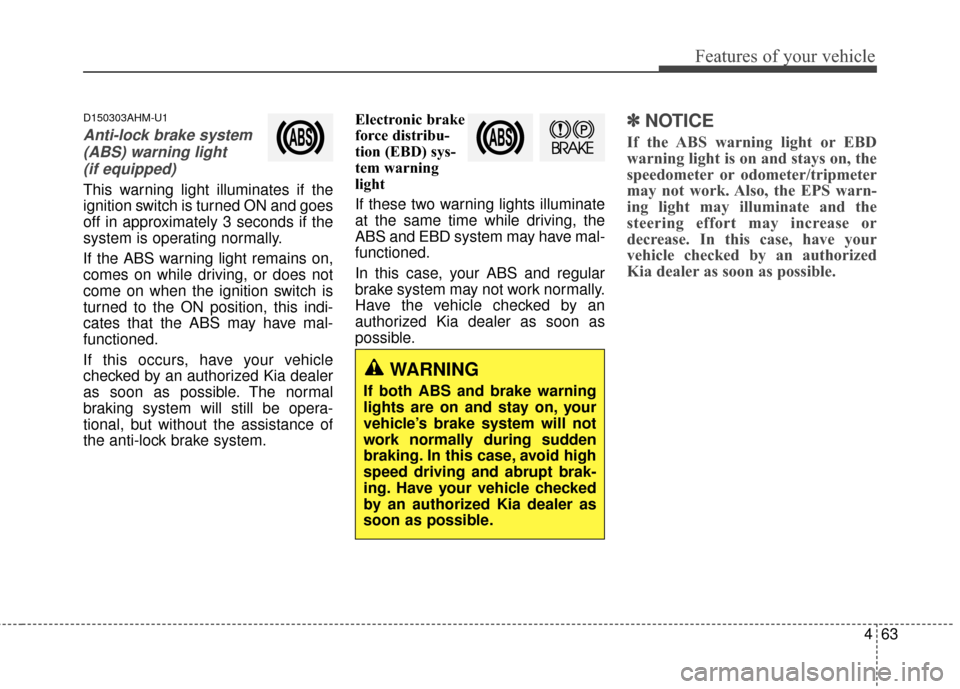
Anti-lock brake system(ABS) warning light (if equipped)
This warning light illuminates if the
ignition switch is turned ON and goes
off in approximately 3 seconds if the
system is operating normally.
If the ABS warning light remains on,
comes on while driving, or does not
come on when the ignition switch is
turned to the ON position, this indi-
cates that the ABS may have mal-
functioned.
If this occurs, have your vehicle
checked by an authorized Kia dealer
as soon as possible. The normal
braking system will still be opera-
tional, but without the assistance of
the anti-lock brake system. Electronic brake
force distribu-
tion (EBD) sys-
tem warning
light
If these two warning lights illuminate
at the same time while driving, the
ABS and EBD system may have mal-
functioned.
In this case, your ABS and regular
brake system may not work normally.
Have the vehicle checked by an
authorized Kia dealer as soon as
possible.
✽ ✽
NOTICE
If the ABS warning light or EBD
warning light is on and stays on, the
speedometer or odometer/tripmeter
may not work. Also, the EPS warn-
ing light may illuminate and the
steering effort may increase or
decrease. In this case, have your
vehicle checked by an authorized
Kia dealer as soon as possible.
WARNING
If both ABS and brake warning
lights are on and stay on, your
vehicle’s brake system will not
work normally during sudden
braking. In this case, avoid high
speed driving and abrupt brak-
ing. Have your vehicle checked
by an authorized Kia dealer as
soon as possible.
Page 156 of 457
Features of your vehicle
64
4
D150304AHM-EU-U1
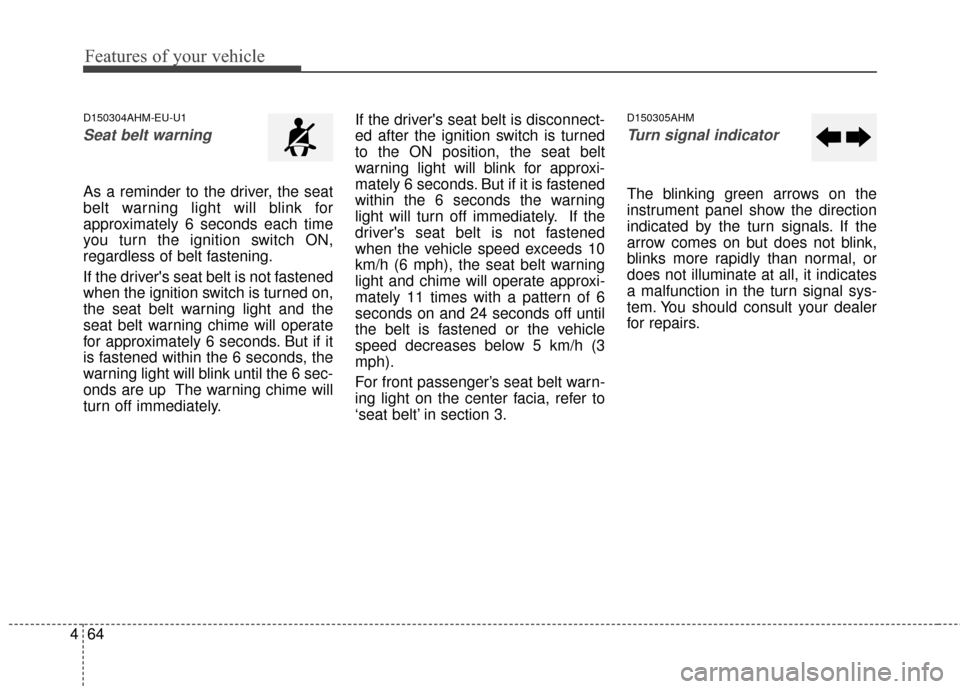
Seat belt warning
As a reminder to the driver, the seat
belt warning light will blink for
approximately 6 seconds each time
you turn the ignition switch ON,
regardless of belt fastening.
If the driver's seat belt is not fastened
when the ignition switch is turned on,
the seat belt warning light and the
seat belt warning chime will operate
for approximately 6 seconds. But if it
is fastened within the 6 seconds, the
warning light will blink until the 6 sec-
onds are up The warning chime will
turn off immediately. If the driver's seat belt is disconnect-
ed after the ignition switch is turned
to the ON position, the seat belt
warning light will blink for approxi-
mately 6 seconds. But if it is fastened
within the 6 seconds the warning
light will turn off immediately. If the
driver's seat belt is not fastened
when the vehicle speed exceeds 10
km/h (6 mph), the seat belt warning
light and chime will operate approxi-
mately 11 times with a pattern of 6
seconds on and 24 seconds off until
the belt is fastened or the vehicle
speed decreases below 5 km/h (3
mph).
For front passenger’s seat belt warn-
ing light on the center facia, refer to
‘seat belt’ in section 3.
D150305AHM
Turn signal indicator
The blinking green arrows on the
instrument panel show the direction
indicated by the turn signals. If the
arrow comes on but does not blink,
blinks more rapidly than normal, or
does not illuminate at all, it indicates
a malfunction in the turn signal sys-
tem. You should consult your dealer
for repairs.
Page 159 of 457
467
Features of your vehicle
3.Do not drive the vehicle if leaks arefound, the warning light remains on
or the brakes do not operate prop-
erly. Have the vehicle towed to any
authorized Kia dealer for a brake
system inspection and necessary
repairs.
Your vehicle is equipped with dual-
diagonal braking systems. This
means you still have braking on two
wheels even if one of the dual sys-
tems should fail. With only one of the
dual systems working, more than
normal pedal travel and greater
pedal pressure are required to stop
the vehicle. Also, the vehicle will not
stop in as short a distance with only
a portion of the brake system work-
ing. If the brakes fail while you are
driving, shift to a lower gear for addi-
tional engine braking and stop the
vehicle as soon as it is safe to do so.
To check bulb operation, check
whether the parking brake and brake
fluid warning light illuminates when
the ignition switch is in the ON posi-
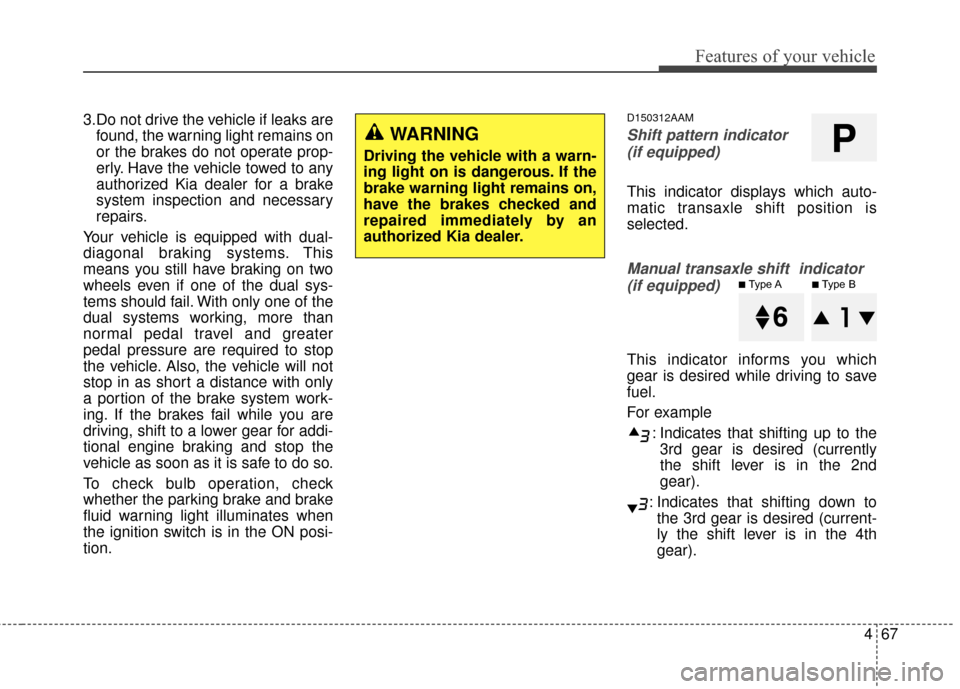
tion.D150312AAM
Shift pattern indicator (if equipped)
This indicator displays which auto-
matic transaxle shift position is
selected.
Manual transaxle shift indicator (if equipped)
This indicator informs you which
gear is desired while driving to save
fuel.
For example
: Indicates that shifting up to the3rd gear is desired (currently
the shift lever is in the 2nd
gear).
: Indicates that shifting down to the 3rd gear is desired (current-
ly the shift lever is in the 4th
gear).
WARNING
Driving the vehicle with a warn-
ing light on is dangerous. If the
brake warning light remains on,
have the brakes checked and
repaired immediately by an
authorized Kia dealer.P
■Type A■Type B