Page 148 of 508
457
Features of your vehicle
Z-Nav™ Compass Display
The NVS™ Mirror in your vehicle is
also equipped with a Z-Nav™
Compass that shows the vehicle
Compass heading in the Display
Window using the 8 basic cardinal
headings (N, NE, E, SE, etc.).Compass function
The Compass can be turned ON and
OFF and will remember the last state
when the ignition is cycled. To turn
the display feature ON/OFF:
1. Press and release the button to
turn the display feature OFF.
2. Press and release the button again to turn the display back ON.
Additional options can be set with
press and hold sequences of the
button and are detailed below.
There is a difference between mag-
netic north and true north. The com-
pass in the mirror can compensate
for this difference when it knows the
Magnetic Zone in which it is operat-
ing. This is set either by the dealer or
by the user. The operating Zone
Numbers for North America are
shown in the figure on the following
section.
XM(FL) CAN(ENG) 4a(~158).QXP 1/23/2013 3:49 PM Page 57
Page 201 of 508
Features of your vehicle110
4Headlight position ( )When the light switch is in the head-
light position (2nd position), the
head, tail, license and instrument
panel lights will turn ON.✽ ✽
NOTICEThe ignition switch must be in the ON
position to turn on the headlights.
Auto light position (if equipped)When the light switch is in the AUTO
light position, the taillights and head-
lights will turn ON or OFF automati-
cally depending on the amount of
light outside the vehicle.
OXM049128
CAUTION
Never place anything over the
sensor (1) located on theinstrument panel. This willensure better auto-light systemcontrol.
Don’t clean the sensor using a window cleaner. The cleanermay leave a light film whichcould interfere with sensoroperation.
If your vehicle has window tint or other types of metallic coat-ing on the front windshield,the Auto light system may notwork properly.
OBK049047N
XM(FL) CAN(ENG) 4a(~158).QXP 1/23/2013 3:50 PM Page 110
Page 204 of 508
4 113
Features of your vehicle
A : Wiper speed control (front)· MIST/ – Single wipe
· OFF / O – Off
· INT / --- – Intermittent wipe AUTO* – Auto control wipe
· LO / 1 – Low wiper speed
· HI / 2 – High wiper speed
B : Intermittent control wipe time adjustment
C : Wash with brief wipes (front)
D : Rear wiper/washer control · ON / – Continuous wipe
· INT / --- – Intermittent wipe*
· OFF / O – Off
E : Wash with brief wipes (rear)* if equipped
WIPERS AND WASHERSWindshield wiper/washer Rear window wiper/washer
OXM049231L/OXM049230L/OAM049048N/OAM049048L
■Type A
■Type A
■Type B
■Type B
XM(FL) CAN(ENG) 4a(~158).QXP 1/23/2013 3:51 PM Page 113
Page 207 of 508
Features of your vehicle116
4
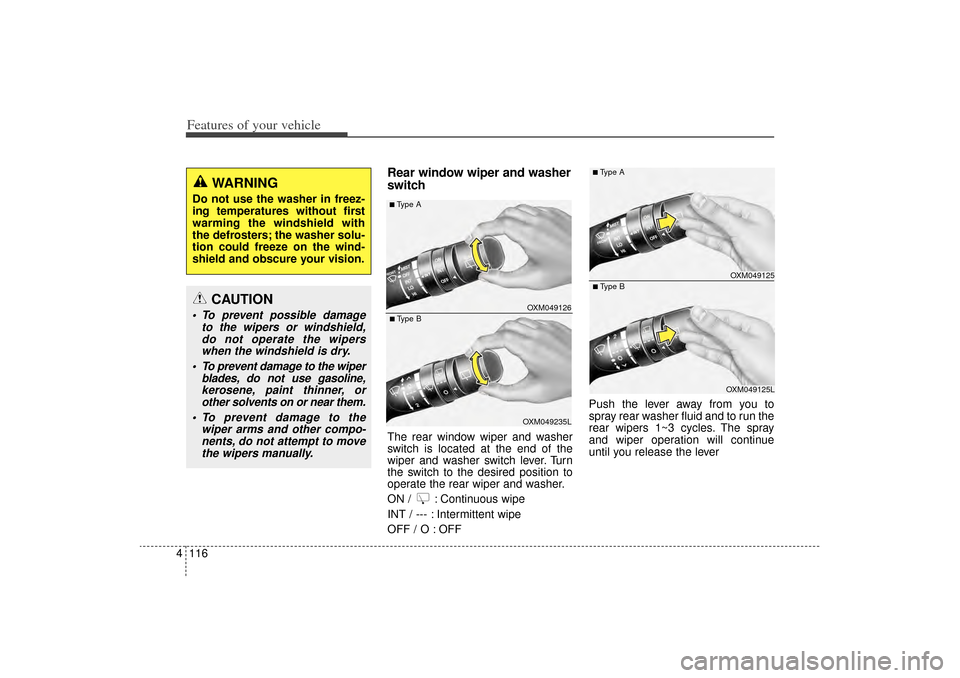
Rear window wiper and washer
switch The rear window wiper and washer
switch is located at the end of the
wiper and washer switch lever. Turn
the switch to the desired position to
operate the rear wiper and washer.
ON / : Continuous wipe
INT / --- : Intermittent wipe
OFF / O : OFF Push the lever away from you to
spray rear washer fluid and to run the
rear wipers 1~3 cycles. The spray
and wiper operation will continue
until you release the lever
CAUTION
To prevent possible damage
to the wipers or windshield,do not operate the wiperswhen the windshield is dry.
To prevent damage to the wiper blades, do not use gasoline,kerosene, paint thinner, orother solvents on or near them.
To prevent damage to the wiper arms and other compo-nents, do not attempt to movethe wipers manually.
WARNING
Do not use the washer in freez-
ing temperatures without first
warming the windshield with
the defrosters; the washer solu-
tion could freeze on the wind-
shield and obscure your vision.
OXM049126OXM049235L
■ Type B■ Type A
OXM049125OXM049125L
■ Type B■ Type A
XM(FL) CAN(ENG) 4a(~158).QXP 1/23/2013 3:51 PM Page 116
Page 211 of 508
Features of your vehicle120
4✽
✽
NOTICEIf you want to defrost and defog the
front windshield, refer to
“Windshield defrosting and defog-
ging” in this section.
Rear window defrosterThe defroster heats the window to
remove frost, fog and thin ice from
the rear window, while the engine is
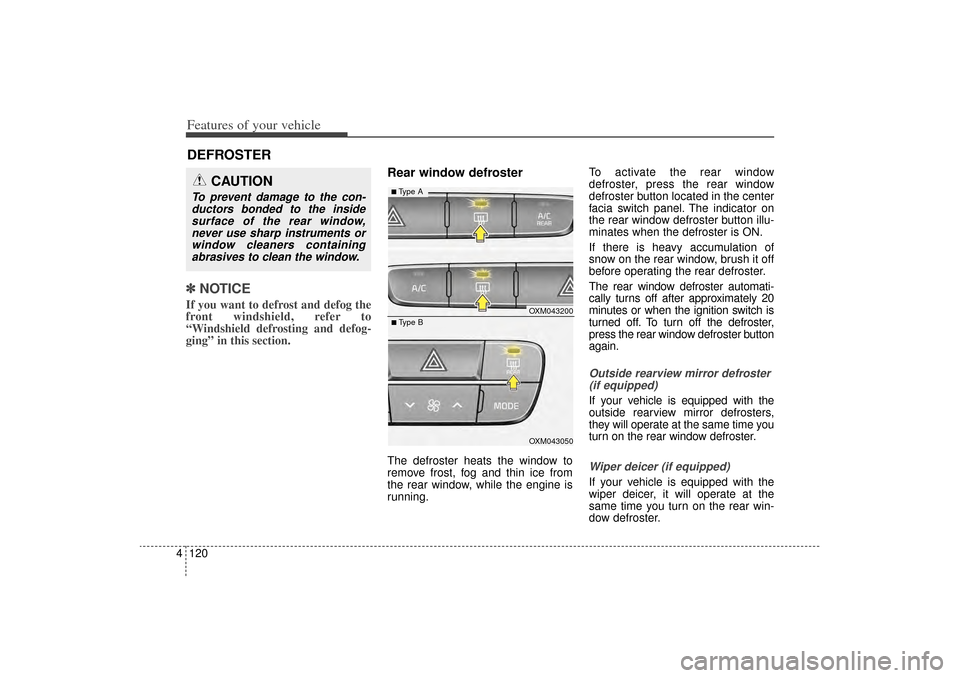
running. To activate the rear window
defroster, press the rear window
defroster button located in the center
facia switch panel. The indicator on
the rear window defroster button illu-
minates when the defroster is ON.
If there is heavy accumulation of
snow on the rear window, brush it off
before operating the rear defroster.
The rear window defroster automati-
cally turns off after approximately 20
minutes or when the ignition switch is
turned off. To turn off the defroster,
press the rear window defroster button
again.
Outside rearview mirror defroster
(if equipped)If your vehicle is equipped with the
outside rearview mirror defrosters,
they will operate at the same time you
turn on the rear window defroster.Wiper deicer (if equipped)If your vehicle is equipped with the
wiper deicer, it will operate at the
same time you turn on the rear win-
dow defroster.
DEFROSTER
CAUTION
To prevent damage to the con-ductors bonded to the insidesurface of the rear window,never use sharp instruments orwindow cleaners containingabrasives to clean the window.
OXM043200OXM043050
■ Type B■ Type A
XM(FL) CAN(ENG) 4a(~158).QXP 1/23/2013 3:51 PM Page 120
Page 214 of 508
4 123
Features of your vehicle
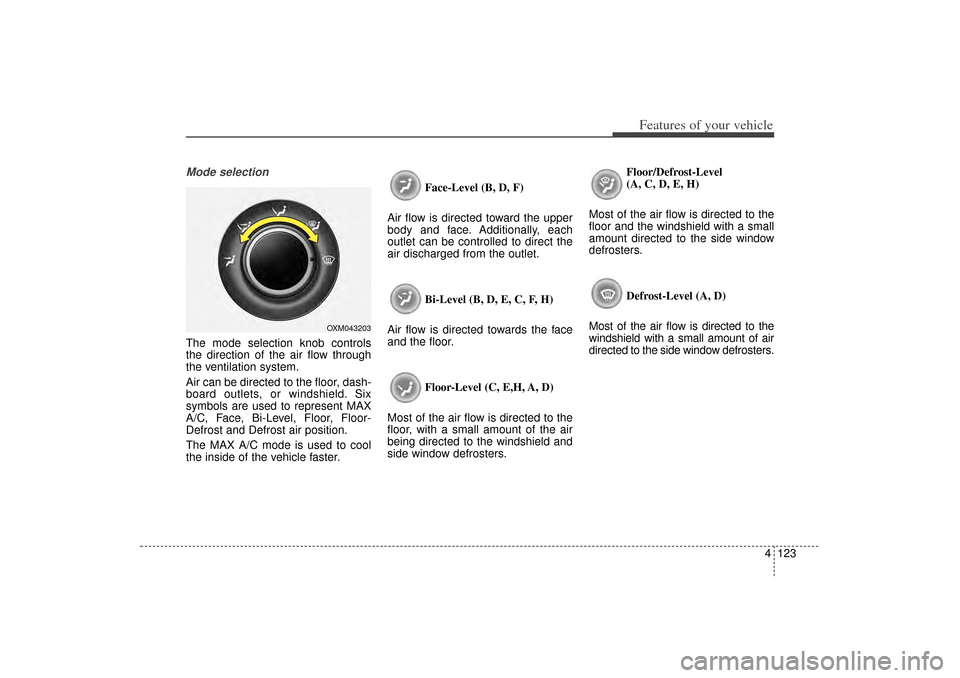
Mode selectionThe mode selection knob controls
the direction of the air flow through
the ventilation system.
Air can be directed to the floor, dash-
board outlets, or windshield. Six
symbols are used to represent MAX
A/C, Face, Bi-Level, Floor, Floor-
Defrost and Defrost air position.
The MAX A/C mode is used to cool
the inside of the vehicle faster.Face-Level (B, D, F)
Air flow is directed toward the upper
body and face. Additionally, each
outlet can be controlled to direct the
air discharged from the outlet.
Bi-Level (B, D, E, C, F, H)
Air flow is directed towards the face
and the floor.
Floor-Level (C, E,H, A, D)
Most of the air flow is directed to the
floor, with a small amount of the air
being directed to the windshield and
side window defrosters. Floor/Defrost-Level
(A, C, D, E, H)
Most of the air flow is directed to the
floor and the windshield with a small
amount directed to the side window
defrosters.
Defrost-Level (A, D)
Most of the air flow is directed to the
windshield with a small amount of air
directed to the side window defrosters.
OXM043203
XM(FL) CAN(ENG) 4a(~158).QXP 1/23/2013 3:52 PM Page 123
Page 216 of 508
4 125
Features of your vehicle
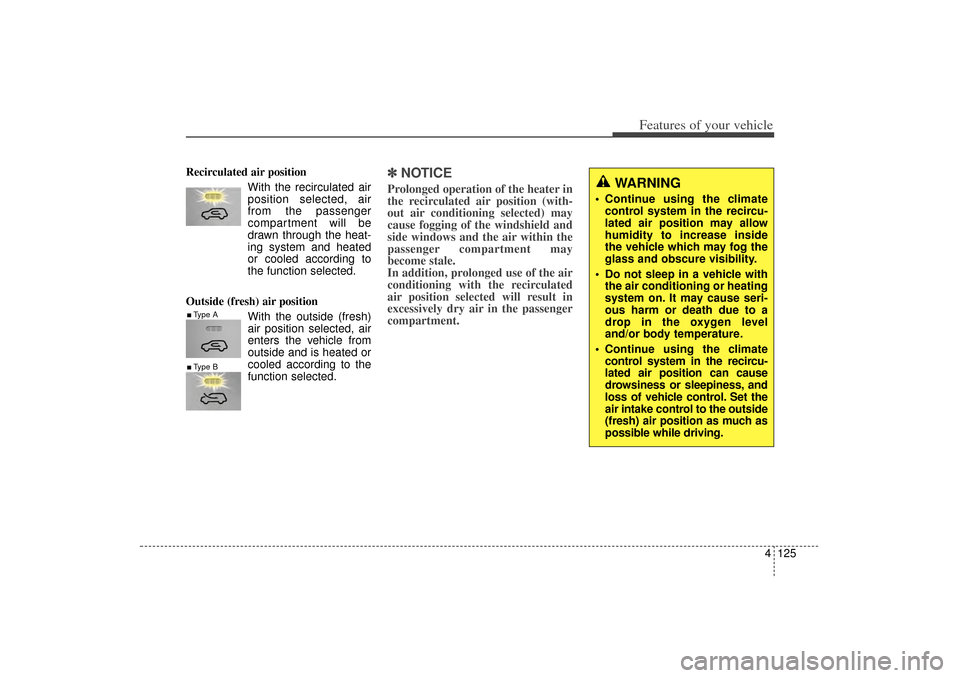
Recirculated air positionWith the recirculated airposition selected, air
from the passenger
compartment will be
drawn through the heat-
ing system and heated
or cooled according to
the function selected.
Outside (fresh) air position With the outside (fresh)
air position selected, air
enters the vehicle from
outside and is heated or
cooled according to the
function selected.
✽ ✽NOTICEProlonged operation of the heater in
the recirculated air position (with-
out air conditioning selected) may
cause fogging of the windshield and
side windows and the air within the
passenger compartment may
become stale.
In addition, prolonged use of the air
conditioning with the recirculated
air position selected will result in
excessively dry air in the passenger
compartment.
WARNING
Continue using the climate
control system in the recircu-
lated air position may allow
humidity to increase inside
the vehicle which may fog the
glass and obscure visibility.
Do not sleep in a vehicle with the air conditioning or heating
system on. It may cause seri-
ous harm or death due to a
drop in the oxygen level
and/or body temperature.
Continue using the climate control system in the recircu-
lated air position can cause
drowsiness or sleepiness, and
loss of vehicle control. Set the
air intake control to the outside
(fresh) air position as much as
possible while driving.
■Type A■Type B
XM(FL) CAN(ENG) 4a(~158).QXP 1/23/2013 3:53 PM Page 125
Page 219 of 508
Features of your vehicle128
4Air conditioningKia Air Conditioning Systems are
filled with refrigerant*.
1. Start the engine. Push the air con-
ditioning button.
2. Set the mode to the position.
3. Set the air intake control to the outside air or recirculated air posi-
tion.
4. Adjust the fan speed control and temperature control to maintain
maximum comfort.
✽ ✽NOTICE• When using the air conditioning sys-
tem, monitor the temperature gauge
closely while driving up hills or in
heavy traffic when outside tempera-
tures are high. Air conditioning sys-
tem operation may cause engine
overheating. Continue to use the
blower fan but turn the air condi-
tioning system off if the temperature
gauge indicates engine overheating.
• When opening the windows in humid weather air conditioning
may create water droplets inside
the vehicle. Since excessive water
droplets may cause damage to
electrical equipment, air condi-
tioning should only be used with
the windows closed.
Air conditioning system operation tips
If the vehicle has been parked in
direct sunlight during hot weather,
open the windows for a short time
to let the hot air inside the vehicle
escape.
To help reduce moisture inside of the windows on rainy or humid
days, decrease the humidity inside
the vehicle by operating the air
conditioning system.
During air conditioning system operation, you may occasionally
notice a slight change in engine
speed as the air conditioning com-
pressor cycles. This is a normal
system operation characteristic.
Use the air conditioning system every month only for a few minutes
to ensure maximum system per-
formance.
CAUTION
The refrigerant system should only be serviced by trainedand certified technicians toinsure proper and safe opera-tion.
The refrigerant system should be serviced in a well-ventilat-ed place.
(Continued)
(Continued) The air conditioning evaporator (cooling coil) shall never berepaired or replaced with oneremoved from a used or sal-vaged vehicle and new replace-ment MAC evaporators shall becertified (and labeled) as meet-ing SAE Standard J2842.
XM(FL) CAN(ENG) 4a(~158).QXP 1/23/2013 3:53 PM Page 128