2014 KIA Sedona clock reset
[x] Cancel search: clock resetPage 202 of 382

3193
Features of your vehicle
(1) : It can be used when the ignitionswitch is in ACC or ON position.
(2), (3) : It can be used regardless of the ignition switch position.
Power outlet
The power outlets are designed to pro-
vide power for mobile telephones or
other devices designed to operate with
vehicle electrical systems. The devices
should draw less than 10 amps with the
engine running.
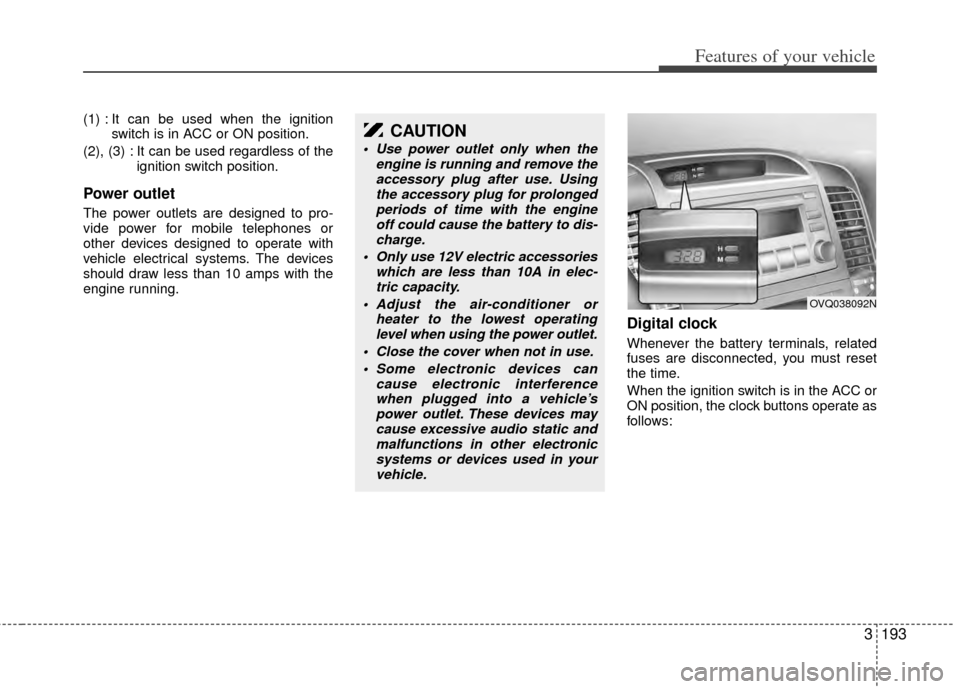
Digital clock
Whenever the battery terminals, related
fuses are disconnected, you must reset
the time.
When the ignition switch is in the ACC or
ON position, the clock buttons operate as
follows:
CAUTION
Use power outlet only when theengine is running and remove theaccessory plug after use. Usingthe accessory plug for prolonged periods of time with the engineoff could cause the battery to dis- charge.
Only use 12V electric accessories which are less than 10A in elec-tric capacity.
Adjust the air-conditioner or heater to the lowest operatinglevel when using the power outlet.
Close the cover when not in use. Some electronic devices can cause electronic interferencewhen plugged into a vehicle’spower outlet. These devices may cause excessive audio static andmalfunctions in other electronicsystems or devices used in your vehicle.
OVQ038092N
Page 212 of 382

3203
Features of your vehicle
7. TUNE & AUDIO Control Knob
Rotate the knob clockwise or counter
clock wise to increase or decrease from
current frequency.
(AM 10 kHz, FM 200 kHz)
Pressing the button changes the BASS,
MIDDLE, TREBLE, FADER and BAL-
ANCE TUNE mode. The mode selected
is shown on the display. After selecting
each mode, rotate the Audio control knob
clockwise or counterclockwise.
Press this button while holding [SETUP]
button to activate / inactivate the item to.
Select SETUP item using left and right
function of the Tune button.
To increase the BASS, rotate the knob
clockwise, while to decrease the BASS,
rotate the knob counterclockwise.
To increase the MIDDLE, rotate the knob
clockwise, while to decrease the MID-
DLE, rotate the knob counterclockwise. Control
To increase the TREBLE, rotate the knob
clockwise, while to decrease the TRE-
BLE, rotate the knob counterclockwise.
Turn the control knob clockwise to
emphasize rear speaker sound (front
speaker sound will be attenuated). When
the control knob is turned counterclock-
wise, front speaker sound will be empha-
sized (rear speaker sound will be attenu-
ated).
Rotate the knob clockwise to emphasize
right speaker sound (left speaker sound
will be attenuated). When the control
knob is turned counter clockwise, left
speaker sound will be emphasized (right
speaker sound will be attenuated).
8. PRESET Buttons
onds to play the station saved in each
button.
seconds or longer to save the current
station to the respective button with a
beep.
Page 226 of 382

3217
Features of your vehicle
Using SIRIUS Satellite Radio
Your Kia vehicle is equipped with a 3
month complimentary period of SIRIUS
Satellite Radio so you have access to over
130 channels of music, information, and
entertainment programming.
Activation
In order to extend or reactivate your sub-
scription to SIRIUS Satellite Radio, you
will need to contact SIRIUS Customer
Care at 1-888-539-7474. Have your 12
digit SID (Sirius Identification Number)/ESN
(Electronic Serial Number) ready. To
retrieve the SID/ESN, turn on the radio,
press the [SAT] button and tune to chan-
nel zero. Please note that the vehicle will
need to be turned on, in Sirius mode, and
have an unobstructed view of the sky in
order for the radio to receive the activa-
tion signal.
1. SAT Button(SIRIUS Satellite Radio)
Press the [SAT] button to switch to SIR-
IUS Satellite Radio. It cycles through the
different bands as noted below.
SAT1
➟ SAT2 ➟ SAT3 ➟ SAT1...
2. SEEK Button
Press [ SEEK ] button for less
than 0.8 seconds to select previous or
next channel.
Press [ SEEK ] button for 0.8 seconds or longer to continuously
move to previous or next channel.
If "CATEGORY" Icon is displayed at the top of the screen, channel up/down
is done through the channels within
current category.
3. PRESET Buttons
Press [1]~[6] buttons less than 0.8 sec-onds to play the channel saved in each
button.
Press [1]~[6] buttons for 0.8 seconds or longer to save current channel to the
respective button with a beep.
4. SCAN Button
When the [SCAN] button is pressed, itautomatically scans the radio stations
upwards.
The SCAN feature steps through every channel, starting from the initial chan-
nel, for ten seconds.
Press the [SCAN] button again to stop the scan feature and to listen to the
currently selected channel.
If "CATEGORY" Icon is displayed at the top of the screen, channel chang-
ing is done through the channels with-
in current category.
5. TUNE knob & ENTER button
Rotate clockwise to increase the chan-nel number or to scroll down the cate-
gory list.
Rotate counterclockwise to decrease the channel number or to scroll up the
category list.
Press this to make selection of chan- nels or items.
Page 349 of 382

633
Maintenance
For best battery service:
Keep the battery securely mounted.
Keep the battery top clean and dry.
Keep the terminals and connectionsclean, tight, and coated with petroleum
jelly or terminal grease.
Rinse any spilled electrolyte from the battery immediately with a solution of
water and baking soda.
If the vehicle is not going to be used for an extended time, disconnect the bat-
tery cables.
Battery recharging
Your vehicle has a maintenance-free,
calcium-based battery.
If the battery becomes discharged in ashort time (because, for example, the
headlights or interior lights were left on
while the vehicle was not in use),
recharge it by slow charging (trickle)
for 10 hours. If the battery gradually discharges
because of high electric load while the
vehicle is being used, recharge it at 20-
30A for two hours.
Items to be reset after the battery
has been discharged or the bat-
tery has been disconnected.
Clock (See Chapter 3)
Sunroof (See Chapter 3)
Trip computer (See Chapter 3)
Climate control system (See Chapter3)
Audio (See Chapter 3)
Power sliding door and power tailgate (See Chapter 3)
CAUTION
If you connect unauthorized elec-tronic devices to the battery, thebattery may be discharged. Neveruse unauthorized devices.
CAUTION
Before performing maintenance or recharging the battery, turn offall accessories and stop theengine.
The negative battery cable must be removed first and installed lastwhen the battery is disconnected.
WARNING- Recharging battery
When recharging the battery,
observe the following precautions:
The battery must be removed
from the vehicle and placed in an
area with good ventilation.
Do not allow cigarettes, sparks, or flame near the battery.
(Continued)
(Continued)
Watch the battery during charg-ing, and stop or reduce the charg-
ing rate if the battery cells begin
gassing (boiling) violently or if
the temperature of the electrolyte
of any cell exceeds 49°C (120°F).
Wear eye protection when check- ing the battery during charging.
Disconnect the battery charger in the following order.
1. Turn off the battery charger main switch.
2. Unhook the negative clamp from the negative battery terminal.
3. Unhook the positive clamp from the positive battery terminal.