2014 KIA Sedona ECO mode
[x] Cancel search: ECO modePage 214 of 382
3205
Features of your vehicle
Using CD Player
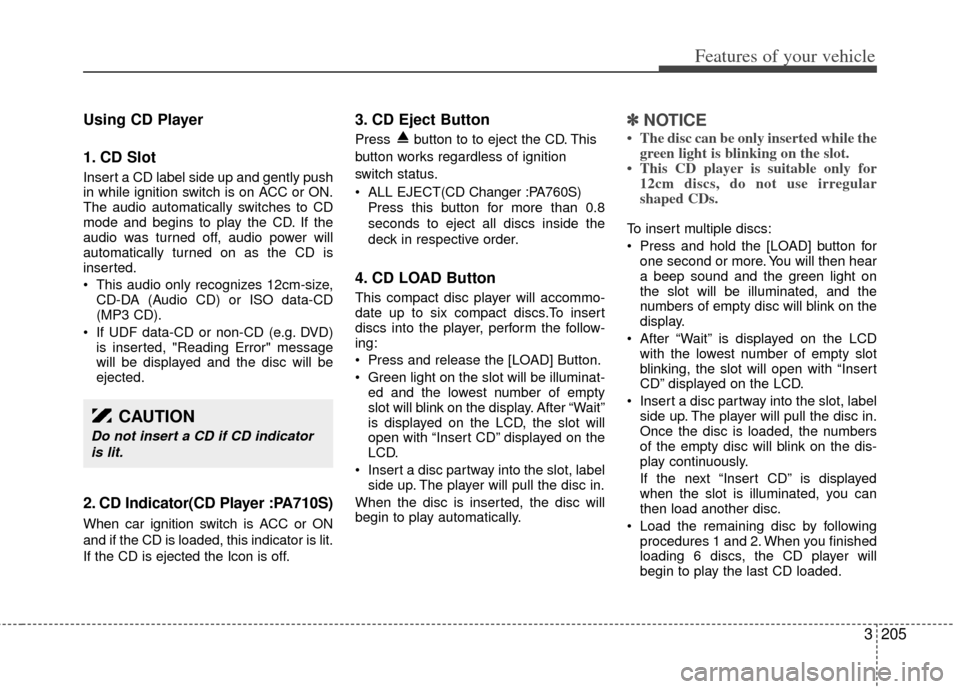
1. CD Slot
Insert a CD label side up and gently push
in while ignition switch is on ACC or ON.
The audio automatically switches to CD
mode and begins to play the CD. If the
audio was turned off, audio power will
automatically turned on as the CD is
inserted.
This audio only recognizes 12cm-size,CD-DA (Audio CD) or ISO data-CD
(MP3 CD).
If UDF data-CD or non-CD (e.g. DVD) is inserted, "Reading Error" message
will be displayed and the disc will be
ejected.
2. CD Indicator(CD Player :PA710S)
When car ignition switch is ACC or ON
and if the CD is loaded, this indicator is lit.
If the CD is ejected the Icon is off.
3. CD Eject Button
Press button to to eject the CD. This
button works regardless of ignition
switch status.
ALL EJECT(CD Changer :PA760S)
Press this button for more than 0.8
seconds to eject all discs inside the
deck in respective order.
4. CD LOAD Button
This compact disc player will accommo-
date up to six compact discs.To insert
discs into the player, perform the follow-
ing:
Press and release the [LOAD] Button.
Green light on the slot will be illuminat-ed and the lowest number of empty
slot will blink on the display. After “Wait”
is displayed on the LCD, the slot will
open with “Insert CD” displayed on the
LCD.
Insert a disc partway into the slot, label side up. The player will pull the disc in.
When the disc is inserted, the disc will
begin to play automatically.
✽ ✽ NOTICE
• The disc can be only inserted while the
green light is blinking on the slot.
• This CD player is suitable only for 12cm discs, do not use irregular
shaped CDs.
To insert multiple discs:
Press and hold the [LOAD] button for
one second or more. You will then hear
a beep sound and the green light on
the slot will be illuminated, and the
numbers of empty disc will blink on the
display.
After “Wait” is displayed on the LCD with the lowest number of empty slot
blinking, the slot will open with “Insert
CD” displayed on the LCD.
Insert a disc partway into the slot, label side up. The player will pull the disc in.
Once the disc is loaded, the numbers
of the empty disc will blink on the dis-
play continuously.
If the next “Insert CD” is displayed
when the slot is illuminated, you can
then load another disc.
Load the remaining disc by following procedures 1 and 2. When you finished
loading 6 discs, the CD player will
begin to play the last CD loaded.
CAUTION
Do not insert a CD if CD indicator
is lit.
Page 215 of 382
Features of your vehicle
206
3
To load more than one disc but less
than six, complete Steps 1 and 2.
When you have finished loading discs,
press LOAD button to cancel the loading
function or wait for 10 seconds. The CD
player will begin to play the last CD
loaded. As each CD starts to play, the
DISC number will appear on the display.
✽ ✽ NOTICE
The disc player takes up to six discs. Do
not try to load more than six.
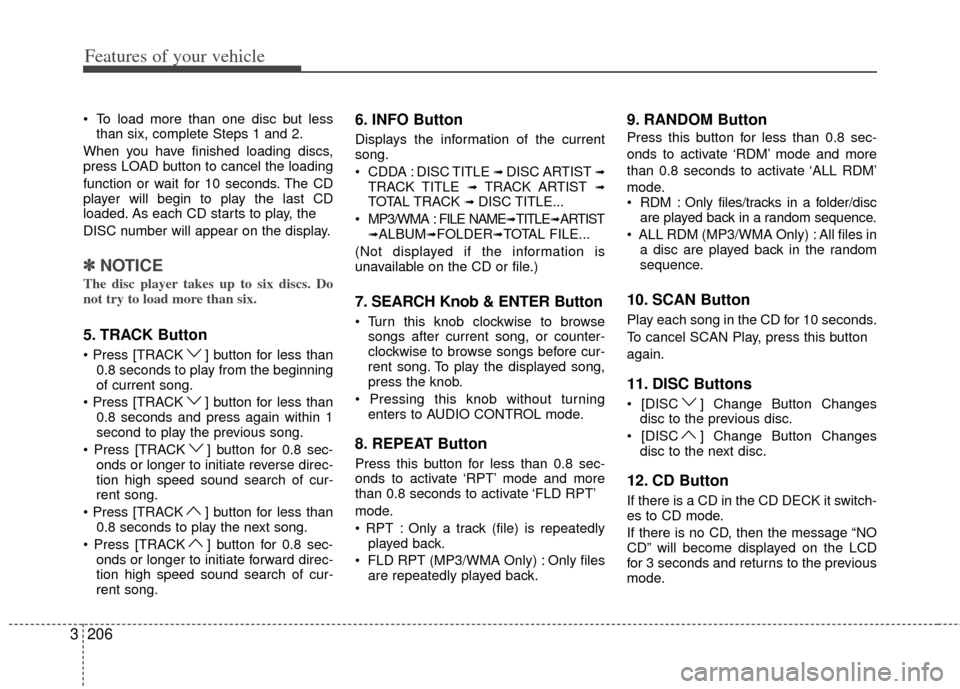
5. TRACK Button
] button for less than
0.8 seconds to play from the beginning
of current song.
] button for less than 0.8 seconds and press again within 1
second to play the previous song.
] button for 0.8 sec- onds or longer to initiate reverse direc-
tion high speed sound search of cur-
rent song.
] button for less than 0.8 seconds to play the next song.
] button for 0.8 sec- onds or longer to initiate forward direc-
tion high speed sound search of cur-
rent song.
6. INFO Button
Displays the information of the current
song.
CDDA : DISC TITLE
➟ DISC ARTIST ➟TRACK TITLE ➟ TRACK ARTIST ➟TOTAL TRACK ➟ DISC TITLE...
MP3/WMA : FILE NAME
➟TITLE➟ARTIST➟ALBUM➟FOLDER➟TOTAL FILE...
(Not displayed if the information is
unavailable on the CD or file.)
7. SEARCH Knob & ENTER Button
songs after current song, or counter-
clockwise to browse songs before cur-
rent song. To play the displayed song,
press the knob.
enters to AUDIO CONTROL mode.
8. REPEAT Button
Press this button for less than 0.8 sec-
onds to activate ‘RPT’ mode and more
than 0.8 seconds to activate ‘FLD RPT’
mode.
Only a track (file) is repeatedlyplayed back.
Only files are repeatedly played back.
9. RANDOM Button
Press this button for less than 0.8 sec-
onds to activate ‘RDM’ mode and more
than 0.8 seconds to activate ‘ALL RDM’
mode.
Only files/tracks in a folder/disc are played back in a random sequence.
All files in a disc are played back in the random
sequence.
10. SCAN Button
Play each song in the CD for 10 seconds.
To cancel SCAN Play, press this button
again.
11. DISC Buttons
] Change Button Changesdisc to the previous disc.
] Change Button Changes disc to the next disc.
12. CD Button
If there is a CD in the CD DECK it switch-
es to CD mode.
If there is no CD, then the message “NO
CD” will become displayed on the LCD
for 3 seconds and returns to the previous
mode.
Page 217 of 382
Features of your vehicle
208
3
CAUTION IN USING
USB DEVICE
To use an external USB device,
make sure the device is not con-nected when starting up the vehi-cle. Connect the device afterstarting up.
If you start the engine when the USB device is connected, it maydamage the USB device. (USBflashdrives are very sensitive toelectric shock.)
If the engine is started up or turned off while the external USBdevice is connected, the externalUSB device may not work.
It may not play inauthentic MP3 or WMA files.
1) It can only play MP3 files with the compression rate between8Kbps~320Kbps.
2) It can only play WMA music files with the compression ratebetween 8Kbps~320Kbps.
Take precautions for static electrici- ty when connecting or disconnect-ing the external USB device.
(Continued)
(Continued) An encrypted MP3 PLAYER is not recognizable.
Depending on the condition of the external USB device, the con-nected external USB device canbe unrecognizable.
When the formatted byte/sector setting of External USB device isnot either 512BYTE or 2048BYTE,then the device will not be recog- nized.
Use only a USB device formatted to FAT 12/16/32.
USB devices without USB I/F authentication may not be recog-nizable.
Make sure the USB connection terminal does not come in contactwith the human body or otherobjects.
If you repeatedly connect or dis- connect the USB device in a shortperiod of time, it may break thedevice.
You may hear a strange noise when connecting or disconnect-ing a USB device.
(Continued)(Continued) If you disconnect the external USB device during playback in USBmode, the external USB device canbe damaged or may malfunction. Therefore, disconnect the externalUSB device when the audio is turned off or in another mode. (e.g,Radio, SIRIUS or CD)
Depending on the type and capacity of the external USB device or thetype of the files stored in the device, there is a difference in the timetaken for recognition of the device.
Do not use the USB device for pur- poses other than playing music files.
Playing videos through the USB isnot supported.
Use of USB accessories such as rechargers or heaters using USBI/F may lower performance or cause trouble.
If you use devices such as a USB hub purchased separately, thevehicle’s audio system may notrecognize the USB device. In that case, connect the USB devicedirectly to the multimedia termi-nal of the vehicle.
(Continued)
Page 220 of 382
3211
Features of your vehicle
Using USB device
Using a USB that is connected to the
multiple terminal inside the console on
the right hand side of the driver’s seat.
When USB is connected, the ‘USB’ icon
will be displayed on the top right corner
of the display screen.
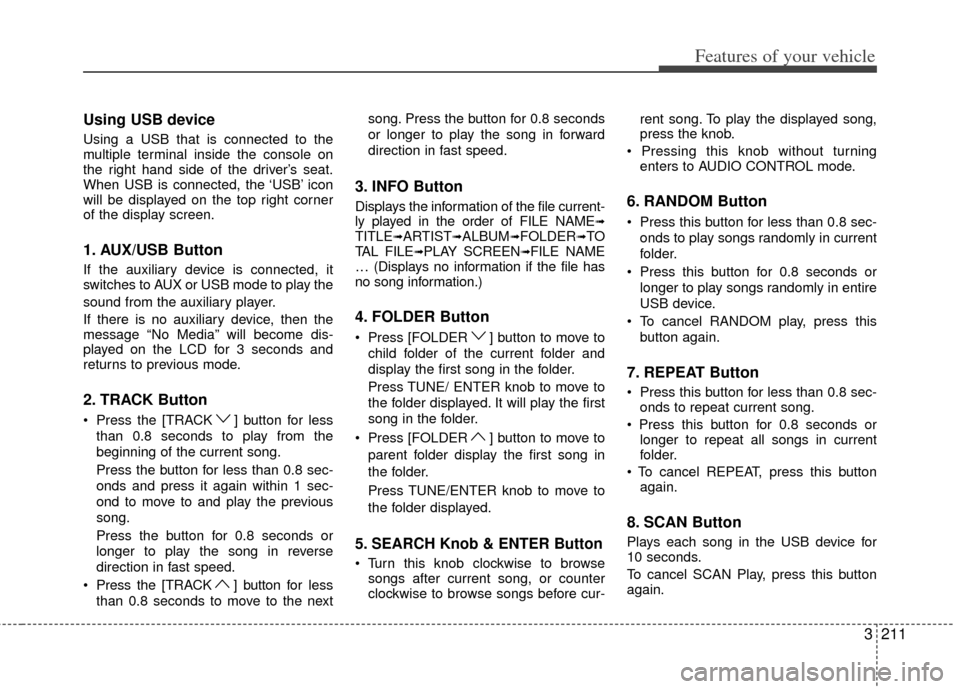
1. AUX/USB Button
If the auxiliary device is connected, it
switches to AUX or USB mode to play the
sound from the auxiliary player.
If there is no auxiliary device, then the
message “No Media” will become dis-
played on the LCD for 3 seconds and
returns to previous mode.
2. TRACK Button
Press the [TRACK ] button for lessthan 0.8 seconds to play from the
beginning of the current song.
Press the button for less than 0.8 sec-
onds and press it again within 1 sec-
ond to move to and play the previous
song.
Press the button for 0.8 seconds or
longer to play the song in reverse
direction in fast speed.
Press the [TRACK ] button for less
than 0.8 seconds to move to the next song. Press the button for 0.8 seconds
or longer to play the song in forward
direction in fast speed.
3. INFO Button
Displays the information of the file current-
ly played in the order of FILE NAME➟TITLE➟ARTIST➟ALBUM➟FOLDER➟TO
TAL FILE➟PLAY SCREEN➟FILE NAME
… (Displays no information if the file has
no song information.)
4. FOLDER Button
Press [FOLDER ] button to move to
child folder of the current folder and
display the first song in the folder.
Press TUNE/ ENTER knob to move to
the folder displayed. It will play the first
song in the folder.
Press [FOLDER ] button to move to parent folder display the first song in
the folder.
Press TUNE/ENTER knob to move to
the folder displayed.
5. SEARCH Knob & ENTER Button
songs after current song, or counter
clockwise to browse songs before cur- rent song. To play the displayed song,
press the knob.
enters to AUDIO CONTROL mode.
6. RANDOM Button
Press this button for less than 0.8 sec-
onds to play songs randomly in current
folder.
Press this button for 0.8 seconds or longer to play songs randomly in entire
USB device.
To cancel RANDOM play, press this button again.
7. REPEAT Button
onds to repeat current song.
longer to repeat all songs in current
folder.
again.
8. SCAN Button
Plays each song in the USB device for
10 seconds.
To cancel SCAN Play, press this button
again.
Page 223 of 382
Features of your vehicle
214
3
Using iPod
Using an iPod when the exclusive cable
is connected to the multiple terminal
inside the console on the right hand side
of the driver’s seat. When the iPod is con-
nected, the ‘iPod’ icon will be displayed
on the top right corner of the display
screen.
1. iPod Button
If iPod is connected, it switches to the
iPod mode from the previous mode to
play the song files stored in the iPod.
If there is no iPod connected, then it dis-
plays the message “No Media” for 3 sec-
onds and returns to the previous mode.
2. TRACK Button
Press the [TRACK ] button for less
than 0.8 seconds to play from the
beginning of the song currently played.
Press the button for less than 0.8 sec-
onds and press it again within 1 sec-
ond to move to and play the previous
track.
Press the button for 0.8 seconds or
longer to play the song in reverse
direction in fast speed.
Press the [TRACK ] button for less than 0.8 seconds to move to the next
track. Press the button for 0.8 seconds or
longer to play the song in forward
direction in fast speed.
3. INFO Button
Displays the information of the file cur-
rently played in the order of
TITLE
➟ ARTIST ➟ ALBUM ➟ PLAY
SCREEN DISPLAY ➟ TITLE...
(Displays no information if the file has no
song information.)
4. MENU Button
Moves to the upper category from cur-
rently played category of the iPod.
To move to (play) the category (song)
displayed, press TUNE Knob & ENTER
Button.
You will be able to search through the
lower category of the selected category.
The standard order of iPod’s category is
Songs
➟Albums➟Artists➟Genres➟iPod.
5. SEARCH Knob & ENTER Button
When you rotate the knob clockwise, it
will display the songs (category) ahead
of the song currently played (category in
the same level). Also, when you rotate the knob counter-
clockwise, it will display the songs (cate-
gory) before the song currently played
(category in the same level).
To listen to the song displayed in the
song category, press the button to skip to
and play the selected song.
Pressing the button changes the BASS,
MIDDLE, TREBLE, FADER and BAL-
ANCE TUNE mode. The mode selected
is shown on the display. After selecting
each mode, rotate the Audio control knob
clockwise or counterclockwise.
6. RANDOM Button
Press this button for less than 0.8 sec-
onds to shuffle order of all songs in
current category. (Song Random)
Press this button for 0.8 seconds or longer to shuffle order of albums in cur-
rent category. (Album Random)
To cancel RANDOM Play, press this button again.
7. REPEAT Button
Repeats the song currently played.
Page 226 of 382
3217
Features of your vehicle
Using SIRIUS Satellite Radio
Your Kia vehicle is equipped with a 3
month complimentary period of SIRIUS
Satellite Radio so you have access to over
130 channels of music, information, and
entertainment programming.
Activation
In order to extend or reactivate your sub-
scription to SIRIUS Satellite Radio, you
will need to contact SIRIUS Customer
Care at 1-888-539-7474. Have your 12
digit SID (Sirius Identification Number)/ESN
(Electronic Serial Number) ready. To
retrieve the SID/ESN, turn on the radio,
press the [SAT] button and tune to chan-
nel zero. Please note that the vehicle will
need to be turned on, in Sirius mode, and
have an unobstructed view of the sky in
order for the radio to receive the activa-
tion signal.
1. SAT Button(SIRIUS Satellite Radio)
Press the [SAT] button to switch to SIR-
IUS Satellite Radio. It cycles through the
different bands as noted below.
SAT1
➟ SAT2 ➟ SAT3 ➟ SAT1...
2. SEEK Button
Press [ SEEK ] button for less
than 0.8 seconds to select previous or
next channel.
Press [ SEEK ] button for 0.8 seconds or longer to continuously
move to previous or next channel.
If "CATEGORY" Icon is displayed at the top of the screen, channel up/down
is done through the channels within
current category.
3. PRESET Buttons
Press [1]~[6] buttons less than 0.8 sec-onds to play the channel saved in each
button.
Press [1]~[6] buttons for 0.8 seconds or longer to save current channel to the
respective button with a beep.
4. SCAN Button
When the [SCAN] button is pressed, itautomatically scans the radio stations
upwards.
The SCAN feature steps through every channel, starting from the initial chan-
nel, for ten seconds.
Press the [SCAN] button again to stop the scan feature and to listen to the
currently selected channel.
If "CATEGORY" Icon is displayed at the top of the screen, channel chang-
ing is done through the channels with-
in current category.
5. TUNE knob & ENTER button
Rotate clockwise to increase the chan-nel number or to scroll down the cate-
gory list.
Rotate counterclockwise to decrease the channel number or to scroll up the
category list.
Press this to make selection of chan- nels or items.
Page 229 of 382
Features of your vehicle
220
3
1. RSE Button
Play the RSE, and "RSE" Icon is dis-
played. After pressing the RSE button,
you can enjoy the RSE audio through the
speakers in RSE mode and "Connected"
is appeared at the same time.
At the state of NO RSE Icon, the RSE
button is pressed and "RSE Not Ready"
is appeared at the window.
The speaker volume level is adjustable
by VOLUME(+,-) knob on HEAD unit,
RSE unit and remote controller.
Refer to the "RSE" in this section for
details RSE operation.
RSE : Rear Seat Entertainment System (A/V).CAUTION IN USING
BLUETOOTH®WIRELESS
TECHNOLOGY CELLU-
LAR PHONE
Do not use a cellular phone or
perform Bluetooth®Wireless
Technology settings (e.g. pairing a phone) while driving.
Some Bluetooth
® Wireless
Technology-enab led phones may
not be recognized by the system or fully compatible with the sys-tem.
Before using Bluetooth
®Wireless
Technology related features of the audio system, refer yourphone’s User’s Manual for phone-side Bluetooth
®Wireless
Technology operations.
The phone must be paired to the audio system to use Bluetooth®
Wireless Technologyrelated fea-
tures.
You will not be able to use the hands-free feature when yourphone (in the car) is outside of the cellular service area (e.g. in atunnel, in a underground, in amountainous area, etc.).
(Continued)
(Continued) If the cellular phone signal is poor or the vehicles interior noise istoo loud, it may be difficult to hearthe other person’s voice during a call.
Do not place the phone near or inside metallic objects, otherwise
communications with Bluetooth
®
Wireless Technology system orcellular service stations can bedisturbed.
While a phone is connected through Bluetooth
®Wireless
Technology your phone may dis- charge quicker than usual for additional Bluetooth
® Wireless
Technology-related operations.
Some cellular phones or other devices may cause interferencenoise or malfunction to audio system. In this case, store thedevice in a different location may resolve the situation.
Please save your phone name in English, or your phone name maynot be displayed correctly.
(Continued)
Page 230 of 382
3221
Features of your vehicle
NOTE:
If you need more information about
Kia’s
Bluetooth®Wireless Technology.
Contact Kia website “www.Kia.com”
(OWNERS>General Info>
Bluetooth®
Wireless Technology).
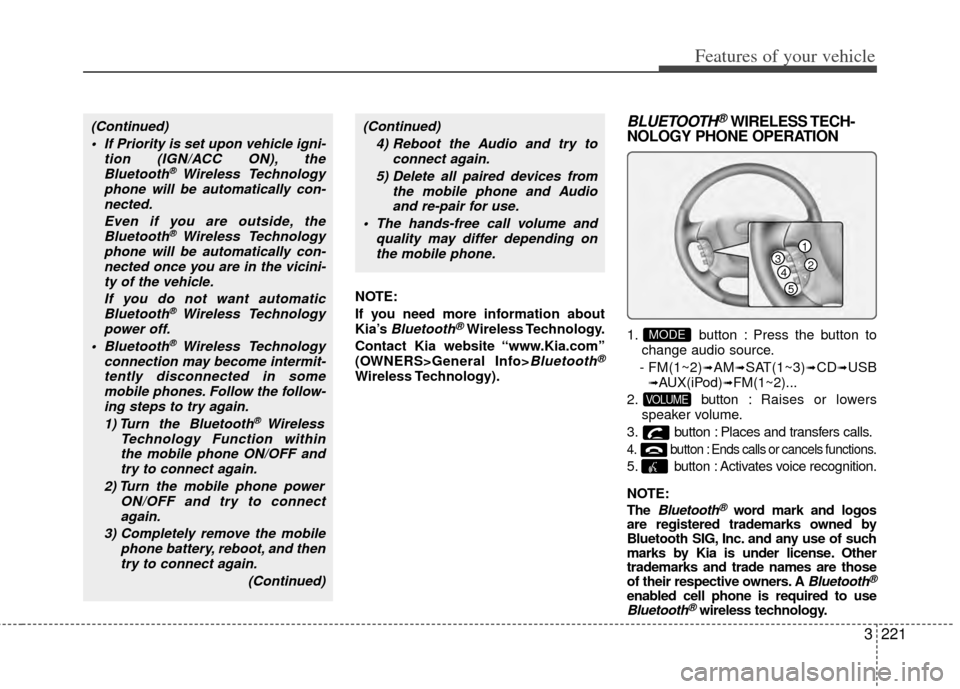
BLUETOOTH®WIRELESS TECH-
NOLOGY PHONE OPERATION
1. button : Press the button to
change audio source.
- FM(1~2)
➟AM➟SAT(1~3)➟CD➟USB➟AUX(iPod)➟FM(1~2)...
2. button : Raises or lowers
speaker volume.
3. button : Places and transfers calls.
4. button : Ends calls or cancels functions.
5. button : Activates voice recognition.
NOTE:
The
Bluetooth®word mark and logos
are registered trademarks owned by
Bluetooth SIG, Inc. and any use of such
marks by Kia is under license. Other
trademarks and trade names are those
of their respective owners. A
Bluetooth®
enabled cell phone is required to useBluetooth®wireless technology.
VOLUME
MODE
(Continued)
If Priority is set upon vehicle igni- tion (IGN/ACC ON), theBluetooth
® Wireless Technology
phone will be automatically con- nected.
Even if you are outside, theBluetooth
® Wireless Technology
phone will be automatically con- nected once you are in the vicini-ty of the vehicle.
If you do not want automaticBluetooth
® Wireless Technology
power off.
Bluetooth
® Wireless Technology
connection may become intermit- tently disconnected in somemobile phones. Follow the follow-ing steps to try again.
1) Turn the Bluetooth
® Wireless
Technology Function within the mobile phone ON/OFF andtry to connect again.
2) Turn the mobile phone power ON/OFF and try to connectagain.
3) Completely remove the mobile phone battery, reboot, and thentry to connect again.
(Continued)
(Continued)4) Reboot the Audio and try to connect again.
5) Delete all paired devices from the mobile phone and Audioand re-pair for use.
The hands-free call volume and quality may differ depending onthe mobile phone.
1
234
5