2014 JEEP WRANGLER ABS
[x] Cancel search: ABSPage 10 of 148

INSTRUMENT CLUSTER
Warning Lights
- Low Fuel Warning Light
- Charging System Light**
- Oil Pressure Warning Light**
- Anti-Lock Brake (ABS) Light**
- Air Bag Warning Light**
- Electronic Throttle Control (ETC) Light
- Tire Pressure Monitoring System (TPMS) Light
- Engine Temperature Warning Light
- Seat Belt Reminder Light
- Brake Warning Light**
- Malfunction Indicator Light (MIL)**
-Electronic Stability Control (ESC) Activation/Malfunction Indicator Light**
(See page 100 for more information.)
CONTROLS AT A GLANCE
8
Page 61 of 148

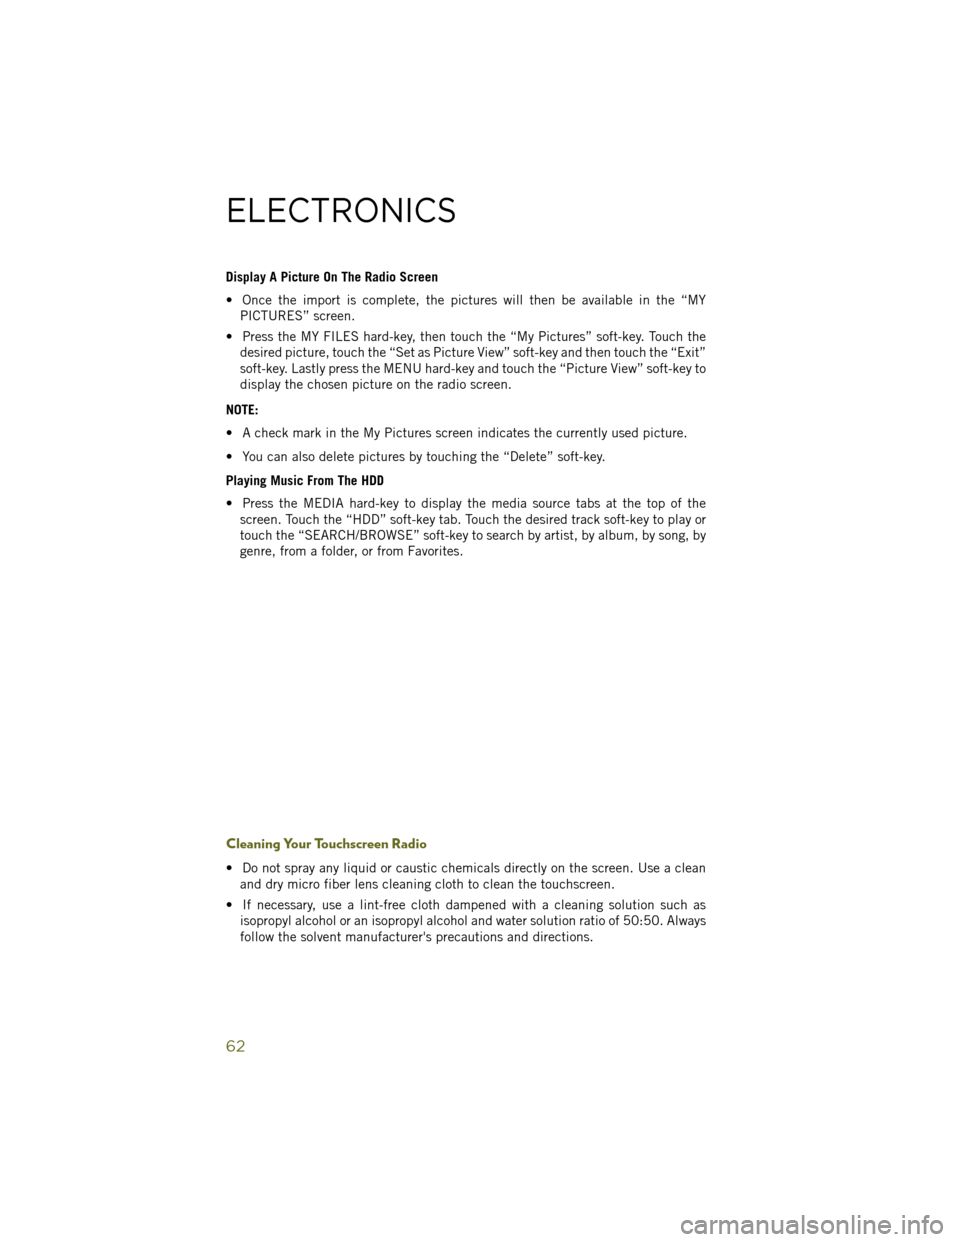
CD/DVD Disc Operation
• Press the MEDIA hard-key to display the media source tabs at the top of thescreen. Select the source by touching the “HDD,” “DISC” or “AUX” media source
soft-key tab.
NOTE:
Your Touchscreen Radio will usually automatically switch to the appropriate mode
when something is first connected or inserted into the system.
Insert A CD/DVD Disc
• To insert a disc, press the LOAD hard-key.
• With the printed side upwards, insert the disc into the disc slot of the radio. The radio pulls the disc in automatically and closes the flip screen. The radio selects
the appropriate mode after the disc is recognized, and starts playing the first track.
The display shows “Reading...” during this process.
Seek Up/Seek Down
• Press the SEEK UP or SEEK DOWN hard-keys to seek through tracks in Disc Mode. Holding the SEEK UP soft-key will fast forward through the track until the
beginning of the track is reached; if still held it will fast-forward through the next
sequential track(s) (if random play node is not active) until released. Holding the
SEEK DOWN soft-key will fast-reverse through the track until the beginning of the
track is reached; if still held it will fast-reverse through the next sequential track(s)
(if random play node is not active) until released.
ELECTRONICS
59
Page 64 of 148

Display A Picture On The Radio Screen
• Once the import is complete, the pictures will then be available in the “MYPICTURES” screen.
• Press the MY FILES hard-key, then touch the “My Pictures” soft-key. Touch the desired picture, touch the “Set as Picture View” soft-key and then touch the “Exit”
soft-key. Lastly press the MENU hard-key and touch the “Picture View” soft-key to
display the chosen picture on the radio screen.
NOTE:
• A check mark in the My Pictures screen indicates the currently used picture.
• You can also delete pictures by touching the “Delete” soft-key.
Playing Music From The HDD
• Press the MEDIA hard-key to display the media source tabs at the top of the screen. Touch the “HDD” soft-key tab. Touch the desired track soft-key to play or
touch the “SEARCH/BROWSE” soft-key to search by artist, by album, by song, by
genre, from a folder, or from Favorites.
Cleaning Your Touchscreen Radio
• Do not spray any liquid or caustic chemicals directly on the screen. Use a cleanand dry micro fiber lens cleaning cloth to clean the touchscreen.
• If necessary, use a lint-free cloth dampened with a cleaning solution such as isopropyl alcohol or an isopropyl alcohol and water solution ratio of 50:50. Always
follow the solvent manufacturer's precautions and directions.
ELECTRONICS
62
Page 71 of 148

CD/DVD Disc Operation
• Press the RADIO/MEDIA hard-key until the media source tabs are displayed at thetop of the screen. Select the source by touching the “HDD,” “DISC” or “AUX”
media source soft-key tab.
NOTE:
Your Touchscreen Radio will usually automatically switch to the appropriate mode
when something is first connected or inserted into the system.
Insert A CD/DVD Disc
• To insert a disc, press the OPEN/CLOSE hard-key.
• With the printed side upwards, insert the disc into the disc slot of the radio. The radio pulls the disc in automatically and closes the flip screen. The radio selects
the appropriate mode after the disc is recognized, and starts playing the first track.
The display shows “Reading...” during this process.
Seek Up/Seek Down
• Press the SEEK UP or SEEK DOWN hard-keys to seek through tracks in Disc Mode. Hold either SEEK to bypass tracks without stopping.
ELECTRONICS
69
Page 75 of 148

Playing Music From The HDD
• Press the RADIO/MEDIA hard-key until the media source tabs are displayed at thetop of the screen. Touch the “HDD” soft-key tab. Touch the desired track soft-key
to play or touch the “SEARCH/BROWSE” soft-key to search by artist, by album, by
song, by genre, from a folder, or from Favorites.
Cleaning Your Touchscreen Radio
• Do not spray any liquid or caustic chemicals directly on the screen. Use a cleanand dry micro fiber lens cleaning cloth to clean the touchscreen.
•
If necessary, use a lint-free cloth dampened with a cleaning solution such as
isopropyl alcohol or an isopropyl alcohol and water solution ratio of 50:50. Always
follow the solvent manufacturer's precautions and directions.
Navigation
• Your navigation system receives GPS signals from up to 16 satellites to dis-
play the position of your vehicle. Map
and database information is supplied
through a hard disk drive.
• Touch the NAV hard-key on the radio face plate to access the Navigation
system and the NAV – Main Menu.
ELECTRONICS
73
Page 105 of 148

- Electronic Stability Control (ESC) OFF Activation/Malfunction Warning
Light
• If the ESC OFF warning light comes on continuously with the engine running, a malfunction has been detected.
• If this light remains on after several ignition cycles, and the vehicle has been driven several miles (kilometers) at speeds greater than 30 mph (48 km/h), we
recommend you drive to the nearest service center and have the vehicle serviced
immediately.
- Charging System Light
This light shows the status of the electrical charging system. If the charging system
light remains on, it means that the vehicle is experiencing a problem with the
charging system.
We recommend you do not continue driving if the charging system light is on. Have
the vehicle serviced immediately.
- Oil Pressure Warning Light
This light indicates low engine oil pressure. If the light turns on while driving, stop
the vehicle and shut off the engine as soon as possible. A chime will sound when this
light turns on.
We recommend you do not operate the vehicle or engine damage will occur. Have the
vehicle serviced immediately.
- Anti-Lock Brake (ABS) Light
This light monitors the Anti-Lock Brake System (ABS).
If the light is not on during starting, stays on, or turns on while driving, we
recommend you contact the nearest authorized dealer and have the vehicle serviced
immediately.
- Electronic Throttle Control (ETC) Indicator Light
This light informs you of a problem with the system.
If a problem is detected, the light will come on while the engine is running. Cycle the
ignition when the vehicle has completely stopped and the shift lever is placed in the
PARK position; the light should turn off.
If the light remains lit with the engine running, your vehicle will usually be drivable;
however, see an authorized dealer immediately. If the light is flashing when the
engine is running, immediate service is required and you may experience reduced
performance, an elevated/rough idle or engine stall and your vehicle may require
towing.
WHAT TO DO IN EMERGENCIES
103
Page 129 of 148

FUSES
Totally Integrated Power Module
The Totally Integrated Power Module is located in the engine compartment near the
battery. This center contains cartridge fuses, mini fuses and relays. A label that
identifies each component is printed on the inside of the cover.
Cavity Cartridge Fuse Mini FuseDescription
J1 –– –
J2 30 Amp Pink – Transfer Case Module
J3 –– –
J4 25 Amp Clear – Driver Door Node
J5 25 Amp Clear – Passenger Door Node
J6 40 Amp Green – Anti-Lock Brake System (ABS) Pump/Stability Control System
J7 30 Amp Pink – Anti-Lock Brake System (ABS) Valve/Stability Control System
J8 –– –
J9 40 Amp Green – PZEV Sec Motor/Flex Fuel
J10 30 Amp Pink – Headlamp Wash Relay/Manifold Tuning Valve
J11 30 Amp Pink – Sway Bar
J12 30 Amp Pink – Rear Blower Motor/Radiator Fan
J13 60 Amp Yellow – Ignition Off Draw (IOD) – Main
J14 40 Amp Green – Rear Defroster
J15 40 Amp Green – Front Blower
J17 40 Amp Green – Starter Solenoid
J18 20 Amp Blue – Powertrain Control Module
(PCM) Trans Range
J19 60 Amp Yellow – Radiator Fan
J20 30 Amp Pink – Front Wiper LO/HI
J21 20 Amp Blue – Front/Rear Washer
J22 –– Spare
M1 – 15 Amp Blue Center High-Mounted Stop Light
(CHMSL)/Switch Stop LampFeed
M2 – 20 Amp Yellow Relay Trailer Lighting (Stoplamp)
M3 – 20 Amp Yellow Frt/Rear Axle Locker Relay
M4 – 2 Amp Grey Clock Spring
M5 – 25 Amp Clear Power Inverter – If Equipped
M6 – 20 Amp Yellow Power Outlet #1/Rain Sensor
M7 – 20 Amp Yellow Power Outlet #2 (BATT/ACC
SELECT)
MAINTAINING YOUR VEHICLE
127
Page 139 of 148

Airbag..................13
Air Conditioning ............30
Air Recirculation ............30
Alarm Arm The System ..........11
Disarm The System ........12
Vehicle Security Alarm ......11
Alarm (Security Alarm) .........11
Antifreeze (Engine Coolant) .....119
Anti-Lock Warning Light .......103
Assistance Towing ..........100
Audio Jack ........49, 52, 55, 60
Audio Settings ........48, 51, 54
Audio Systems (Radio) .........48
Automatic Headlights .........24
Automatic Temperature Control (ATC) ............30
Break-In Recommendations, New Vehicle .............24
Bulb Replacement ..........131
Calibration, Compass .........89
Capacities, Fluid ...........119
CD (Compact Disc) Player . .49, 52, 55
Change Oil Indicator .........104
Changing A Flat Tire .........106
Charging System Light ........103
Child Restraints Car Seat ...............14
Child Restraints ..........14
Child Seat Installation . . . .16, 17
Installing Child Restraints Using
The Vehicle Seat Belt .....16, 17
Lower Anchors And Tethers
For Children ..........14, 16
Using The Top Tether
Anchorage ..............16
Child Seat ................16
Climate Control .............30
Clock Setting .......48, 50, 53, 56
Cluster Warning/Indicator Lights Anti-Lock Brake (ABS) Light . .103
Charging System Light .....103
Electronic Throttle Control (ETC)
Indicator Light ..........103
Malfunction Indicator
Light (MIL) ............102 Oil Pressure Warning Light . . .103
Tire Pressure Monitoring System
(TPMS) Light
...........100
Compass Calibration ..........89
Cooling System Coolant Capacity .........119
Selection of Coolant
(Antifreeze) ........... .119
Cruise
Control (Speed Control) ....27
Customer Assistance .........132
Defects, Reporting ..........133
Dimmer Control .............25
Dimmer Switch, Headlight ......25
Disabled Vehicle Towing .......100
Disarming, Security System ......12
Door Locks ...............10
Driver Cockpit ............6,47
ECO ...................89
Electronic Speed Control (Cruise Control) ...........27
Electronic Stability Control (ESC) . .100
Electronic Stability Control (ESC) OFF Indicator ..............103
Electronic Throttle Control Warning Light ...........103
Electronic Vehicle Information Center (EVIC) ..........88, 90
Emergency, In Case of Brake Warning Light .......102
Jacking ..............106
Overheating ............105
Towing ...............100
Engine Break-In Recommendations . . .24
Compartment ...........118
Fuel Requirements ........119
Oil .................119
Oil Selection ...........119
Overheating ............105
Event Data Recorder .........116
Exterior Lights .............131
FAQ...................135
Flash-To-Pass ..............25
Flexible Fuel Vehicles ........121
Fluid Capacities ............119
INDEX
137