Page 117 of 220

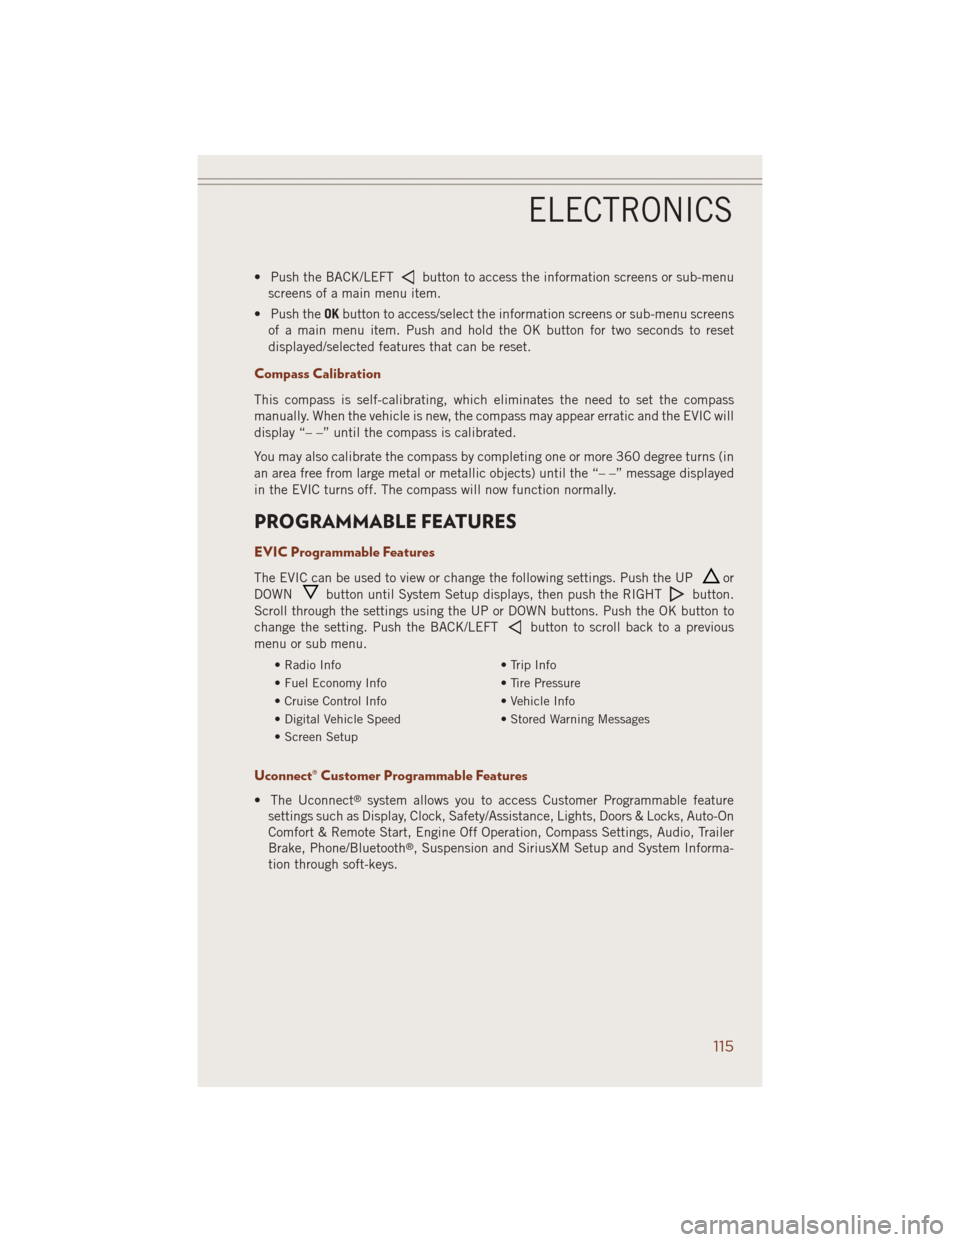
• Push the BACK/LEFTbutton to access the information screens or sub-menu
screens of a main menu item.
• Push theOKbutton to access/select the information screens or sub-menu screens
of a main menu item. Push and hold the OK button for two seconds to reset
displayed/selected features that can be reset.
Compass Calibration
This compass is self-calibrating, which eliminates the need to set the compass
manually. When the vehicle is new, the compass may appear erratic and the EVIC will
display “– –” until the compass is calibrated.
You may also calibrate the compass by completing one or more 360 degree turns (in
an area free from large metal or metallic objects) until the “– –” message displayed
in the EVIC turns off. The compass will now function normally.
PROGRAMMABLE FEATURES
EVIC Programmable Features
The EVIC can be used to view or change the following settings. Push the UPor
DOWN
button until System Setup displays, then push the RIGHTbutton.
Scroll through the settings using the UP or DOWN buttons. Push the OK button to
change the setting. Push the BACK/LEFT
button to scroll back to a previous
menu or sub menu.
• Radio Info • Trip Info
• Fuel Economy Info • Tire Pressure
• Cruise Control Info • Vehicle Info
• Digital Vehicle Speed • Stored Warning Messages
• Screen Setup
Uconnect® Customer Programmable Features
• The Uconnect®system allows you to access Customer Programmable feature
settings such as Display, Clock, Safety/Assistance, Lights, Doors & Locks, Auto-On
Comfort & Remote Start, Engine Off Operation, Compass Settings, Audio, Trailer
Brake, Phone/Bluetooth
®, Suspension and SiriusXM Setup and System Informa-
tion through soft-keys.
ELECTRONICS
115
Page 118 of 220

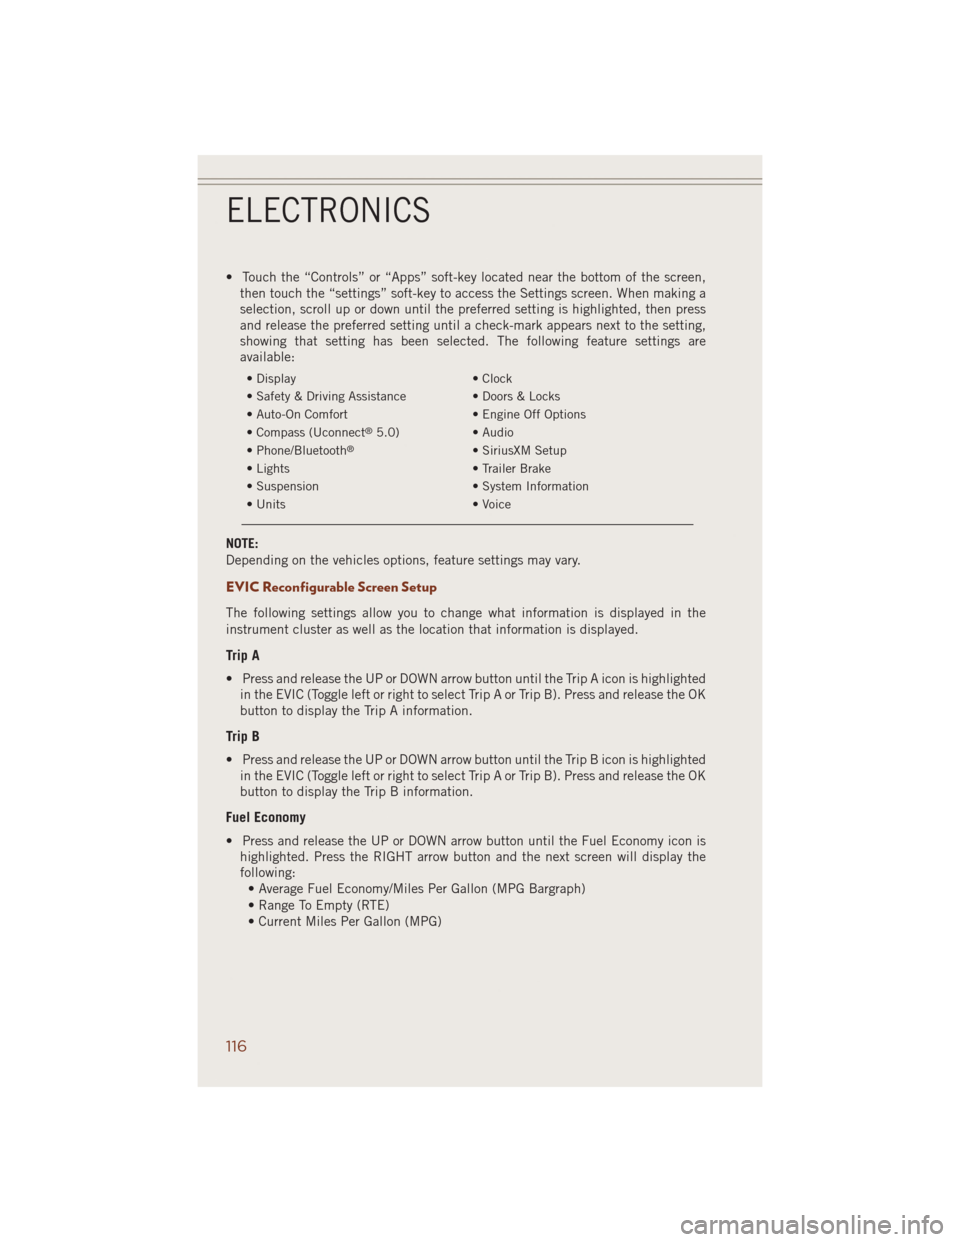
• Touch the “Controls” or “Apps” soft-key located near the bottom of the screen,
then touch the “settings” soft-key to access the Settings screen. When making a
selection, scroll up or down until the preferred setting is highlighted, then press
and release the preferred setting until a check-mark appears next to the setting,
showing that setting has been selected. The following feature settings are
available:
• Display • Clock
• Safety & Driving Assistance • Doors & Locks
• Auto-On Comfort • Engine Off Options
• Compass (Uconnect
®5.0) • Audio
• Phone/Bluetooth®• SiriusXM Setup
• Lights • Trailer Brake
• Suspension • System Information
• Units • Voice
NOTE:
Depending on the vehicles options, feature settings may vary.
EVIC Reconfigurable Screen Setup
The following settings allow you to change what information is displayed in the
instrument cluster as well as the location that information is displayed.
Trip A
• Press and release the UP or DOWN arrow button until the Trip A icon is highlighted
in the EVIC (Toggle left or right to select Trip A or Trip B). Press and release the OK
button to display the Trip A information.
Trip B
• Press and release the UP or DOWN arrow button until the Trip B icon is highlighted
in the EVIC (Toggle left or right to select Trip A or Trip B). Press and release the OK
button to display the Trip B information.
Fuel Economy
• Press and release the UP or DOWN arrow button until the Fuel Economy icon is
highlighted. Press the RIGHT arrow button and the next screen will display the
following:
• Average Fuel Economy/Miles Per Gallon (MPG Bargraph)
• Range To Empty (RTE)
• Current Miles Per Gallon (MPG)
ELECTRONICS
116
Page 204 of 220

Cavity Cartridge Fuse Micro Fuse Description
F37 30 Amp Pink Rear Blower - If Equipped
F38 30 Amp Pink Power Inverter 115V AC -
If Equipped
F39 30 Amp Pink Power Liftgate - If Equipped
F40 10 Amp Red Daytime Running Lights
F42 20 Amp Yellow Horn
F44 10 Amp Red Diagnostic Port
F46 10 Amp Red Tire Pressure Monitor -
If Equipped
F49 10 Amp Red Integrated Central Stack /
Climate Control
F50 20 Amp Yellow Air Suspension Control Module -
If Equipped
F51 10 Amp Red Ignition Node Module / Keyless
Ignition / Steering Column Lock
F52 5 Amp Tan Battery Sensor
F53 20 Amp Yellow Trailer Tow – Left Turn/Stop
Lights - If Equipped
F56 15 Amp Blue
Additional Content
(Diesel engine only)
F57 15 Amp Blue Transmission
F59 10 Amp Red
Purging Pump (Diesel engine only)
F60 15 Amp Blue Transmission Control Module
F62 10 Amp Red Air Conditioning Clutch
F63 20 Amp Yellow Ignition Coils (Gas), Urea Heater
(Diesel)
F64 25 Amp Natural Fuel Injectors / Powertrain
F66 10 Amp Red Sunroof / Passenger Window
Switches / Rain Sensor
F67 15 Amp Blue CD / DVD / Bluetooth Hands-free
Module - If Equipped
F68 20 Amp Yellow Rear Wiper Motor
F70 20 Amp Yellow Fuel Pump Motor
F71 30 Amp Green Audio Amplifier
F73 15 Amp Blue HID Headlamps Right
F74 20 Amp Yellow Brake Vacuum Pump -
If Equipped
F76 10 Amp Red Antilock Brakes/Electronic
Stability Control
F77 10 Amp Red Drivetrain Control Module/Front
Axle Disconnect Module
F78 10 Amp Red Engine Control Module / Electric
Power Steering - If Equipped
MAINTAINING YOUR VEHICLE
202
Page 211 of 220

FREQUENTLY ASKED QUESTIONS
GETTING STARTED
How do I install my LATCH Equipped Child Seat? pg. 17
How do I program my Front Seat Memory? pg. 22
OPERATING YOUR VEHICLE
How does the Electronic Speed Control operate? pg. 32
ELECTRONICS
Which radio is in my vehicle?
• Uconnect
®5.0 pg. 65
• Uconnect
®8.4 pg. 73
• Uconnect
®8.4AN pg. 93
How do I activate the Audio Jack?
• Uconnect
®5.0 pg. 68
• Uconnect
®8.4A pg. 99
• Uconnect
®8.4AN pg. 99
How do I set the clock on my radio?
• Uconnect
®5.0 pg. 65
• Uconnect
®8.4A pg. 73
• Uconnect
®8.4AN pg. 93
How do I use the Navigation feature? pg. 101
How do I pair my cell phone via Bluetooth
®with the Uconnect®Hands-Free Voice
Activation System?
• Uconnect
®8.4A pg. 105
• Uconnect
®8.4AN pg. 105
How do I use my USB port to listen to audio through my touchscreen radio? pg. 99
OFF-ROAD CAPABILITIES
How do I shift into different four-wheel drive selections? pg. 122
UTILITY
How do I know how much I can tow with my Jeep Grand Cherokee? pg. 128
FAQ’s
209
Page:
< prev 1-8 9-16 17-24