2014 JEEP GRAND CHEROKEE trailer
[x] Cancel search: trailerPage 3 of 220

INTRODUCTION/WELCOME
WELCOME FROM CHRYSLER
GROUP LLC.................. 3
CONTROLS AT A GLANCE
DRIVER COCKPIT............... 6
INSTRUMENT CLUSTER.......... 8
GETTING STARTED
KEYFOB ................... 10
REMOTE START............... 10
KEYLESS ENTER-N-GO™......... 11
VEHICLE SECURITY ALARM....... 15
SEATBELT .................. 15
SUPPLEMENTAL RESTRAINT SYSTEM
(SRS) — AIR BAGS............ 16
CHILD RESTRAINTS............ 17
FRONT SEATS................ 21
REAR SEATS................. 24
HEATED/VENTILATED SEATS....... 24
HEATED STEERING WHEEL....... 26
TILT/TELESCOPING STEERING
COLUMN................... 27
OPERATING YOUR VEHICLE
ENGINE BREAK-IN
RECOMMENDATIONS........... 28
HEADLIGHT SWITCH............ 29
TURN SIGNAL/WIPER/WASHER/HIGH
BEAM LEVER................ 30
AUTOMATIC DIMMING MIRRORS.... 32
SPEED CONTROL.............. 32
ADAPTIVE CRUISE CONTROL (ACC) . . . 34
FORWARD COLLISION WARNING (FCW)
WITHMITIGATION ............. 36
ELECTRONIC SHIFTER........... 38
PADDLE SHIFT MODE........... 39
FUEL ECONOMY (ECO) MODE...... 39
AUTOMATIC CLIMATE CONTROLS
WITH TOUCHSCREEN........... 40
PARKSENSE
®FRONT AND REAR
PARK ASSIST................ 42
PARKVIEW
®REAR BACK-UP CAMERA . 43
BLIND SPOT MONITORING........ 44
POWER SUNROOF............. 44
WIND BUFFETING............. 47
ELECTRONICS
YOUR VEHICLE'S SOUND SYSTEM . . . 48
IDENTIFYING YOUR RADIO........ 50
Uconnect
®ACCESS............. 51
Uconnect®5.0 ................ 65
Uconnect®8.4A ............... 73
Uconnect®8.4AN .............. 93
STEERING WHEEL AUDIO CONTROLS . . 114ELECTRONIC VEHICLE INFORMATION
CENTER (EVIC).............. 114
PROGRAMMABLE FEATURES...... 115
UNIVERSAL GARAGE DOOR OPENER
(HomeLink
®) ................ 117
POWER INVERTER............ 119
POWER OUTLETS............. 120
OFF-ROAD CAPABILITIES
(4WD OPERATION)
QUADRA-TRAC I®FOUR-WHEEL
DRIVE .................... 122
QUADRA-TRAC II
®/QUADRA-DRIVE II®FOUR-WHEEL DRIVE.......... 122
SELEC-TERRAIN™............ 124
QUADRA-LIFT™.............. 125
HILL START ASSIST/HILL DESCENT
CONTROL/SELEC SPEED CONTROL . . 127
UTILITY
TRAILER TOWING WEIGHTS (MAXIMUM
TRAILER WEIGHT RATINGS)...... 128
RECREATIONAL TOWING (BEHIND
MOTORHOME, ETC.)........... 132
SRT
PADDLE SHIFT MODE.......... 136
SELEC-TRACK™.............. 137
SRT PERFORMANCE FEATURES.... 138
SUMMER/THREE-SEASON TIRES . . . 141
DIESEL
DIESEL ENGINE BREAK-IN
RECOMMENDATIONS.......... 142
DIESEL ENGINE STARTING
PROCEDURES............... 142
DIESEL FUEL FILTERS/WATER
SEPARATOR ................ 144
EXHAUST REGENERATION....... 145
DIESEL EXHAUST FLUID........ 146
WHAT TO DO IN EMERGENCIES
ROADSIDE ASSISTANCE......... 150
INSTRUMENT CLUSTER WARNING
LIGHTS................... 150
IF YOUR ENGINE OVERHEATS..... 158
JACKING AND TIRE CHANGING.... 158
BATTERY LOCATION........... 165
JUMP-STARTING............. 165
EMERGENCY TOW HOOKS....... 167
MANUAL PARK RELEASE 8-SPEED . . 168
TOWING A DISABLED VEHICLE.... 169
EVENT DATA RECORDER (EDR).... 170
CAP-LESS FUEL FILL FUNNEL..... 170
TABLE OF CONTENTS
Page 41 of 220

SPORT Mode
• To shift from DRIVE to SPORT, pull the shift lever rearward until “S” is displayed
in the EVIC.
• To shift back into DRIVE from SPORT, pull the shift lever rearward until “D” is
displayed in the EVIC.
PADDLE SHIFT MODE
Paddle Shift Mode is a driver-interactive transmission feature that offers manual gear
shifting to provide you with more control of the vehicle. Paddle Shift Mode allows you
to maximize engine braking, eliminate undesirable upshifts and downshifts, and
improve overall vehicle performance.
This system can also provide you with more control during passing, city driving, cold
slippery conditions, mountain driving, trailer towing, and many other situations.
Refer to the “Starting And Operating” section of your vehicle’s Owner’s Manual on
the DVD for further details.
FUEL ECONOMY (ECO) MODE
The Fuel Economy (ECO) mode can improve the vehicle’s overall fuel economy during
normal driving conditions.
• Press the “ECO” switch in the center
stack of the instrument panel and a
amber light will indicate the ECO mode
is engaged.
When the Fuel Economy (ECO) Mode is
engaged, the vehicle control systems will
be able to change the following:
• The transmission will upshift sooner
and downshift later.
• The overall driving performance will
be more conservative.
• Some ECO mode functions may be
temporarily inhibited based on tem-
perature and other factors.
NOTE:
When Sport Mode is enabled, the vehicle’s air suspension system will operate in
“Aero” Mode. Please refer to “QUADRA-LIFT™” within “OFF-ROAD CAPABILITIES”
for further information.
OPERATING YOUR VEHICLE
39
Page 117 of 220

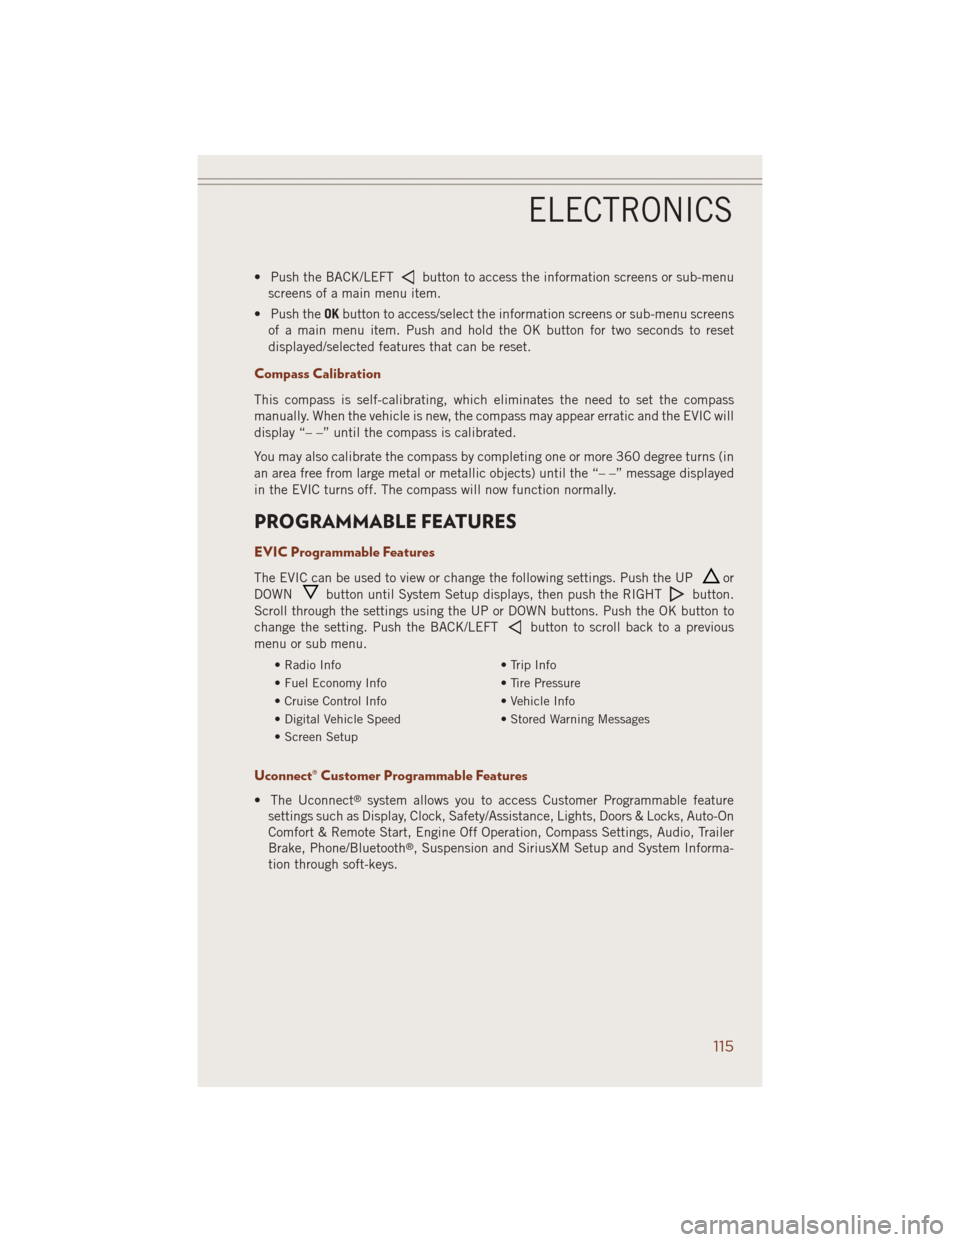
• Push the BACK/LEFTbutton to access the information screens or sub-menu
screens of a main menu item.
• Push theOKbutton to access/select the information screens or sub-menu screens
of a main menu item. Push and hold the OK button for two seconds to reset
displayed/selected features that can be reset.
Compass Calibration
This compass is self-calibrating, which eliminates the need to set the compass
manually. When the vehicle is new, the compass may appear erratic and the EVIC will
display “– –” until the compass is calibrated.
You may also calibrate the compass by completing one or more 360 degree turns (in
an area free from large metal or metallic objects) until the “– –” message displayed
in the EVIC turns off. The compass will now function normally.
PROGRAMMABLE FEATURES
EVIC Programmable Features
The EVIC can be used to view or change the following settings. Push the UPor
DOWN
button until System Setup displays, then push the RIGHTbutton.
Scroll through the settings using the UP or DOWN buttons. Push the OK button to
change the setting. Push the BACK/LEFT
button to scroll back to a previous
menu or sub menu.
• Radio Info • Trip Info
• Fuel Economy Info • Tire Pressure
• Cruise Control Info • Vehicle Info
• Digital Vehicle Speed • Stored Warning Messages
• Screen Setup
Uconnect® Customer Programmable Features
• The Uconnect®system allows you to access Customer Programmable feature
settings such as Display, Clock, Safety/Assistance, Lights, Doors & Locks, Auto-On
Comfort & Remote Start, Engine Off Operation, Compass Settings, Audio, Trailer
Brake, Phone/Bluetooth
®, Suspension and SiriusXM Setup and System Informa-
tion through soft-keys.
ELECTRONICS
115
Page 118 of 220

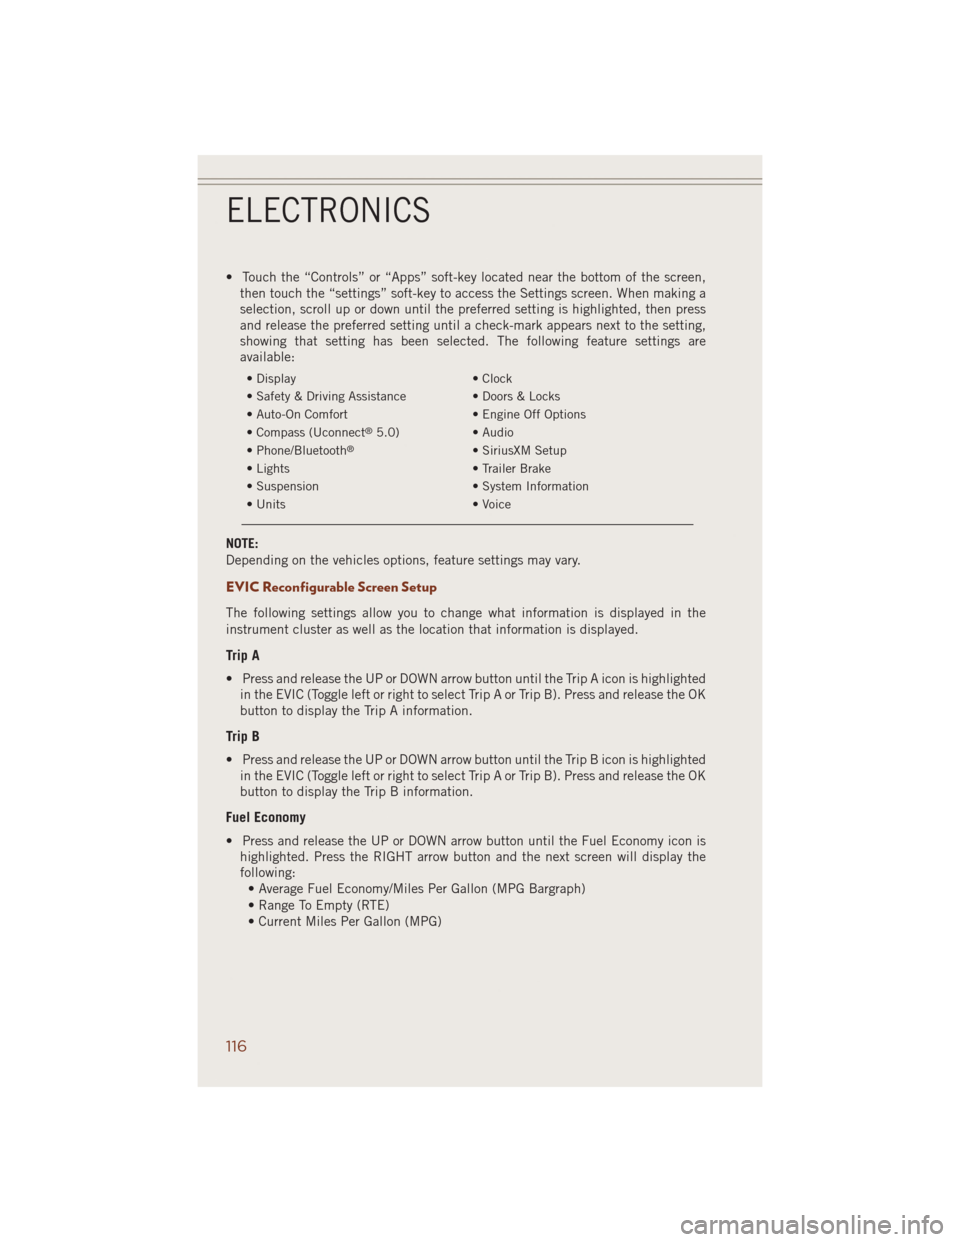
• Touch the “Controls” or “Apps” soft-key located near the bottom of the screen,
then touch the “settings” soft-key to access the Settings screen. When making a
selection, scroll up or down until the preferred setting is highlighted, then press
and release the preferred setting until a check-mark appears next to the setting,
showing that setting has been selected. The following feature settings are
available:
• Display • Clock
• Safety & Driving Assistance • Doors & Locks
• Auto-On Comfort • Engine Off Options
• Compass (Uconnect
®5.0) • Audio
• Phone/Bluetooth®• SiriusXM Setup
• Lights • Trailer Brake
• Suspension • System Information
• Units • Voice
NOTE:
Depending on the vehicles options, feature settings may vary.
EVIC Reconfigurable Screen Setup
The following settings allow you to change what information is displayed in the
instrument cluster as well as the location that information is displayed.
Trip A
• Press and release the UP or DOWN arrow button until the Trip A icon is highlighted
in the EVIC (Toggle left or right to select Trip A or Trip B). Press and release the OK
button to display the Trip A information.
Trip B
• Press and release the UP or DOWN arrow button until the Trip B icon is highlighted
in the EVIC (Toggle left or right to select Trip A or Trip B). Press and release the OK
button to display the Trip B information.
Fuel Economy
• Press and release the UP or DOWN arrow button until the Fuel Economy icon is
highlighted. Press the RIGHT arrow button and the next screen will display the
following:
• Average Fuel Economy/Miles Per Gallon (MPG Bargraph)
• Range To Empty (RTE)
• Current Miles Per Gallon (MPG)
ELECTRONICS
116
Page 130 of 220

TRAILER TOWING WEIGHTS (MAXIMUM TRAILER
WEIGHT RATINGS)
Engine/Model Model Frontal Area Max. GTW
(Gross Trailer Wt.)Max. Trailer
Tongue Wt.
(See Note)
3.0L- Diesel
Engine4x2 55sqft
(5.11 sq m)7,400 lbs
(3 357 kg)740 lbs (336 kg)
3.0L- Diesel
Engine4x4 55sqft
(5.11 sq m)7,200 lbs
(3 266 kg)720 lbs (327 kg)
3.6L- Gaso-
line Engine4x2 55sqft
(5.11 sq m)6,200 lbs
(2 812kg)620 lbs (281 kg)
3.6L- Gaso-
line Engine4x4 55sqft
(5.11 sq m)6,200 lbs
(2 812kg)620 lbs (281 kg)
5.7L- Gaso-
line Engine4x2 55sqft
(5.11 sq m)7,400 lbs
(3 357 kg)740 lbs (336 kg)
5.7L- Gaso-
line Engine4x4 55sqft
(5.11 sq m)7,200 lbs
(3 266 kg)720 lbs (327 kg)
6.4L*- Gaso-
line EngineSRT 40sqft
(3.72 sq m)7,200 lbs
(3 265 kg)720 lbs (327 kg)
*For SRT vehicles, do not tow a trailer when using the compact spare tire. Refer to
local laws for maximum trailer towing speeds.
NOTE: The trailer tongue weight must be considered as part of the combined weight of
occupants and cargo, and should never exceed the weight referenced on the Tire and
Loading Information placard.
If the gross trailer weight is 3,500 lbs (1587 kg) or more, it is mandatory to use a
weight-distributing hitch to ensure stable handling of your vehicle.
NOTE:
Vehicles not factory equipped with trailer tow package are limited to 3,500 lbs
(350 lbs tongue weight).
UTILITY
128
Page 131 of 220

Trailer Hitch Receiver Cover Removal (Summit Models) — If Equipped
Your vehicle may be equipped with a trailer hitch receiver cover, this must be
removed to access the trailer hitch receiver (if equipped). This hitch receiver cover is
located at the bottom center of the rear fascia.
1. Turn the two locking retainers located at the bottom of the hitch receiver cover a
1/4 turn counterclockwise.
NOTE:
Use a suitable tool such as a coin in the
slot of the locking retainer if needed for
added leverage.
2. Pull the bottom of the cover outward (towards you), pull downwards to disengage
the tabs located at the top of the hitch receiver cover.
Hitch Receiver Cover1—Hitch Receiver Cover Tab Locations
2 — Locking Retainers
Hitch Receiver Cover
UTILITY
129
Page 132 of 220

To reinstall the hitch receiver cover after towing repeat the procedure in reverse order.
NOTE:
Be sure to engage all tabs of the hitch
receiver cover in the bumper fascia prior
to installation.
Trailer Hitch Receiver Cover Removal (SRT Models) — If Equipped
Your vehicle may be equipped with a trailer hitch receiver cover, this must be
removed to access the trailer hitch receiver (if equipped). This hitch receiver cover is
located at the bottom center of the rear fascia.
1. Turn the two locking retainers located at the bottom of the hitch receiver cover a
1/4 turn counterclockwise.
NOTE:
Use a suitable tool such as a coin in the
slot of the locking retainer if needed for
added leverage.
Hitch Receiver Cover1—Hitch Receiver Cover Tab Locations
2 — Locking Retainers
Hitch Receiver Cover
1—Hitch Receiver Cover Retaining Tabs
2 — Hitch Receiver Cover
3 — Locking Retainers
UTILITY
130
Page 134 of 220

RECREATIONAL TOWING (BEHIND MOTORHOME,
ETC.)
Towing This Vehicle Behind Another Vehicle
Towing
ConditionWheel OFF
the GroundTwo-Wheel Drive Models Four-Wheel Drive Models
Flat Tow NONENOT ALLOWEDSee Instructions
•
Transmission in PARK• Transfer case in
NEUTRAL (N)
• Tow in forward direc-
tion
Dolly TowFrontNOT ALLOWED NOT ALLOWED
Rear OKNOT ALLOWED
On Trailer ALL OK OK
NOTE:
Vehicles equipped with Quadra-Lift™ must be placed in Transport Mode before tying
them down (from the body) on a trailer or flatbed truck. If the vehicle cannot be
placed in Transport mode (for example, engine will not run), tie-downs must be
fastened to the axles (not to the body). Failure to follow these instructions may cause
fault codes to be set and/or cause loss of proper tie-down tension.
Two-Wheel Drive Models
DO NOT flat tow this vehicle. Damage to the drivetrain will result.
Recreational towing (for two-wheel drive models) is allowed ONLY if the rear wheels
are OFF the ground. This may be accomplished using a tow dolly or vehicle trailer.
If using a tow dolly, follow this procedure:
1. Properly secure the dolly to the tow vehicle, following the dolly manufacturer's
instructions.
2. Drive the rear wheels onto the tow dolly.
3. Firmly apply the parking brake. Shift the transmission into PARK.
4. Turn the ignition switch to the OFF position.
5. Properly secure the rear wheels to the dolly, following the dolly manufacturer’s
instructions.
6. Install a suitable clamping device, designed for towing, to secure the front wheels
in the straight position.
CAUTION!
Towing with the rear wheels on the ground will cause severe transmission damage.
Damage from improper towing is not covered under the New Vehicle Limited Warranty.
UTILITY
132