Page 150 of 711

449
Features of your vehicle
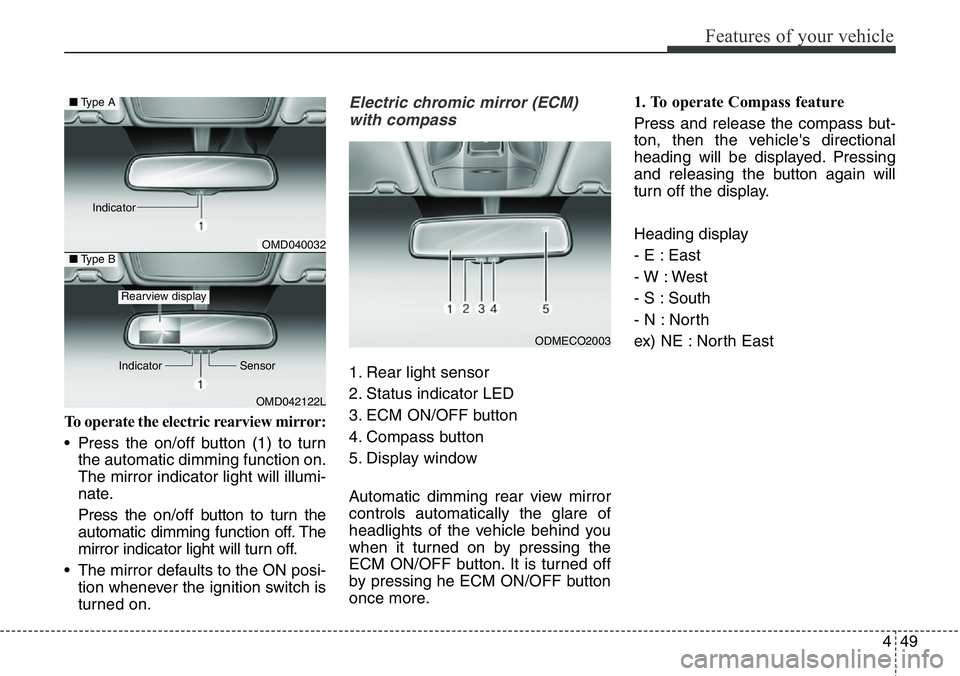
To operate the electric rearview mirror:
• Press the on/off button (1) to turn
the automatic dimming function on.
The mirror indicator light will illumi-
nate.
Press the on/off button to turn the
automatic dimming function off. The
mirror indicator light will turn off.
• The mirror defaults to the ON posi-
tion whenever the ignition switch is
turned on.
Electric chromic mirror (ECM)
with compass
1. Rear light sensor
2. Status indicator LED
3. ECM ON/OFF button
4. Compass button
5. Display window
Automatic dimming rear view mirror
controls automatically the glare of
headlights of the vehicle behind you
when it turned on by pressing the
ECM ON/OFF button. It is turned off
by pressing he ECM ON/OFF button
once more.1. To operate Compass feature
Press and release the compass but-
ton, then the vehicle's directional
heading will be displayed. Pressing
and releasing the button again will
turn off the display.
Heading display
- E : East
- W : West
- S : South
- N : North
ex) NE : North East
ODMECO2003
OMD040032
OMD042122L
■Type A
■Type B
Rearview display
Indicator Sensor Indicator
Page 151 of 711
Features of your vehicle
50 4
2. Calibration procedure
Press and hold the button for more
than 6 but less than 9 seconds. When
the compass memory is cleared a "C"
will appear in the display.
- Driving the vehicle in a circle at less
than 8km/h 2 times or until the com-
pass heading appears.
- Driving in a circle in right-handed
direction and opposite direction are
possible, and if the calibration is
completed, the compass heading
will appear.
- Keep driving in a circle until a com-
pass heading appears.3. Setting the compass zone
1. Find your current location and
variance zone number on the zone
map.
2. Press and hold the button for more
than 3 but less than 6 seconds.
The current zone number will
appear in the display.
B520C01JM
Europe
B520C03JM
Asia
B520C04JM
South America
B520C05JM
Africa
Page 152 of 711

451
Features of your vehicle
3. Press the button until the new zone
number appears in the display.
After you stop pressing the button
in, the display will show a compass
direction within a few seconds.CAUTION
1.Do not install the ski rack,
antenna, etc. which are
attached to the vehicle by
means of a magnet. They affect
the operation of the compass.
2.If the compass deviates from
the correct indication soon
after repeated adjustment, we
recommend that you have the
compass checked at an
authorized HYUNDAI dealer.
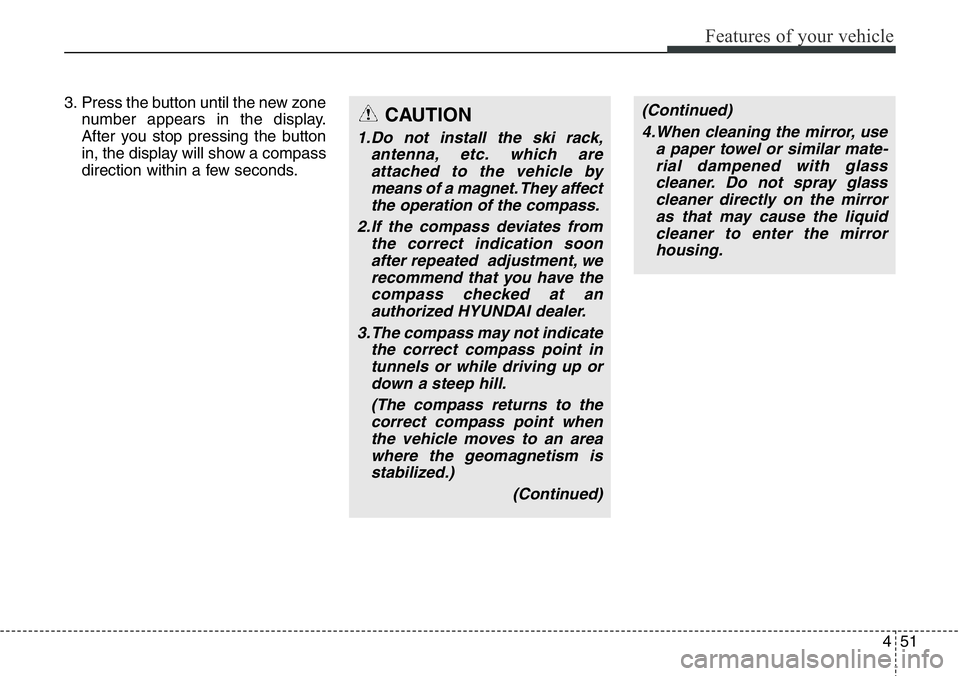
3.The compass may not indicate
the correct compass point in
tunnels or while driving up or
down a steep hill.
(The compass returns to the
correct compass point when
the vehicle moves to an area
where the geomagnetism is
stabilized.)
(Continued)
(Continued)
4.When cleaning the mirror, use
a paper towel or similar mate-
rial dampened with glass
cleaner. Do not spray glass
cleaner directly on the mirror
as that may cause the liquid
cleaner to enter the mirror
housing.
Page 157 of 711
Features of your vehicle
56 4
INSTRUMENT CLUSTER
1. Tachometer
2. Speedometer
3. Engine coolant temperature gauge
4. Fuel gauge
5. LCD display
6. Warning and indicator lights (if equipped)
7. Turn signal indicator lights
ODMEMM2346/ODMEMM2054
■Type A
- Gasoline engine
❈The actual cluster in the vehicle may differ
from the illustration.
For more details, refer to the "Gauges" in
this chapter.
- Diesel engine
Page 158 of 711
457
Features of your vehicle
1. Tachometer
2. Speedometer
3. Engine coolant temperature gauge
4. Fuel gauge
5. LCD display
6. Warning and indicator lights (if equipped)
7. Turn signal indicator lights
ODMEMM2347/ODMEMM2055
■Type B
- Gasoline engine
❈The actual cluster in the vehicle may differ
from the illustration.
For more details, refer to the "Gauges" in
this chapter.
- Diesel engine
Page 160 of 711
459
Features of your vehicle
LCD Display Control
The LCD display modes can be
changed by using the control buttons
on the steering wheel.
(1) : MODE button for changing
modes
(2) : MOVE button for changing
items
(3) : SELECT/RESET button for
setting or resetting the
selected item
❈For the LCD modes, refer to “LCD
Display” in this chapter.
Gauges
Speedometer
ODM042057/ODMNMM2057/ODM042058/ODMNMM2058
■Type A (km/h)■Type B (km/h)
■Type A (MPH)■Type B (MPH)
The speedometer indicates the speed of the vehicle and is calibrated in miles
per hour (mph) and/or kilometers per hour (km/h).
ODM042224
Page 164 of 711

463
Features of your vehicle
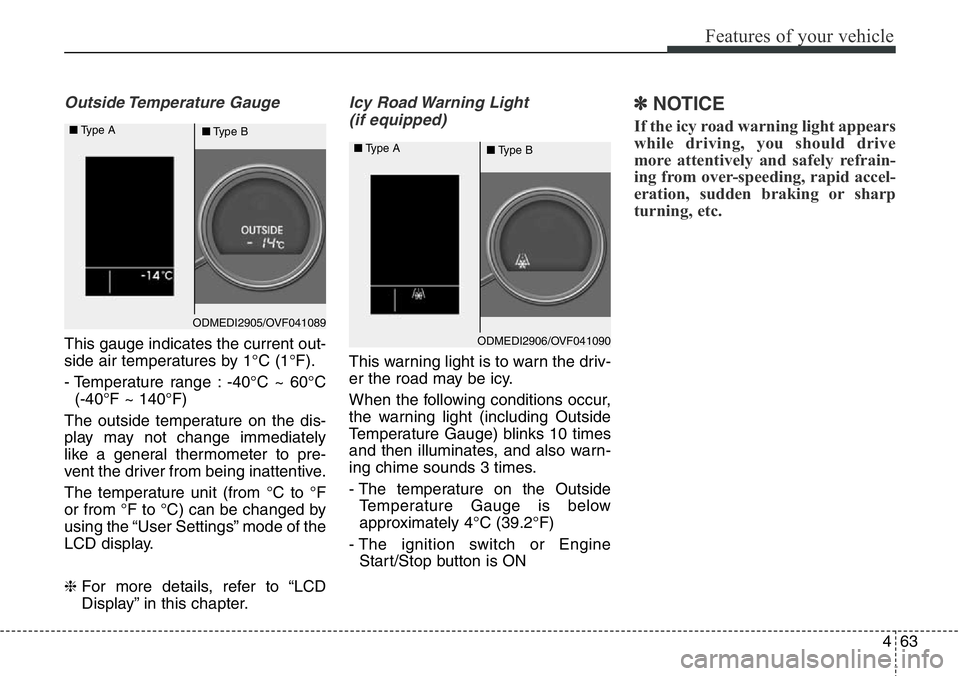
Outside Temperature Gauge
This gauge indicates the current out-
side air temperatures by 1°C (1°F).
- Temperature range : -40°C ~ 60°C
(-40°F ~ 140°F)
The outside temperature on the dis-
play may not change immediately
like a general thermometer to pre-
vent the driver from being inattentive.
The temperature unit (from °C to °F
or from °F to °C) can be changed by
using the “User Settings” mode of the
LCD display.
❈For more details, refer to “LCD
Display” in this chapter.
Icy Road Warning Light
(if equipped)
This warning light is to warn the driv-
er the road may be icy.
When the following conditions occur,
the warning light (including Outside
Temperature Gauge) blinks 10 times
and then illuminates, and also warn-
ing chime sounds 3 times.
- The temperature on the Outside
Temperature Gauge is below
approximately 4°C (39.2°F)
- The ignition switch or Engine
Start/Stop button is ON
✽NOTICE
If the icy road warning light appears
while driving, you should drive
more attentively and safely refrain-
ing from over-speeding, rapid accel-
eration, sudden braking or sharp
turning, etc.
ODMEDI2905/OVF041089 ■Type A
■Type B
ODMEDI2906/OVF041090 ■Type A
■Type B
Page 165 of 711
Features of your vehicle
64 4
Transaxle Shift Indicator
Automatic Transaxle Shift
Indicator (if equipped)
This indicator displays which auto-
matic transaxle shift lever is selected.
•Park :P
• Reverse : R
• Neutral : N
•Drive :D
• Sports Mode : 1, 2, 3, 4, 5, 6
Automatic Transaxle Shift
Indicator (if equipped, For Europe)
In the Sports Mode, this indicator
informs which gear is desired while
driving to save fuel.
• Shifting up :▲
2, ▲
3, ▲
4, ▲
5, ▲
6
• Shifting down :
▼1,
▼2,
▼3,
▼4,
▼5For example
: Indicates that shifting up to the
3rd gear is desired (currently
the shift lever is in the 2nd or 1st
gear).
: Indicates that shifting down to
the 3rd gear is desired (current-
ly the shift lever is in the 4th, 5th,
or 6th gear).
When the system is not working prop-
erly, the indicator is not displayed.
ODMEDI2907/OVF041049 ■Type A
■Type BODMEDI3908/OVF041048 ■Type A
■Type B