Page 1096 of 1534
425
Features of your vehicle
Opening the bonnet
1. Pull the release lever to unlatch thebonnet. The bonnet should pop open
slightly. 2. Go to the front of the vehicle, raise the
bonnet slightly, pull the secondarylatch (1) inside of the bonnet centreand lift the bonnet (2). 3. Pull out the support rod.
4. Hold the bonnet opened with the sup-
port rod.
BONNET
OLM049025ROLM049027
WARNING
- Hot parts
Grasp the support rod in the area
wrapped in rubber. The plastic will
help prevent you from being burned
by hot metal when the engine ishot.
WARNING
Open the bonnet after turning off
the engine on a flat surface, shift-
ing the shift lever to the P(Park)
position for automatic transaxle
and to the 1st(First) gear or
R(Reverse) for manual transaxle,
and setting the parking brake.
OEL043700
EL(FL) UK 4A.QXP 8/5/2013 6:39 PM Page 25
Page 1101 of 1534
Features of your vehicle
30
4
If your vehicle is equipped with a sunroof,
you can slide or tilt your sunroof with the
sunroof control lever located on the over-
head console. The sunroof can only be opened, closed,
or tilted when the ignition switch is in theON position. Sunroof open warning (if equipped)
If the driver removes the ignition
key(Smart key : turns off the engine) and
opens the driver-side door when the sun-
roof is not fully closed, the warning chime
will sound for approximately 7 secondsand
- Type A : Sunroof Open Warning Light
illuminate or blink for approxi-
mately 7 seconds.
- Type B : Sunroof open image will
appear on the LCD display.
Close the sunroof securely when leaving
your vehicle.
✽✽ NOTICE
Page 1106 of 1534

435
Features of your vehicle
Tilt steering
A tilt steering wheel allows you to adjust
the steering wheel before you drive. You
can also raise it to give your legs more
room when you exit and enter the vehicle(if equipped).
The steering wheel should be positioned
so that it is comfortable for you to drive,
whilst permitting you to see the instru-
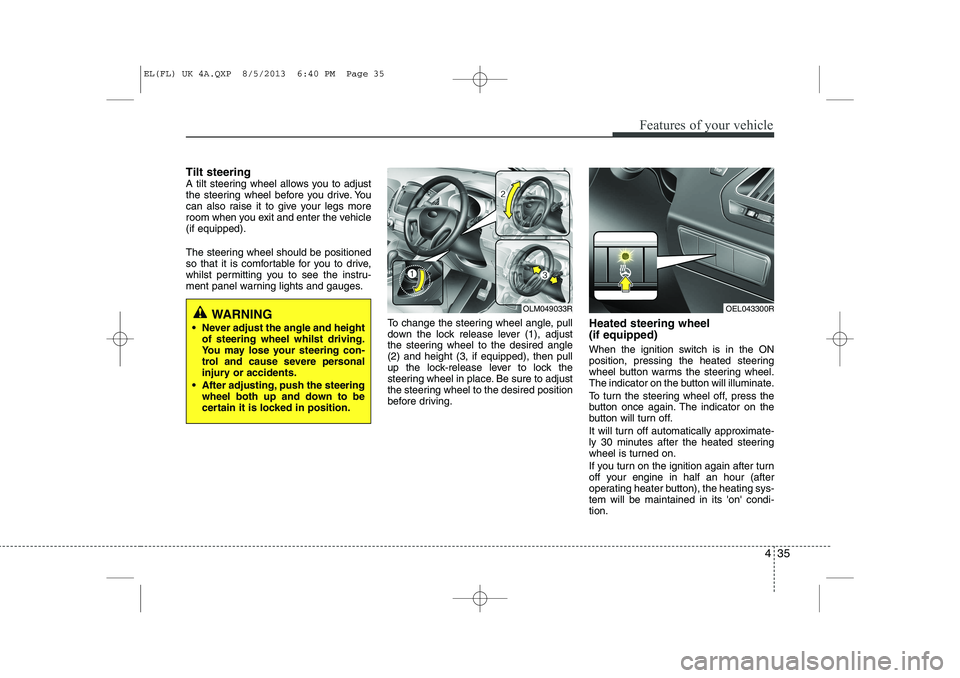
ment panel warning lights and gauges.To change the steering wheel angle, pull
down the lock release lever (1), adjust
the steering wheel to the desired angle(2) and height (3, if equipped), then pull
up the lock-release lever to lock the
steering wheel in place. Be sure to adjust
the steering wheel to the desired position
before driving.Heated steering wheel (if equipped)
When the ignition switch is in the ON
position, pressing the heated steering
wheel button warms the steering wheel.
The indicator on the button will illuminate.
To turn the steering wheel off, press the
button once again. The indicator on the
button will turn off.
It will turn off automatically approximate-
ly 30 minutes after the heated steering
wheel is turned on.
If you turn on the ignition again after turn
off your engine in half an hour (after
operating heater button), the heating sys-tem will be maintained in its 'on' condi-tion.
WARNING
Never adjust the angle and height of steering wheel whilst driving.
You may lose your steering con-
trol and cause severe personal
injury or accidents.
After adjusting, push the steering wheel both up and down to be
certain it is locked in position.OLM049033ROEL043300R
EL(FL) UK 4A.QXP 8/5/2013 6:40 PM Page 35
Page 1110 of 1534

439
Features of your vehicle
Inside rearview mirror
Adjust the rearview mirror to centre on
the view through the rear window. Make
this adjustment before you start driving.
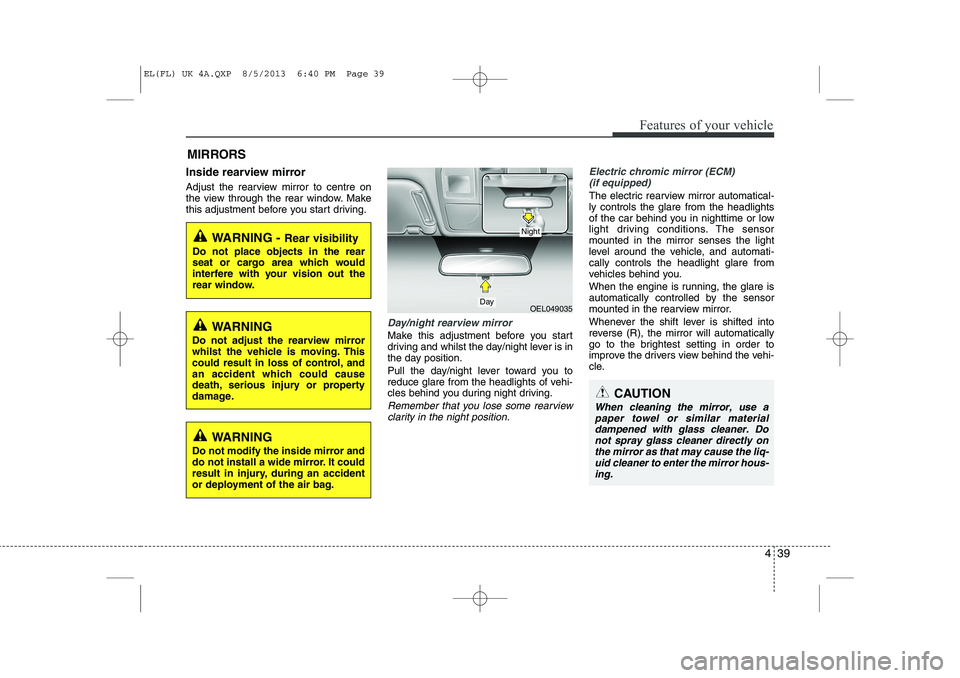
Day/night rearview mirror
Make this adjustment before you start
driving and whilst the day/night lever is in
the day position.
Pull the day/night lever toward you to
reduce glare from the headlights of vehi-
cles behind you during night driving.
Remember that you lose some rearviewclarity in the night position.
Electric chromic mirror (ECM) (if equipped)
The electric rearview mirror automatical- ly controls the glare from the headlights
of the car behind you in nighttime or low
light driving conditions. The sensormounted in the mirror senses the light
level around the vehicle, and automati-cally controls the headlight glare from
vehicles behind you.
When the engine is running, the glare is
automatically controlled by the sensor
mounted in the rearview mirror.
Whenever the shift lever is shifted into
reverse (R), the mirror will automatically
go to the brightest setting in order to
improve the drivers view behind the vehi-
cle.
MIRRORS
WARNING -
Rear visibility
Do not place objects in the rear
seat or cargo area which would
interfere with your vision out the
rear window.
OEL049035
CAUTION
When cleaning the mirror, use a paper towel or similar materialdampened with glass cleaner. Do not spray glass cleaner directly on
the mirror as that may cause the liq- uid cleaner to enter the mirror hous-ing.
Day
Night
WARNING
Do not adjust the rearview mirror
whilst the vehicle is moving. This
could result in loss of control, and
an accident which could cause
death, serious injury or property
damage.
WARNING
Do not modify the inside mirror and
do not install a wide mirror. It could
result in injury, during an accident
or deployment of the air bag.
EL(FL) UK 4A.QXP 8/5/2013 6:40 PM Page 39
Page 1117 of 1534
Features of your vehicle
46
4
INSTRUMENT CLUSTER
1. Tachometer
2. Speedometer
3. Engine temperature gauge
4. Fuel gauge
5. Warning and indicator lights (if equipped)
6. Odometer/Trip computer (if equipped)
7. LCD display
OEL043308R/OEL043307R
* The actual cluster in the vehicle may differ
from the illustration.
For more details refer to the "Gauges" in
the next pages.
■■ Type A
■■Type B
EL(FL) UK 4A.QXP 8/5/2013 6:41 PM Page 46
Page 1121 of 1534

Features of your vehicle
50
4
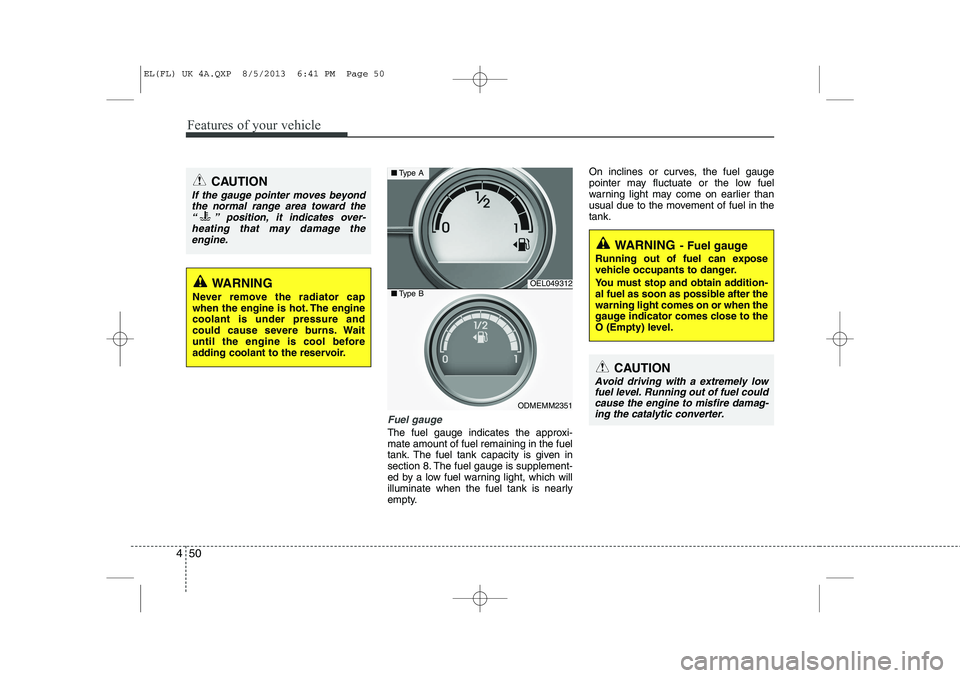
Fuel gauge
The fuel gauge indicates the approxi- mate amount of fuel remaining in the fuel
tank. The fuel tank capacity is given in
section 8. The fuel gauge is supplement-
ed by a low fuel warning light, which will
illuminate when the fuel tank is nearly
empty. On inclines or curves, the fuel gauge
pointer may fluctuate or the low fuel
warning light may come on earlier than
usual due to the movement of fuel in thetank.
WARNING
Never remove the radiator cap
when the engine is hot. The enginecoolant is under pressure and
could cause severe burns. Wait
until the engine is cool before
adding coolant to the reservoir.
CAUTION
If the gauge pointer moves beyond the normal range area toward the
“ ” position, it indicates over-heating that may damage theengine.
OEL049312
ODMEMM2351
■ Type A
■Type B
WARNING - Fuel gauge
Running out of fuel can expose
vehicle occupants to danger.
You must stop and obtain addition-
al fuel as soon as possible after thewarning light comes on or when the
gauge indicator comes close to the
O (Empty) level.
CAUTION
Avoid driving with a extremely low fuel level. Running out of fuel could cause the engine to misfire damag-ing the catalytic converter.
EL(FL) UK 4A.QXP 8/5/2013 6:41 PM Page 50
Page 1122 of 1534

451
Features of your vehicle
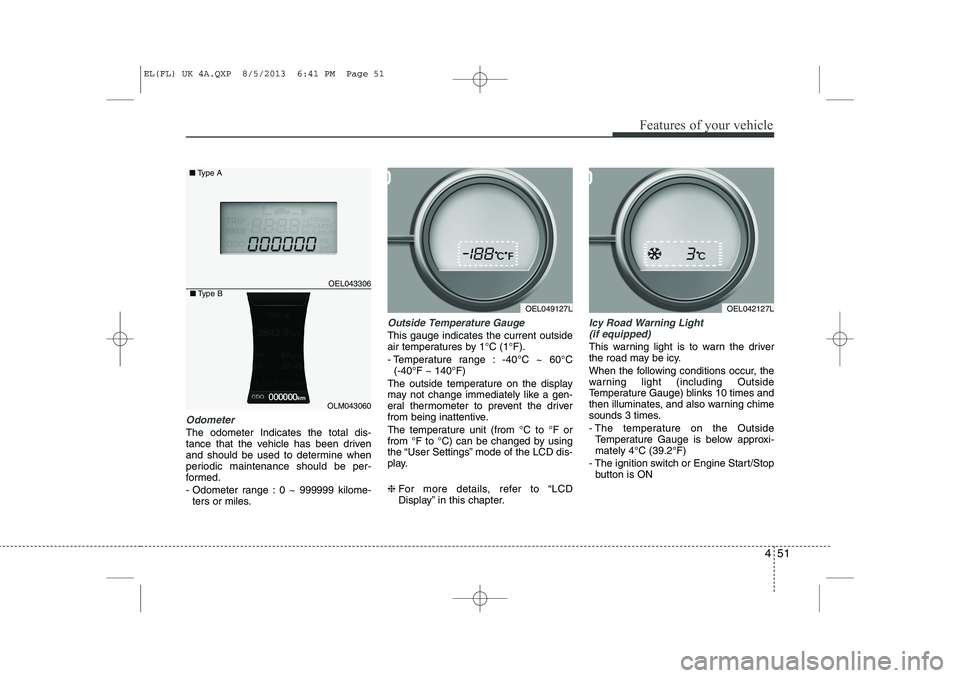
Odometer
The odometer Indicates the total dis-
tance that the vehicle has been driven
and should be used to determine when
periodic maintenance should be per-
formed.
- Odometer range : 0 ~ 999999 kilome-ters or miles.
Outside Temperature Gauge
This gauge indicates the current outside
air temperatures by 1°C (1°F).
- Temperature range : -40°C ~ 60°C (-40°F ~ 140°F)
The outside temperature on the display
may not change immediately like a gen-
eral thermometer to prevent the driver
from being inattentive.
The temperature unit (from °C to °F or
from °F to °C) can be changed by using
the “User Settings” mode of the LCD dis-
play. ❈ For more details, refer to “LCD
Display” in this chapter.
Icy Road Warning Light
(if equipped)
This warning light is to warn the driver
the road may be icy.
When the following conditions occur, the
warning light (including Outside
Temperature Gauge) blinks 10 times and
then illuminates, and also warning chime
sounds 3 times.
- The temperature on the Outside Temperature Gauge is below approxi- mately 4°C (39.2°F)
- The ignition switch or Engine Start/Stop button is ON
OEL049127L
OEL043306
■ Type A
OEL042127L
OLM043060
■Type B
EL(FL) UK 4A.QXP 8/5/2013 6:41 PM Page 51
Page 1123 of 1534
Features of your vehicle
52
4
✽✽
NOTICE
If the icy road warning light appears
whilst driving, you should drive more
attentively and safely refraining from
over-speeding, rapid acceleration, sud-
den braking or sharp turning, etc.
Transaxle Shift Indicator
Automatic Transaxle Shift Indicator (if equipped)
This indicator displays which automatic
transaxle shift lever is selected.
Park :P
Reverse : R
Neutral : N
Drive :D
Sports Mode : 1, 2, 3, 4, 5, 6
Automatic Transaxle Shift Indicator
(if equipped, For Europe)
In the Sports Mode, this indicator informs
which gear is desired whilst driving to
save fuel. Shifting up : ▲
2, ▲
3, ▲
4, ▲
5, ▲
6
Shifting down : ▼1,
▼2,
▼3,
▼4,
▼5
OVF041049OEL043701
EL(FL) UK 4A.QXP 8/5/2013 6:41 PM Page 52