2014 HONDA ACCORD HYBRID tires
[x] Cancel search: tiresPage 448 of 561

447
uuWhen DrivinguTire Pressure Monitoring System (TPMS)
Continued
Driving
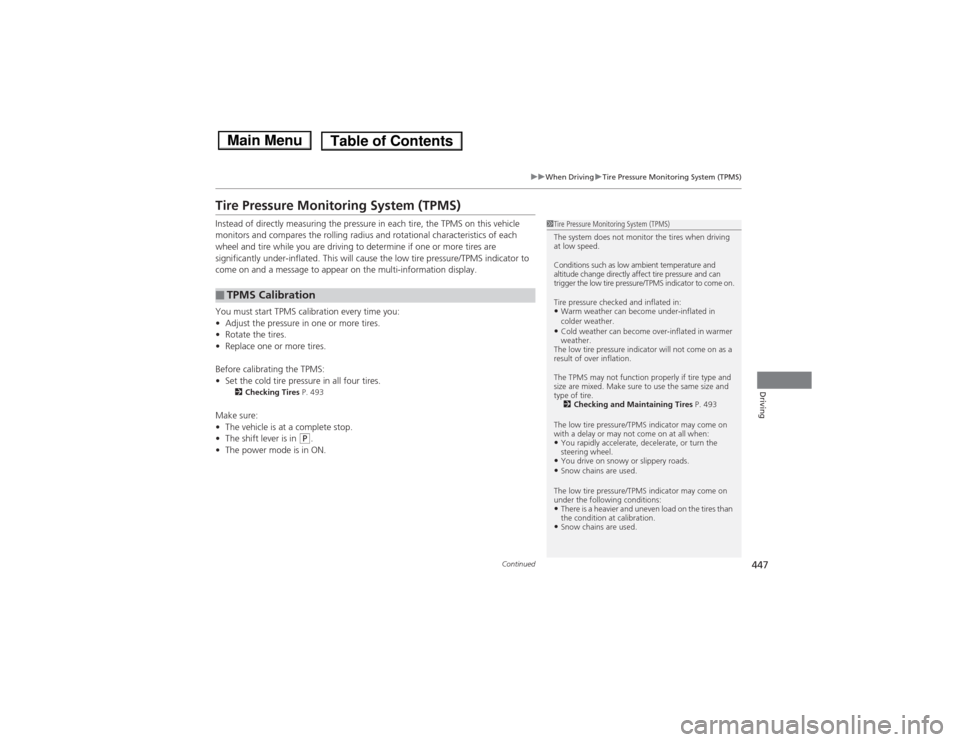
Tire Pressure Monitoring System (TPMS)
Instead of directly measuring the pressure in each tire, the TPMS on this vehicle
monitors and compares the rolling radius and rotational characteristics of each
wheel and tire while you are driving to determine if one or more tires are
significantly under-inflated. This will cause the low tire pressure/TPMS indicator to
come on and a message to appear on the multi-information display.
You must start TPMS calibration every time you: •Adjust the pressure in one or more tires.
• Rotate the tires.
• Replace one or more tires.
Before calibrating the TPMS:• Set the cold tire pressure in all four tires.
2 Checking Tires P. 493
Make sure:• The vehicle is at a complete stop.
• The shift lever is in
(P .
• The power mode is in ON.
■TPMS Calibration
1Tire Pressure Monitoring System (TPMS)
The system does not monitor the tires when driving at low speed.
Conditions such as low ambient temperature and
altitude change directly affect tire pressure and can
trigger the low tire pressure/TPMS indicator to come on.
Tire pressure checked and inflated in: •Warm weather can become under-inflated in
colder weather.
• Cold weather can become over-inflated in warmer weather.
The low tire pressure indicator will not come on as a
result of over inflation.
The TPMS may not function properly if tire type and
size are mixed. Make sure to use the same size and
type of tire. 2 Checking and Maintaining Tires P. 493
The low tire pressure/TPMS indicator may come on
with a delay or may not come on at all when:
• You rapidly accelerate, decelerate, or turn the
steering wheel.
• You drive on snowy or slippery roads.
• Snow chains are used.
The low tire pressure/TPMS indicator may come on
under the following conditions:• There is a heavier and uneven load on the tires than
the condition at calibration.
• Snow chains are used.
Main MenuTable of Contents
Page 449 of 561

uuWhen DrivinguTire Pressure Monitoring System (TPMS)
448
Driving
You can calibrate the system from the
customized features on the multi-information
display.1. Press the / button to select Vehicle
Settings , then press the SEL/RESET button.
uTPMS Calibration appears on the display.
2. Press the SEL/RESET button.
uThe display switches to the
customization setup screen, where you
can select Cancel or Calibrate .
3. Press the / button and select
Calibrate , then press the SEL/RESET button.
uCalibration Started screen appears,
then the display returns to the customization menu screen.
• If the Calibration Failed to Start message
appears, repeat steps 2-3.
• The calibration process finishes automatically.
1TPMS Calibration •The calibration process requires approximately 30
minutes of cumulative driving at speeds between
30-60 mph (48-97 km/h).
• During this period, if the power mode is set to ON
and the vehicle is not moved within 45 seconds,
you may notice the low tire pressure indicator
comes on briefly. This is normal and indicates that
the calibration process is not yet complete.
You can calibrate the system using the audio/information screen. 2 Customized Features P. 293
If the snow chains are installed, remove them before
calibrating the TPMS.
If the low tire pressure/TPMS indicator comes on even
when the properly inflated specified regular tires are
installed, have your vehicle checked by a dealer.
We recommend that the tires be replaced with the
same brand, model, and size as the originals. Ask a
dealer for details.
4
4
Main MenuTable of Contents
Page 450 of 561

449
uuWhen DrivinguTire Pressure Monitoring System (TPMS) - Required Federal Explanation
Continued
Driving
Tire Pressure Monitoring System (TPMS) - Required
Federal Explanation
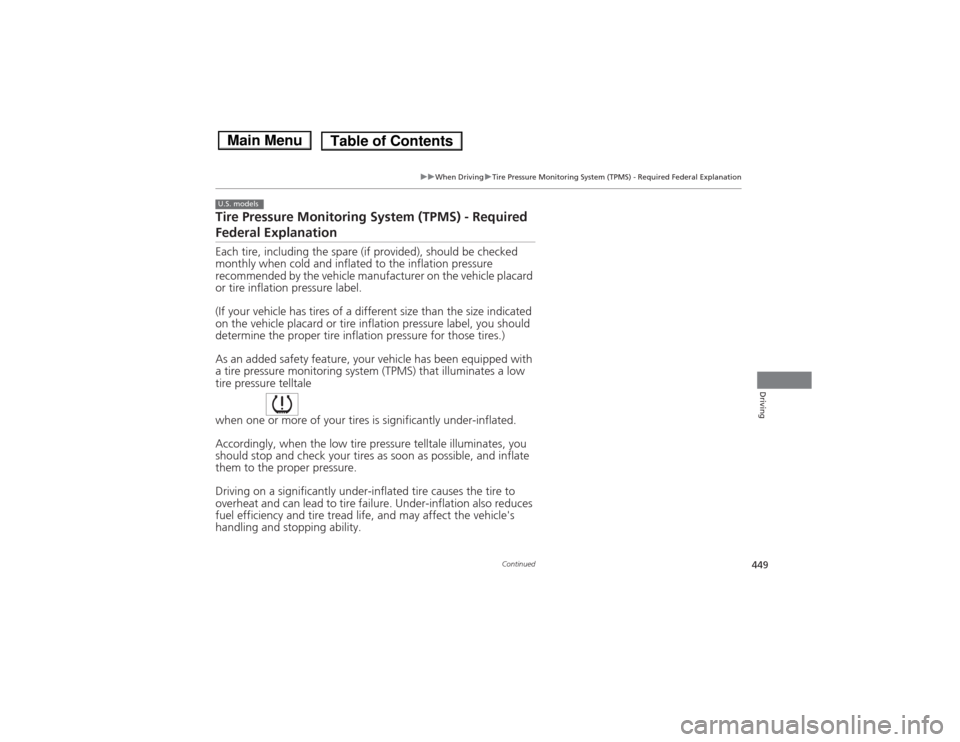
Each tire, including the spare (if provided), should be checked
monthly when cold and inflated to the inflation pressure recommended by the vehicle manufacturer on the vehicle placard
or tire inflation pressure label.
(If your vehicle has tires of a different size than the size indicated
on the vehicle placard or tire inflation pressure label, you should
determine the proper tire inflation pressure for those tires.)
As an added safety feature, your vehicle has been equipped with a tire pressure monitoring system (TPM S) that illuminates a low
tire pressure telltale
when one or more of your tires is significantly under-inflated.
Accordingly, when the low tire pressure telltale illuminates, you
should stop and check your tires as soon as possible, and inflate them to the proper pressure.
Driving on a significantly under-inflated tire causes the tire to
overheat and can lead to tire fail ure. Under-inflation also reduces
fuel efficiency and tire tread life, and may affect the vehicle's
handling and stopping ability.
U.S. models
Main MenuTable of Contents
Page 451 of 561

450
uuWhen DrivinguTire Pressure Monitoring System (TPMS) - Required Federal Explanation
Driving
Please note that the TPMS is not a substitute for proper tire
maintenance, and it is the driver's responsibility to maintain
correct tire pressure, even if under-inflation has not reached the
level to trigger illumination of the TPMS low tire pressure telltale.
Your vehicle has also been equipped with a TPMS malfunction
indicator to indicate when the system is not operating properly.
The TPMS malfunction indicator is combined with the low tire
pressure telltale. When the system detects a malfunction, the
telltale will flash for approximately one minute and then remain continuously illuminated. This se quence will continue upon
subsequent vehicle start-ups as long as the malfunction exists.
When the malfunction indicator is illuminated, the system may
not be able to detect or signal low tire pressure as intended.
TPMS malfunctions may occur for a vari ety of reasons, including
the installation of replacement or alternate tires or wheels on the
vehicle that prevent the TPMS from functioning properly. Always check the TPMS malfunction telltale after replacing one or
more tires or wheels on your vehicle to ensure that the
replacement or alternate tires and wheels allow the TPMS to
continue to function properly.
Main MenuTable of Contents
Page 464 of 561

463
Maintenance
This chapter discusses basic maintenance.
Before Performing Maintenance Inspection and Maintenance ............ 464
Safety When Performing Maintenance..... 465Parts and Fluids Used in Maintenance Service ........................................... 466
Maintenance Minder TM
..................... 467
Maintenance Under the Hood Maintenance Items Under the Hood ..... 471
Opening the Hood ........................... 472
Recommended Engine Oil ...... .......... 473
Oil Check ......................................... 474
Adding Engine Oil ............................ 475
Changing the Engine Oil and Oil Filter ..... 476
Coolant System................................ 478
Inverter Coolant ............................... 480
Transmission Fluid ............................ 481
Brake Fluid ....................................... 482
Refilling Window Washer Fluid......... 483
Replacing Light Bulbs ....................... 484
Checking and Maintaining Wiper Blades .......................................... 491
Checking and Maintaining Tires
Checking Tires ................................. 493
Tire and Loading Information Label ...... 494
Tire Labeling .................................... 494
DOT Tire Quality Grading (U.S. Vehicles)....... 496
Wear Indicators ............................... 498
Tire Service Life ................................ 498
Tire and Wheel Replacement ........... 499
Tire Rotation .................................... 500
Winter Tires ..................................... 501
12-Volt Battery ................................. 502
Remote Transmitter Care Replacing the Button Battery ........... 503
Climate Control System Maintenance ... 504
Cleaning
Interior Care .................................... 505
Exterior Care.................................... 507
Main Menu
Page 465 of 561

464
Maintenance
Before Performing Maintenance
Inspection and Maintenance
For your safety, perform all listed inspections and maintenance to keep your vehicle
in good condition. If you become aware of any abnormality (noise, smell, insufficient
brake fluid, oil residue on the ground, etc.), have your vehicle inspected by a dealer.
(Note, however, that service at a dealer is not mandatory to keep your warranties in
effect.) Refer to the separate maintenance booklet for detailed maintenance and inspection information. ■Daily inspections
Perform inspections before long distance trips, when washing the vehicle, or when refueling. ■ Periodic inspections
• Check the brake fluid level monthly.
2 Brake Fluid P. 482
• Check the tire pressure monthly. Examine the tread for wear and foreign objects.
2 Checking and Maintaining Tires P. 493
• Check the operation of the exterior lights monthly.
2 Replacing Light Bulbs P. 484
• Check the condition of the wiper blades at least every six months.
2 Checking and Maintaining Wiper Blades P. 491
■Types of Inspection and Maintenance
1Inspection and Maintenance
Maintenance, replacement, or repair of
emissions control devices and systems may be
done by any automotive repair establishment or
individuals using parts that are “certified” to EPA standards.
According to state and federal regulations, failure to
perform maintenance on the maintenance main
items marked with # will not void your emissions
warranties. However, all maintenance services should
be performed in accordance with the intervals
indicated by the multi-information display.
2 Maintenance Service Items P. 469
If you want to perform complex maintenance tasks
that require more skills and tools, you can purchase a
subscription to the Service Express website at
www.techinfo.honda.com .
2 Authorized Manuals P. 547
If you want to perform maintenance yourself, make
sure that you have the necessary tools and skills first.
After performing maintenance, update the records in
the separate maintenance booklet.
U.S. models
Main MenuTable of Contents
Page 470 of 561

469
uuMaintenance MinderTMuTo Use Maintenance Minder TM
Continued
Maintenance
■Maintenance Service Items1Maintenance Service Items •
Independent of the Maintenance Minder
information, replace the brake fluid every 3 years.
• Inspect idle speed every 160,000 miles (256,000
km).
• Adjust the valves during services A, B, 1, 2, or 3 if
they are noisy.
Maintenance Minder
Message
System Message
Indicator
Sub Items
Main Item
*1: If a message Service does not appear more than 12 months after the display is reset, change the
engine oil every year.
# : See information on maintenance and emissions warranty.
CODEMaintenance Main Items
A ●
Replace engine oil *1
B●
Replace engine oil *1
and oil filter
● Inspect front and rear brakes/service as necessary
● Check parking brake adjustment
● Inspect tie rod ends, steering gearbox, and boots
● Inspect suspension components
● Inspect driveshaft boots
● Inspect brake hoses and lines (Including ABS/VSA)
● Inspect all fluid levels and condition of fluids
● Inspect exhaust system #
● Inspect fuel lines and connections #
● Check expiration date for TRK bottle
*2: If you drive in dusty conditions, replace the air cleaner element every 15,000 miles (24,000 km).
*3: If you drive primarily in urban areas that have high concentrations of soot in the air from industry and
from diesel-powered vehicles, replace the dust and pollen filter every 15,000 miles (24,000 km).
*4: Driving in mountainous areas at very low vehicle speeds results in higher transmission temperatures.
This requires transmission fluid changes more frequently than recommended by the Maintenance
Minder. If you regularly drive your vehicle under these conditions, have the transmission fluid changed
every 47,500 miles (75,000 km) or 3 years.
CODEMaintenance Sub Items
1 ●
Rotate tires
2●
Replace air cleaner element *2
● Replace dust and pollen filter *3
3 ●
Replace transmission fluid *4
4●
Replace spark plugs
● Inspect valve clearance
5 ●
Replace engine coolant
Main MenuTable of Contents
Page 494 of 561

493
Maintenance
Checking and Maintaining Tires
Checking Tires
To safely operate your vehicle, your tires must be of the proper type and size, in
good condition with adequate tread, and properly inflated. ■Inflation guidelines
Properly inflated tires provide the best combination of handling, tread life, and comfort. Refer to the driver’s doorjamb label or sp ecification’s page for the specified pressure.
Underinflated tires wear unevenly, adversely affect handling and fuel economy, and
are more likely to fail from overheating.
Overinflated tires make your vehicle ride harshly, are more prone to road hazards, and wear unevenly.
Every day before you drive, look at each of the tires. If one looks lower than the
others, check the pressure with a tire gauge.
At least once a month or before long trips, use a gauge to measure the pressure in
all tires. Even tires in good condition can lose 1 to 2 psi (10 to 20 kPa, 0.1 to 0.2
kgf/cm 2
) per month.
■ Inspection guidelines
Every time you check inflation, also examine the tires and valve stems.
Look for: • Bumps or bulges on the side or in the tread. Replace the tire if you find any cuts,
splits, or cracks in the side of the tire. Replace it if you see fabric or cord.
• Remove any foreign objects and inspect for air leaks.
• Uneven tread wear. Have a dealer check the wheel alignment.
• Excessive tread wear.
2 Wear Indicators P. 498
• Cracks or other damage around valve stem.
1Checking Tires
Measure the air pressure when tires are cold. This
means the vehicle has been parked for at least three
hours, or driven less than 1 mile (1.6 km). If
necessary, add or release air until the specified
pressure is reached.
If checked when hot, tire pressure can be as much as
4–6 psi (30–40 kPa, 0.3–0.4 kgf/cm 2
) higher than if
checked when cold.
Whenever tire pressure is adjusted, you must
calibrate the TPMS.
2 TPMS Calibration P. 447
Have a dealer check the tires if you feel a consistent
vibration while driving. New tires and any that have
been removed and reinstalled should be properly balanced.
3WARNING
Using tires that are excessively worn or
improperly inflated can cause a crash in
which you can be seriously hurt or killed.
Follow all instruction s in this owner’s
manual regarding tire inflation and
maintenance.
Main MenuTable of Contents