2014 FORD F250 SUPER DUTY light
[x] Cancel search: lightPage 163 of 460

GENERAL INFORMATION
Note:Occasional brake noise is normal. Ifa metal-to-metal, continuous grinding orcontinuous squeal sound is present, thebrake linings may be worn-out. Have thesystem checked by an authorized dealer. Ifyour vehicle has continuous vibration orshudder in the steering wheel while braking,have it checked by an authorized dealer.
Note:Brake dust may accumulate on thewheels, even under normal drivingconditions. Some dust is inevitable as thebrakes wear and does not contribute tobrake noise. See Cleaning the AlloyWheels (page 251).
See Warning Lamps andIndicators (page 77).
Wet brakes result in reduced brakingefficiency. Gently press the brake pedal afew times when driving from a car wash orstanding water to dry the brakes.
Brake Over Accelerator
In the event the accelerator pedalbecomes stuck or entrapped, apply steadyand firm pressure to the brake pedal toslow the vehicle and reduce engine power.If you experience this condition, apply thebrakes and bring your vehicle to a safestop. Move the transmission selector leverto position P, switch the engine off andapply the parking brake. Inspect theaccelerator pedal for any interference. Ifnone are found and the condition persists,have your vehicle towed to the nearestauthorized dealer.
Brake Assist
Brake assist detects when you brakerapidly by measuring the rate at which youpress the brake pedal. It providesmaximum braking efficiency as long as youpress the pedal, and can reduce stoppingdistances in critical situations.
Anti-lock Brake System
This system helps you maintain steeringcontrol during emergency stops by keepingthe brakes from locking.
This lamp momentarilyilluminates when you turn theignition on. If the light does notilluminate during start up, remains on orflashes, the system may be disabled. Havethe system checked by an authorizeddealer.
If the system is disabled, normalbraking is still effective. If thebrake warning lamp illuminateswhen you release the parking brake, havethe system checked by an authorizeddealer.
HINTS ON DRIVING WITH
ANTI-LOCK BRAKES
Note:When the system is operating, thebrake pedal will pulse and may travelfurther. Maintain pressure on the brakepedal. You may also hear a noise from thesystem. This is normal.
The anti-lock braking system will noteliminate the risks when:
•you drive too closely to the vehicle infront of you
•your vehicle is hydroplaning
•you take corners too fast
•the road surface is poor.
160
Super Duty (TFA)
BrakesE144522 E144522
Page 164 of 460

PARKING BRAKE
WARNING
Always set the parking brake fullyand make sure the transmissionselector lever is placed in position P.Failure to set the parking brake and engagepark could result in vehicle roll-away,property damage or bodily injury. Turn theignition to the lock position and removethe key whenever you leave your vehicle.
Apply the parking brake whenever yourvehicle is parked. Press the pedaldownward to set the parking brake. Thebrake warning lamp in the instrumentcluster will illuminate and remainsilluminated until the parking brake isreleased.
To release, pull the brake release leverlocated at the lower left side of theinstrument panel.
If you are parking your vehicle on a gradeor with a trailer, press and hold the brakepedal down, then set the parking brake.There may be a little vehicle movement asthe parking brake sets to hold the vehicle'sweight. This is normal and should be noreason for concern. If needed, press andhold the service brake pedal down, thentry reapplying the parking brake. Chock thewheels if required. If the parking brakecannot hold the weight of the vehicle, theparking brake may need to be serviced orthe vehicle may be overloaded.
HILL START ASSIST
WARNINGS
The system does not replace theparking brake. When you leave yourvehicle, always apply the parkingbrake and put the transmission in park (P).
WARNINGS
You must remain in your vehicle onceyou have activated the system.
During all times, you are responsiblefor controlling your vehicle,supervising the system andintervening, if required.
If the engine is revved excessively, orif a malfunction is detected, thesystem will be deactivated.
The system makes it easier to pull awaywhen your vehicle is on a slope without theneed to use the parking brake.
When the system is active, your vehicle willremain stationary on the slope for two tothree seconds after you release the brakepedal. This allows you time to move yourfoot from the brake to the acceleratorpedal. The brakes are releasedautomatically once the engine hasdeveloped sufficient drive to prevent yourvehicle from rolling down the slope. Thisis an advantage when pulling away on aslope, (for example from a car park ramp,traffic lights or when reversing uphill intoa parking space).
The system will activate automatically onany slope that will cause significant vehiclerollback.
Using Hill Start Assist
1. Press the brake pedal to bring yourvehicle to a complete standstill. Keepthe brake pedal pressed.
2. If the sensors detect that your vehicleis on a slope, the system will activateautomatically.
3. When you remove your foot from thebrake pedal, your vehicle will remainon the slope without rolling away forabout two or three seconds. This holdtime will automatically be extended ifyou are in the process of driving off.
161
Super Duty (TFA)
Brakes
Page 167 of 460

System Indicator Lights andMessages
WARNING
If a failure has been detected withinthe AdvanceTrac system, thestability control light will illuminatesteadily. Verify that the traction controlsystem was not manually disabled usingthe stability control button. If the stabilitycontrol light still illuminates steadily, havethe system serviced by an authorizeddealer immediately. Operating your vehiclewith traction control disabled could leadto an increased risk of loss of vehiclecontrol, vehicle rollover, personal injury anddeath.
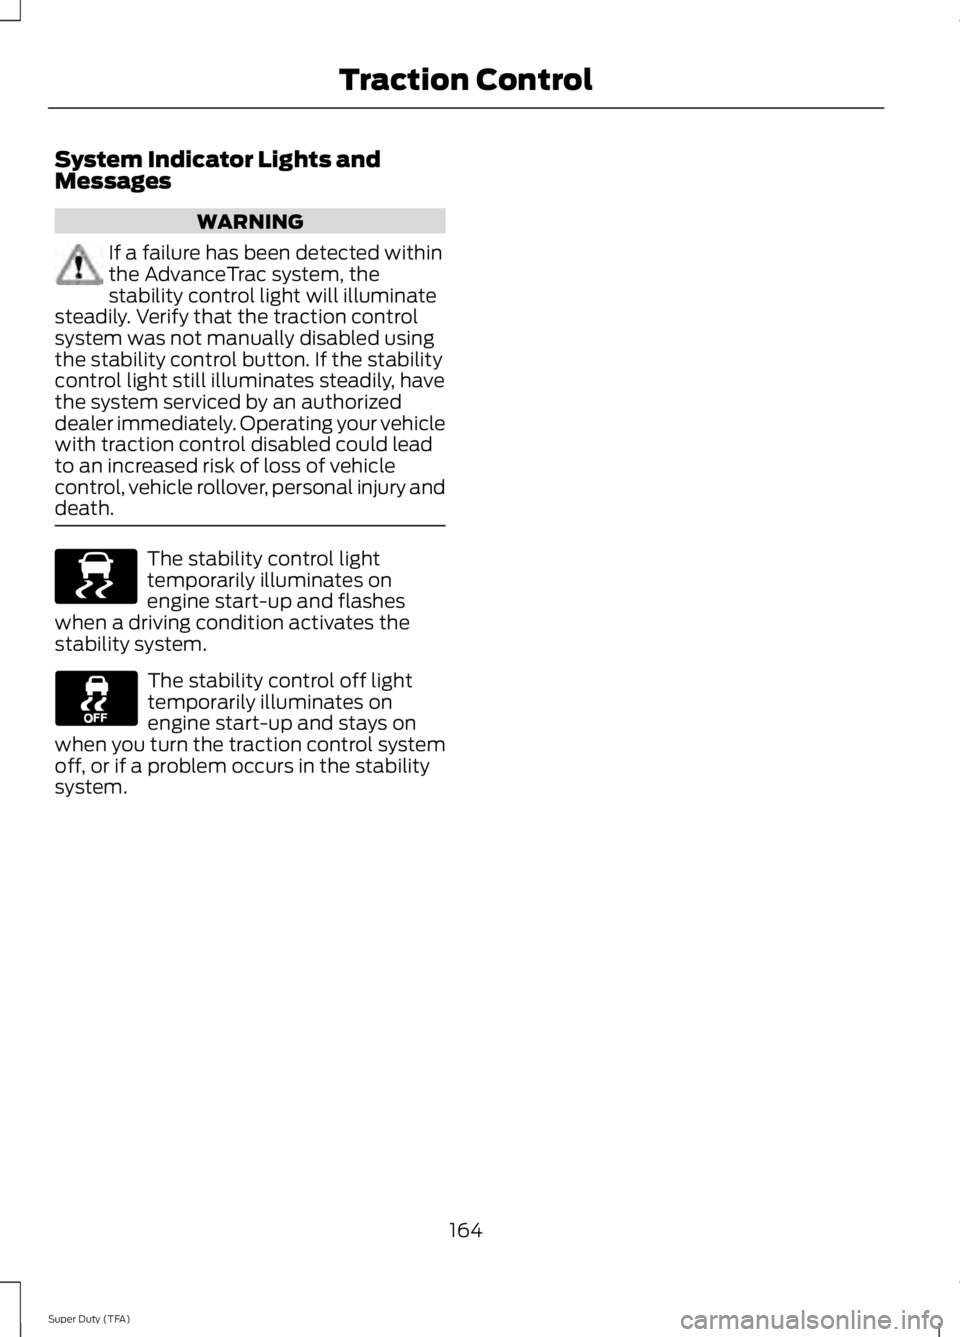
The stability control lighttemporarily illuminates onengine start-up and flasheswhen a driving condition activates thestability system.
The stability control off lighttemporarily illuminates onengine start-up and stays onwhen you turn the traction control systemoff, or if a problem occurs in the stabilitysystem.
164
Super Duty (TFA)
Traction ControlE138639
Page 169 of 460

The system automatically activates whenyou start your engine. The electronicstability control and roll stability controlportions of the system can be turned offbelow 35 mph (56 km/h) and are disabledwhen the transmission is in position R. SeeUsing Traction Control (page 163).
You can turn off the traction controlportion of the system independently. Pressthe stability control button located on theinstrument panel.
AdvanceTrac with RSC Features(Single rear wheels only)
Tractioncontrol systemElectronicstabilitycontrol
Roll stabilitycontrolStabilitycontrol lightButton func-tions
EnabledEnabledEnabledIlluminatedduring bulbcheck
Default at start-up
DisabledEnabled1EnabledIlluminatedsolidButton pressedmomentarily
DisabledDisabledDisabledFlashes thenilluminated
solid2
Button pressedand held formore than 5seconds atvehicle speedunder 35 mph(56 km/h)
DisabledEnabled 1EnabledIlluminatedsolidVehicle speedexceeds 35 mph(56 km/h) afterbutton ispressed andheld for morethan 5 seconds
166
Super Duty (TFA)
Stability ControlE169377
Page 170 of 460

AdvanceTrac with RSC Features(Single rear wheels only)
EnabledEnabledEnabledNot illuminatedButton pressedagain afterdeactivation
DisabledDisabledDisabledIlluminatedTransfer caseswitched to
4WD Low 3
1Electronic stability control has reduced sensitivity compared to fully active system.2Lamp light starts blinking for four seconds after entering the press and hold state.3Engaging 4WD Low locked automatically disables roll stability control, electronic stabilitycontrol and the traction control system.
167
Super Duty (TFA)
Stability Control
Page 171 of 460

PRINCIPLE OF OPERATION
WARNINGS
Hill descent control cannot controldescent in all surface conditions andcircumstances, such as ice orextremely steep grades. Hill descentcontrol is a driver assist system and cannotsubstitute for good judgment by the driver.Failure to do so may result in loss of vehiclecontrol, crash or serious injury.
Hill descent control does not providehill hold at zero miles per hour (0kilometers per hour). When stopped,the parking brake must be applied or thevehicle must be placed in P (Park) or itmay roll away.
Hill descent control allows the driver to setand maintain vehicle speed whiledescending steep grades in various surfaceconditions.
Hill descent control can maintain vehiclespeeds on downhill grades between 2 mph(3 km/h) and 12 mph (20 km/h). Above 20mph (32 km/h), the system remainsarmed, but descent speed cannot be setor maintained.
Hill descent control requires a coolingdown interval after a period of sustaineduse. The amount of time that the featurecan remain active before cooling varieswith conditions. The system will provide awarning in the message center and a chimewill sound when the system is about todisengage for cooling. At this time,manually apply the brakes as needed tomaintain descent speed.
USING HILL DESCENT
CONTROL
Press and release the hilldescent button located on theinstrument panel. A light in thecluster will illuminate and achime will sound when this feature isactivated.
To increase descent speed, press theaccelerator pedal until the desired speedis reached. To decrease descent speed,press the brake pedal until the desiredspeed is reached.
Whether accelerating or decelerating, oncethe desired descent speed is reached,remove your feet from the pedals and thechosen vehicle speed will be maintained.
Note:Noise from the ABS pump motor maybe observed during hill descent controloperation. This is a normal characteristic ofthe ABS and should be no reason forconcern.
Hill descent modes
•At speeds below 20 mph (32 km/h):When the Hill Descent Control switchis pressed and Hill Descent Control isactive, the Hill Descent Control telltalewill flash.
•At speeds below 20 mph (32 km/h):When the Hill Descent Control switchis pressed and conditions are notcorrect for hill descent activation, theHill Descent Control system will beenabled, the Hill Descent Controltelltale will be solid and a message willdisplay in the information display.
168
Super Duty (TFA)
Terrain Response (If Equipped)E163957
Page 176 of 460

The system uses red, yellow and greenhighlights which appear on top of the videoimage when an object is detected by thereverse sensing system. The alert highlightsthe closest object detected. The reversesensing alert can be disabled and if visualpark aid alert is enabled, highlighted areasare still displayed.
Selectable settings for this feature are ONand OFF.
Rear Camera Delay
When shifting the transmission out ofReverse (R) and into any gear other thanPark (P), the camera image remains in thedisplay until your vehicle speed reaches 6mph (10 km/h) or 10 seconds elapses. Thisoccurs when the rear camera delay featureis on.
Selectable settings for this feature are ONand OFF. The default setting for the rearcamera delay is OFF.
173
Super Duty (TFA)
Parking Aids
Page 187 of 460

Tailgate Removal
WARNING
Always properly secure cargo toprevent shifting cargo or cargo fallingfrom vehicle, which could result incompromised vehicle stability and seriouspersonal injury to vehicle occupants orothers.
You can remove the tailgate for moreloading room.
Note:Skip to Step 4 if your vehicle doesnot have a rearview camera.
1. Locate and disconnect the rearviewcamera in-line connector. It is underthe pickup box on the right-hand sideof the vehicle near the spare tire.
2. There is a tethered cap on the wireassembly. Install it on the in-lineconnector that remains under thepickup box.
3. Partially lower the tailgate. Carefullyfeed the tailgate harness up throughthe gap between the pickup box andthe bumper and place it out of the wayunder the pickup box.
4. Lower the tailgate.
5. Use a screwdriver to gently pry thespring clip on each connector past thehead of the support screw. Disconnectthe cable.
6. Disconnect the other cable.
7. Lift the tailgate to a 45-degree anglefrom horizontal.
8. Lift the right side off its hinge.
9.Lift the tailgate to an 80-degree anglefrom horizontal.
10.Remove the tailgate from the left sidehinge by sliding it to the right.
Reverse the steps to reinstall the tailgate.
Tailgate Step (If Equipped)
Use the step to make entering the truckbed easier.
To reduce the risk of falling:
•Only operate the step when yourvehicle is on a level surface.
•Only operate the step in areas withsufficient lighting.
•Always open the step panel to widenthe step.
•Always use the grab handle whenclimbing on the step.
•Do not use the step with bare feet.
•Make sure the step is clean before use.
•Keep the step load, you plus the load,below 350 pounds (159 kilograms).
184
Super Duty (TFA)
Load CarryingE163090 E163092