2014 FORD F150 lock
[x] Cancel search: lockPage 130 of 472
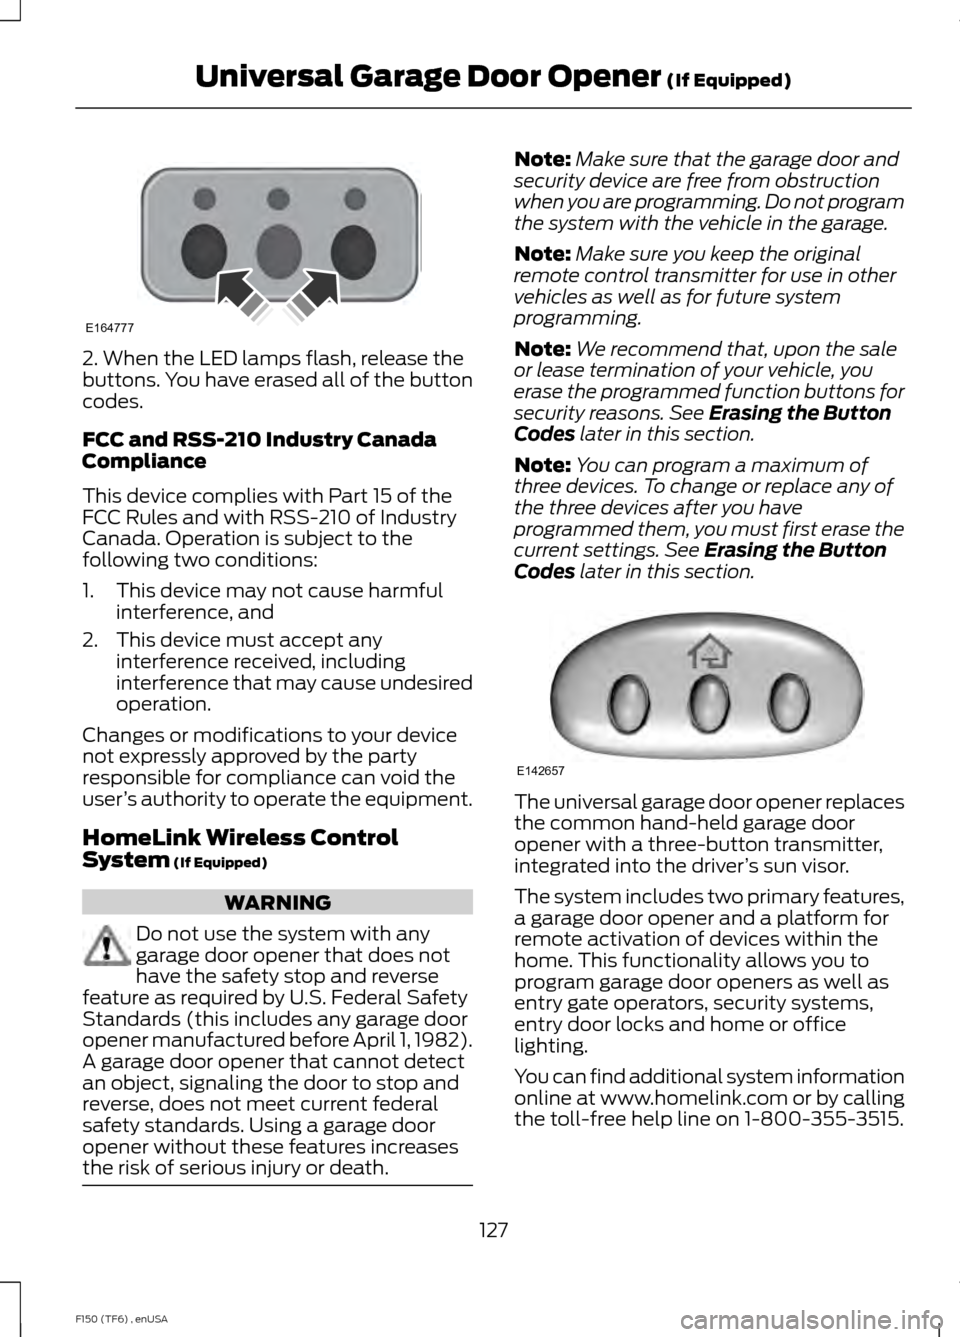
2. When the LED lamps flash, release the
buttons. You have erased all of the button
codes.
FCC and RSS-210 Industry Canada
Compliance
This device complies with Part 15 of the
FCC Rules and with RSS-210 of Industry
Canada. Operation is subject to the
following two conditions:
1. This device may not cause harmful
interference, and
2. This device must accept any interference received, including
interference that may cause undesired
operation.
Changes or modifications to your device
not expressly approved by the party
responsible for compliance can void the
user ’s authority to operate the equipment.
HomeLink Wireless Control
System (If Equipped) WARNING
Do not use the system with any
garage door opener that does not
have the safety stop and reverse
feature as required by U.S. Federal Safety
Standards (this includes any garage door
opener manufactured before April 1, 1982).
A garage door opener that cannot detect
an object, signaling the door to stop and
reverse, does not meet current federal
safety standards. Using a garage door
opener without these features increases
the risk of serious injury or death. Note:
Make sure that the garage door and
security device are free from obstruction
when you are programming. Do not program
the system with the vehicle in the garage.
Note: Make sure you keep the original
remote control transmitter for use in other
vehicles as well as for future system
programming.
Note: We recommend that, upon the sale
or lease termination of your vehicle, you
erase the programmed function buttons for
security reasons. See
Erasing the Button
Codes later in this section.
Note: You can program a maximum of
three devices. To change or replace any of
the three devices after you have
programmed them, you must first erase the
current settings. See
Erasing the Button
Codes later in this section. The universal garage door opener replaces
the common hand-held garage door
opener with a three-button transmitter,
integrated into the driver
’s sun visor.
The system includes two primary features,
a garage door opener and a platform for
remote activation of devices within the
home. This functionality allows you to
program garage door openers as well as
entry gate operators, security systems,
entry door locks and home or office
lighting.
You can find additional system information
online at www.homelink.com or by calling
the toll-free help line on 1-800-355-3515.
127
F150 (TF6) , enUSA Universal Garage Door Opener
(If Equipped)E164777 E142657
Page 137 of 472
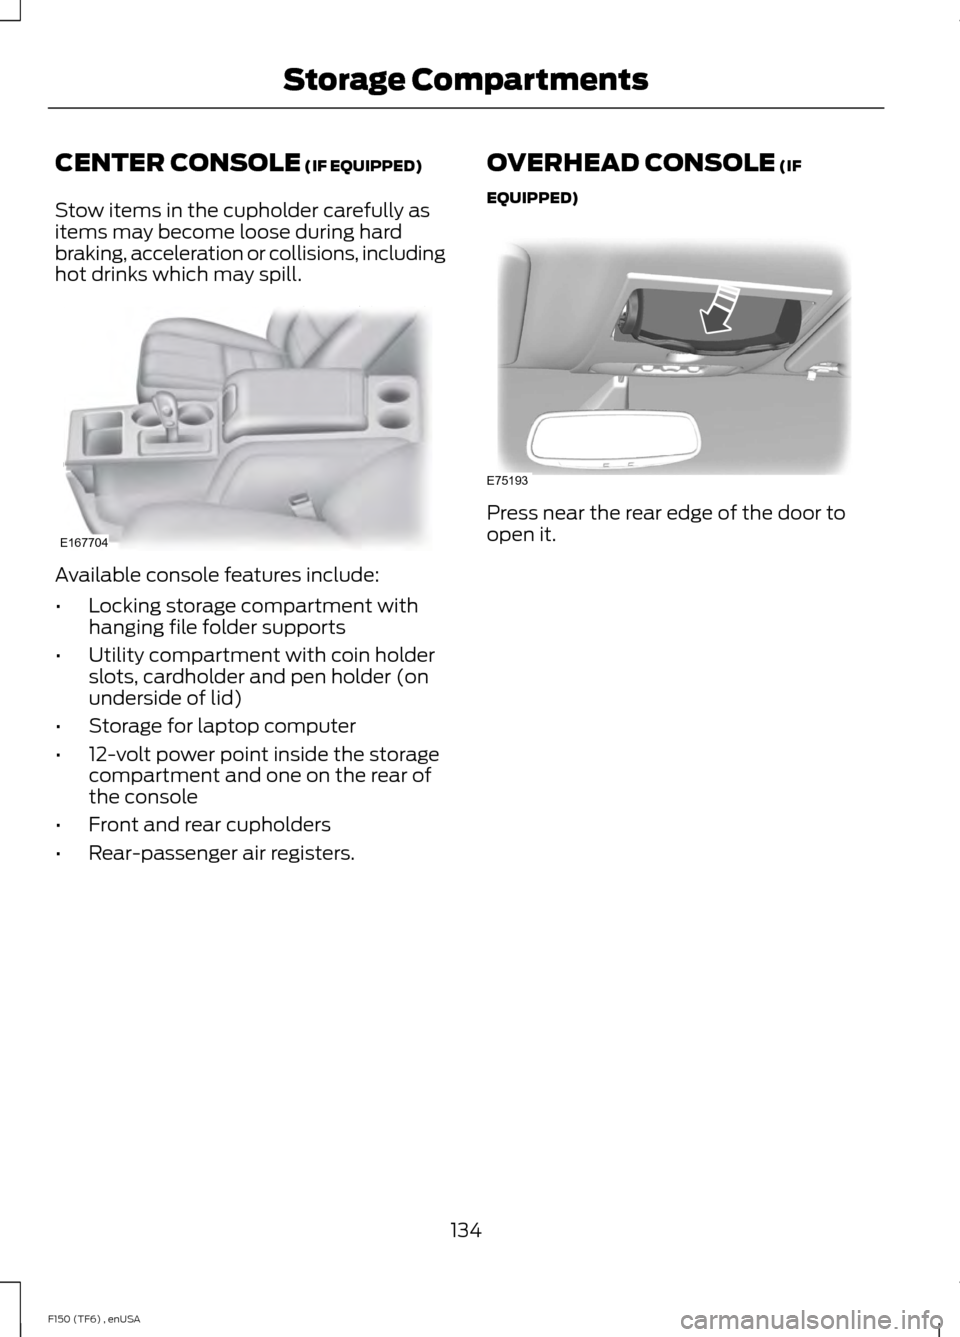
CENTER CONSOLE (IF EQUIPPED)
Stow items in the cupholder carefully as
items may become loose during hard
braking, acceleration or collisions, including
hot drinks which may spill. Available console features include:
•
Locking storage compartment with
hanging file folder supports
• Utility compartment with coin holder
slots, cardholder and pen holder (on
underside of lid)
• Storage for laptop computer
• 12-volt power point inside the storage
compartment and one on the rear of
the console
• Front and rear cupholders
• Rear-passenger air registers. OVERHEAD CONSOLE (IF
EQUIPPED) Press near the rear edge of the door to
open it.
134
F150 (TF6) , enUSA Storage CompartmentsE167704 E75193
Page 139 of 472

Before starting the engine check the
following:
•
Make sure all occupants have fastened
their safety belts.
• Make sure the headlamps and
electrical accessories are off.
• Make sure the parking brake is on.
• Move the transmission selector lever
to position P.
• Turn the ignition key to the on position.
Note: Do not touch the accelerator pedal.
1. Fully press the brake pedal.
2. Turn the key to the start position to start the engine. Release the key when
the engine starts.
Note: The engine may continue cranking
for up to 15 seconds or until it starts.
Note: If you cannot start the engine on the
first try, wait for a short period and try again.
Failure to Start
If you cannot start the engine after three
attempts, wait 10 seconds and follow this
procedure:
1. Fully press the brake pedal.
2. Fully press the accelerator pedal and hold it there.
3. Start the engine.
Stopping the Engine When Your
Vehicle is Stationary
1. Move the transmission selector lever to position
P.
2. Turn the key to the off position.
3. Apply the parking brake. Stopping the Engine When Your
Vehicle is Moving WARNING
Switching off the engine when the
vehicle is still moving will result in a
loss of brake and steering assistance.
The steering will not lock, but higher effort
will be required. When the ignition is
switched off, some electrical circuits,
warning lamps and indicators may also be
off. 1. Move the transmission selector lever
to position
N and use the brakes to
bring your vehicle to a safe stop.
2. When your vehicle has stopped, move the transmission selector lever to
position
P and turn the key to the off
position.
3. Apply the parking brake.
Cold Weather Starting (Flexible
Fuel Vehicles Only)
The starting characteristics of all grades
of E85 ethanol make it unsuitable for use
when ambient temperatures fall below
0°F (-18°C). Consult your fuel distributor
for the availability of winter grade ethanol.
As the outside temperature approaches
freezing, ethanol fuel distributors should
supply winter grade ethanol (same as with
unleaded gasoline). If summer grade
ethanol is used in cold weather conditions,
0°F to 32°F (-18°C to 0°C), you may
experience increased cranking times, rough
idle or hesitation until the engine has
warmed up.
You may experience a decrease in peak
performance when the engine is cold when
operating on E85 ethanol.
136
F150 (TF6) , enUSA Starting and Stopping the Engine
Page 140 of 472
Do not crank the engine for more than 10
seconds at a time as starter damage may
occur. If the engine fails to start, turn the
key to off and wait 30 seconds before
trying again.
Do not use starting fluid such as ether in
the air intake system. Such fluid could
cause immediate explosive damage to the
engine and possible personal injury.
If you should experience cold weather
starting problems on E85 ethanol, and
neither an alternative brand of E85 ethanol
nor an engine block heater is available, the
addition of unleaded gasoline to your tank
improves cold starting performance. Your
vehicle is designed to operate on E85
ethanol alone, unleaded gasoline alone, or
any mixture of the two.
If the Engine Fails to Start Using the
Preceding Instructions (Flexible Fuel
Vehicles Only)
1. Press and hold down the accelerator
one-third to one-half the way to the
floor, then crank the engine.
2. When the engine starts, release the key, then gradually release the
accelerator pedal as the engine speeds
up. If the engine still fails to start,
repeat Step 1.
Guarding Against Exhaust Fumes WARNING
If you smell exhaust fumes inside
your vehicle, have your vehicle
checked by your authorized dealer
immediately. Do not drive your vehicle if
you smell exhaust fumes. Carbon
monoxide is present in exhaust fumes.
Take precautions to avoid its dangerous
effects. Important Ventilating Information
If you stop your vehicle and the leave the
engine idling for long periods of time, we
recommend that you do one of the
following:
•
Open the windows at least 1 inch (2.5
centimeters)
• Set your climate control to outside air.
ENGINE BLOCK HEATER (IF
EQUIPPED) WARNINGS
Failure to follow engine block heater
instructions could result in property
damage or serious personal injury.
Do not use your heater with
ungrounded electrical systems or
two-pronged adapters. There is a risk
of electrical shock. Note:
The heater is most effective when
outdoor temperatures are below 0°F
(-18°C).
The heater acts as a starting aid by
warming the engine coolant. This allows
the climate control system to respond
quickly. The equipment includes a heater
element (installed in the engine block) and
a wire harness. You can connect the
system to a grounded 120-volt AC
electrical source.
We recommend that you do the following
for a safe and correct operation:
• Use a 16-gauge outdoor extension cord
that is product certified by
Underwriter ’s Laboratory (UL) or
Canadian Standards Association
(CSA). This extension cord must be
suitable for use outdoors, in cold
137
F150 (TF6) , enUSA Starting and Stopping the Engine
Page 141 of 472
temperatures, and be clearly marked
Suitable for Use with Outdoor
Appliances. Do not use an indoor
extension cord outdoors. This could
result in an electric shock or become a
fire hazard.
• Use as short an extension cord as
possible.
• Do not use multiple extension cords.
• Make sure that when in operation, the
extension cord plug and heater cord
plug connections are free and clear of
water. This could cause an electric
shock or fire.
• Make sure your vehicle is parked in a
clean area, clear of combustibles.
• Make sure the heater, heater cord and
extension cord are firmly connected.
• Check for heat anywhere in the
electrical hookup once the system has
been operating for approximately 30
minutes.
• Make sure the system is unplugged and
properly stowed before driving your
vehicle. Make sure the protective cover
seals the prongs of the block heater
cord plug when not in use.
• Make sure the heater system is
checked for proper operation before
winter.
Using the Engine Block Heater
Make sure the receptacle terminals are
clean and dry prior to use. Clean them with
a dry cloth if necessary.
The heater uses 0.4 to 1.0 kilowatt-hours
of energy per hour of use. The system does
not have a thermostat. It achieves
maximum temperature after
approximately three hours of operation.
Using the heater longer than three hours
does not improve system performance and
unnecessarily uses electricity.
138
F150 (TF6) , enUSA Starting and Stopping the Engine
Page 150 of 472
AUTOMATIC TRANSMISSION
WARNINGS
Always set the parking brake fully
and make sure the gearshift is
latched in P (Park). Turn the ignition
to the off position and remove the key
whenever you leave your vehicle. Do not use the tow/haul feature
when driving in icy or slippery
conditions as the increased engine
braking can cause the rear wheels to slide
and the vehicle to swing around with the
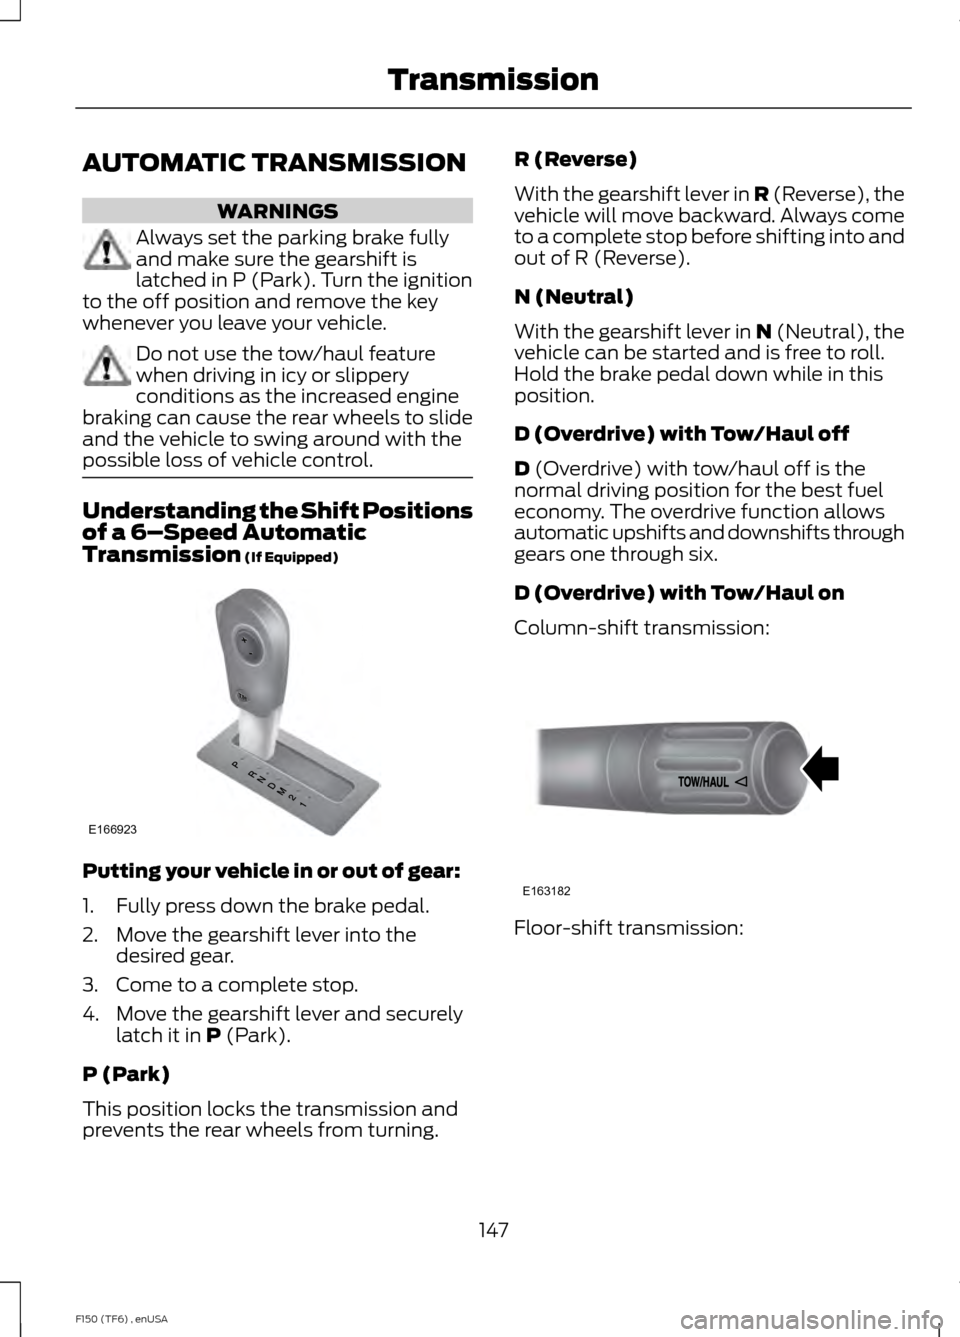
possible loss of vehicle control. Understanding the Shift Positions
of a 6–
Speed Automatic
Transmission (If Equipped) Putting your vehicle in or out of gear:
1. Fully press down the brake pedal.
2. Move the gearshift lever into the
desired gear.
3. Come to a complete stop.
4. Move the gearshift lever and securely latch it in
P (Park).
P (Park)
This position locks the transmission and
prevents the rear wheels from turning. R (Reverse)
With the gearshift lever in R (Reverse), the
vehicle will move backward. Always come
to a complete stop before shifting into and
out of R (Reverse).
N (Neutral)
With the gearshift lever in N (Neutral), the
vehicle can be started and is free to roll.
Hold the brake pedal down while in this
position.
D (Overdrive) with Tow/Haul off
D
(Overdrive) with tow/haul off is the
normal driving position for the best fuel
economy. The overdrive function allows
automatic upshifts and downshifts through
gears one through six.
D (Overdrive) with Tow/Haul on
Column-shift transmission: Floor-shift transmission:
147
F150 (TF6) , enUSA TransmissionE166923 E163182
Page 153 of 472
In order to prevent the engine from running
at too low an RPM, which may cause it to
stall, SelectShift will still automatically
make some downshifts if it has determined
that you have not downshifted in time.
Although SelectShift will make some
downshifts for you, it will still allow you to
downshift at any time as long as the
SelectShift determines that the engine will
not be damaged from over-revving.
SelectShift will not automatically upshift,
even if the engine is approaching the RPM
limit. It must be shifted manually by
pressing the + button.
Note:
Engine damage may occur if
excessive engine revving is held without
shifting.
PRS (Progressive Range Selection)
With the gearshift lever in D (Drive), press
the – button to active PRS. The available
and selected gears will be indicated on the
instrument cluster.
All available gears will be displayed with
the current gear indicated. Press the –
button again to lock out gears beginning
with the highest gear. Example: press the
– button twice to lock out 6th and 5th
gears. Only the available gears will be
displayed and the transmission will
automatically shift between the available
gears. Press the + button to unlock gears
to allow the transmission to shift to higher
gears. The transmission will shift
automatically within the gear range you
select.
Automatic Transmission Adaptive
Learning
This feature is designed to increase
durability and provide consistent shift feel
over the life of the vehicle. A new vehicle
or transmission may have firm shifts, soft
shifts or both. This operation is considered
normal and will not affect function or durability of the transmission. Over time,
the adaptive learning process will fully
update transmission operation.
Additionally, whenever the battery is
disconnected or a new battery installed,
the strategy must be relearned.
Brake-Shift Interlock
WARNINGS
Do not drive your vehicle until you
verify that the brake lamps are
working.
When doing this procedure, you will
be taking the vehicle out of park
which means the vehicle can roll
freely. To avoid unwanted vehicle
movement, always fully set the parking
brake prior to doing this procedure. Use
wheel chocks if appropriate. If the parking brake is fully released,
but the brake warning lamp remains
illuminated, the brakes may not be
working properly. See your authorized
dealer. Your vehicle is equipped with a brake-shift
interlock feature that prevents the
gearshift lever from being moved from
P
(Park) when the ignition is in the on
position and the brake pedal is not pressed.
If you cannot move the gearshift lever out
of P (Park) position with the ignition in the
on position and the brake pedal pressed,
a malfunction may have occurred. It is
possible that a fuse has blown or the
vehicle ’s brake lamps are not operating
properly. See
Fuse Specification Chart
(page 225).
If the fuse is not blown and the brake
lamps are working properly, the following
procedure will allow you to move the
gearshift lever from
P (Park):
150
F150 (TF6) , enUSA Transmission
Page 154 of 472
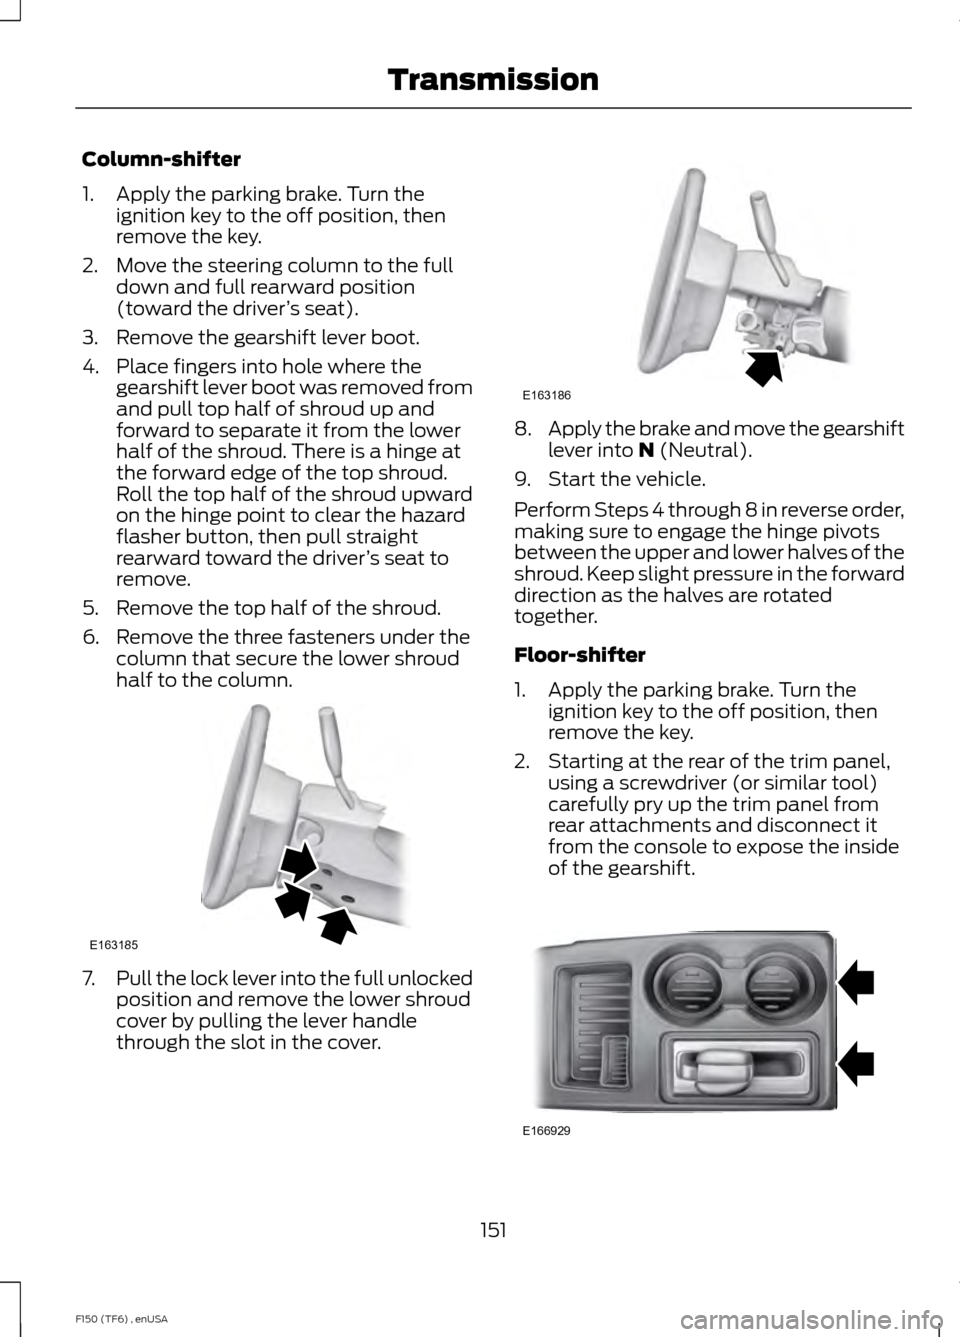
Column-shifter
1. Apply the parking brake. Turn the
ignition key to the off position, then
remove the key.
2. Move the steering column to the full down and full rearward position
(toward the driver ’s seat).
3. Remove the gearshift lever boot.
4. Place fingers into hole where the gearshift lever boot was removed from
and pull top half of shroud up and
forward to separate it from the lower
half of the shroud. There is a hinge at
the forward edge of the top shroud.
Roll the top half of the shroud upward
on the hinge point to clear the hazard
flasher button, then pull straight
rearward toward the driver ’s seat to
remove.
5. Remove the top half of the shroud.
6. Remove the three fasteners under the column that secure the lower shroud
half to the column. 7.
Pull the lock lever into the full unlocked
position and remove the lower shroud
cover by pulling the lever handle
through the slot in the cover. 8.
Apply the brake and move the gearshift
lever into N (Neutral).
9. Start the vehicle.
Perform Steps 4 through 8 in reverse order,
making sure to engage the hinge pivots
between the upper and lower halves of the
shroud. Keep slight pressure in the forward
direction as the halves are rotated
together.
Floor-shifter
1. Apply the parking brake. Turn the ignition key to the off position, then
remove the key.
2. Starting at the rear of the trim panel, using a screwdriver (or similar tool)
carefully pry up the trim panel from
rear attachments and disconnect it
from the console to expose the inside
of the gearshift. 151
F150 (TF6) , enUSA TransmissionE163185 E163186 E166929