2014 FORD EXPLORER load
[x] Cancel search: loadPage 6 of 586

Terrain Response 226
Hill descent control...................................227
Parking Aids 229
Sensing system.......................................229
Active park assist.....................................230
Rear-view camera system...............................235
Cruise Control 240
Using cruise control...................................240
Using Adaptive Cruise Control............................241
Driving Aids 250
Driveralert .........................................250
Lane keeping system...................................252
Blind Spot Information System (BLIS) with Cross Traffic Alert
(CTA) .............................................256
Collision warning system................................261
Steering............................................264
Load Carrying 266
Cargo net...........................................266
Roof racks and load carriers.............................266
Vehicle loading.......................................267
Towing 275
Trailertowing........................................275
Wrecker towing......................................282
Recreational towing...................................283
Driving Hints 285
Economical driving....................................285
Floormats..........................................287
Table of Contents5
2014 Explorer(exp)
Owners Guide gf, 1st Printing, April 2013
USA(fus)
Page 80 of 586

Note:Do not drive with the liftgate open without first disabling the
power function and securing the liftgate to the vehicle.
Note:In case of operation in extreme cold -40°F (-40°C), or on extreme
inclines, manual operation of the liftgate is suggested.
You can enable or disable the power liftgate using the information
display. The remote control and instrument panel button will still operate
the liftgate regardless of the setting.
Opening and Closing the Power Liftgate
Note:You can reverse the liftgate movement direction with a second
press of the instrument panel button, or the control button on the
liftgate, or a second double press of the transmitter button.
The liftgate will only operate with the transmission inP.
A chime will sound three times as the liftgate begins to power close.
A single chime indicates a problem with the close request, caused by:
•the ignition is on and the transmission is not inP;or
•the battery voltage is below the minimum operating voltage; or
•the vehicle speed is at or above 3 mph (5 km/h).
If the liftgate reverses and starts to close after an open request, a fast
continuous chime indicates excessive load on the gate or a possible strut
failure. Have your vehicle checked by an authorized dealer if you still
have a fast chime after you remove the load.
To open or close from the instrument panel:Press the
instrument panel button.
To open or close with the remote control:Press the remote
control button twice within three seconds.
Locks79
2014 Explorer(exp)
Owners Guide gf, 1st Printing, April 2013
USA(fus)
Page 135 of 586

AWD/4WD Messages Action / Description
AWD Off Displayed when the system has been
automatically disabled to protect itself. This is
caused by operating the vehicle with the
compact spare tire installed or if the system is
overheating. The system will resume normal
function and clear this message after driving a
short distance with the road tire re-installed or
after the system is allowed to cool.
Check AWD Displayed in conjunction with the powertrain
malfunction/reduced power light when the
system is not operating properly. If the
warning stays on or continues to come on,
contact your authorized dealer as soon as
possible.
Battery and
Charging System
MessagesAction / Description
Check Charging
SystemDisplayed when the charging system needs
servicing. If the warning stays on or continues
to come on, contact your authorized dealer as
soon as possible.
Turn Power Off to
Save BatteryDisplayed when the battery management
system determines that:
•the battery is at a low state of charge or,
•the ignition has been in accessory position
or on position with the engine off for
approximately 45 minutes.
Turn the ignition off as soon as possible to
protect the battery. This message will clear
once the vehicle has been started and the
battery state of charge has recovered. Turning
off unnecessary electrical loads will allow
faster battery state-of-charge recovery.
Transport Mode
Contact DealerContact your authorized dealer as soon as
possible.
Factory Mode Contact
DealerContact your authorized dealer as soon as
possible.
134Information Displays
2014 Explorer(exp)
Owners Guide gf, 1st Printing, April 2013
USA(fus)
Page 136 of 586

Battery and
Charging System
MessagesAction / Description
Low Battery Features
Tempor. Turned OffDisplayed when the battery management
system detects an extended low-voltage
condition. Various vehicle features will be
disabled to help preserve the battery. Turn off
as many of the electrical loads as soon as
possible to improve system voltage. If the
system voltage has recovered, the disabled
features will operate again as normal.
BLIS® Messages Action / Description
Blind Spot Not
Available Sensor
BlockedDisplayed when the blind spot information
system/cross traffic alert system sensors are
blocked. Driver can typically clean the sensor
to resolve.
Blind Spot System
FaultDisplayed when a fault with the blind spot
information system has occurred. Contact your
authorized dealer as soon as possible.
Cross Traffic Not
Available Sensor
BlockedDisplayed when the blind spot information
system/cross traffic alert system sensors are
blocked. Driver can typically clean the sensor
to resolve.
Cross Traffic System
FaultDisplayed when a fault with the cross traffic
alert system has occurred. Contact your
authorized dealer as soon as possible.
Vehicle Coming From
XDisplayed when the blind spot information
system with cross traffic alert (CTA) system is
operating and senses a vehicle.
Information Displays135
2014 Explorer(exp)
Owners Guide gf, 1st Printing, April 2013
USA(fus)
Page 175 of 586

3. From the rear of the vehicle, fold
the seat back by pulling and holding
the number 1 strap while pushing
the seat back forward. Release the
strap once the seat back starts
rotating forward.
4. Release the cushion latches by pulling the
number 2 strap while pulling on the strap
located at the top of the seat back to tumble
the seat all the way into the tub in the floor.
Note:Do not use the seat anchors as cargo tie downs.
Note:Do not use the third-row seat back as a
load floor when the seat back is folded.
Note:Make sure that the area under the seat is free of objects before
stowing it.
1
174Seats
2014 Explorer(exp)
Owners Guide gf, 1st Printing, April 2013
USA(fus)
Page 176 of 586

Unfolding the third row manual seat
Note:Make sure that there are no objects such as books, purses or
briefcases on the load floor before unstowing the seat. Failure to remove
all objects from the top of the load floor prior to unstowing it may cause
damage to the seat.
Note:Make sure the area under the load floor is free of objects before
unstowing it.
1. Unlatch and lift the seat out of the
tub in the floor by squeezing and
pulling up on the handle. Once the
seat is at a vertical position, push
the seat over, letting it fall onto the
latches.
2. To return the seat back to upright
position, pull the number 1 strap, then
while holding the number 1 strap, pull the
long strap located on the seat back to raise
the seat back.
3. Pull the head restraints up to their normal positions.
WARNING:Make sure seat is latched to vehicle floor by pushing
and pulling on the seat. If not latched, the seat may cause injury
during a sudden stop.
WARNING:Before returning the seat back to its original
position, make sure that cargo or any objects are not trapped
behind the seat back. After returning the seat back to its original
position, pull on the seat back to make sure that it has fully latched.
An unlatched seat may become dangerous in the event of a sudden
stop or crash.
Seats175
2014 Explorer(exp)
Owners Guide gf, 1st Printing, April 2013
USA(fus)
Page 177 of 586
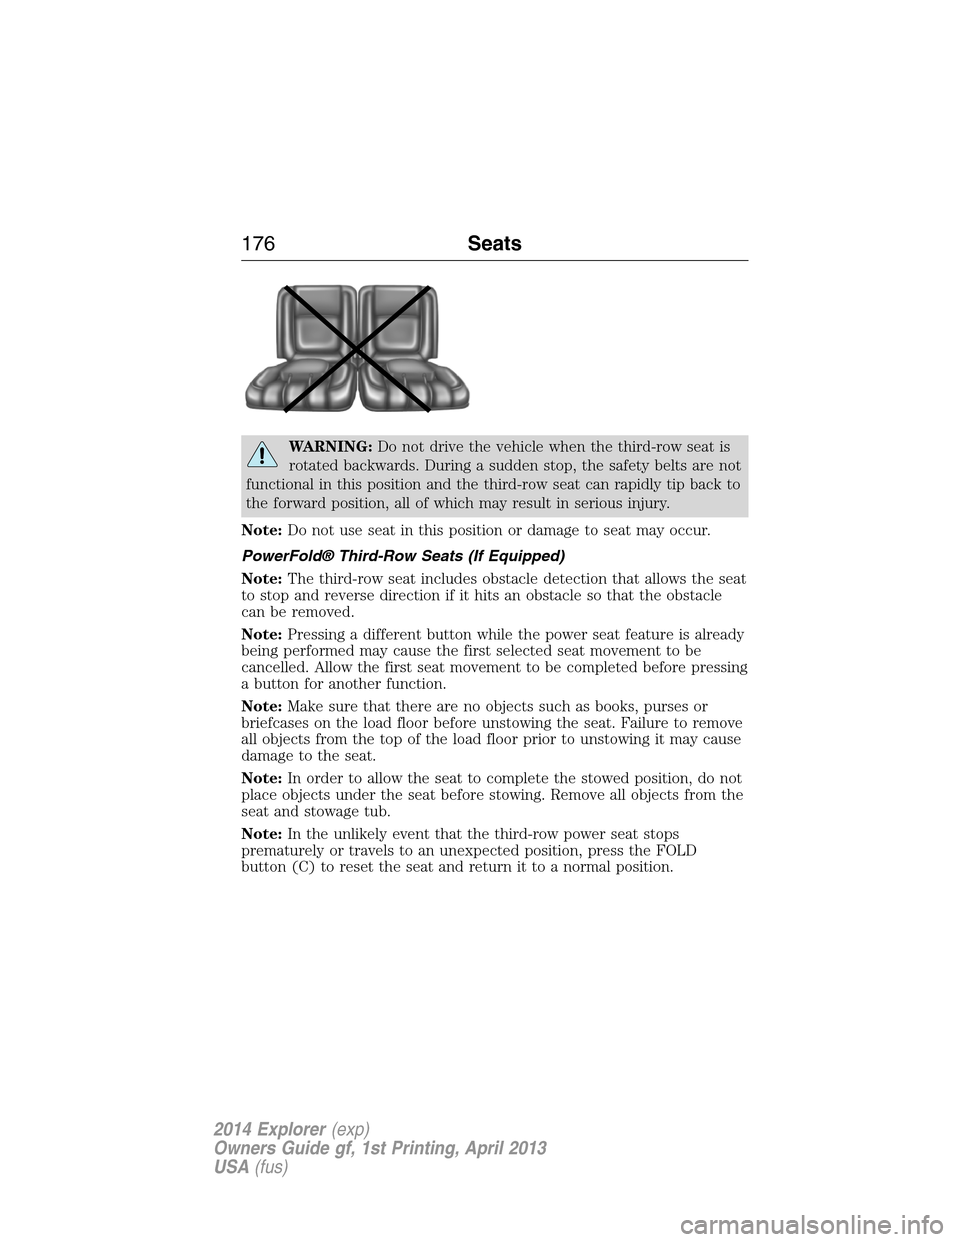
WARNING:Do not drive the vehicle when the third-row seat is
rotated backwards. During a sudden stop, the safety belts are not
functional in this position and the third-row seat can rapidly tip back to
the forward position, all of which may result in serious injury.
Note:Do not use seat in this position or damage to seat may occur.
PowerFold® Third-Row Seats (If Equipped)
Note:The third-row seat includes obstacle detection that allows the seat
to stop and reverse direction if it hits an obstacle so that the obstacle
can be removed.
Note:Pressing a different button while the power seat feature is already
being performed may cause the first selected seat movement to be
cancelled. Allow the first seat movement to be completed before pressing
a button for another function.
Note:Make sure that there are no objects such as books, purses or
briefcases on the load floor before unstowing the seat. Failure to remove
all objects from the top of the load floor prior to unstowing it may cause
damage to the seat.
Note:In order to allow the seat to complete the stowed position, do not
place objects under the seat before stowing. Remove all objects from the
seat and stowage tub.
Note:In the unlikely event that the third-row power seat stops
prematurely or travels to an unexpected position, press the FOLD
button (C) to reset the seat and return it to a normal position.
176Seats
2014 Explorer(exp)
Owners Guide gf, 1st Printing, April 2013
USA(fus)
Page 185 of 586
110 Volt AC Power Point (If Equipped)
WARNING:Do not keep electrical devices plugged in the power
point whenever the device is not in use. Do not use any
extension cord with the 110 volt AC power point, since it will defeat
the safety protection design. Doing so may cause the power point to
overload due to powering multiple devices that can reach beyond the
150–watt load limit and could result in fire or serious injury.
Note:The cap should always be closed whenever the power point outlet
is not in use.
Note:The power point will turn off after 13 minutes if the ignition is on
without the engine running. Keep the engine running to use the power
point.
The 110–volt AC power point outlet is used for powering electrical
devices that require up to 150 watts. Exceeding the 150–watt limit will
cause the power point to cut off the power temporarily to provide
overload protection.
The power point is located on the
back of the center console.
The power point is not designed for the following electric appliances;
they may not work properly:
•Cathode-ray, tube-type televisions
•Motor loads, such as vacuum cleaners, electric saws and other electric
power tools, compressor-driven refrigerators, etc.
•Measuring devices that process precise data, such as medical
equipment, measuring equipment, etc.
•Other appliances requiring an extremely stable power supply:
microcomputer-controlled electric blankets, touch sensor lamps, etc.
184Auxiliary Power Points
2014 Explorer(exp)
Owners Guide gf, 1st Printing, April 2013
USA(fus)