2014 FORD EXPEDITION key battery
[x] Cancel search: key batteryPage 58 of 519

Note:Your vehicle’s keys were
issued with a security label that
provides important vehicle key cut
information. Keep the label in a safe
place for future reference.
Replacing the Battery
Note:Refer to local regulations when disposing of transmitter batteries.
Note:Do not wipe off any grease on the battery terminals or on the
back surface of the circuit board.
Note:Replacing the battery will not delete the transmitter from your
vehicle. The transmitter should operate normally.
The remote control uses one coin-type three-volt lithium battery CR2032
or equivalent.
Integrated Keyhead Transmitter
1. Twist a thin coin in the slot near the key
ring to remove the battery cover (1).
2. Carefully peel up the rubber gasket (2)
from the transmitter if it does not come off
with the battery cover.
3. Remove the old battery (3).
4. Insert the new battery. Refer to the instructions inside the integrated
keyhead transmitter for the correct orientation of the battery. Press the
battery down to ensure that the battery is fully seated in the battery
housing cavity.
5. Reinstall the rubber gasket.
6. Snap the battery cover back onto the key.
3
2
1
Keys and Remote Control57
2014 Expedition(exd)
Owners Guide gf, 1st Printing, June 2013
USA(fus)
Page 71 of 519
Illuminated Entry
The interior lamps and parking lamps illuminate when the remote entry
system is used to unlock the door(s).
The system will turn off the lights if:
•the ignition is turned on
•the lock button on the remote control is pressed
•the vehicle is locked using the keyless entry keypad
•after 25 seconds of illumination.
The dome lamp control (if equipped) must not be set to the off position
for the illuminated entry system to operate.
The lights will not turn off if:
•they have been turned on with the dimmer control
•any door is open.
Illuminated Exit
The interior lamps and parking lamps illuminate when doors are closed
and the key is removed from the ignition.
The lamps will turn off if all the doors remain closed and:
•25 seconds elapse
•the key is inserted in the ignition.
Battery Saver
If you leave the courtesy lamps, dome lamps or headlamps on, the
battery saver shuts them off 10 minutes after you switch the ignition off.
70Locks
2014 Expedition(exd)
Owners Guide gf, 1st Printing, June 2013
USA(fus)
Page 92 of 519
Rear Cargo Lamp
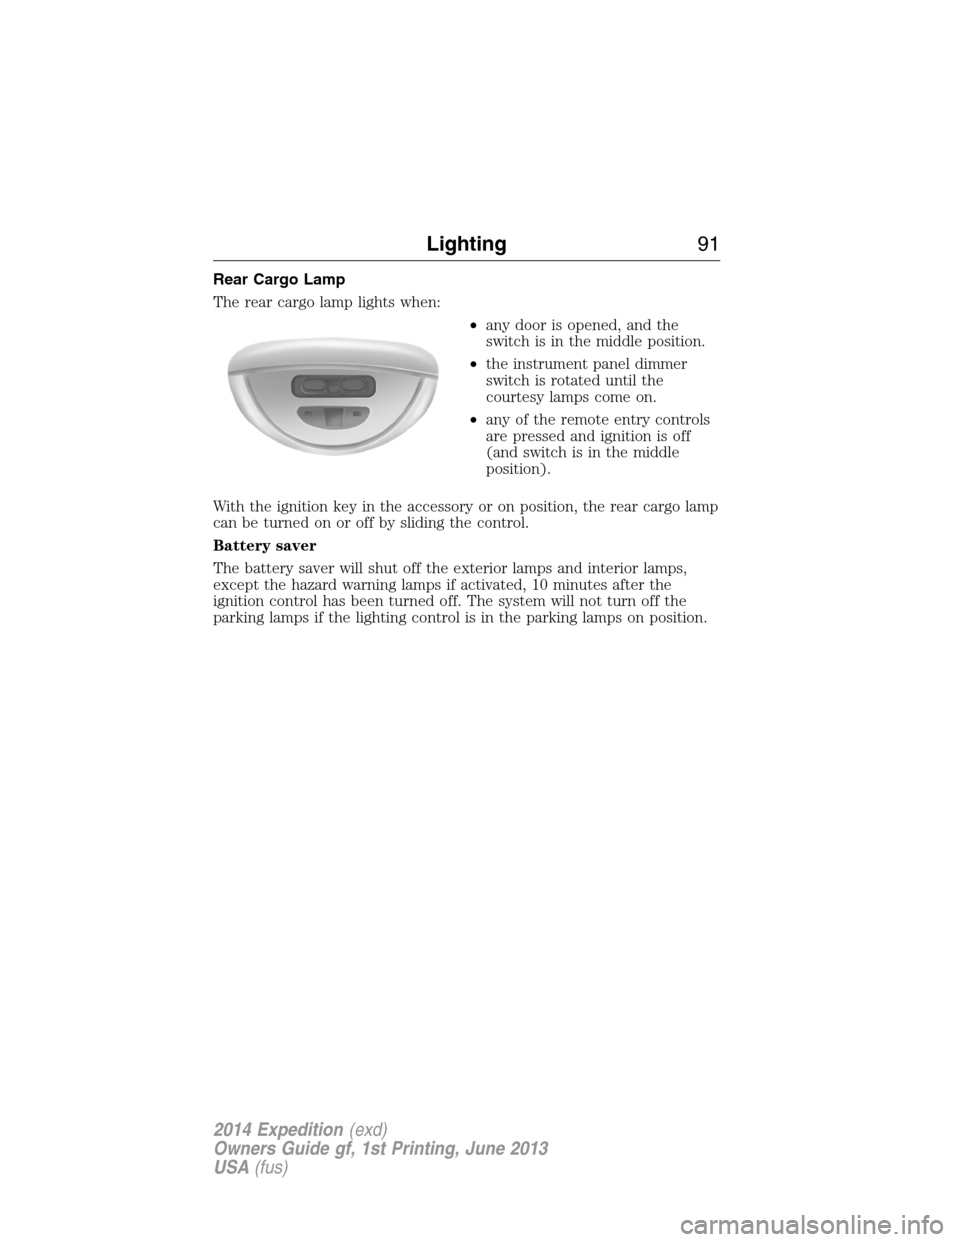
The rear cargo lamp lights when:
•any door is opened, and the
switch is in the middle position.
•the instrument panel dimmer
switch is rotated until the
courtesy lamps come on.
•any of the remote entry controls
are pressed and ignition is off
(and switch is in the middle
position).
With the ignition key in the accessory or on position, the rear cargo lamp
can be turned on or off by sliding the control.
Battery saver
The battery saver will shut off the exterior lamps and interior lamps,
except the hazard warning lamps if activated, 10 minutes after the
ignition control has been turned off. The system will not turn off the
parking lamps if the lighting control is in the parking lamps on position.
Lighting91
2014 Expedition(exd)
Owners Guide gf, 1st Printing, June 2013
USA(fus)
Page 112 of 519
Information Display Controls (Type 2)
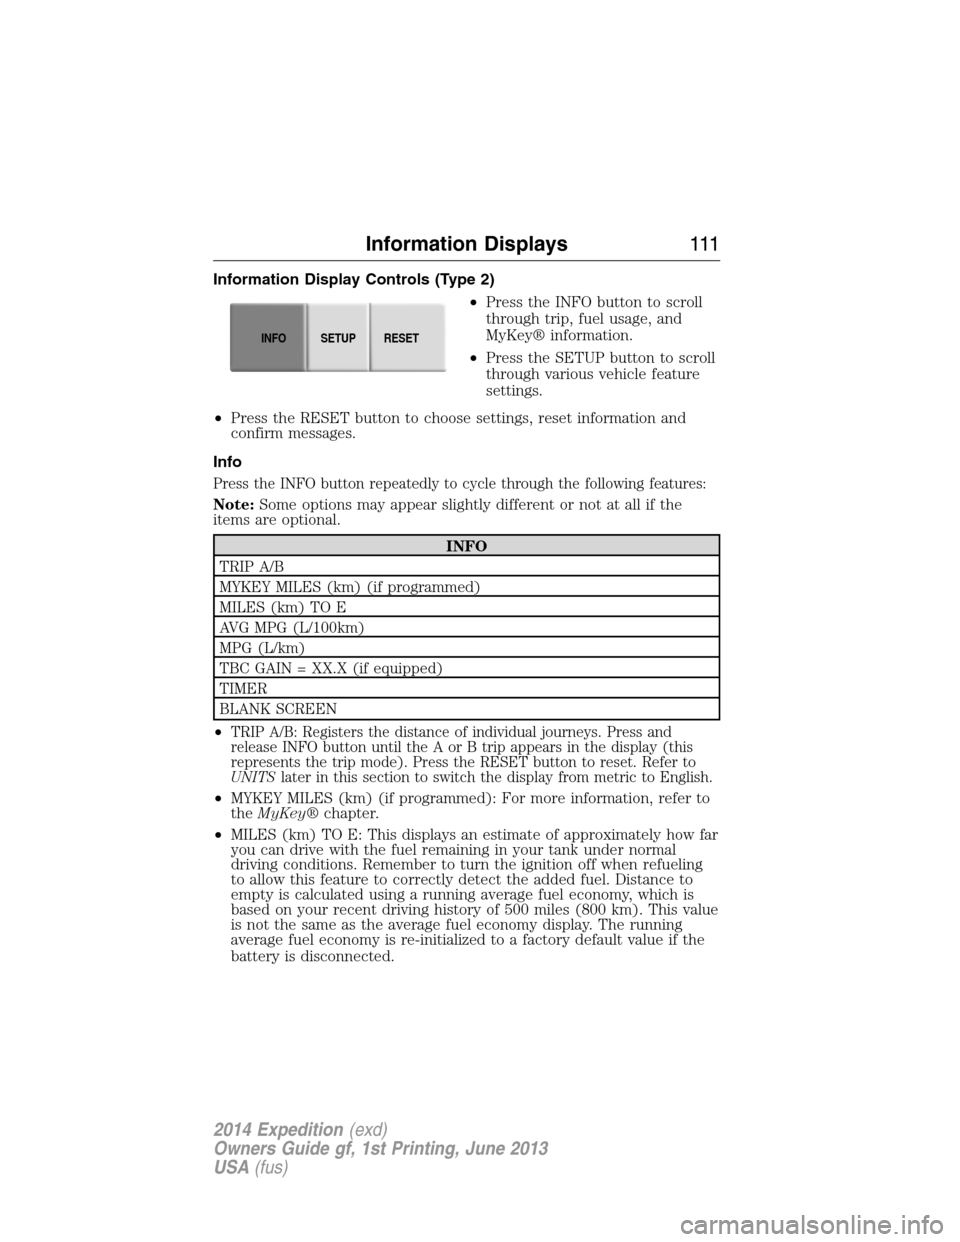
•Press the INFO button to scroll
through trip, fuel usage, and
MyKey® information.
•Press the SETUP button to scroll
through various vehicle feature
settings.
•Press the RESET button to choose settings, reset information and
confirm messages.
Info
Press the INFO button repeatedly to cycle through the following features:
Note:Some options may appear slightly different or not at all if the
items are optional.
INFO
TRIP A/B
MYKEY MILES (km) (if programmed)
MILES (km) TO E
AVG MPG (L/100km)
MPG (L/km)
TBC GAIN = XX.X (if equipped)
TIMER
BLANK SCREEN
•
TRIP A/B: Registers the distance of individual journeys. Press and
release INFO button until the A or B trip appears in the display (this
represents the trip mode). Press the RESET button to reset. Refer to
UNITSlater in this section to switch the display from metric to English.
•MYKEY MILES (km) (if programmed): For more information, refer to
theMyKey®chapter.
•MILES (km) TO E: This displays an estimate of approximately how far
you can drive with the fuel remaining in your tank under normal
driving conditions. Remember to turn the ignition off when refueling
to allow this feature to correctly detect the added fuel. Distance to
empty is calculated using a running average fuel economy, which is
based on your recent driving history of 500 miles (800 km). This value
is not the same as the average fuel economy display. The running
average fuel economy is re-initialized to a factory default value if the
battery is disconnected.
INFOSETUP
RESET
Information Displays111
2014 Expedition(exd)
Owners Guide gf, 1st Printing, June 2013
USA(fus)
Page 160 of 519
Note:We recommend that upon the sale or lease termination of your
vehicle, you erase the programmed function buttons for security reasons.
SeeErasing the function button codeslater in this section.
Note:You can program a maximum of three devices. To change or
replace any of the three devices after it has been initially programmed,
you must first erase the current settings. SeeErasing the function
button codeslater in this section.
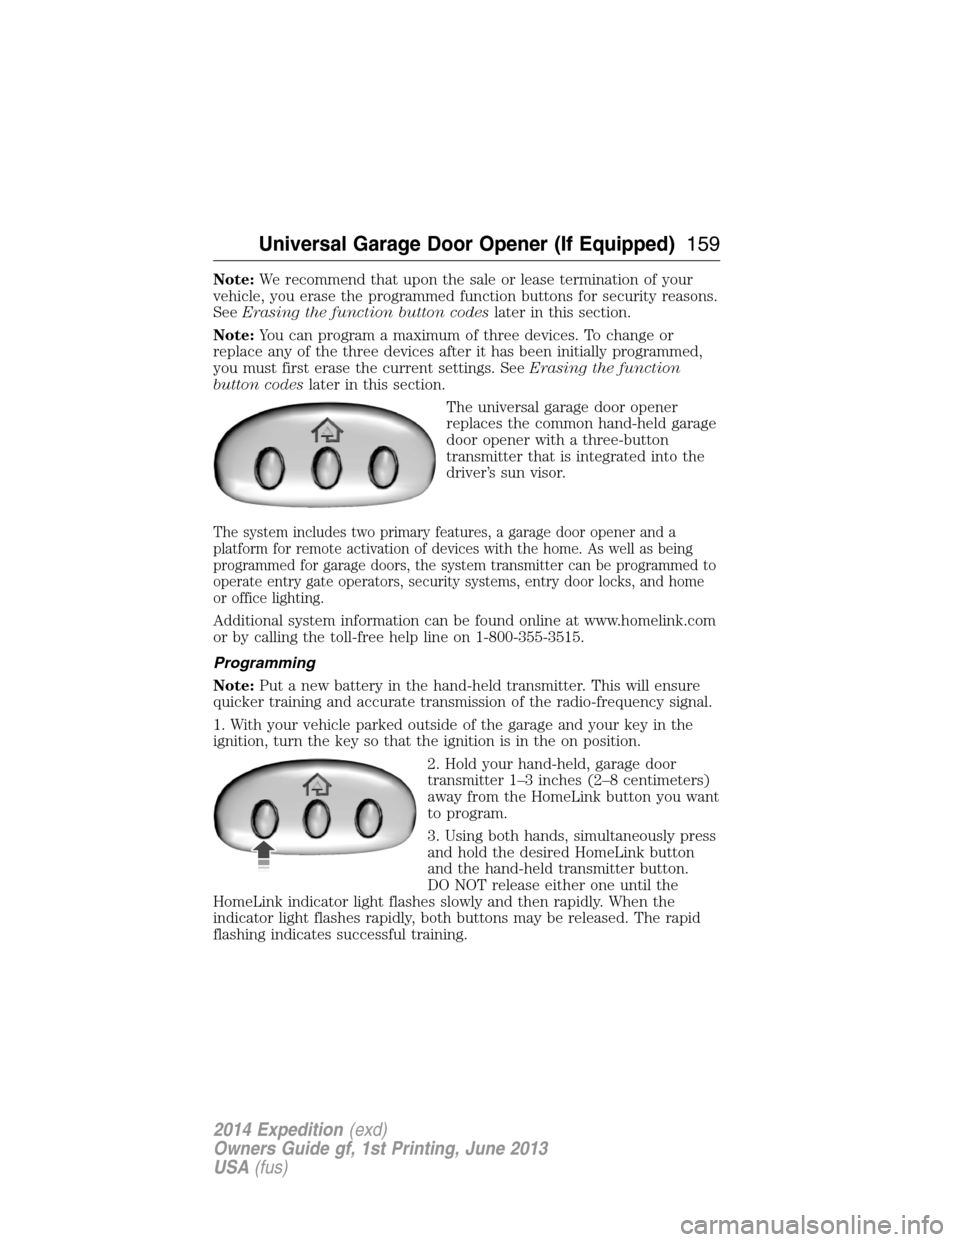
The universal garage door opener
replaces the common hand-held garage
door opener with a three-button
transmitter that is integrated into the
driver’s sun visor.
The system includes two primary features, a garage door opener and a
platform for remote activation of devices with the home. As well as being
programmed for garage doors, the system transmitter can be programmed to
operate entry gate operators, security systems, entry door locks, and home
or office lighting.
Additional system information can be found online at www.homelink.com
or by calling the toll-free help line on 1-800-355-3515.
Programming
Note:Put a new battery in the hand-held transmitter. This will ensure
quicker training and accurate transmission of the radio-frequency signal.
1. With your vehicle parked outside of the garage and your key in the
ignition, turn the key so that the ignition is in the on position.
2. Hold your hand-held, garage door
transmitter 1–3 inches (2–8 centimeters)
away from the HomeLink button you want
to program.
3. Using both hands, simultaneously press
and hold the desired HomeLink button
and the hand-held transmitter button.
DO NOT release either one until the
HomeLink indicator light flashes slowly and then rapidly. When the
indicator light flashes rapidly, both buttons may be released. The rapid
flashing indicates successful training.
Universal Garage Door Opener (If Equipped)159
2014 Expedition(exd)
Owners Guide gf, 1st Printing, June 2013
USA(fus)
Page 171 of 519

IGNITION SWITCH
Note:Do not store the key in the ignition after the vehicle is turned off
and you have left the vehicle. This could cause a drain on the battery.
A.Off:The ignition is off.
B.Accessory:Allows the electrical accessories, such as the radio, to
operate while the engine is not running.
C.On:All the electrical circuits are operational. Warning lights are
illuminated. This is the key position when driving.
D.Start:Cranks the engine. Release the key as soon as the engine starts.
STARTING A GASOLINE ENGINE
When you start the engine, the idle speed increases, this helps to warm
up the engine. If the engine idle speed does not slow down automatically,
have your vehicle checked by an authorized dealer.
Before starting the engine:
•Make sure all occupants have fastened their safety belts.
•Make sure the headlamps and electrical accessories are off.
•Make sure the parking brake is on.
•Move the transmission selector lever to positionP.
•Turn the ignition key to the on position.
Some warning lights briefly illuminate.
Note:Do not touch the accelerator pedal.
1. Fully press the brake pedal.
2. Turn the key to the start position to start the engine. Release the key
when the engine starts.
Note:The engine may continue cranking for up to 15 seconds or until it
starts.
Note:If you cannot start the engine on the first try, wait for a short
period and try again.
If you have difficulty starting the engine when the temperature is below
-13°F (-25°C), press the accelerator pedal slightly and try again.
C
D
B
A
170Starting and Stopping the Engine
2014 Expedition(exd)
Owners Guide gf, 1st Printing, June 2013
USA(fus)
Page 184 of 519
Readiness for Inspection/Maintenance (I/M) Testing
Some state, provincial and local governments may have
Inspection/Maintenance (I/M) programs to inspect the emission control
equipment on your vehicle. Failure to pass this inspection could prevent
you from getting a vehicle registration.
If the service engine soon indicator is on or the bulb does not
work, the vehicle may need to be serviced. SeeOn-board
Diagnostics (OBD-II)in this chapter.
Your vehicle may not pass the I/M test if the service engine soon
indicator is on or not working properly (bulb is burned out), or if the
OBD-II system has determined that some of the emission control systems
have not been properly checked. In this case, the vehicle is considered
not ready for I/M testing.
If the vehicle’s engine or transmission has just been serviced, or the
battery has recently run down or been replaced, the OBD-II system may
indicate that the vehicle is not ready for I/M testing. To determine if the
vehicle is ready for I/M testing, turn the ignition key to the on position
for 15 seconds without cranking the engine. If the service engine soon
indicator blinks eight times, it means that the vehicle is not ready for I/M
testing; if the service engine soon indicator stays on solid, it means that
the vehicle is ready for I/M testing.
The OBD-II system is designed to check the emission control system
during normal driving. A complete check may take several days. If the
vehicle is not ready for I/M testing, the following driving cycle consisting
of mixed city and highway driving may be performed:
15 minutes of steady driving on an expressway or highway followed by
20 minutes of stop-and-go driving with at least four 30-second idle
periods.
Allow the vehicle to sit for at least eight hours without starting the
engine. Then, start the engine and complete the above driving cycle. The
engine must warm up to its normal operating temperature. Once the
engine is started, do not turn off the engine until the above driving cycle
is complete. If the vehicle is still not ready for I/M testing, the above
driving cycle will have to be repeated.
Fuel and Refueling183
2014 Expedition(exd)
Owners Guide gf, 1st Printing, June 2013
USA(fus)
Page 185 of 519
AUTOMATIC TRANSMISSION
WARNING:Always set the parking brake fully and make sure
the gearshift is latched in P (Park). Turn the ignition to the off
position and remove the key whenever you leave your vehicle.
WARNING:Do not use the Tow/Haul feature when driving in icy
or slippery conditions as the increased engine braking can cause
the rear wheels to slide and the vehicle to swing around with the
possible loss of vehicle control.
Your vehicle is equipped with an Adaptive Transmission Shift Strategy.
The Adaptive Transmission Shift Strategy offers the optimal transmission
operation and shift quality. When the engine is turned off, the shift data
which includes the adaptive information will be stored automatically in
the Powertrain Control Module. If the battery is disconnected for any
reason, the stored information from the last time the key was turned to
OFF will be read. This way, no information will be lost with any battery
removal or battery disconnect.
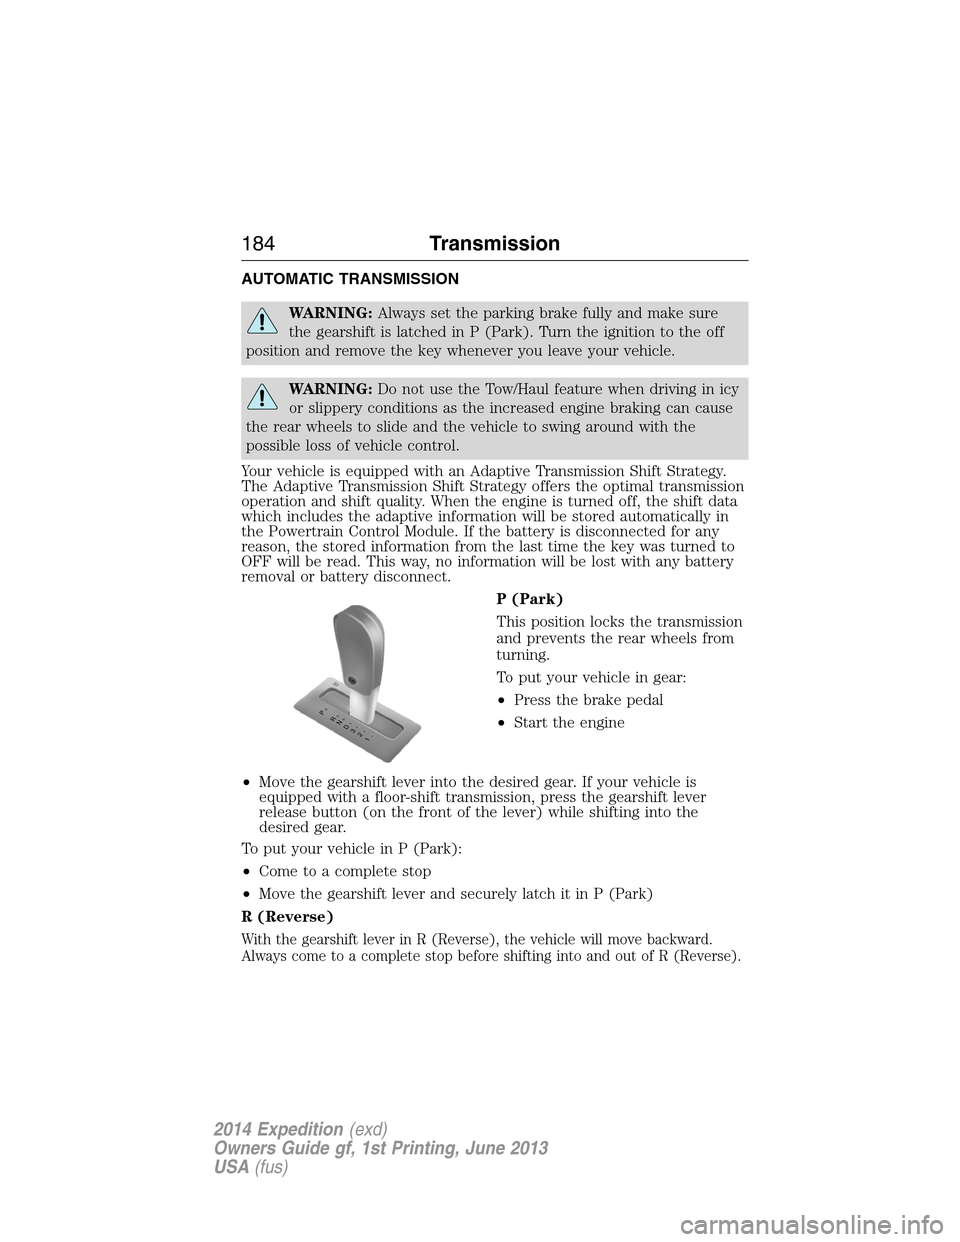
P (Park)
This position locks the transmission
and prevents the rear wheels from
turning.
To put your vehicle in gear:
•Press the brake pedal
•Start the engine
•Move the gearshift lever into the desired gear. If your vehicle is
equipped with a floor-shift transmission, press the gearshift lever
release button (on the front of the lever) while shifting into the
desired gear.
To put your vehicle in P (Park):
•Come to a complete stop
•Move the gearshift lever and securely latch it in P (Park)
R (Reverse)
With the gearshift lever in R (Reverse), the vehicle will move backward.
Always come to a complete stop before shifting into and out of R (Reverse).
T/H
PR
N
D
3
2
1
184Transmission
2014 Expedition(exd)
Owners Guide gf, 1st Printing, June 2013
USA(fus)