2014 FORD C MAX HYBRID glove box
[x] Cancel search: glove boxPage 205 of 447

Passenger Compartment Fuse
Panel
The fuse panel is located on the right-hand
side below the glove box. You may need
to remove a trim panel to access it. Protected components
Fuse amp rating
Fuse or relay number
Fuel pump supply
20A
F56
Not used
—
F57
Not used (spare)
5A
F58
Passive anti-theft system
5A
F59
203
C-MAX (CCG) FusesE129926
Page 206 of 447

Protected components
Fuse amp rating
Fuse or relay number
Interior light, Driver door switch pack, Glove
box illumination, Overhead console switch
bank
10A
F60
Cigar lighter, Second row power point
20A
F61
Autowipers module, Auto-dimming rear
view mirror
5A
F62
Not used (spare)
10A
F63
Not used
—
F64
Liftgate release
10A
F65
Driver door unlock supply
20A
F66
Cell phone passport (C-MAX Energi), Multi-
function display, GPS module, SYNC
7.5A
F67
Not used (spare)
15A
F68
Instrument cluster
5A
F69
Central lock and unlock supply
20A
F70
Heating control head (manual air condi-
tioner), Climate control module
10A
F71
Steering wheel module
7.5A
F72
Data link connector, OBD II supply
7.5A
F73
Headlamp supply
15A
F74
Fog lamp supply
15A
F75
Reversing lamp supply
10A
F76
Washer pump
20A
F77
Ignition switch, Start button
5A
F78
Radio, Hazard light switch
15A
F79
Not used (spare)
20A
F80
Power sun shade, Remote receiver antenna
5A
F81
Washer pump ground
20A
F82
Central locking ground
20A
F83
204
C-MAX (CCG) Fuses
Page 243 of 447

•
When inflating a tire or other objects,
use the black air hose only. Do not use
the transparent hose, which is designed
for sealant application only.
• Operating the kit could cause an
electrical disturbance in radio, CD, and
DVD player operation.
What to Do When a Tire Is
Punctured
Repair a tire puncture within the tread area
of the tire in two stages with the kit.
• In the first stage, you will re-inflate the
tire with a sealing compound and air.
After the tire has been re-inflated, drive
the vehicle a short distance (about 4
miles [6 kilometers]) to distribute the
sealant in the tire.
• In the second stage, check the tire
pressure and adjust, if necessary, to the
vehicle's tire inflation pressure.
First Stage: Reinflating the Tire
with Sealing Compound and Air WARNINGS
Do not stand directly over the kit
while inflating the tire. If you notice
any unusual bulges or deformations
in the tire's sidewall during inflation, stop
and call roadside assistance. If the tire does not inflate to the
recommended tire pressure within
15 minutes, stop and call roadside
assistance. Preparation: Park the vehicle in a safe, level
and secure area, away from moving traffic.
Turn the hazard lights on. Apply the parking
brake and turn the engine off. Inspect the
flat tire for visible damage.
Sealant compound contains latex. To
avoid any allergic reactions, use the
non-latex gloves located in the accessory
box on the underside of the kit housing. Do not remove any foreign object that has
pierced the tire. If a puncture is located in
the tire sidewall, stop and call roadside
assistance.
1. Remove the valve cap from the tire
valve.
2. Unwrap the clear tube from the compressor housing.
3. Remove the tube cap and fasten the metal connector of the tube to the tire
valve, turning clockwise. Make sure you
fasten the connection tightly. 4. Plug the power cable into the 12-volt
power point in the vehicle.
5. Remove the warning sticker found on the canister, and place it on the top of
the instrument panel or the center of
the dash.
6. Start the vehicle only if the vehicle is outdoors or in a well-ventilated area. 241
C-MAX (CCG) Wheels and TiresE144619 E144924
Page 287 of 447

AUDIO INPUT JACK
WARNINGS
Driving while distracted can result in
loss of vehicle control, crash and
injury. We strongly recommend that
you use extreme caution when using any
device that may take your focus off the
road. Your primary responsibility is the safe
operation of your vehicle. We recommend
against the use of any hand-held device
while driving and encourage the use of
voice-operated systems when possible.
Make sure you are aware of all applicable
local laws that may affect the use of
electronic devices while driving. For safety reasons, do not connect
or adjust the settings on your
portable music player while your
vehicle is moving. Store the portable music player in a
secure location, such as the center
console or the glove box, when your
vehicle is moving. Hard objects may
become projectiles in a collision or sudden
stop, which may increase the risk of serious
injury. The audio extension cable must be
long enough to allow the portable music
player to be safely stored while your
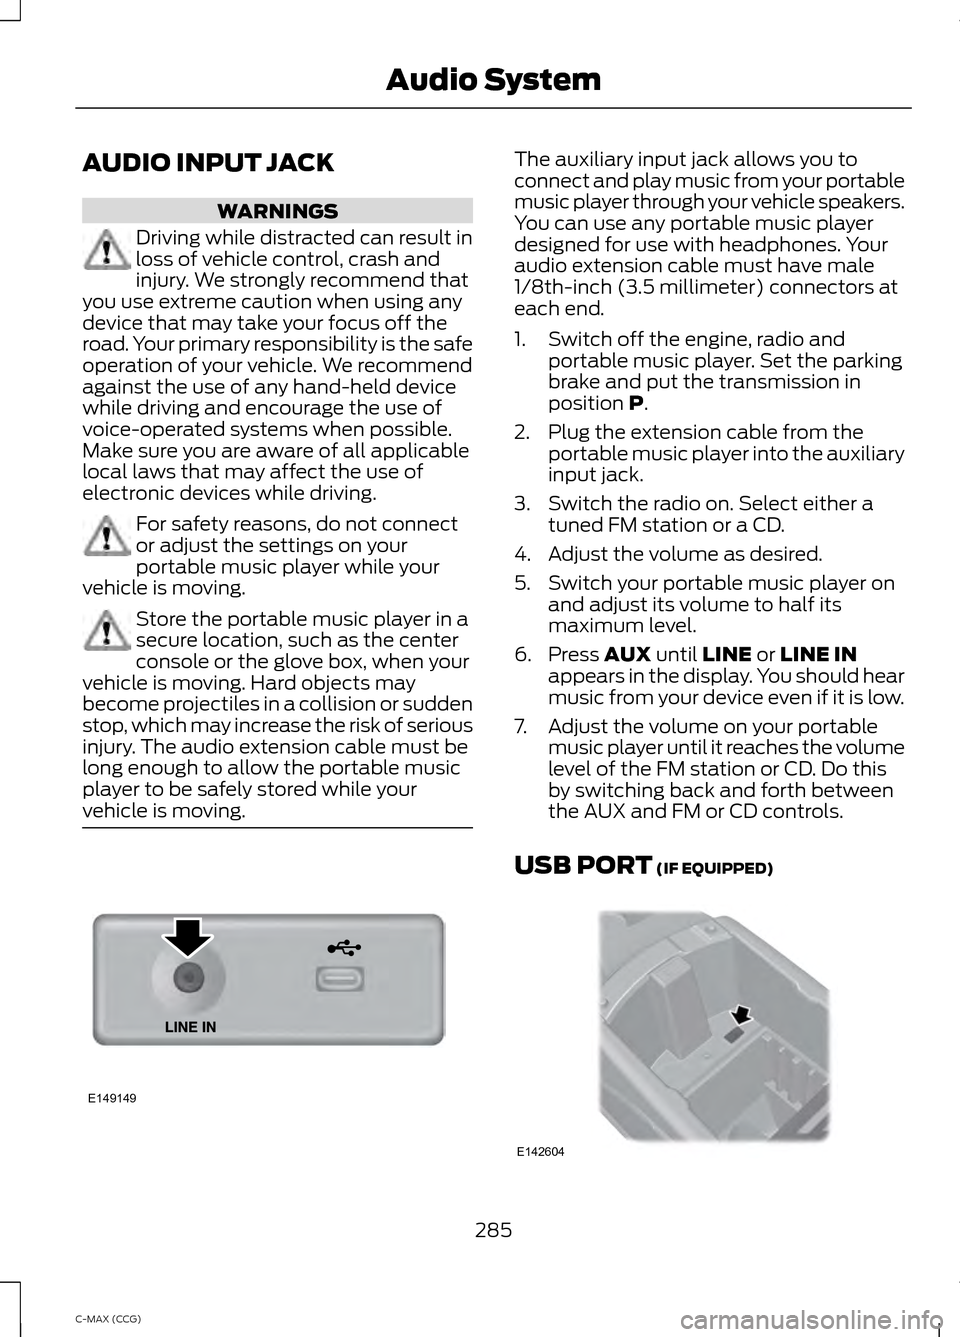
vehicle is moving. The auxiliary input jack allows you to
connect and play music from your portable
music player through your vehicle speakers.
You can use any portable music player
designed for use with headphones. Your
audio extension cable must have male
1/8th-inch (3.5 millimeter) connectors at
each end.
1. Switch off the engine, radio and
portable music player. Set the parking
brake and put the transmission in
position P.
2. Plug the extension cable from the portable music player into the auxiliary
input jack.
3. Switch the radio on. Select either a tuned FM station or a CD.
4. Adjust the volume as desired.
5. Switch your portable music player on and adjust its volume to half its
maximum level.
6. Press
AUX until LINE or LINE IN
appears in the display. You should hear
music from your device even if it is low.
7. Adjust the volume on your portable music player until it reaches the volume
level of the FM station or CD. Do this
by switching back and forth between
the AUX and FM or CD controls.
USB PORT
(IF EQUIPPED) 285
C-MAX (CCG) Audio SystemE149149 E142604
Page 359 of 447

If your indexed media files contain no
information embedded in these metadata
tags, SYNC may classify the empty
metadata tags as Unknown.
In order to playback video from your iPod
or iPhone, you must have a special
combination USB/RCA composite video
cable (which you can buy from Apple).
When you connect the cable to your iPod
or iPhone, plug the other end into both the
RCA jacks and the USB port.
Bluetooth Audio
Your system allows you to stream audio
over your vehicle's speakers from your
connected, Bluetooth-enabled cellular
phone. To access, press the lower left
corner on the touchscreen, then
select the
BT Stereo tab.
Bluetooth Audio Voice Commands If you are listening to a Bluetooth
audio device, press the voice
button on the steering wheel
control. When prompted, say "Next song",
"Pause", "Play" or "Previous song".
If you are not listening to a Bluetooth audio
device, press the voice button and, after
the tone, say "Next song", "Pause", "Play"
or "Previous song".
A/V Inputs WARNINGS
Driving while distracted can result in
loss of vehicle control, crash and
injury. We strongly recommend that
you use extreme caution when using any
device that may take your focus off the
road. Your primary responsibility is the safe
operation of your vehicle. We recommend WARNINGS
against the use of any handheld device
while driving and encourage the use of
voice-operated systems when possible.
Make sure you are aware of all applicable
local laws that may affect the use of
electronic devices while driving. For safety reasons, do not connect
or adjust the settings on your
portable music player while your
vehicle is moving. Store the portable music player in a
secure location, such as the center
console or the glove box, when your
vehicle is moving. Hard objects may
become projectiles in a crash or sudden
stop, which may increase the risk of serious
injury. The audio extension cable must be
long enough to allow the portable music
player to be safely stored while your
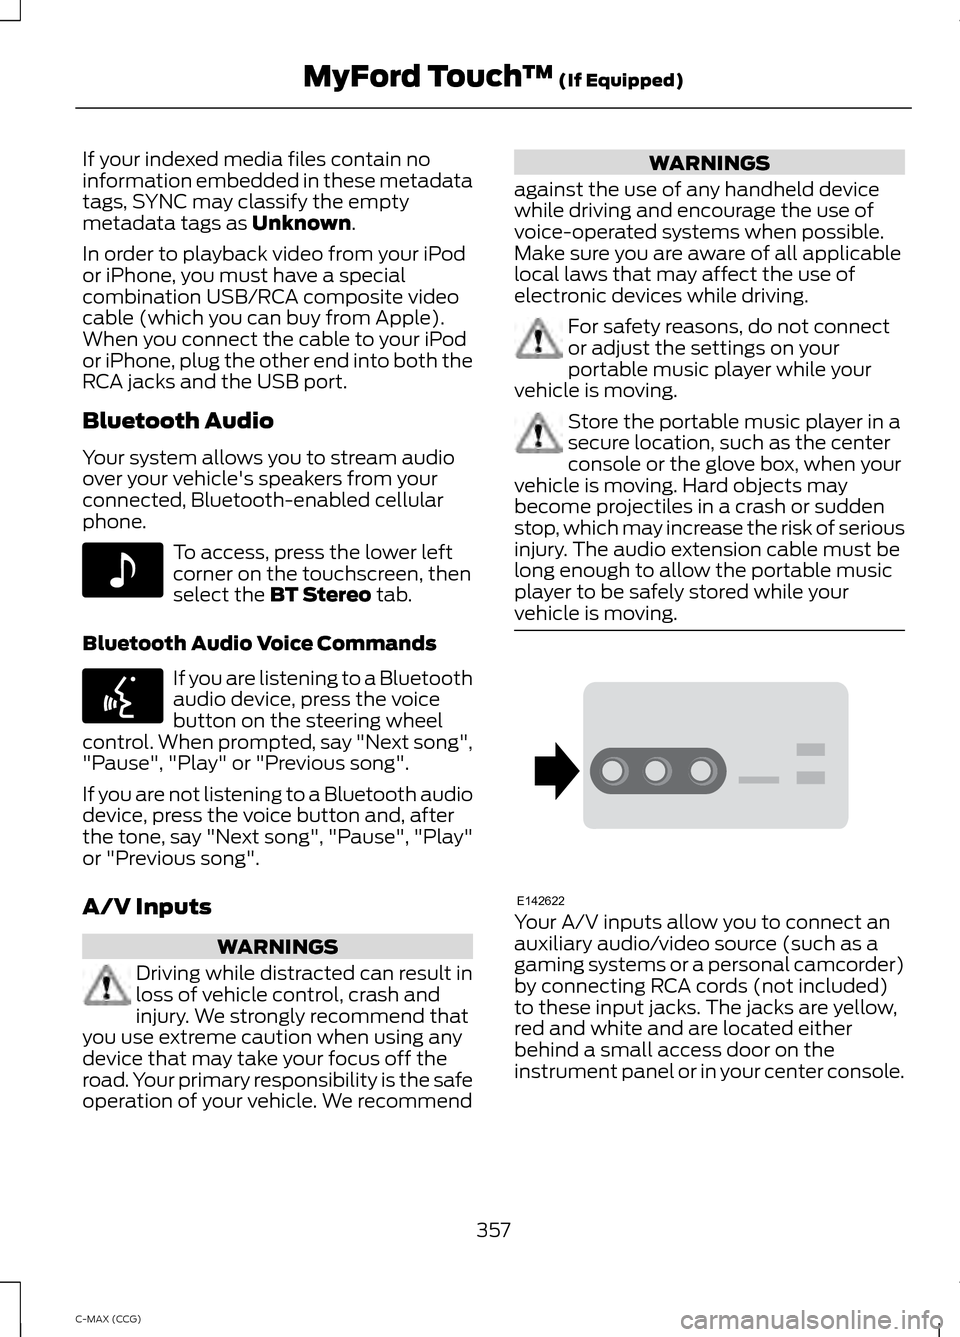
vehicle is moving. Your A/V inputs allow you to connect an
auxiliary audio/video source (such as a
gaming systems or a personal camcorder)
by connecting RCA cords (not included)
to these input jacks. The jacks are yellow,
red and white and are located either
behind a small access door on the
instrument panel or in your center console.
357
C-MAX (CCG) MyFord Touch
™
(If Equipped)E142611 E142599 E142622