Page 600 of 698
, or drivetrain
damage may result.
• Revving the engine or")
CAUTION!
•When “rocking” a stuck vehicle by shifting be-
tween DRIVE and REVERSE, do not spin the
wheels faster than 15 mph (24 km/h), or drivetrain
damage may result.
• Revving the engine or spinning the wheels too fast
may lead to transmission overheating and failure.
It can also damage the tires. Do not spin the wheels
above 30 mph (48 km/h) while in gear (no trans-
mission shifting occurring).
WARNING!
Fast spinning tires can be dangerous. Forces gener-
ated by excessive wheel speeds may cause damage, or
even failure, of the axle and tires. A tire could
(Continued)
WARNING! (Continued)
explode and injure someone. Do not spin your vehi-
cle’s wheels faster than 30 mph (48 km/h) or for
longer than 30 seconds continuously without stop-
ping when you are stuck and do not let anyone near
a spinning wheel, no matter what the speed.
SHIFT LEVER OVERRIDE
If a malfunction occurs and the shift lever cannot be
moved out of the PARK position, you can use the
following procedure to temporarily move the shift lever:
1. Turn the engine OFF.
2. Firmly apply the parking brake.
3. Using a small screwdriver or similar tool, remove the
shift lever override access cover (located near the top
right of the shift lever in the instrument panel).
598 WHAT TO DO IN EMERGENCIES
Page 601 of 698
4. Press and maintain firm pressure on the brake pedal.
5. Insert the screwdriver or similar tool into the accesshole, and push and hold the override release lever
forward.
6. Move the shift lever to the NEUTRAL position.
7. The vehicle may then be started in NEUTRAL.
8. Reinstall the shift lever override access cover.
Shift Lever Override Access Cover6
WHAT TO DO IN EMERGENCIES 599
Page 605 of 698
MAINTAINING YOUR VEHICLE
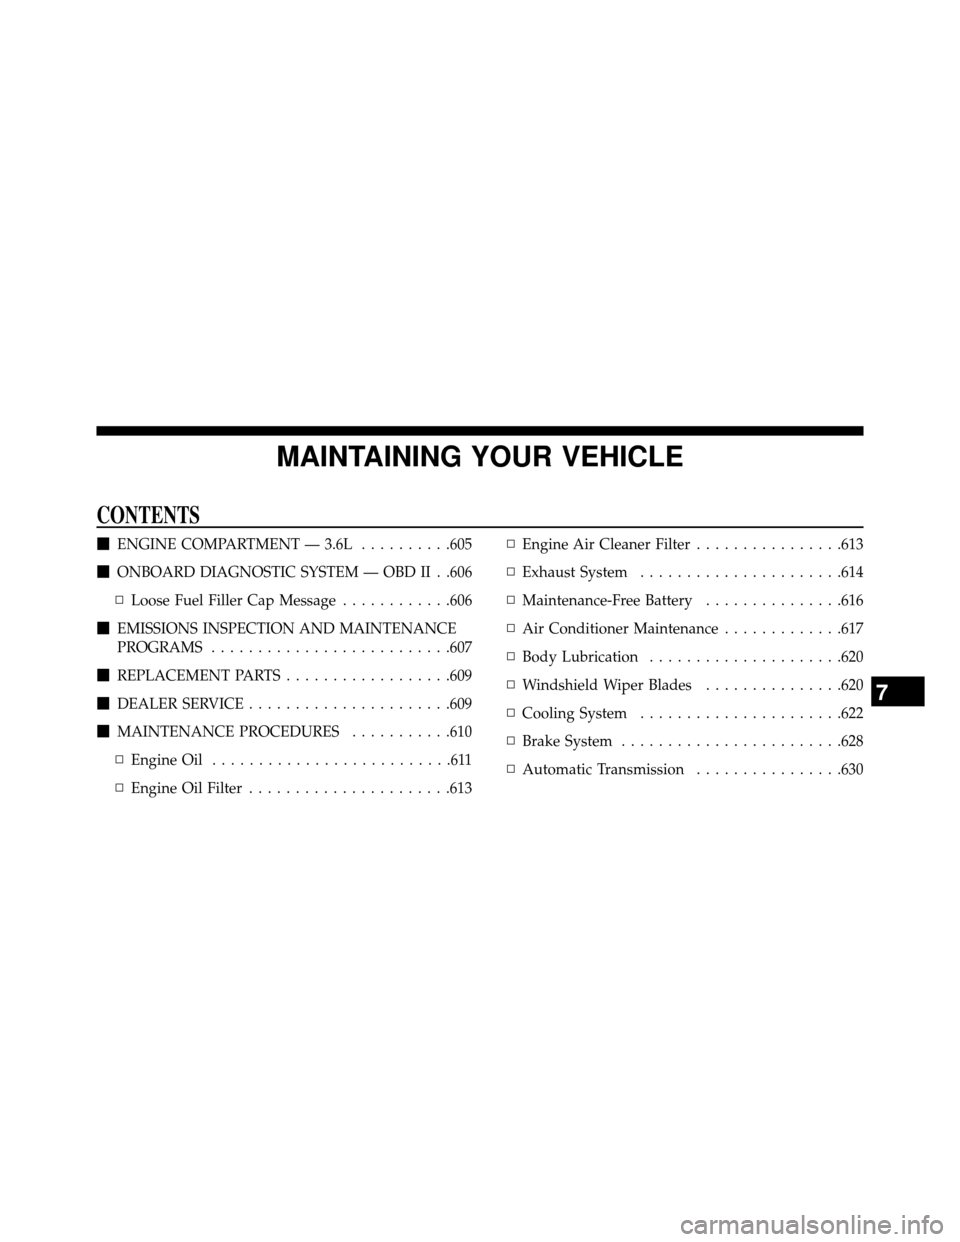
CONTENTS
�ENGINE COMPARTMENT — 3.6L ..........605
� ONBOARD DIAGNOSTIC SYSTEM — OBD II . .606
▫ Loose Fuel Filler Cap Message ............606
� EMISSIONS INSPECTION AND MAINTENANCE
PROGRAMS ..........................607
� REPLACEMENT PARTS ..................609
� DEALER SERVICE ......................609
� MAINTENANCE PROCEDURES ...........610
▫ Engine Oil ..........................611
▫ Engine Oil Filter ......................613 ▫
Engine Air Cleaner Filter ................613
▫ Exhaust System ......................614
▫ Maintenance-Free Battery ...............616
▫ Air Conditioner Maintenance .............617
▫ Body Lubrication .....................620
▫ Windshield Wiper Blades ...............620
▫ Cooling System ......................622
▫ Brake System ........................628
▫ Automatic Transmission ................630
7
Page 607 of 698
ENGINE COMPARTMENT — 3.6L
1 — Air Filter6 — Engine Coolant Reservoir
2 — Power Steering Fluid Reservoir 7 — Engine Oil Dipstick
3 — Brake Fluid Reservoir 8 — Engine Oil Fill
4 — Battery 9 — Coolant Pressure Cap
5 — Totally Integrated Power Module (Fuses) 10 — Washer Fluid Reservoir
7
MAINTAINING YOUR VEHICLE 605
Page 630 of 698
 needs to be added, the contents of the coolant
expansion bottle must also be pro")
•Check the coolant freeze point in the radiator and in
the coolant expansion bottle. If engine coolant (anti-
freeze) needs to be added, the contents of the coolant
expansion bottle must also be protected against freez-
ing.
• If frequent engine coolant (antifreeze) additions are
required, the cooling system should be pressure tested
for leaks.
•
Maintain engine coolant (antifreeze) concentration at a
minimum of 50% OAT coolant (conforming to
MS-12106) and distilled water for proper corrosion pro-
tection of your engine which contains aluminum com-
ponents.
• Make sure that the coolant expansion bottle overflow
hoses are not kinked or obstructed.
• Keep the front of the radiator clean. If your vehicle is
equipped with air conditioning, keep the front of the
condenser clean. •
Do not change the thermostat for Summer or Winter
operation. If replacement is ever necessary, install
ONLY the correct type thermostat. Other designs may
result in unsatisfactory engine coolant (antifreeze)
performance, poor gas mileage, and increased emis-
sions.
Brake System
In order to assure brake system performance, all brake
system components should be inspected periodically.
Refer to the “Maintenance Schedule” for the proper
maintenance intervals.
WARNING!
Riding the brakes can lead to brake failure and
possibly a collision. Driving with your foot resting or
riding on the brake pedal can result in abnormally
(Continued)
628 MAINTAINING YOUR VEHICLE
Page 631 of 698

high brake temperatures, excessive lining wear, and
possible brake damage. You would not have your full
braking capacity in an emergency.
Master Cylinder — Brake Fluid Level Chec")
WARNING!(Continued)
high brake temperatures, excessive lining wear, and
possible brake damage. You would not have your full
braking capacity in an emergency.
Master Cylinder — Brake Fluid Level Check
The fluid level in the master cylinder should be checked
when performing underhood services, or immediately if
the “Brake System Warning Light” indicates system
failure.
Clean the top of the master cylinder area before removing
the cap. Add fluid to bring the level up to the top of the
“FULL” mark on the side of the master cylinder reservoir.
Overfilling of fluid is not recommended because it may
cause leaking in the system.
Add enough fluid to bring the level up to the require-
ments described on the brake fluid reservoir. With disc brakes, fluid level can be expected to fall as the brake
pads wear. However, low fluid level may be caused by a
leak and a checkup may be needed.
Use only manufacturer’s recommended brake fluid. Re-
fer to “Fluids, Lubricants, and Genuine Parts” in “Main-
taining Your Vehicle” for further information.WARNING!
•
Use only manufacturer’s recommended brake
fluid. Refer to “Fluids, Lubricants, and Genuine
Parts” in “Maintaining Your Vehicle” for further
information. Using the wrong type of brake fluid
can severely damage your brake system and/or
impair its performance. The proper type of brake
fluid for your vehicle is also identified on the
original factory installed hydraulic master cylinder
reservoir.
(Continued)
7
MAINTAINING YOUR VEHICLE 629
Page 632 of 698

•To avoid contamination from foreign matter or
moisture, use only new brake fluid or fluid that has
been in a tightly closed container. Keep the master
cylinder reservoir cap sec")
WARNING!(Continued)
•To avoid contamination from foreign matter or
moisture, use only new brake fluid or fluid that has
been in a tightly closed container. Keep the master
cylinder reservoir cap secured at all times. Brake
fluid in a open container absorbs moisture from the
air resulting in a lower boiling point. This may
cause it to boil unexpectedly during hard or pro-
longed braking, resulting in sudden brake failure.
This could result in a collision.
• Overfilling the brake fluid reservoir can result in
spilling brake fluid on hot engine parts, causing
the brake fluid to catch fire. Brake fluid can also
damage painted and vinyl surfaces, care should be
taken to avoid its contact with these surfaces.
(Continued)
WARNING! (Continued)
•Do not allow petroleum based fluid to contaminate
the brake fluid. Brake seal components could be
damaged, causing partial or complete brake failure.
This could result in a collision.
Automatic Transmission
Selection Of Lubricant
It is important to use the proper transmission fluid to
ensure optimum transmission performance and life. Use
only the manufacturer’s specified transmission fluid.
Refer to “Fluids, Lubricants, and Genuine Parts” in this
section for fluid specifications. It is important to maintain
the transmission fluid at the correct level using the
recommended fluid. No chemical flushes should be used
in any transmission; only the approved lubricant should
be used.
630 MAINTAINING YOUR VEHICLE
Page 637 of 698

To remove heavy soil and/or excessive brake dust, use
MOPAR® Wheel Cleaner or equivalent or select a non-
abrasive, non-acidic cleaner.
•For chrome wheels, use MOPAR® Chrome Cleaner
(Part#04318013) or equivalent.
• For aluminum wheels, use MOPAR® Wheel Cleaner
(Part# 04796239AB) or equivalent.
CAUTION!
Do not use scouring pads, steel wool, a bristle brush,
or metal polishes. Do not use oven cleaner. These
products may damage the wheel’s protective finish.
Avoid automatic car washes that use acidic solutions
or harsh brushes that may damage the wheel’s pro-
tective finish. Only MOPAR® Wheel Cleaner or
equivalent is recommended.
Stain Repel Fabric Cleaning Procedure — If
Equipped
Stain Repel seats may be cleaned in the following man-
ner:
• Remove as much of the stain as possible by blotting
with a clean, dry towel.
• Blot any remaining stain with a clean, damp towel.
• For tough stains, apply MOPAR® Total Clean, or a
mild soap solution to a clean, damp cloth and remove
stain. Use a fresh, damp towel to remove soap residue.
• For grease stains, apply MOPAR® Multi-Purpose
Cleaner to a clean, damp cloth and remove stain. Use
a fresh, damp towel to remove soap residue.
• Do not use any harsh solvents or any other form of
protectants on Stain Repel products.
7
MAINTAINING YOUR VEHICLE 635