Page 205 of 656
To hear the first available Menu, press the Voice Com-
mand
button and say “Help” or “Main Menu”.
Commands
The Voice Command system understands two types of
commands, Universal commands and Local commands.
Universal commands are available at all times. Local
commands are available if the supported radio mode is
active.
Changing The Volume
1. Start a dialogue by pressing the Voice Command
button.
2. Say a command (e.g., “Help”).
3.
Use the ON/OFF VOLUME rotary knob to adjust the
volume to a comfortable level while the Voice Command
system is speaking. Please note the volume setting for
Voice Command is different than the audio system.
Main Menu
Start a dialogue by pressing the Voice Command
button. You may say “Main Menu” to switch to
the main menu.
In this mode, you can say the following commands:
• “Radio AM” (to switch to the radio AM mode)
• “Radio FM” (to switch to radio FM mode)
• “Sat” (to switch to Satellite radio mode)
• “Disc” (to switch to the disc mode)
• “USB” (to switch to USB mode)
• “Bluetooth Streaming” (to switch to Bluetooth®
Streaming mode)
• “Memo” (to switch to the memo recorder)
• “System Setup” (to switch to system setup)3
UNDERSTANDING THE FEATURES OF YOUR VEHICLE 203
Page 380 of 656
Press and hold the INFO button again for three seconds
to return to�elapsed time� display.
Operation Instructions — Auxiliary Mode
The auxiliary (AUX) jack is an audio input jack which
allows the user to plug in a portable device such as an MP3
player and utilize the vehicle’s audio system to amplify the
source and play through the vehicle speakers.
Pressing the PLAYER button will change the mode to
auxiliary device if the AUX jack is connected.
NOTE:
•
The head unit will have no control of the AUX device. You
can only control the volume on the head unit. No infor-
mation about the song will be displayed.
•The AUX device must be turned on and the device’s
volume set to the proper level. If the AUX audio is not
loud enough, turn the device’s volume up. If the AUX
audio sounds distorted, turn the device’s volume down
and radio volume up.
Operation Instructions — Universal Serial Bus
(USB)
The USB audio input allows the user to plug in a flash
drive and utilize the vehicle’s audio system to amplify
the source and play through the vehicle speakers.
Pressing the PLAYER button will change the mode to
USB when an iPod® or external USB drive is connected.
Pressing the ENTER/BROWSE button while in USB
mode will bring up a list of available categories within
the USB. The categories will consist of: Playlists, Artist,
Album, Genre, Audiobooks, Podcasts and all Songs..
Browsing through the categories will function the same
as iPod® browse. USB will not have folder browsing.
If the USB connected does not have any audio files and
the user selects USB as the device to play audio the screen
will display, “No audio files found.” This messaged is to
be displayed for all devices that do not have audio files
when connected and selected.
378 UNDERSTANDING YOUR INSTRUMENT PANEL
Page 382 of 656
CD Player Operating Instructions
Loading
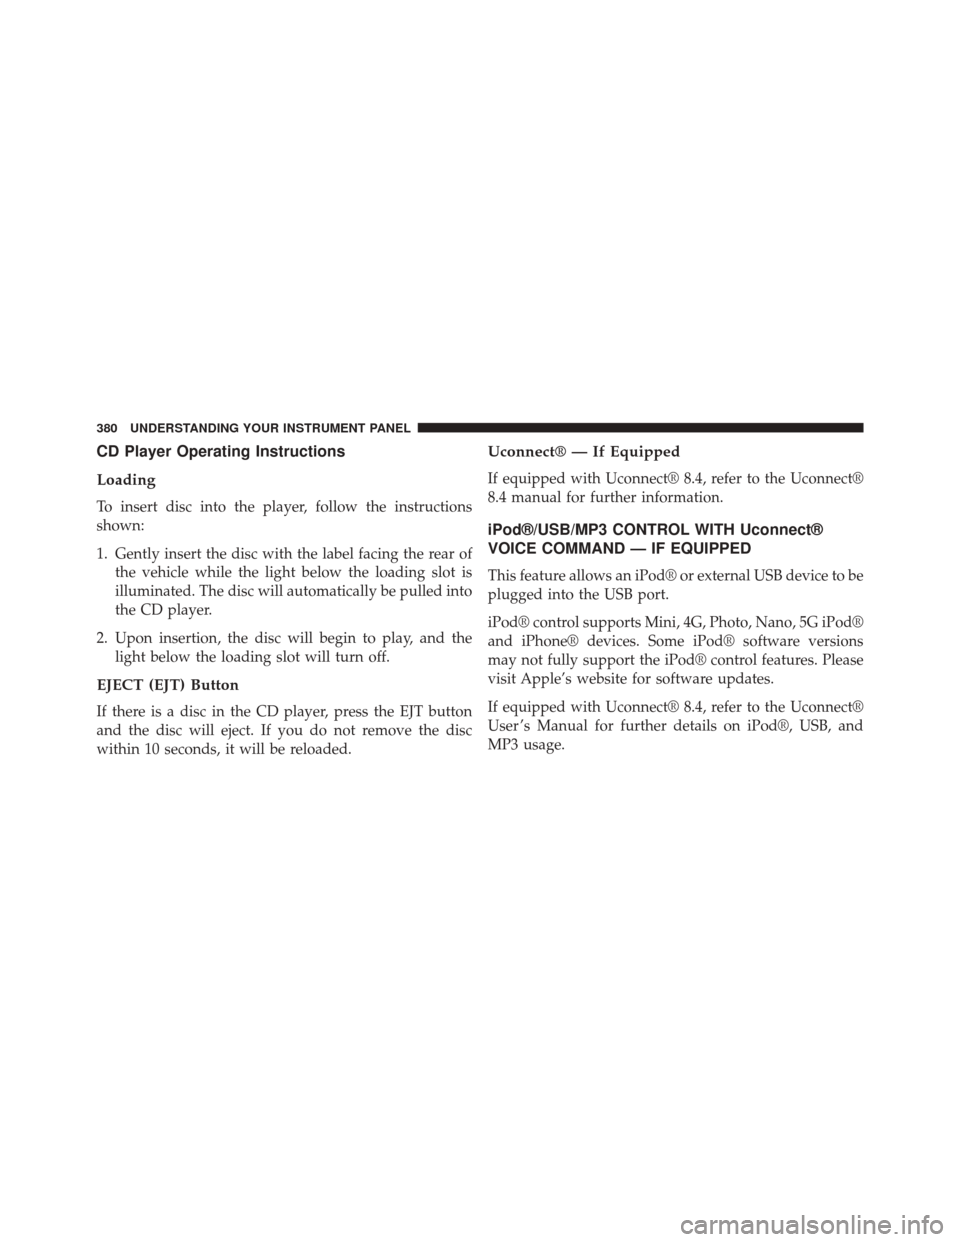
To insert disc into the player, follow the instructions
shown:
1. Gently insert the disc with the label facing the rear ofthe vehicle while the light below the loading slot is
illuminated. The disc will automatically be pulled into
the CD player.
2. Upon insertion, the disc will begin to play, and the light below the loading slot will turn off.
EJECT (EJT) Button
If there is a disc in the CD player, press the EJT button
and the disc will eject. If you do not remove the disc
within 10 seconds, it will be reloaded.
Uconnect® — If Equipped
If equipped with Uconnect® 8.4, refer to the Uconnect®
8.4 manual for further information.
iPod®/USB/MP3 CONTROL WITH Uconnect®
VOICE COMMAND — IF EQUIPPED
This feature allows an iPod® or external USB device to be
plugged into the USB port.
iPod® control supports Mini, 4G, Photo, Nano, 5G iPod®
and iPhone® devices. Some iPod® software versions
may not fully support the iPod® control features. Please
visit Apple’s website for software updates.
If equipped with Uconnect® 8.4, refer to the Uconnect®
User ’s Manual for further details on iPod®, USB, and
MP3 usage.
380 UNDERSTANDING YOUR INSTRUMENT PANEL
Page 383 of 656
Connecting The iPod® Or External USB Device
Use the connection cable to connect an iPod® or external
USB device to the vehicle’s USB/AUX connector port
which is located in the center console.
Center Console USB/AUX Connector Port
Center Console USB/AUX Connector Port Cable Routing
4
UNDERSTANDING YOUR INSTRUMENT PANEL 381
Page 384 of 656
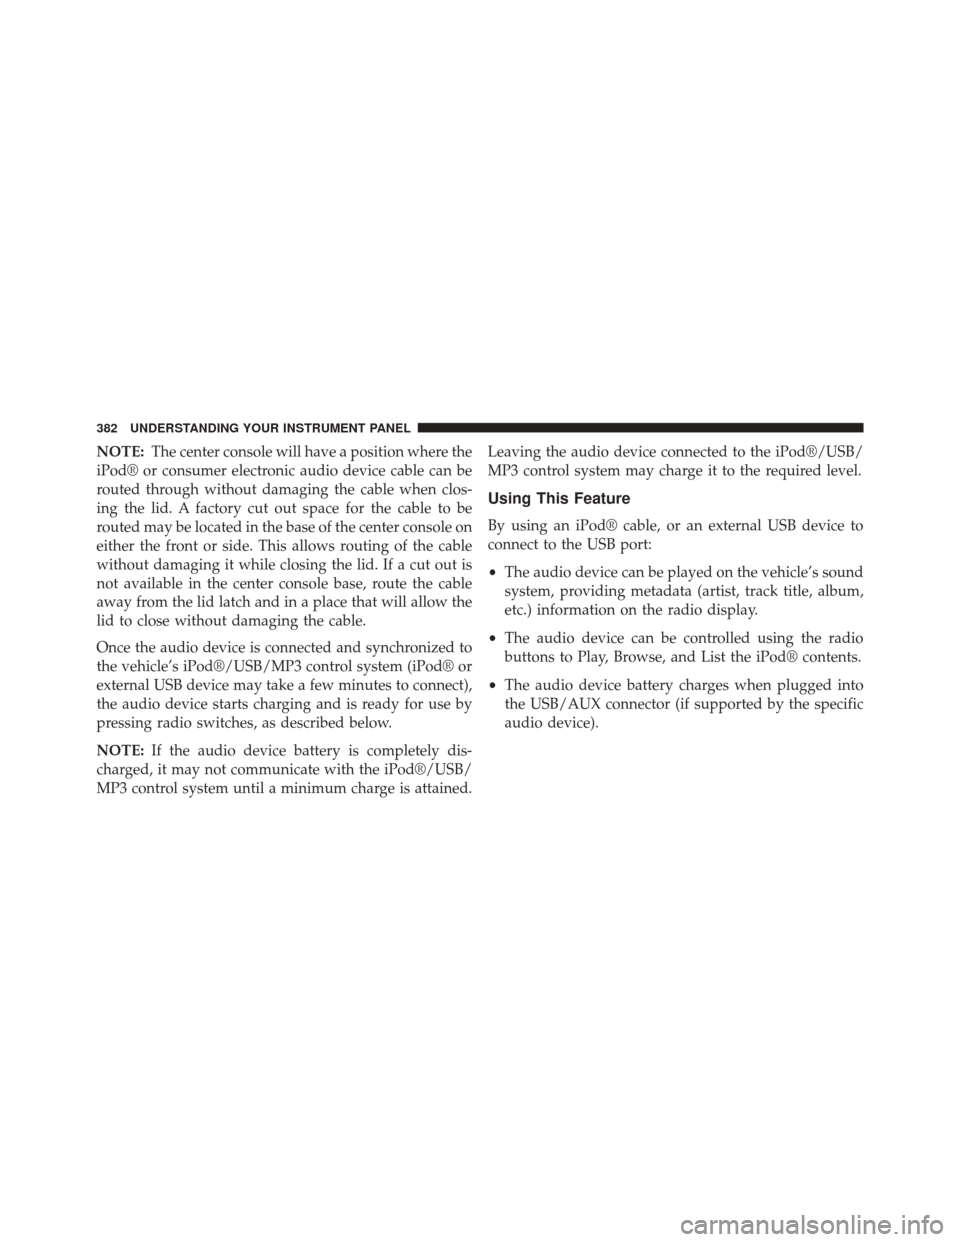
NOTE:The center console will have a position where the
iPod® or consumer electronic audio device cable can be
routed through without damaging the cable when clos-
ing the lid. A factory cut out space for the cable to be
routed may be located in the base of the center console on
either the front or side. This allows routing of the cable
without damaging it while closing the lid. If a cut out is
not available in the center console base, route the cable
away from the lid latch and in a place that will allow the
lid to close without damaging the cable.
Once the audio device is connected and synchronized to
the vehicle’s iPod®/USB/MP3 control system (iPod® or
external USB device may take a few minutes to connect),
the audio device starts charging and is ready for use by
pressing radio switches, as described below.
NOTE: If the audio device battery is completely dis-
charged, it may not communicate with the iPod®/USB/
MP3 control system until a minimum charge is attained. Leaving the audio device connected to the iPod®/USB/
MP3 control system may charge it to the required level.
Using This Feature
By using an iPod® cable, or an external USB device to
connect to the USB port:
•
The audio device can be played on the vehicle’s sound
system, providing metadata (artist, track title, album,
etc.) information on the radio display.
• The audio device can be controlled using the radio
buttons to Play, Browse, and List the iPod® contents.
• The audio device battery charges when plugged into
the USB/AUX connector (if supported by the specific
audio device).
382 UNDERSTANDING YOUR INSTRUMENT PANEL
Page 388 of 656
CAUTION!
•Leaving the iPod® or external USB device (or any
supported device) anywhere in the vehicle in ex-
treme heat or cold can alter the operation or dam-
age the device. Follow the device manufacturer ’s
guidelines.
• Placing items on the iPod® or external USB device,
or connections to the iPod® or external USB device
in the vehicle, can cause damage to the device
and/or to the connectors.
WARNING!
Do not plug in or remove the iPod® or external USB
device while driving. Failure to follow this warning
could result in an accident.
Bluetooth® Streaming Audio (BTSA)
Music can be streamed from your cellular phone to the
Uconnect® phone system.
Controlling BTSA Using Radio Buttons
To enter BTSA mode, press either “AUX” button on the
radio or press the VR button and say “Bluetooth Stream-
ing Audio.”
Play Mode
When switched to BTSA mode, some audio devices can
start playing music over the vehicle’s audio system, but
some devices require the music to be initiated on the
device first, then it will get streamed to the Uconnect®
phone system. Seven devices can be paired to the
Uconnect® phone system, but just one can be selected
and played.
386 UNDERSTANDING YOUR INSTRUMENT PANEL