2014 DODGE CHARGER wheel
[x] Cancel search: wheelPage 70 of 148

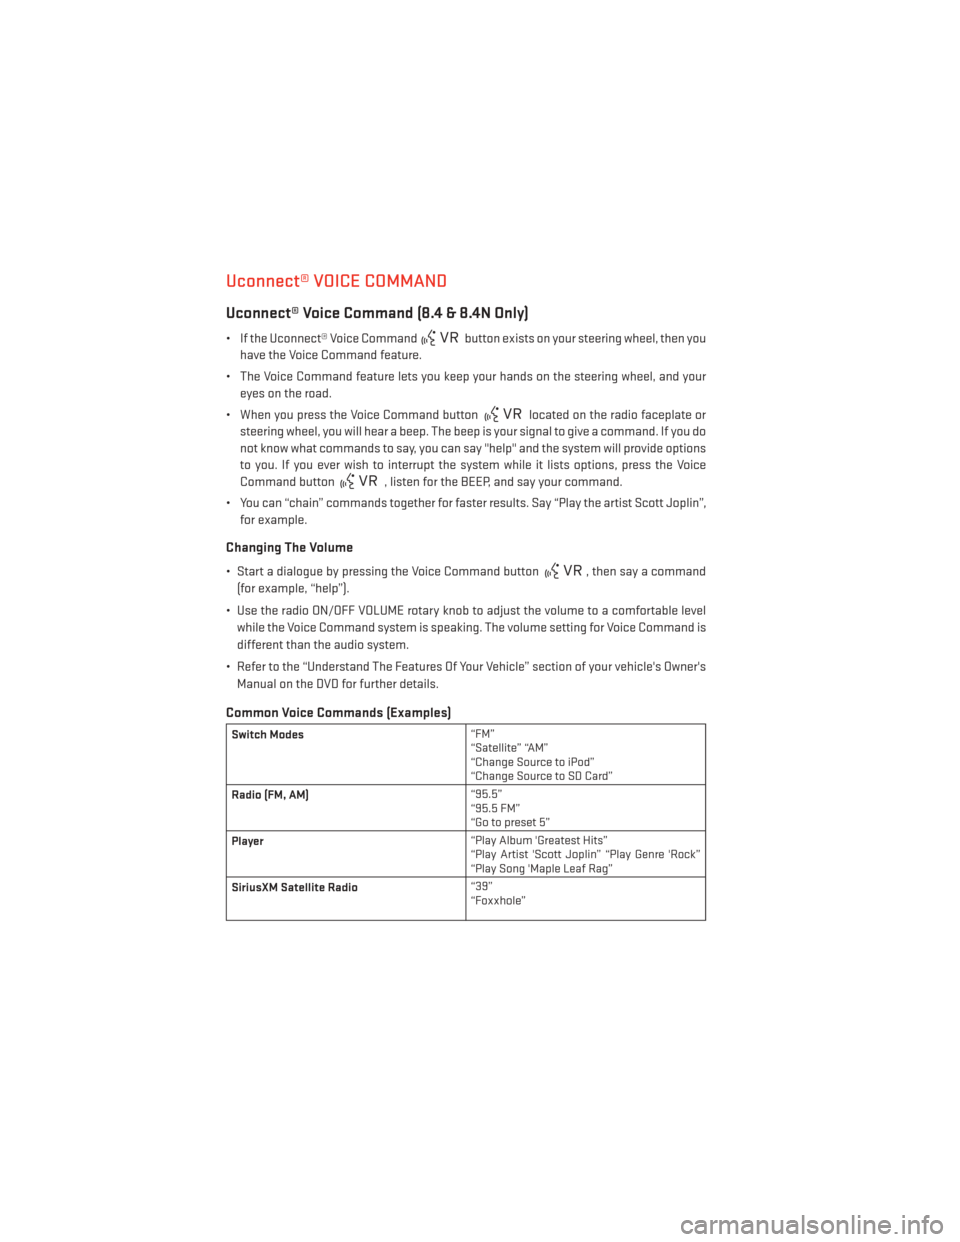
Uconnect® VOICE COMMAND
Uconnect® Voice Command (8.4 & 8.4N Only)
• If the Uconnect® Voice Commandbutton exists on your steering wheel, then you
have the Voice Command feature.
• The Voice Command feature lets you keep your hands on the steering wheel, and your eyes on the road.
• When you press the Voice Command button
located on the radio faceplate or
steering wheel, you will hear a beep. The beep is your signal to give a command. If you do
not know what commands to say, you can say "help" and the system will provide options
to you. If you ever wish to interrupt the system while it lists options, press the Voice
Command button
, listen for the BEEP, and say your command.
• You can “chain” commands together for faster results. Say “Play the artist Scott Joplin”, for example.
Changing The Volume
• Start a dialogue by pressing the Voice Command button, then say a command
(for example, “help”).
• Use the radio ON/OFF VOLUME rotary knob to adjust the volume to a comfortable level while the Voice Command system is speaking. The volume setting for Voice Command is
different than the audio system.
• Refer to the “Understand The Features Of Your Vehicle” section of your vehicle's Owner's Manual on the DVD for further details.
Common Voice Commands (Examples)
Switch Modes “FM”
“Satellite” “AM”
“Change Source to iPod”
“Change Source to SD Card”
Radio (FM, AM) “95.5”
“95.5 FM”
“Go to preset 5”
Player “Play Album 'Greatest Hits”
“Play Artist 'Scott Joplin” “Play Genre 'Rock”
“Play Song 'Maple Leaf Rag”
SiriusXM Satellite Radio “39”
“Foxxhole”
ELECTRONICS
68
Page 72 of 148

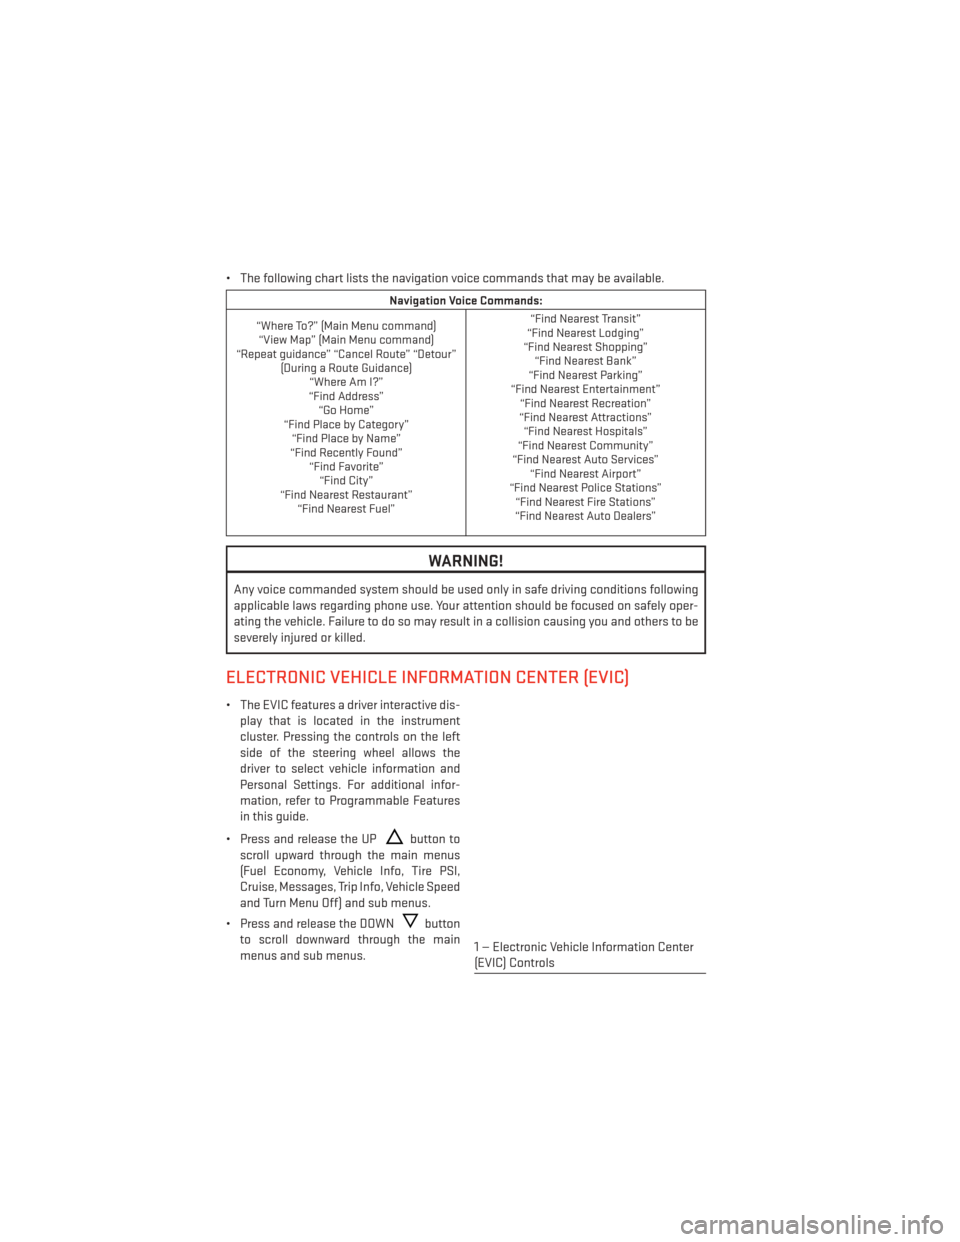
• The following chart lists the navigation voice commands that may be available.
Navigation Voice Commands:
“Where To?” (Main Menu command) “View Map” (Main Menu command)
“Repeat guidance” “Cancel Route” “Detour” (During a Route Guidance)“Where Am I?”
“Find Address” “Go Home”
“Find Place by Category” “Find Place by Name”
“Find Recently Found” “Find Favorite”“Find City”
“Find Nearest Restaurant” “Find Nearest Fuel” “Find Nearest Transit”
“Find Nearest Lodging”
“Find Nearest Shopping” “Find Nearest Bank”
“Find Nearest Parking”
“Find Nearest Entertainment” “Find Nearest Recreation”
“Find Nearest Attractions” “Find Nearest Hospitals”
“Find Nearest Community”
“Find Nearest Auto Services” “Find Nearest Airport”
“Find Nearest Police Stations” “Find Nearest Fire Stations”
“Find Nearest Auto Dealers”
WARNING!
Any voice commanded system should be used only in safe driving conditions following
applicable laws regarding phone use. Your attention should be focused on safely oper-
ating the vehicle. Failure to do so may result in a collision causing you and others to be
severely injured or killed.
ELECTRONIC VEHICLE INFORMATION CENTER (EVIC)
• The EVIC features a driver interactive dis-
play that is located in the instrument
cluster. Pressing the controls on the left
side of the steering wheel allows the
driver to select vehicle information and
Personal Settings. For additional infor-
mation, refer to Programmable Features
in this guide.
• Press and release the UP
button to
scroll upward through the main menus
(Fuel Economy, Vehicle Info, Tire PSI,
Cruise, Messages, Trip Info, Vehicle Speed
and Turn Menu Off) and sub menus.
• Press and release the DOWN
button
to scroll downward through the main
menus and sub menus.
1 — Electronic Vehicle Information Center
(EVIC) Controls
ELECTRONICS
70
Page 79 of 148

TRAILER TOWING WEIGHTS (MAXIMUM TRAILER WEIGHT
RATINGS)
Engine/
Transmission Frontal Area Max. GTW
(Gross Trailer Wt.) Max. Tongue Wt.
(See Note)
3.6L Automatic 22 sq ft (2.04 sq m) 1,000 lbs (454 kg) 100 lbs (45 kg)
5.7L Automatic 32 sq ft (2.97 sq m) 1,000 lbs (454 kg) 100 lbs (45 kg)
Refer to local laws for maximum trailer towing speeds
RECREATIONAL TOWING (BEHIND MOTORHOME, ETC.)
Two-Wheel Drive And All-Wheel Drive
• Recreational towing (with all four wheels on the ground, or using a tow dolly) is NOT
ALLOWED. The only acceptable method for towing this vehicle (behind another vehicle) is
on a vehicle trailer with all four wheels OFFthe ground.
CAUTION!
Towing this vehicle in violation of the above requirements can cause severe transmis-
sion and/or transfer case damage. Such damage is not covered by the New Vehicle
Limited Warranty.
UTILITY
77
Page 80 of 148

AUTOSTICK®
Steering Wheel Mounted Paddle Shifters Or Console Mounted Shifter
• AutoStick® is a driver-interactive trans-
mission feature that offers manual gear
shifting to provide you with more control
of the vehicle. AutoStick® allows you to
maximize engine braking, and improve
overall vehicle performance.
• This system can also provide you with more control during passing, city driving,
cold slippery conditions, mountain driv-
ing, trailer towing, and many other
situations.
Operation
• When the shift lever is in the DRIVE posi-tion, the transmission will operate auto-
matically, shifting between the five avail-
able gears. To engage AutoStick®, simply move the shift lever to the right or left (+/-)
while in the DRIVE position, or press one of the steering wheel mounted shift paddles
(+/-). When AutoStick® is active, the current transmission gear is displayed in the
Electronic Vehicle Information Center (EVIC) portion of the instrument cluster. In
AutoStick® mode, the transmission will shift when manually selected by the driver (using
the shift lever, or the shift paddles), unless an engine lugging or overspeed condition
would result. It will remain in the selected gear until another upshift or downshift is
chosen, except as described below:• The transmission will automatically downshift as the vehicle slows (to prevent engine
lugging) and will display the current gear.
• The transmission will automatically downshift to first gear when coming to a stop.
• You can start out in first or second gear. Tapping (+) (at a stop) will allow starting in second gear. Starting out in second gear is helpful in snowy or icy conditions.
• The system will ignore attempts to upshift at too low of a vehicle speed.
•
Transmission shifting will be more noticeable when AutoStick® is engaged. To disengage
AutoStick® mode, hold the shift lever to the right or press and hold the (+) shift paddle until
“D” is once again displayed in the instrument cluster. You can shift in or out of the
AutoStick® mode at any time without taking your foot off the accelerator pedal.
SRT
78
Page 85 of 148

SUMMER/THREE-SEASON TIRES
• This vehicle may be equipped with wheels and tires to enhance traction in both wet anddry conditions.
• Summer tires are not intended to be driven in snow or on ice.
• Summer tires have significantly reduced grip in temperatures below 50°F (10°C)
• Use summer tires only in sets of four.
NOTE:
Summer tires will not contain the all season designation or mountain/snowflake symbol on
the sidewall of the tire.
WARNING!
Do not use summer tires in snow/ice conditions. You could lose control, resulting in
severe injury or death. Driving too fast for conditions also creates the possibility of loss
of vehicle control.
SRT
83
Page 87 of 148

NOTE:
AFTER INFLATION, THE VEHICLE MAY NEED TO BE DRIVEN FOR 20 MINUTES BEFORE THE
FLASHING LIGHT WILL TURN OFF.
Please note that the TPMS is not a substitute for proper tire maintenance, and it is the
driver’s responsibility to maintain correct tire pressure, even if under-inflation has not
reached the level to trigger illumination of the TPMS low tire pressure telltale.
Your vehicle has also been equipped with a TPMS malfunction indicator to indicate when
the system is not operating properly. The TPMS malfunction indicator is combined with the
low tire pressure telltale.
When the system detects a malfunction, the telltale will flash for approximately one minute
and then remain continuously illuminated. This sequence will continue upon subsequent
vehicle start-ups as long as the malfunction exists. When the malfunction indicator is
illuminated, the system may not be able to detect or signal low tire pressure as intended.
TPMS malfunctions may occur for a variety of reasons, including the installation of replace-
ment or alternate tires or wheels on the vehicle that prevent the TPMS from functioning
properly. Always check the TPMS malfunction telltale after replacing one or more tires or
wheels on your vehicle to ensure that the replacement or alternate tires and wheels allow
the TPMS to continue to function properly.
NOTE:
Tire pressures change by approximately 1 psi (7 kPa) per 12° F (7° C) of air temperature
change. Keep this in mind when checking tire pressure inside a garage, especially in the
Winter. Example: If garage temperature is 68°F (20°C) and the outside temperature is 32°F
(0°C), then the cold tire inflation pressure should be increased by 3 psi (21 kPa), which equals
1 psi (7 kPa) for every 12°F (7°C) for this outside temperature condition.
CAUTION!
The TPMS has been optimized for the original equipment tires and wheels. TPMS
pressures and warning have been established for the tire size equipped on your vehicle.
Undesirable system operation or sensor damage may result when using replacement
equipment that is not of the same size, type, and/or style. Aftermarket wheels can cause
sensor damage. Do not use tire sealant from a can, or balance beads if your vehicle is
equipped with a TPMS, as damage to the sensors may result.
- Engine Temperature Warning Light
This light warns of an overheated engine condition.
If the light turns on or flashes continuously while driving, safely pull over and stop the
vehicle. If the A/C system is on, turn it off. Also, shift the transmission into NEUTRAL and
idle the vehicle. If the temperature reading does not return to normal, turn the engine off
immediately.
We recommend that you do not operate the vehicle or engine damage will occur. Have the
vehicle serviced immediately.
WHAT TO DO IN EMERGENCIES
85
Page 92 of 148

3. Remove the fastener securing the spare tire.
4. Remove the spare tire.
5. Remove the fastener securing the jack.
6. Remove the scissors jack and lug wrenchfrom the spare wheel as an assembly.
Turn the jack screw to the left to loosen
the lug wrench, and remove the wrench
from the jack assembly.
WHAT TO DO IN EMERGENCIES
90
Page 93 of 148

Preparations For Jacking
1. Park the vehicle on a firm, level surface as far from the edge of the roadway as possible.Avoid icy or slippery areas.
2. Turn on the Hazard Warning flasher.
3. Set the parking brake.
4. Place the shift lever into PARK.
5. Turn OFF the ignition.
6. Block the front and rear of the wheel diagonally opposite of the jacking position. For example, if changing the right front tire, block the left rear wheel.
NOTE:
Passengers should not remain in the vehicle
when the vehicle is being jacked.
Jacking And Changing A Tire
1. Remove the spare tire, jack, and lug wrench.
2. If equipped with aluminum wheels where the center cap covers the lug nuts, use
the lug wrench to pry the center cap off
carefully before raising the vehicle.
3. Before raising the vehicle, use the lug wrench to loosen, but not remove, the lug
nuts on the wheel with the flat tire. Turn
the lug nuts counterclockwise one turn
while the wheel is still on the ground.
4. Place the jack underneath the lift area that is closest to the flat tire. Turn the jack screw clockwise to firmly engage the jack saddle with the lift area of the sill flange.
Wheel Blocked
WHAT TO DO IN EMERGENCIES
91