Page 211 of 260
9.47
09
JUMPY-ATLANTE-VP_EN_CHAP09B_RT6-2-7_ED01-2014
MUSIC MEDIA PLAYERS
USING THE AUXILIARY INPUT (AUX)
JACK AUDIO/USB CABLE NOT SUPPLIED
Connect the portable device (MP3, WMA player…) to the JACK auxiliary audio socket or USB port using a suitable cable.
Press MUSIC to display the " MUSIC " menu.
Select " Activate / Deactivate AUX input " and confi rm.
First adjust the volume of your portable device (to a high level). Then adjust the volume of your audio system.
Display and management of the controls are via the portable device.
Page 212 of 260
9.48
10
JUMPY-ATLANTE-VP_EN_CHAP09B_RT6-2-7_ED01-2014
CONFIGURATION
Press SETUP to display the " Confi guration " menu.
Select " Choose colour " and confi rm to Choose colour " and confi rm to Choose colourselect the screen colour harmony and the map presentation mode:
- day mode,
- night mode,
- automatic day/night mode, according to whether the headlamps are on.
Select " Adjust luminosity " and confi rm to adjust the screen brightness.
Press " OK " to save the changes.
The settings for day and night are independent.
Select " Display confi guration " and confi rm.
DISPLAY CONFIGURATION
Page 213 of 260
9.49
10
JUMPY-ATLANTE-VP_EN_CHAP09B_RT6-2-7_ED01-2014
CONFIGURATION
SETTING THE DATE AND TIME
Select the setting to adjust.
Confi rm by pressing OK , then adjust the setting and confi rm again to save the modifi cation.
Press SETUP to display the " Confi guration " menu.
Adjust the settings one by one.
Then select " OK " on the screen and confi rm to save the settings.
Select " Synchronize the minutes with GPS " so that setting the minutes is done automatically by satellite reception.
Select " Display confi guration " and confi rm.
Select " Set date and time " and confi rm.
Page 215 of 260

9.51
11
JUMPY-ATLANTE-VP_EN_CHAP09B_RT6-2-7_ED01-2014
TRIP COMPUTER
TRIP COMPUTER
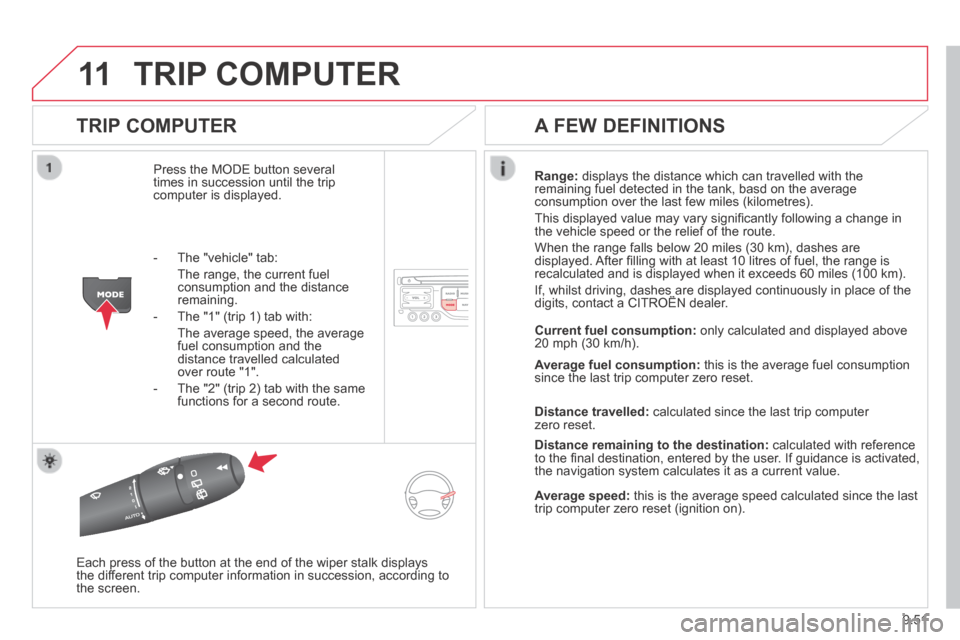
Press the MODE button several times in succession until the trip computer is displayed.
Range: displays the distance which can travelled with the remaining fuel detected in the tank, basd on the average consumption over the last few miles (kilometres).
This displayed value may vary signifi cantly following a change in the vehicle speed or the relief of the route.
When the range falls below 20 miles (30 km), dashes are displayed. After fi lling with at least 10 litres of fuel, the range is recalculated and is displayed when it exceeds 60 miles (100 km).
If, whilst driving, dashes are displayed continuously in place of the digits, contact a CITROËN dealer. If, whilst driving, dashes are displayed continuously in place of the digits, contact a CITROËN dealer. If, whilst driving, dashes are displayed continuously in place of the
Each press of the button at the end of the wiper stalk displays the different trip computer information in succession, according to the screen.
A FEW DEFINITIONS
- The "vehicle" tab:
The range, the current fuel consumption and the distance remaining.
- The "1" (trip 1) tab with:
The average speed, the average fuel consumption and the distance travelled calculated over route "1".
- The "2" (trip 2) tab with the same functions for a second route.
Current fuel consumption: only calculated and displayed above 20 mph (30 km/h).
Average fuel consumption: this is the average fuel consumption since the last trip computer zero reset.
Distance travelled: calculated since the last trip computer zero reset.
Distance remaining to the destination: calculated with reference to the fi nal destination, entered by the user. If guidance is activated, the navigation system calculates it as a current value.
Average speed: this is the average speed calculated since the last trip computer zero reset (ignition on).
Page 217 of 260
9.53
12
JUMPY-ATLANTE-VP_EN_CHAP09B_RT6-2-7_ED01-2014
SCREEN MENU MAP
Select TMC station
Automatic TMC
Manual TMC
List of TMC stations
Display / Do not display
messages
"TRAFFIC" MENU
Geographic filter
Retain all the messages
Retain the messages
Around the vehicle
On the route
1
2
2
2
1
2
2
3
3
1
Dial
Directory of contacts
Call
Open
Import
"Phone" MENU
1
2
2
2
1
2
2
2
2
1
2
3
3
3
2
2
2
1
1
1
3
3
3
2
3
2
2
3
List of the paired peripherals
Connect
Disconnect
Delete
Delete all
Contact mem. status
Phone functions
Ring options
Delete calls log
Bluetooth functions
Peripherals search
Rename radiotelephone
Hang up
Display all phone contacts
Delete
Contacts management
New contact
Delete all contacts
Import all the entries
Synchronization options
Display telephone contacts
No synchronization
Display SIM card contacts
2 Cancel
2 Sort by First name/Name
3Cancel
Page 219 of 260
9.55
12
JUMPY-ATLANTE-VP_EN_CHAP09B_RT6-2-7_ED01-2014
SCREEN MENU MAP
2
3
3
1
4
2
2
1
4
4
2
2
Night mode
Auto Day/Night
Adjust luminosity
Set date and time
"SETUP" MENU
Display configuration
Choose colour
Harmony
Cartography
Day mode
Speech synthesis setting
Guidance instructions volume
Select male voice / Select female voice
2 Select units
2
3
3
2 Lighting confi guration
Parking assistance
Engage rear wiper in REVERSE
Duration of guide-me home lighting
1 Define vehicle parameters *
2 Operation of wipers
3Directional headlamps
3Mood lighting
3Daytime running lamps
* The parameters vary according to the vehicle.
2 Alert log
1 Trip computer
2 Status of functions
2 Français
1 Select language
2 English
2 Italiano
2 Portuguese
2 Español
2 Deutsch
2 Nederlands
2 Turkish
2 Polski
2 Русский
Page 221 of 260

9.57
JUMPY-ATLANTE-VP_EN_CHAP09B_RT6-2-7_ED01-2014
FREQUENTLY ASKED QUESTIONS
QUESTIONANSWERSOLUTION
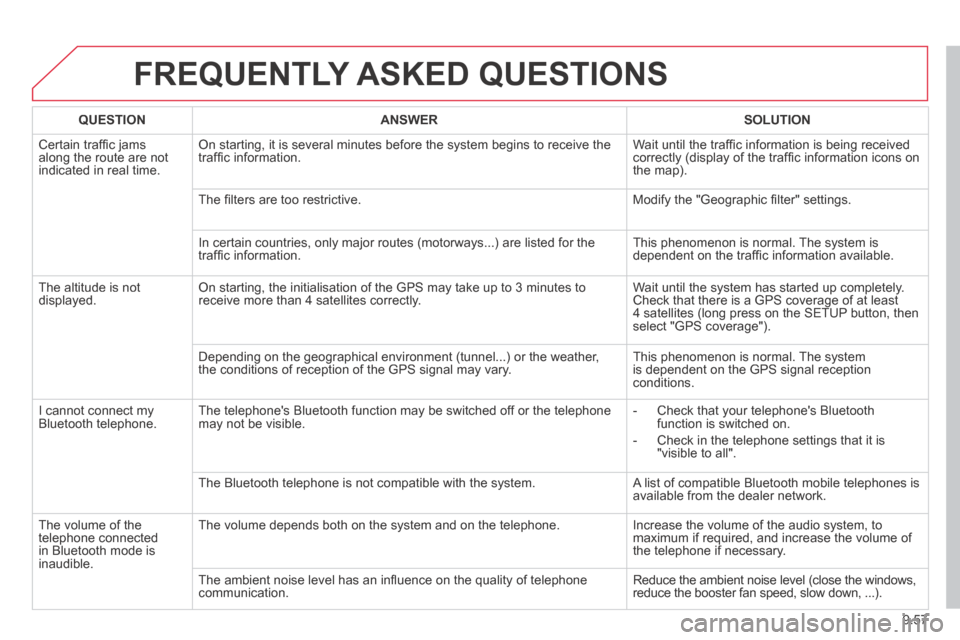
Certain traffi c jams along the route are not indicated in real time.
On starting, it is several minutes before the system begins to receive t\
he traffi c information. Wait until the traffi c information is being received correctly (display of the traffi c information icons on the map).
The fi lters are too restrictive. Modify the "Geographic fi lter" settings.
In certain countries, only major routes (motorways...) are listed for \
the traffi c information. This phenomenon is normal. The system is dependent on the traffi c information available.
The altitude is not displayed. On starting, the initialisation of the GPS may take up to 3 minutes to receive more than 4 satellites correctly. Wait until the system has started up completely. Check that there is a GPS coverage of at least 4 satellites (long press on the SETUP button, then select "GPS coverage").
Depending on the geographical environment (tunnel...) or the weather, the conditions of reception of the GPS signal may vary. This phenomenon is normal. The system is dependent on the GPS signal reception conditions.
I cannot connect my Bluetooth telephone. The telephone's Bluetooth function may be switched off or the telephone may not be visible. - Check that your telephone's Bluetooth function is switched on.
- Check in the telephone settings that it is "visible to all".
The Bluetooth telephone is not compatible with the system. A list of compatible Bluetooth mobile telephones is available from the dealer network.
The volume of the telephone connected in Bluetooth mode is inaudible.
The volume depends both on the system and on the telephone. Increase the volume of the audio system, to maximum if required, and increase the volume of the telephone if necessary.
The ambient noise level has an infl uence on the quality of telephone communication. Reduce the ambient noise level (close the windows, reduce the booster fan speed, slow down, ...).
Page 222 of 260

9.58
JUMPY-ATLANTE-VP_EN_CHAP09B_RT6-2-7_ED01-2014
FREQUENTLY ASKED QUESTIONS
QUESTIONANSWERSOLUTION
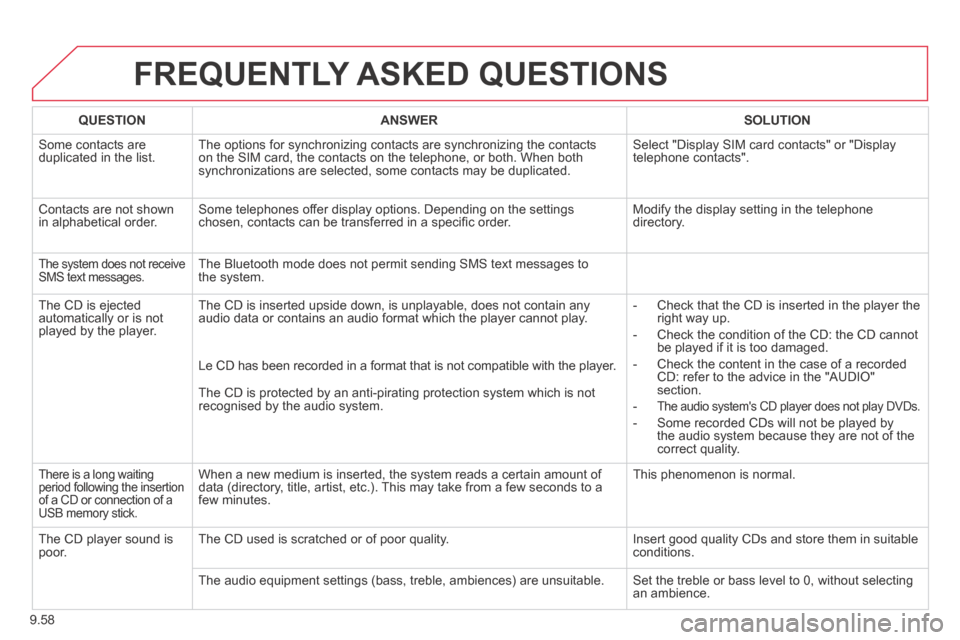
Some contacts are duplicated in the list. The options for synchronizing contacts are synchronizing the contacts on the SIM card, the contacts on the telephone, or both. When both synchronizations are selected, some contacts may be duplicated.
Select "Display SIM card contacts" or "Display telephone contacts".
Contacts are not shown in alphabetical order. Some telephones offer display options. Depending on the settings chosen, contacts can be transferred in a specifi c order. Modify the display setting in the telephone directory.
The system does not receive SMS text messages. The Bluetooth mode does not permit sending SMS text messages to the system.
The CD is ejected automatically or is not played by the player.
The CD is inserted upside down, is unplayable, does not contain any audio data or contains an audio format which the player cannot play. - Check that the CD is inserted in the player the right way up.
- Check the condition of the CD: the CD cannot be played if it is too damaged.
- Check the content in the case of a recorded CD: refer to the advice in the "AUDIO" section.
- The audio system's CD player does not play DVDs.
- Some recorded CDs will not be played by the audio system because they are not of the correct quality.
Le CD has been recorded in a format that is not compatible with the play\
er.
The CD is protected by an anti-pirating protection system which is not recognised by the audio system.
There is a long waiting period following the insertion of a CD or connection of a USB memory stick.
When a new medium is inserted, the system reads a certain amount of data (directory, title, artist, etc.). This may take from a few seconds to a few minutes.
This phenomenon is normal.
The CD player sound is poor. The CD used is scratched or of poor quality. Insert good quality CDs and store them in suitable conditions.
The audio equipment settings (bass, treble, ambiences) are unsuitable.\
Set the treble or bass level to 0, without selecting an ambience.