2014 CHRYSLER TOWN AND COUNTRY ECO mode
[x] Cancel search: ECO modePage 473 of 703
When the Fuel Economy (ECON) Mode is engaged, the
vehicle control systems will change the following:
•
The transmission will upshift sooner and downshift later.
•The transmission will skip select gears during shifts to
allow the engine to operate at lower speeds. •
The torque converter clutch may engage at lower
engine speeds and remain on longer.
• The engine idle speed will be lower.
• The overall driving performance will be more conser-
vative.
• Some ECON mode functions may be temporarily
inhibited based on temperature and other factors.
Six-Speed Automatic Transmission
The transmission gear position display (located in the
instrument cluster) indicates the transmission gear range.
You must press the brake pedal to move the shift lever
out of PARK (Refer to “Brake/Transmission Shift Inter-
lock System” in this section). To drive, move the shift
lever from PARK or NEUTRAL to the DRIVE position.
Fuel Economy Mode Switch
5
STARTING AND OPERATING 471
Page 480 of 703
4. Wait approximately 10 seconds.
5. Restart the engine.
6. Shift into the desired gear range. If the problem is nolonger detected, the transmission will return to normal
operation.
NOTE: Even if the transmission can be reset, we recom-
mend that you visit your authorized dealer at your
earliest possible convenience. Your authorized dealer has
diagnostic equipment to determine if the problem could
recur.
If the transmission cannot be reset, authorized dealer
service is required. Electronic Range Select (ERS) Operation
The Electronic Range Select (ERS) shift control allows the
driver to limit the highest available gear when the shift
lever is in the DRIVE position. For example, if you shift
the transmission into 3 (third gear), the transmission will
not shift above third gear (except to prevent engine
overspeed), but will shift down into second and first
gears normally.
You can switch between DRIVE and ERS mode at any
vehicle speed. When the shift lever is in the DRIVE
position, the transmission will operate automatically,
shifting between all available gears. Tapping the shift
lever to the left (-) will activate ERS mode, display the
current gear in the instrument cluster, and maintain that
gear as the top available gear. Once in ERS mode, tapping
the shift lever to the left (-) or right (+) will change the top
available gear.
478 STARTING AND OPERATING
Page 498 of 703
Trailer Sway Control (TSC)
TSC uses sensors in the vehicle to recognize an exces-
sively swaying trailer and will take the appropriate
actions to attempt to stop the sway. The system may
reduce engine power and apply the brake of the appro-
priate wheel(s) to counteract the sway of the trailer. TSC
will become active automatically once an excessively
swaying trailer is recognized. Note that TSC cannot stop
all trailers from swaying. Always use caution when
towing a trailer and follow the trailer tongue weight
recommendations. Refer to “Trailer Towing” in this sec-
tion for further information. When TSC is functioning,
the “ESC Activation/Malfunction Indicator Light” will
flash, the engine power may be reduced and you may
feel the brakes being applied to individual wheels to
attempt to stop the trailer from swaying. TSC is disabled
when the ESC system is in the “Partial Off” mode.
WARNING!
If TSC activates while driving, slow the vehicle
down, stop at the nearest safe location, and adjust the
trailer load to eliminate trailer sway.
Hill Start Assist (HSA)
The HSA system is designed to assist the driver when
starting a vehicle from a stop on a hill. HSA will maintain
the level of brake pressure the driver applied for a short
period of time after the driver takes their foot off of the
brake pedal. If the driver does not apply the throttle
during this short period of time, the system will release
brake pressure and the vehicle will roll down the hill. The
system will release brake pressure in proportion to the
amount of throttle applied as the vehicle starts to move in
the intended direction of travel.
496 STARTING AND OPERATING
Page 517 of 703
If you need snow tires, select tires equivalent in size and
type to the original equipment tires. Use snow tires only
in sets of four; failure to do so may adversely affect the
safety and handling of your vehicle.
Snow tires generally have lower speed ratings than what
was originally equipped with your vehicle and should
not be operated at sustained speeds over 75 mph
(120 km/h). For speeds above 75 mph (120 km/h) refer to
original equipment or an authorized tire dealer for
recommended safe operating speeds, loading and cold
tire inflation pressures.
While studded tires improve performance on ice, skid
and traction capability on wet or dry surfaces may be
poorer than that of non-studded tires. Some states pro-
hibit studded tires; therefore, local laws should be
checked before using these tire types.Run Flat Tires — If Equipped
Run Flat tires allow you the capability to drive 50 miles
(80 km) at 50 mph (80 km/h) after a rapid loss of inflation
pressure. This rapid loss of inflation is referred to as the
Run Flat mode. A Run Flat mode occurs when the tire
inflation pressure is of/or below 14 psi (96 kPa). Once a
Run Flat tire reaches the run flat mode it has limited
driving capabilities and needs to be replaced immedi-
ately. A Run Flat tire is not repairable.
It is not recommended driving a vehicle loaded at full
capacity or to tow a trailer while a tire is in the run flat
mode.
See the tire pressure monitoring section for more infor-
mation.
5
STARTING AND OPERATING 515
Page 537 of 703
E-85 Usage In Non-Flex Fuel Vehicles
Non-Flex Fuel Vehicles (FFV) are compatible with gasoline
containing 10% ethanol (E10). Gasoline with higher ethanol
content may void the New Vehicle Limited Warranty.
If a Non-FFV vehicle is inadvertently fueled with E-85
fuel, the engine will have some or all of these symptoms:
•Operate in a lean mode.
• OBD II “Malfunction Indicator Light” on.
• Poor engine performance.
• Poor cold start and cold drivability.
• Increased risk for fuel system component corrosion.
To fix a Non-FFV vehicle inadvertently fueled once with
E-85 perform the following:
• Drain the fuel tank (see your authorized dealer).
• Change the engine oil and oil filter. •
Disconnect and reconnect the battery to reset the
engine controller memory.
More extensive repairs will be required for prolonged
exposure to E-85 fuel.MMT In Gasoline
Methylcyclopentadienyl Manganese Tricarbonyl (MMT)
is a manganese-containing metallic additive that is
blended into some gasoline to increase octane. Gasoline
blended with MMT provides no performance advantage
beyond gasoline of the same octane number without
MMT. Gasoline blended with MMT reduces spark plug
life and reduces emissions system performance in some
vehicles. The manufacturer recommends that gasoline
without MMT be used in your vehicle. The MMT content
of gasoline may not be indicated on the gasoline pump,
therefore, you should ask your gasoline retailer whether
the gasoline contains MMT. MMT is prohibited in Federal
and California reformulated gasoline.
5
STARTING AND OPERATING 535
Page 565 of 703
HAZARD WARNING FLASHERS
The Hazard Warning flasher switch is located in the
lower center area of the instrument panel.Press the switch to turn on the Hazard Warning
flasher. When the switch is activated, all direc-
tional turn signals will flash on and off to warn oncoming
traffic of an emergency. Press the switch a second time to
turn off the Hazard Warning flashers.
This is an emergency warning system and it should not
be used when the vehicle is in motion. Use it when your
vehicle is disabled and it is creating a safety hazard for
other motorists.
When you must leave the vehicle to seek assistance, the
Hazard Warning flashers will continue to operate even
though the ignition is placed in the OFF position.
NOTE: With extended use the Hazard Warning flashers
may wear down your battery.
IF YOUR ENGINE OVERHEATS
In any of the following situations, you can reduce the
potential for overheating by taking the appropriate action.
• On the highways — slow down.
• In city traffic — while stopped, place the transmission
in NEUTRAL, but do not increase engine idle speed.
NOTE: There are steps that you can take to slow down
an impending overheat condition:
• If your air conditioner (A/C) is on, turn it off. The A/C
system adds heat to the engine cooling system and
turning the A/C off can help remove this heat.
• You can also turn the temperature control to maximum
heat, the mode control to floor and the blower control
to high. This allows the heater core to act as a
supplement to the radiator and aids in removing heat
from the engine cooling system.
6
WHAT TO DO IN EMERGENCIES 563
Page 573 of 703
(C) Injecting TIREFIT Sealant Into The Deflated
Tire:
•Always start the engine before turning ON the TIRE-
FIT kit.
NOTE: Manual transmission vehicles must have the
parking brake engaged and the shift lever in NEUTRAL.
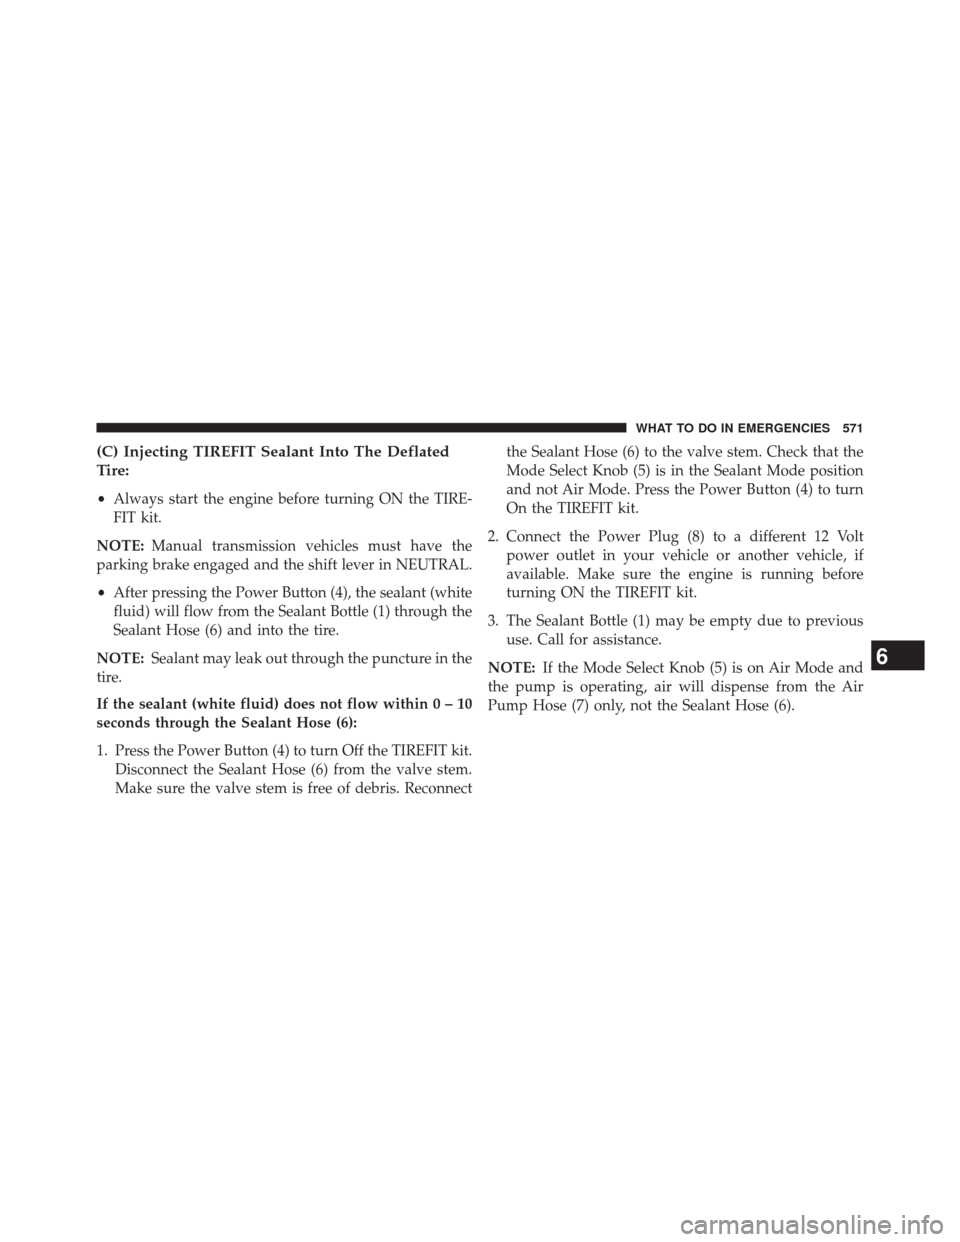
• After pressing the Power Button (4), the sealant (white
fluid) will flow from the Sealant Bottle (1) through the
Sealant Hose (6) and into the tire.
NOTE: Sealant may leak out through the puncture in the
tire.
If the sealant (white fluid) does not flow within0–10
seconds through the Sealant Hose (6):
1. Press the Power Button (4) to turn Off the TIREFIT kit. Disconnect the Sealant Hose (6) from the valve stem.
Make sure the valve stem is free of debris. Reconnect the Sealant Hose (6) to the valve stem. Check that the
Mode Select Knob (5) is in the Sealant Mode position
and not Air Mode. Press the Power Button (4) to turn
On the TIREFIT kit.
2. Connect the Power Plug (8) to a different 12 Volt power outlet in your vehicle or another vehicle, if
available. Make sure the engine is running before
turning ON the TIREFIT kit.
3. The Sealant Bottle (1) may be empty due to previous use. Call for assistance.
NOTE: If the Mode Select Knob (5) is on Air Mode and
the pump is operating, air will dispense from the Air
Pump Hose (7) only, not the Sealant Hose (6).
6
WHAT TO DO IN EMERGENCIES 571
Page 576 of 703
(E) After Driving:
Pull over to a safe location. Refer to “Whenever You Stop
to Use TIREFIT” before continuing.
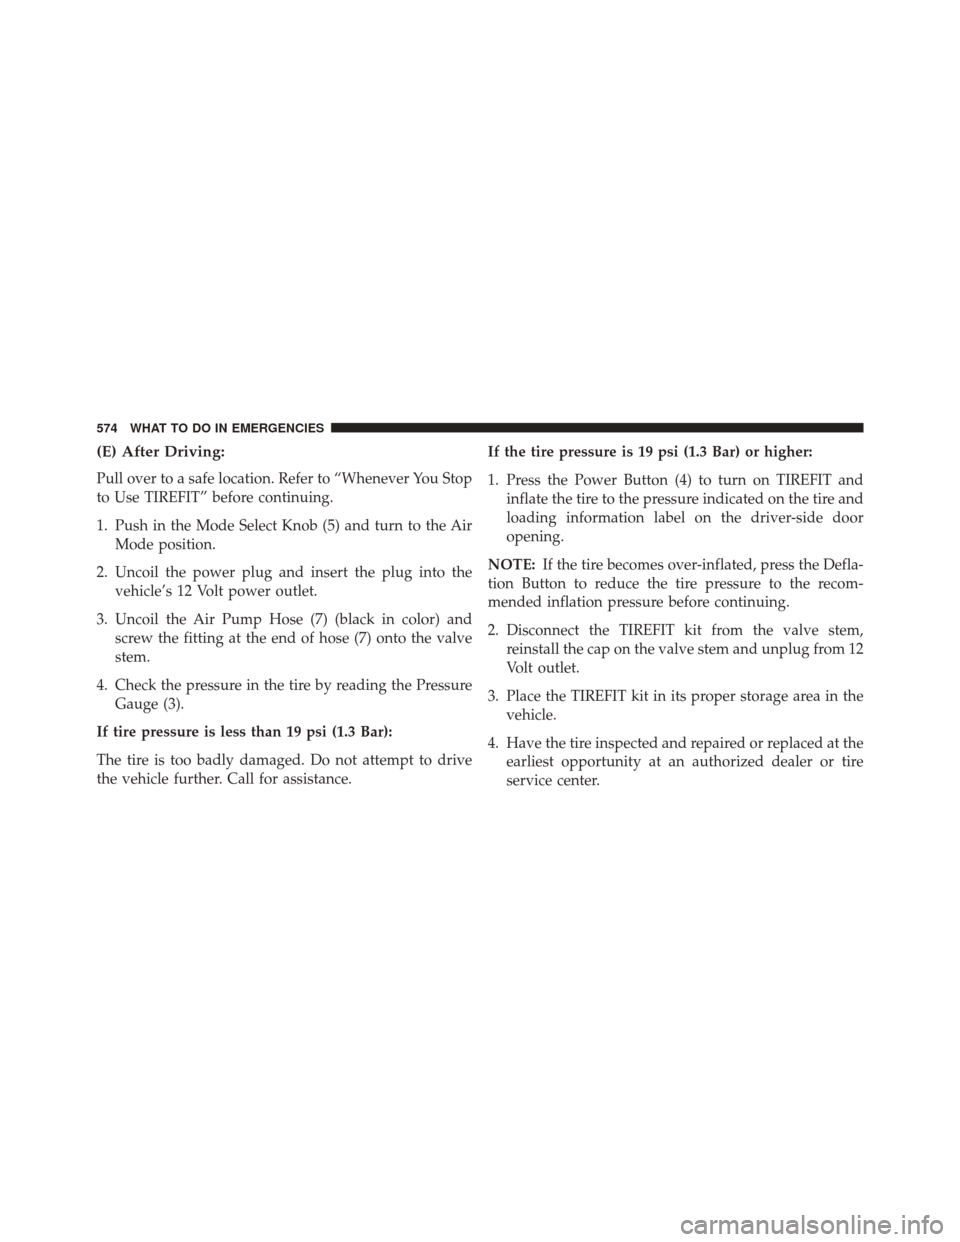
1. Push in the Mode Select Knob (5) and turn to the AirMode position.
2. Uncoil the power plug and insert the plug into the vehicle’s 12 Volt power outlet.
3. Uncoil the Air Pump Hose (7) (black in color) and screw the fitting at the end of hose (7) onto the valve
stem.
4. Check the pressure in the tire by reading the Pressure Gauge (3).
If tire pressure is less than 19 psi (1.3 Bar):
The tire is too badly damaged. Do not attempt to drive
the vehicle further. Call for assistance. If the tire pressure is 19 psi (1.3 Bar) or higher:
1. Press the Power Button (4) to turn on TIREFIT and
inflate the tire to the pressure indicated on the tire and
loading information label on the driver-side door
opening.
NOTE: If the tire becomes over-inflated, press the Defla-
tion Button to reduce the tire pressure to the recom-
mended inflation pressure before continuing.
2. Disconnect the TIREFIT kit from the valve stem, reinstall the cap on the valve stem and unplug from 12
Volt outlet.
3. Place the TIREFIT kit in its proper storage area in the vehicle.
4. Have the tire inspected and repaired or replaced at the earliest opportunity at an authorized dealer or tire
service center.
574 WHAT TO DO IN EMERGENCIES