Page 314 of 703
▫Units ............................. .346
▫
Vehicle Info (Customer Information Features) . . .346
▫ Messages # ......................... .347
▫
Keyless Enter-N-Go™ Display — If Equipped. . . .347
▫ Compass / Temperature Display ..........348
▫ Compass Variance .....................350
▫ Turn Menu Off ...................... .350
▫ Customer-Programmable Features
(System Setup) ...................... .350
� Uconnect® 730N/430/430N CD/DVD/HDD/NAV
— IF EQUIPPED ...................... .356
▫ Operating Instructions (Voice Command System)
— If Equipped ...................... .356
▫ Operating Instructions (Uconnect® Phone) — If
Equipped .......................... .356�
Uconnect® 130 ....................... .356
▫ Operating Instructions — Radio Mode ......356
▫ Operation Instructions — CD MODE For CD And
MP3 Audio Play ..................... .360
▫ Notes On Playing MP3 Files .............362
▫ Operation Instructions — Auxiliary Mode . . . .365
� Uconnect® 130 WITH SATELLITE RADIO .....365
▫ Operating Instructions — Radio Mode .......365
▫ Operation Instructions — CD MODE For CD And
MP3 Audio Play ..................... .371
▫ Notes On Playing MP3 Files .............374
▫ LIST Button — CD Mode For MP3 Play ......376
▫ INFO Button — CD Mode For MP3 Play .....377
▫ Uconnect® (Satellite Radio) — If Equipped . . .377
312 UNDERSTANDING YOUR INSTRUMENT PANEL
Page 315 of 703

▫Operating Instructions (Uconnect® Phone) — If
Equipped .......................... .381
� SETTING THE ANALOG CLOCK ...........382
�
iPod®/USB/MP3 CONTROL — IF EQUIPPED . .382
▫ Connecting The iPod® Or External USB
Device ............................ .383
▫ Using This Feature .....................384
▫ Controlling The iPod® Or External USB Device
Using Radio Buttons ...................385
▫ Play Mode ......................... .385
▫ List Or Browse Mode ...................387
▫ Bluetooth® Streaming Audio (BTSA) .......389
� Uconnect® MULTIMEDIA — VIDEO
ENTERTAINMENT SYSTEM (VES™) — IF
EQUIPPED .......................... .390▫
Getting Started ...................... .390
▫ Blu-ray™ Disc Player ...................391
▫ Play Video Games .....................392
▫ Listen To An Audio Source On Channel 2 While A
Video Is Playing On Channel 1 ............395
▫ Dual Video Screen .....................397
▫ Play A DVD Using The Touchscreen Radio . . .397
▫ Play A DVD Using The VES™ Player — If
Equipped .......................... .400
▫ Play A Blu-ray™ Disc Using The Blu-ray™
Player — If Equipped ..................402
▫ Listen To An Audio Source While A Video Is
Playing ............................ .404
▫ Important Notes For Dual Video Screen
System ............................ .406
4
UNDERSTANDING YOUR INSTRUMENT PANEL 313
Page 316 of 703
▫VES™ Remote Control — If Equipped .......407
▫ Blu-ray™ Player Remote Control — If
Equipped .......................... .410
▫ Remote Control Storage .................412
▫ Locking The Remote Control .............413
▫ Replacing The Remote Control Batteries ......413
▫ Headphones Operation .................413
▫ Blu-ray™ Headphones Operation ..........414
▫ Controls ........................... .415
▫ Replacing The Headphone Batteries .........416
▫ Unwired® Stereo Headphone Lifetime Limited
Warranty .......................... .416
▫ System Information ....................418
▫ Shared Modes ....................... .418▫
Information Mode Display ...............419
▫ Numeric Keypad Menu .................420
▫ Station List Menu .....................420
▫ Disc Menu ......................... .421
▫ Display Settings ...................... .421
▫ Listening To Audio With The Screen Closed . . .422
▫ Disc Formats ........................ .422
▫ Display ............................ .427
▫ Product Agreement ....................431
� STEERING WHEEL AUDIO CONTROLS — IF
EQUIPPED .......................... .435
▫ Radio Operation ..................... .436
▫ CD Player .......................... .436
314 UNDERSTANDING YOUR INSTRUMENT PANEL
Page 317 of 703
�CD/DVD/Blu-ray™ Disc MAINTENANCE . . . .436
� RADIO OPERATION AND MOBILE PHONES . .437
� CLIMATE CONTROLS ...................437
▫ Manual Heating And Air Conditioning System —
If Equipped ........................ .437
▫
Rear Manual Climate Control — If Equipped . . . .443
▫ Automatic Temperature Control (ATC) —
If Equipped ........................ .445▫
Summer Operation ....................455
▫ Winter Operation ..................... .455
▫ Vacation/Storage ..................... .456
▫ Window Fogging .....................456
▫ Outside Air Intake .....................456
▫ A/C Air Filter ...................... .456
4
UNDERSTANDING YOUR INSTRUMENT PANEL 315
Page 351 of 703
4. Press and release the SELECT button to start thecalibration. The “CAL” indicator will be displayed in
the EVIC.
5. Complete one or more 360–degree turns (in an area free from large metal or metallic objects) until the
“CAL” indicator turns off. The compass will now
function normally.
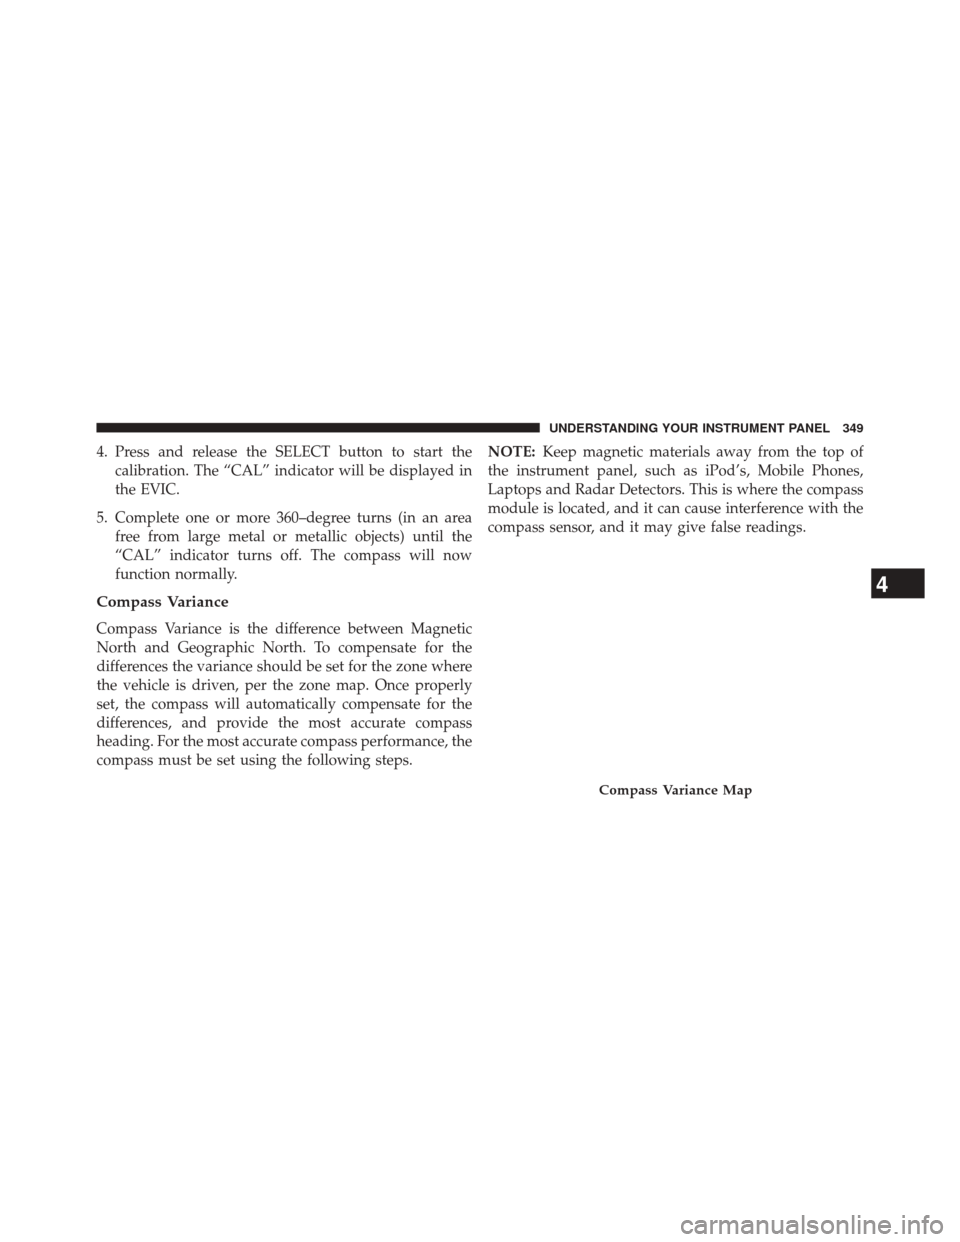
Compass Variance
Compass Variance is the difference between Magnetic
North and Geographic North. To compensate for the
differences the variance should be set for the zone where
the vehicle is driven, per the zone map. Once properly
set, the compass will automatically compensate for the
differences, and provide the most accurate compass
heading. For the most accurate compass performance, the
compass must be set using the following steps. NOTE:
Keep magnetic materials away from the top of
the instrument panel, such as iPod’s, Mobile Phones,
Laptops and Radar Detectors. This is where the compass
module is located, and it can cause interference with the
compass sensor, and it may give false readings.
Compass Variance Map
4
UNDERSTANDING YOUR INSTRUMENT PANEL 349
Page 356 of 703
NOTE:Turning the headlights on during the daytime
causes the instrument panel lights to dim. To increase the
brightness, refer to “Lights” in “Understanding The
Features Of Your Vehicle.”
Key-Off Power Delay
When this feature is selected, the power window
switches, radio, Uconnect® phone (if equipped), DVD
video system (if equipped), power sunroof (if equipped),
and power outlets will remain active for up to 10 minutes
after the ignition switch is turned OFF. Opening either
front vehicle door will cancel this feature. To make your
selection, scroll up or down until the preferred setting is
highlighted, then press and release the SELECT button
until a check-mark appears next to the setting, showing
that the setting has been selected.
Illuminated Approach
When this feature is selected, the headlights will activate
and remain on for up to 90 seconds when the doors are
unlocked with the RKE transmitter. To make your selec-
tion, scroll up or down until the preferred setting is
highlighted, then press and release the SELECT button
until a check-mark appears next to the setting, showing
that the setting has been selected.
Hill Start Assist (HSA) — If Equipped
When on is selected, the HSA system is active. Refer to
“Electronic Brake Control System” in “Starting And
Operating” for system function and operating informa-
tion. To make your selection, press and release the
SELECT button until “ON” or “OFF” appears.
354 UNDERSTANDING YOUR INSTRUMENT PANEL
Page 358 of 703
Uconnect® 730N/430/430N CD/DVD/HDD/NAV —
IF EQUIPPED
Refer to your Uconnect® Supplement Manual for de-
tailed operating instructions.
Operating Instructions (Voice Command System)
— If Equipped
Refer to “Voice Command” for further details.
Operating Instructions (Uconnect® Phone) — If
Equipped
Refer to “Uconnect® Phone” for further details.
Uconnect® 130
Operating Instructions — Radio Mode
NOTE:The ignition switch must be in the ON or ACC
position to operate the radio.
Uconnect® 130
356 UNDERSTANDING YOUR INSTRUMENT PANEL
Page 368 of 703
Power Switch/Volume Control (Rotary)
Push the ON/VOLUME control knob to turn on the
radio. Push the ON/VOLUME control knob a second
time to turn off the radio.
Electronic Volume Control
The electronic volume control turns continuously (360
degrees) in either direction, without stopping. Turning
the ON/VOLUME control knob to the right increases the
volume, and to the left decreases it.
When the audio system is turned on, the sound will be
set at the same volume level as last played.
SEEK Buttons
Press and release the SEEK buttons to search for the next
listenable station in AM/FM mode. Press the right switch
to seek up and the left switch to seek down. The radio
will remain tuned to the new station until you makeanother selection. Holding either button will bypass
stations without stopping, until you release it.
Voice Command System (Radio) — If Equipped
Refer to “Voice Command” for further details.
Voice Command Button Uconnect® Phone — If
Equipped
Press this button to operate the Uconnect® Phone feature
(if equipped). Refer to “Voice Command” for further
details.
If your vehicle is not equipped with or this feature is not
available on your vehicle, a “Not Equipped With
Uconnect Phone” message will display on the radio
screen.
366 UNDERSTANDING YOUR INSTRUMENT PANEL