Page 42 of 590
WARNING!(Continued)
ignition of a vehicle equipped with Keyless Enter-N-
Go™ in the ACC or ON/RUN mode. Occupants,
particularly unattended children, can become en-
trapped by the windows while operating the power
window switches. Such entrapment may result in
serious injury or death.
AUTO-Down Feature
The driver door power window switch and some model
passenger door power window switches have an AUTO-
down feature. Press the window switch to the second
detent, release, and the window will go down automati-
cally. To open the window part way, press the window switch
to the first detent and release it when you want the
window to stop.
To stop the window from going all the way down during
the AUTO-down operation, pull up on the switch briefly.
AUTO-Up Feature With Anti-Pinch Protection — If
Equipped
Lift the window switch to the second detent, release, and
the window will go up automatically.
To stop the window from going all the way up during the
AUTO-up operation, push down on the switch briefly.
To close the window part way, lift the window switch to
the first detent and release it when you want the window
to stop.
40 THINGS TO KNOW BEFORE STARTING YOUR VEHICLE
Page 45 of 590
open or partially open positions. This is a normal occur-
rence and can be minimized. If the buffeting occurs with
the rear windows open, then open the front and rear
windows together to minimize the buffeting. If the
buffeting occurs with the sunroof open, adjust the sun-
roof opening to minimize the buffeting.
TRUNK LOCK AND RELEASE
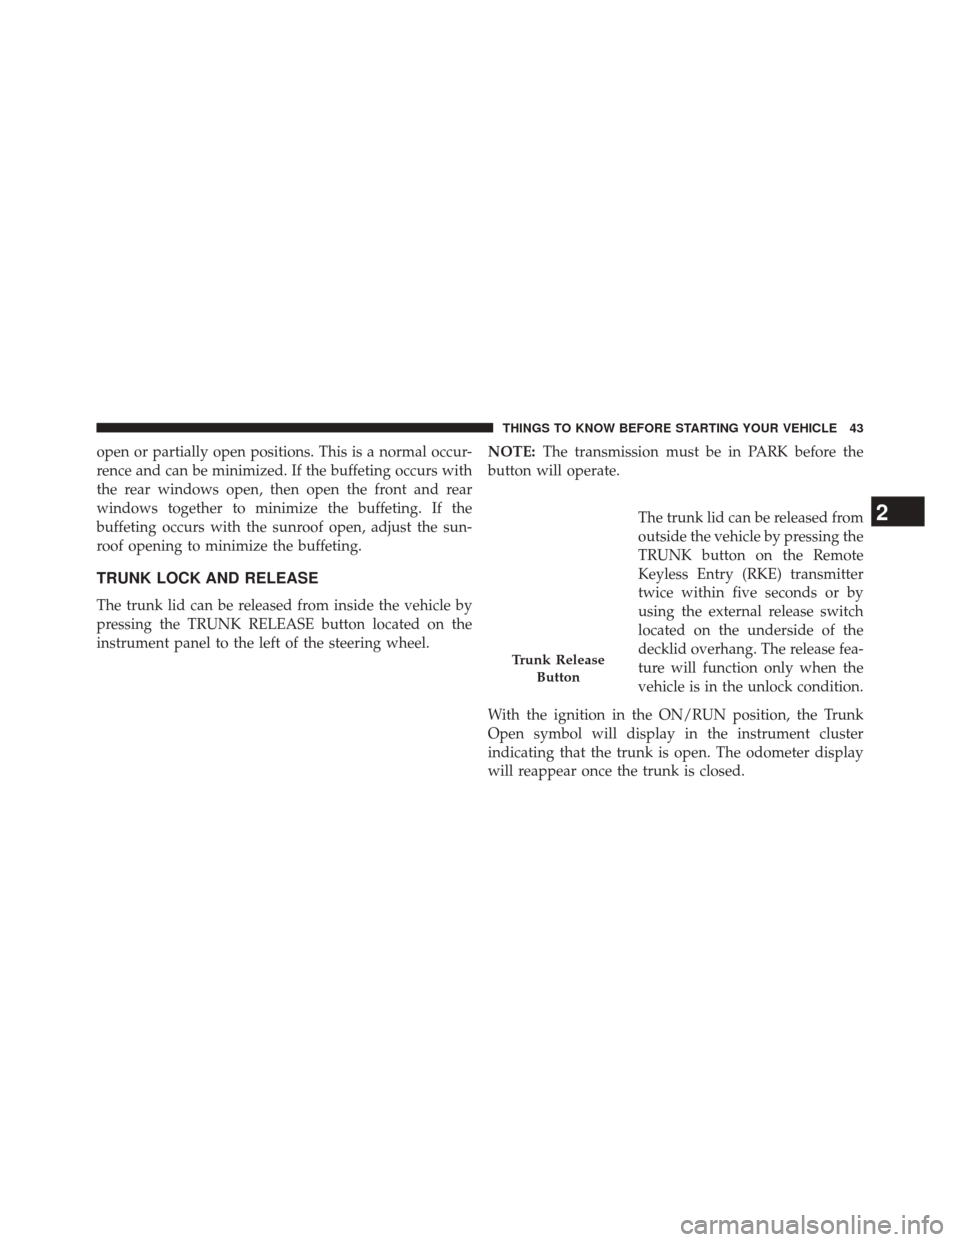
The trunk lid can be released from inside the vehicle by
pressing the TRUNK RELEASE button located on the
instrument panel to the left of the steering wheel.NOTE:
The transmission must be in PARK before the
button will operate.
The trunk lid can be released from
outside the vehicle by pressing the
TRUNK button on the Remote
Keyless Entry (RKE) transmitter
twice within five seconds or by
using the external release switch
located on the underside of the
decklid overhang. The release fea-
ture will function only when the
vehicle is in the unlock condition.
With the ignition in the ON/RUN position, the Trunk
Open symbol will display in the instrument cluster
indicating that the trunk is open. The odometer display
will reappear once the trunk is closed.
Trunk Release Button
2
THINGS TO KNOW BEFORE STARTING YOUR VEHICLE 43
Page 46 of 590
With the ignition in the OFF position, the Trunk Open
symbol will display until the trunk is closed.
Refer to “Keyless Enter-N-Go™” in “Things To Know
Before Starting Your Vehicle” for more information on
trunk operation with the Passive Entry feature.
TRUNK SAFETY WARNING
WARNING!
Do not allow children to have access to the trunk,
either by climbing into the trunk from outside, or
through the inside of the vehicle. Always close the
trunk lid when your vehicle is unattended. Once in
the trunk, young children may not be able to escape,
even if they entered through the rear seat. If trapped
in the trunk, children can die from suffocation or
heat stroke.
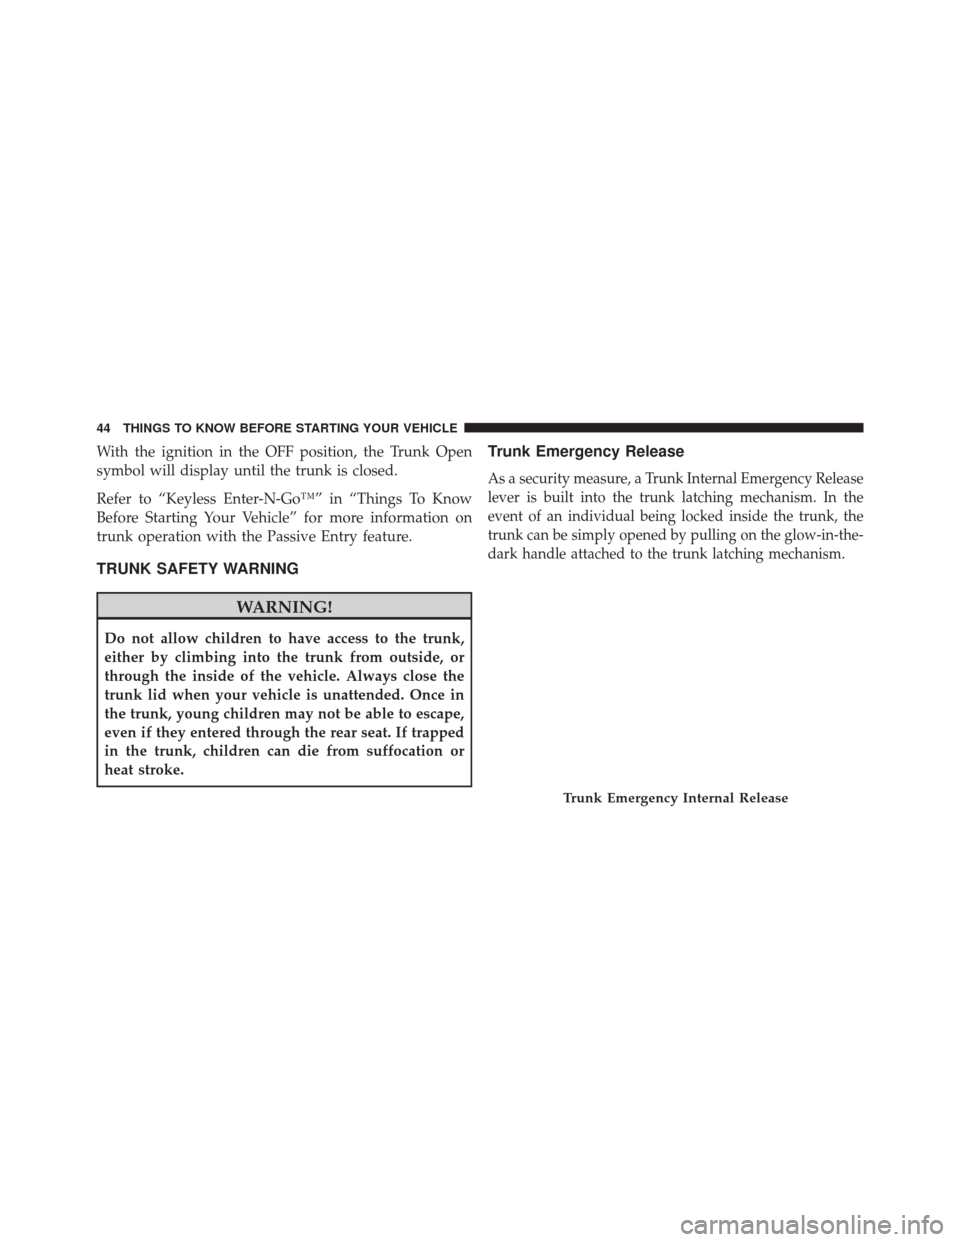
Trunk Emergency Release
As a security measure, a Trunk Internal Emergency Release
lever is built into the trunk latching mechanism. In the
event of an individual being locked inside the trunk, the
trunk can be simply opened by pulling on the glow-in-the-
dark handle attached to the trunk latching mechanism.
Trunk Emergency Internal Release
44 THINGS TO KNOW BEFORE STARTING YOUR VEHICLE
Page 72 of 590

positioned in the area where the side curtain air bag
inflates. This especially applies to children. The side
curtain air bag is only about 3-1/2 in (9 cm) thick when
it is inflated.
Because air bag sensors estimate deceleration over time,
vehicle speed and damage are not good indicators of
whether or not an air bag should have deployed.
Front And Side Impact Sensors
In front and side impacts, impact sensors can aid the
ORC in determining appropriate response to impact
events.
Enhanced Accident Response System
In the event of an impact causing air bag deployment, if
the communication network remains intact, and the
power remains intact, depending on the nature of theevent the ORC will determine whether to have the
Enhanced Accident Response System perform the follow-
ing functions:
•
Cut off fuel to the engine.
• Flash hazard lights as long as the battery has power or
until the ignition key is turned off.
• Turn on the interior lights, which remain on as long as
the battery has power, until the ignition key is re-
moved or the ignition switch is changed to OFF using
the Keyless Go START/STOP button.
• Unlock the doors automatically.
In order to reset the Enhanced Accident Response System
functions after an event, the ignition switch must be
changed from IGN ON to IGN OFF.
70 THINGS TO KNOW BEFORE STARTING YOUR VEHICLE
Page 108 of 590
�Uconnect® PHONE (8.4/8.4N) .............127
▫ Uconnect® 8.4/8.4 Nav .................127
▫ Operation ......................... .130
▫ Phone Call Features ...................142
▫ Uconnect® Phone Features ..............147
▫ Advanced Phone Connectivity ............152
▫ Things You Should Know About Your
Uconnect® Phone .....................153
▫ General Information ...................165
� VOICE COMMAND ....................165
▫ Uconnect® 8.4/8.4 Nav .................165
▫ Uconnect® Voice Commands .............168
� SEATS ............................. .179▫
Power Seats — If Equipped ..............179
▫ Power Lumbar — If Equipped ............181
▫ Heated Seats — If Equipped .............182
▫ Front Ventilated Seats — If Equipped .......184
▫ Head Restraints ..................... .185
▫ Folding Rear Seat .....................187
� DRIVER MEMORY SEAT — IF EQUIPPED . . . .189
▫ Programming The Memory Feature .........190
▫ Linking And Unlinking The Remote Keyless Entry
Transmitter To Memory .................191
▫ Memory Position Recall .................191
▫ Easy Entry/Exit Seat ...................192
� TO OPEN AND CLOSE THE HOOD .........193
106 UNDERSTANDING THE FEATURES OF YOUR VEHICLE
Page 116 of 590
Three of the LEDs are turn signal indicators, which flash
with the corresponding turn signal lights in the front and
rear of the vehicle. Turning on the Hazard Warning
flashers will also activate these LEDs.
The fourth LED supplies illuminated entry lighting,
which turns on in both mirrors when you use the Remote
Keyless Entry (RKE) transmitter or open any door. This
LED shines outward to illuminate the front and rear door
handles. It also shines downward to illuminate the area
in front of the doors.
The Illuminated Entry lighting fades to off after about 30
seconds or it will fade to off immediately once the
ignition is placed into the RUN position.
NOTE:The approach lighting will not function when the
shift lever is moved out of the PARK position.Tilt Mirrors In Reverse — If Equipped
Tilt Mirrors in Reverse provides automatic outside mirror
positioning which will aid the driver ’s view of the
ground rearward of the front doors. The outside mirrors
will move slightly downward from the present position
when the vehicle is shifted into REVERSE. The outside
mirrors will then return to the original position when the
vehicle is shifted out of the REVERSE position. Each
stored memory setting will have an associated Tilt Mir-
rors in Reverse position.
NOTE: The Tilt Mirrors in Reverse feature is not turned
on when delivered from the factory. The Tilt Mirrors in
Reverse feature can be turned on and off using the
Uconnect® System. Refer to “Uconnect® Settings” in
“Understanding Your Instrument Panel” for further in-
formation.
114 UNDERSTANDING THE FEATURES OF YOUR VEHICLE
Page 130 of 590
•Hands Free text to speech listening of your incoming
SMS messages.
• Hands Free text messaging (“Send a message to John
Smith’s Mobile”).
• Redialing last dialed numbers (“Redial”).
• Calling Back the last incoming call number (“Call
Back”).
• View Call logs on screen (“Show incoming calls”,
“Show Outgoing calls”, “Show missed Calls”, “Show
Recent Calls”).
• Searching Contacts phone number (“Search for John
Smith Mobile”).
Screen Activated Features
• Dialing via Keypad using the touchscreen. •
Viewing and Calling contacts from Phonebooks dis-
played on the touchscreen.
• Setting Favorite Contact Phone numbers so they are
easily accessible on the Main Phone screen.
• Viewing and Calling contacts from Recent Call logs.
• Reviewing your recent Incoming SMS.
• Sending a text message via the touchscreen.
• Listen to Music on your Bluetooth® Device via the
touchscreen.
• Pairing up to 10 phones/audio devices for easy access
to connect to them quickly.
NOTE: Your phone must be capable of SMS messaging
via Bluetooth® for messaging features to work properly.
128 UNDERSTANDING THE FEATURES OF YOUR VEHICLE
Page 135 of 590
NOTE:
•You must have Bluetooth® enabled on your mobile
phone to complete this procedure.
• The vehicle must be in PARK.
To complete the pairing process, you will need to refer-
ence your mobile phone Owner’s Manual. The
Uconnect® website may also provide detailed instruc-
tions for pairing.
1. Press the “Phone” soft-key on the screen to begin.
2. If there is no phone currently connected with the system, a pop-up will appear. 3. Select “Yes” to begin the pairing process. Then, search
for available devices on your Bluetooth® enabled
mobile phone. When prompted on the phone, enter
the name and PIN shown on the Uconnect® screen.
• If “No” is selected, touch the “Settings” soft-key
from the Uconnect® Phone main screen.
Mobile Phone Pairing
3
UNDERSTANDING THE FEATURES OF YOUR VEHICLE 133