Page 179 of 590
NOTE:
•Only available with Navigation equipped vehicles.
• You can replace “Player” with “Radio,” “Navigation,”
“Phone,” “Climate,” “More” or “Settings.”
• Navigation commands only work if equipped with
Navigation.
NOTE: Available Voice Commands are shown in bold
face and shaded grey.
3
UNDERSTANDING THE FEATURES OF YOUR VEHICLE 177
Page 191 of 590

WARNING!
•Be certain that the seatback is securely locked into
position. If the seatback is not securely locked into
position, the seat will not provide the proper sta-
bility for child seats and/or passengers. An improp-
erly latched seat could cause serious injury.
• The cargo area in the rear of the vehicle (with the
rear seatbacks in the locked-up or folded down
position) should not be used as a play area by
children when the vehicle is in motion. They could
be seriously injured in a collision. Children should
be seated and using the proper restraint system.
DRIVER MEMORY SEAT — IF EQUIPPED
This feature allows the driver to store up to two different
memory profiles for easy recall through a memory
switch. Each memory profile contains desired position
settings for the driver seat, side mirrors, adjustable pedals (if equipped), and power tilt and telescopic steer-
ing column (if equipped) and a set of desired radio
station presets. Your Remote Keyless Entry (RKE) trans-
mitter can also be programmed to recall the same posi-
tions when the UNLOCK button is pressed.
NOTE:
•
Only one RKE transmitter can be linked to each of the
memory positions.
• Passive Entry door handles cannot be linked to the
memory function. Use either the memory recall switch
or the RKE transmitter (if linked to the memory
feature) to recall memory positions 1 or 2.
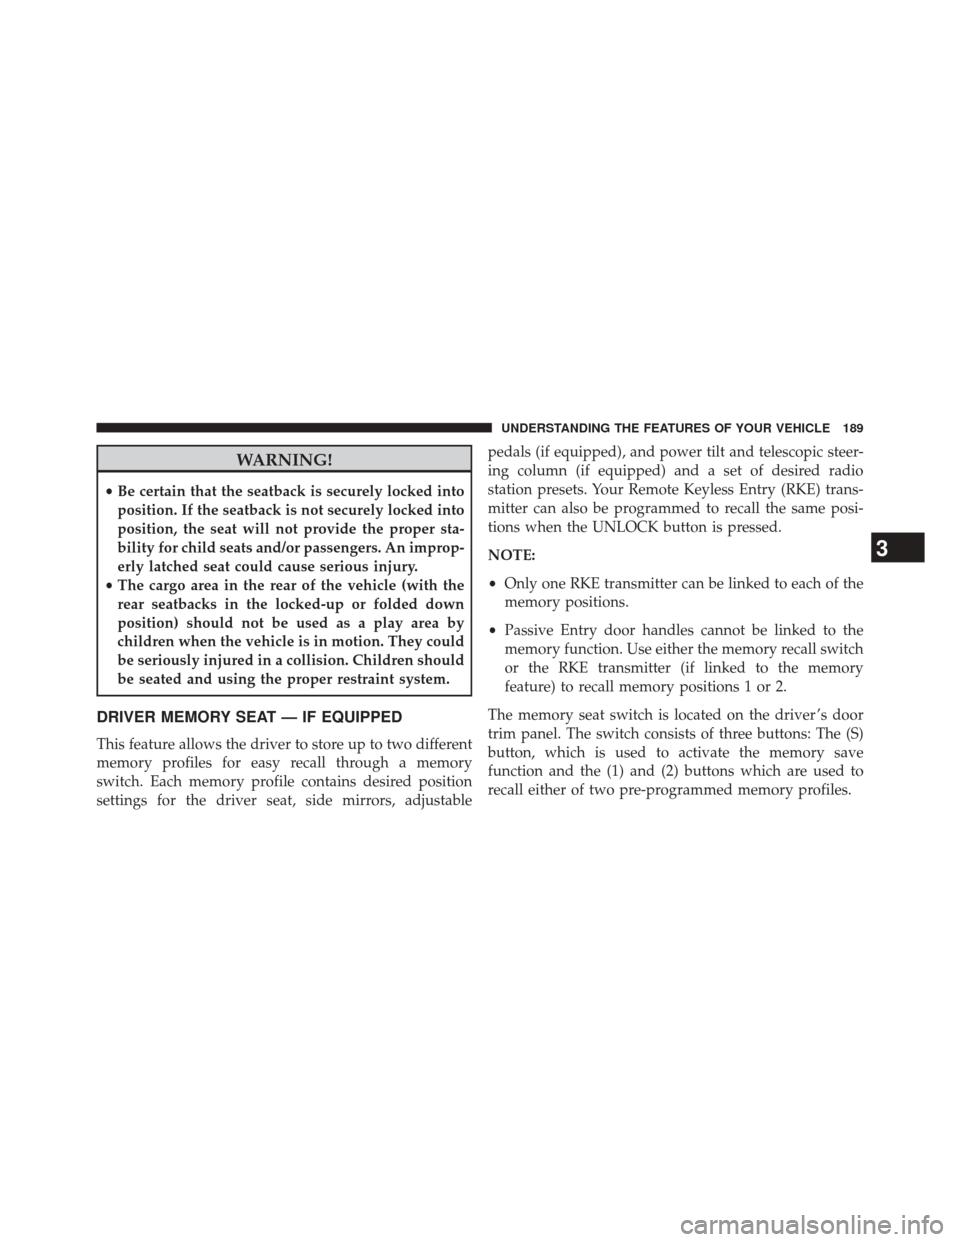
The memory seat switch is located on the driver ’s door
trim panel. The switch consists of three buttons: The (S)
button, which is used to activate the memory save
function and the (1) and (2) buttons which are used to
recall either of two pre-programmed memory profiles.
3
UNDERSTANDING THE FEATURES OF YOUR VEHICLE 189
Page 192 of 590
Programming The Memory Feature
To create a new memory profile, perform the following:
1. Place the ignition into the RUN position.2. Adjust all memory profile settings to desired prefer-
ences (i.e., seat, side mirror, adjustable pedals [if
equipped], power tilt and telescopic steering column
[if equipped], and radio station presets).
3. Press and release the S (Set) button on the memory switch.
4. Within five seconds, press and release either of the memory buttons (1) or (2). The Electronic Vehicle
Information Center (EVIC) will display which
memory position has been set.
NOTE: Memory profiles can be set without the vehicle
in PARK, but the vehicle must be in PARK to recall a
memory profile.
Memory Seat Switch
190 UNDERSTANDING THE FEATURES OF YOUR VEHICLE
Page 208 of 590
Ambient Light Control
Rotate the right dimmer control upward or downward to
increase or decrease the brightness of the door handle
lights and ambient light located in the overhead console.
Dome Light Position
Rotate the left dimmer control completely upward to the
second detent to turn on the interior lights. The interior
lights will remain on when the dimmer control is in this
position.
Interior Light Defeat (OFF)
Rotate the left dimmer control to the extreme bottom OFF
position. The interior lights will remain off when the
doors are open.
Parade Mode (Daytime Brightness Feature)
Rotate the instrument panel dimmer control upward to
the first detent. This feature brightens all text displays
such as the odometer, EVIC, and radio when the parking
lights or headlights are on.
Door Handle/Ambient Light Dimmer
206 UNDERSTANDING THE FEATURES OF YOUR VEHICLE
Page 260 of 590

•Jackhammers, large trucks, and other vibrations could
affect the performance of ParkSense®.
• When you turn ParkSense® off, the EVIC will display
“PARK ASSIST SYSTEM OFF.” Furthermore, once you
turn ParkSense® off, it remains off until you turn it on
again, even if you cycle the ignition key.
• ParkSense®, when on, will MUTE the radio when it is
sounding a tone.
• Clean the ParkSense® sensors regularly, taking care
not to scratch or damage them. The sensors must not
be covered with ice, snow, slush, mud, dirt or debris.
Failure to do so can result in the system not working
properly. The ParkSense® system might not detect an
obstacle behind or in front of the fascia/bumper, or it
could provide a false indication that an obstacle is
behind or in front of the fascia/bumper. •
Ensure the ParkSense® system is OFF if objects such as
bicycle carriers, trailer hitches, etc. are placed within 30
cm from the rear fascia/ bumper. Failure to do so can
result in the system misinterpreting a close object as a
sensor problem, causing the “SERVICE PARK ASSIST
SYSTEM” message to be displayed in the EVIC.
CAUTION!
• ParkSense® is only a parking aid and it is unable to
recognize every obstacle, including small obstacles.
Parking curbs might be temporarily detected or not
detected at all. Obstacles located above or below
the sensors will not be detected when they are in
close proximity.
(Continued)
258 UNDERSTANDING THE FEATURES OF YOUR VEHICLE
Page 268 of 590

NOTE:HomeLink® is disabled when the Vehicle Secu-
rity Alarm is active.
Before You Begin Programming HomeLink®
Be sure that your vehicle is parked outside of the garage
before you begin programming. For more efficient programming and accurate transmis-
sion of the radio-frequency signal it is recommended that
a new battery be placed in the hand-held transmitter of
the device that is being programmed to the HomeLink®
system.
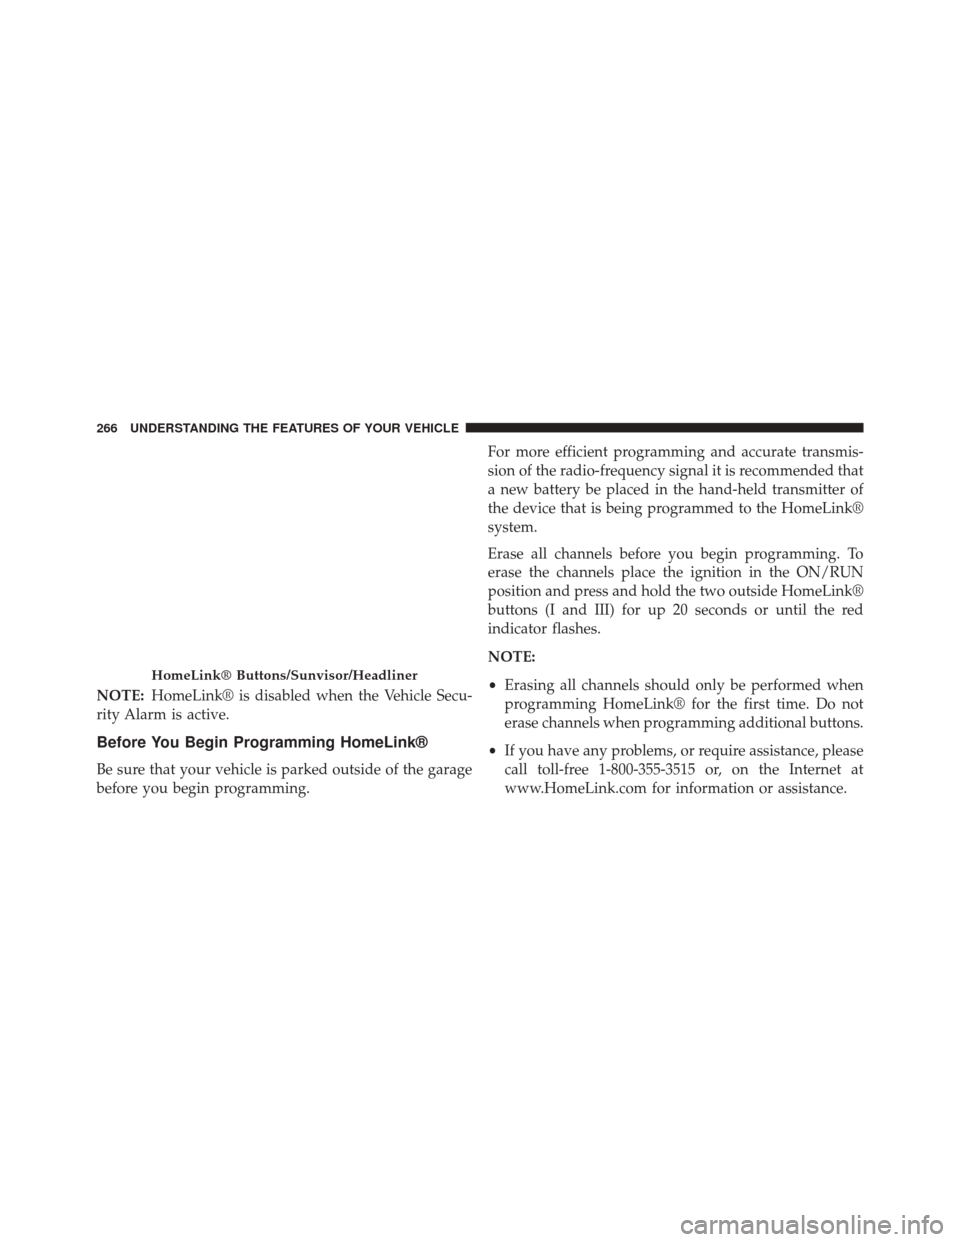
Erase all channels before you begin programming. To
erase the channels place the ignition in the ON/RUN
position and press and hold the two outside HomeLink®
buttons (I and III) for up 20 seconds or until the red
indicator flashes.
NOTE:
•
Erasing all channels should only be performed when
programming HomeLink® for the first time. Do not
erase channels when programming additional buttons.
• If you have any problems, or require assistance, please
call toll-free 1-800-355-3515 or, on the Internet at
www.HomeLink.com for information or assistance.
HomeLink® Buttons/Sunvisor/Headliner
266 UNDERSTANDING THE FEATURES OF YOUR VEHICLE
Page 272 of 590

•To program the two remaining HomeLink® buttons,
repeat each step for each remaining button. DO NOT
erase the channels.
Reprogramming A Single HomeLink® Button
To reprogram a channel that has been previously trained,
follow these steps:
1. Cycle the ignition to the ON/RUN position.
2. Press and hold the desired HomeLink® button until the indicator light begins to flash after 20 seconds. Do
not release the button.
3. Without releasing the button proceed with “Program-
ming A Non-Rolling Code” step 2 and follow all
remaining steps.
Canadian/Gate Operator Programming
For programming transmitters in Canada/United States
that require the transmitter signals to “time-out” after
several seconds of transmission.
Canadian radio frequency laws require transmitter sig-
nals to time-out (or quit) after several seconds of trans-
mission – which may not be long enough for HomeLink®
to pick up the signal during programming. Similar to this
Canadian law, some U.S. gate operators are designed to
time-out in the same manner.
It may be helpful to unplug the device during the cycling
process to prevent possible overheating of the garage
door or gate motor.
1. Cycle the ignition to the ON/RUN position.
270 UNDERSTANDING THE FEATURES OF YOUR VEHICLE
Page 302 of 590

▫Turn Menu OFF ...................... .332
� Uconnect® SETTINGS ...................332
▫ Hard-Keys ......................... .332
▫ Soft-Keys .......................... .332
▫ Customer Programmable Features — Uconnect®
8.4 Settings ........................ .332
▫ SRT Performance Features ...............347
� SETTING THE ANALOG CLOCK ...........351
� iPod®/USB/MP3 CONTROL ..............351
� HARMAN KARDON® Logic7® HIGH
PERFORMANCE MULTICHANNEL SURROUND
SOUND SYSTEM WITH DRIVER-SELECTABLE
SURROUND (DSS) — IF EQUIPPED .........352�
STEERING WHEEL AUDIO CONTROLS ......352
▫ Radio Operation ..................... .353
▫ CD Player .......................... .354
� CD/DVD DISC MAINTENANCE ...........354
� RADIO OPERATION AND MOBILE PHONES . .355
� CLIMATE CONTROLS ...................355
▫ General Overview .....................355
▫ Climate Control Functions ...............361
▫ Automatic Temperature Control (ATC) ......362
▫ Operating Tips ...................... .364
300 UNDERSTANDING YOUR INSTRUMENT PANEL