Page 439 of 590
TIRE PRESSURE MONITOR SYSTEM (TPMS)
The Tire Pressure Monitor System (TPMS) will warn the
driver of a low tire pressure based on the vehicle recom-
mended cold placard pressure.
The tire pressure will vary with temperature by about 1
psi (7 kPa) for every 12°F (6.5°C). This means that when
the outside temperature decreases, the tire pressure will
decrease. Tire pressure should always be set based on
cold inflation tire pressure. This is defined as the tire
pressure after the vehicle has not been driven for at least
three hours, or driven less than 1 mile (1.6 km) after a
three hour period. The cold tire inflation pressure must
not exceed the maximum inflation pressure molded into
the tire sidewall. Refer to “Tires – General Information”
in “Starting and Operating” for information on how to
properly inflate the vehicle’s tires. The tire pressure will
Tire Rotation
5
STARTING AND OPERATING 437
Page 441 of 590

CAUTION!
•The TPMS has been optimized for the original
equipment tires and wheels. TPMS pressures and
warning have been established for the tire size
equipped on your vehicle. Undesirable system op-
eration or sensor damage may result when using
replacement equipment that is not of the same size,
type, and/or style. Aftermarket wheels can cause
sensor damage. Using aftermarket tire sealants may
cause the Tire Pressure Monitoring System (TPMS)
sensor to become inoperable. After using an after-
market tire sealant it is recommended that you take
your vehicle to your local dealer to have your
sensor function checked.
• After inspecting or adjusting the tire pressure,
always reinstall the valve stem cap. This will
prevent moisture and dirt from entering the valve
stem, which could damage the TPM sensor. NOTE:
•
The TPMS is not intended to replace normal tire care
and maintenance or to provide warning of a tire failure
or condition.
• The TPMS should not be used as a tire pressure gauge
while adjusting your tire pressure.
• Driving on a significantly under-inflated tire causes
the tire to overheat and can lead to tire failure.
Under-inflation also reduces fuel efficiency and tire
tread life, and may affect the vehicle’s handling and
stopping ability.
• The TPMS is not a substitute for proper tire mainte-
nance, and it is the driver ’s responsibility to maintain
correct tire pressure using an accurate tire pressure
gauge, even if under-inflation has not reached the level
to trigger illumination of the TPM Telltale Light.
5
STARTING AND OPERATING 439
Page 443 of 590
each tire with the low tire pressure values flashing or
changing color. An�Inflate to XX�message will also be
displayed. Should this occur, you should stop as soon as possible
and inflate the tires with a low pressure condition (those
flashing or in a different color in the EVIC graphic) to the
vehicle’s recommended cold placard pressure inflation
value as shown in the
�Inflate to XX�message. Once the
system receives the updated tire pressures, the system
will automatically update, the graphic display in the
EVIC will stop flashing or change color back to the
original color, and the TPM Telltale Light will turn off.
The vehicle may need to be driven for up to 20 minutes
above 15 mph (24 km/h) in order for the TPMS to receive
this information.
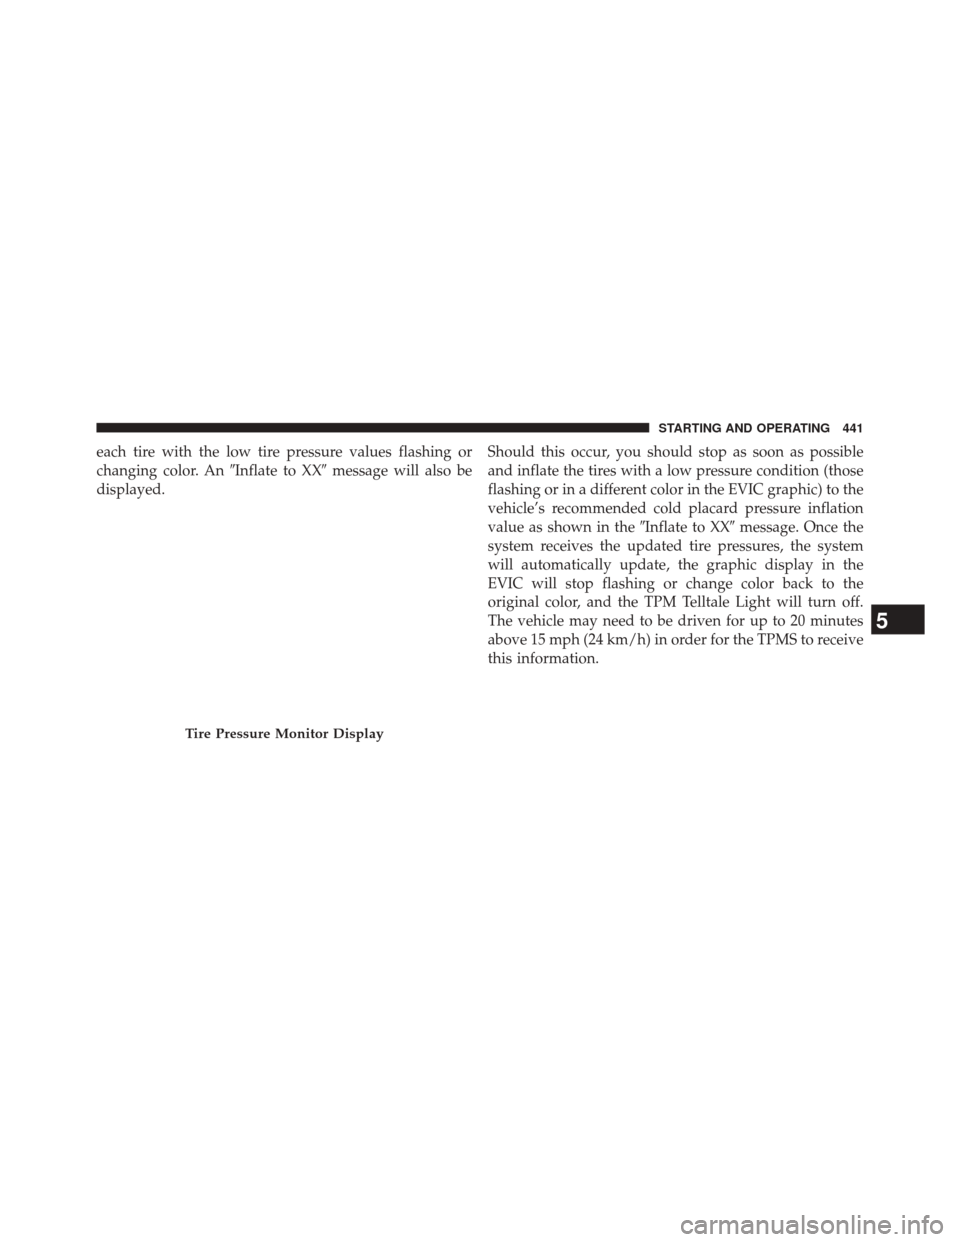
Tire Pressure Monitor Display
5
STARTING AND OPERATING 441
Page 470 of 590
 is on Air Mode and
the pump is operating, air will dispense from the Air
Pump Hose (7) only, not the Sealant Hose (6).
If the sealant (white fluid) does flow through t")
NOTE:If the Mode Select Knob (5) is on Air Mode and
the pump is operating, air will dispense from the Air
Pump Hose (7) only, not the Sealant Hose (6).
If the sealant (white fluid) does flow through the
Sealant Hose (6):
1.
Continue to operate the pump until sealant is no longer
flowing through hose (typically takes 30 - 70 seconds).
As the sealant flows through the Sealant Hose (6), the
Pressure Gauge (3) can read as high as 70 psi (4.8 Bar).
The Pressure Gauge (3) will decrease quickly from
approximately 70 psi (4.8 Bar) to the actual tire pressure
when the Sealant Bottle (1) is empty.
2. The pump will start to inject air into the tire immedi- ately after the Sealant Bottle (1) is empty. Continue to
operate the pump and inflate the tire to the pressure
indicated on the tire pressure label on the driver-side
latch pillar (recommended pressure). Check the tire
pressure by looking at the Pressure Gauge (3). If the tire does not inflate to at least 26 psi (1.8 Bar)
pressure within 15 minutes:
•
The tire is too badly damaged. Do not attempt to drive
the vehicle further. Call for assistance.
NOTE: If the tire becomes over-inflated, press the Defla-
tion Button to reduce the tire pressure to the recom-
mended inflation pressure before continuing.
If the tire inflates to the recommended pressure or is at
least 26 psi (1.8 Bar) pressure within 15 minutes:
1. Press the Power Button (4) to turn off the TIREFIT kit.
2. Remove the Speed Limit sticker from the top of the Sealant Bottle (1) and place the sticker on the instru-
ment panel.
3.
Immediately disconnect the Sealant Hose (6) from the
valve stem, reinstall the cap on the fitting at the end of
the hose, and place the TIREFIT kit in the vehicle storage
location. Quickly proceed to (D) “Drive Vehicle.”
468 WHAT TO DO IN EMERGENCIES
Page 472 of 590
 (black in color) andscrew the fitting at the end of hose (7) onto the valve
stem.
4. Check the pressure in the tire by reading the Pressure Gauge (3).
If tire pressure")
3. Uncoil the Air Pump Hose (7) (black in color) andscrew the fitting at the end of hose (7) onto the valve
stem.
4. Check the pressure in the tire by reading the Pressure Gauge (3).
If tire pressure is less than 19 psi (1.3 Bar):
The tire is too badly damaged. Do not attempt to drive
the vehicle further. Call for assistance.
If the tire pressure is 19 psi (1.3 Bar) or higher:
1. Press the Power Button (4) to turn on TIREFIT and inflate the tire to the pressure indicated on the tire and
loading information label on the driver-side door
opening.
NOTE: If the tire becomes over-inflated, press the Defla-
tion Button to reduce the tire pressure to the recom-
mended inflation pressure before continuing. 2. Disconnect the TIREFIT kit from the valve stem,
reinstall the cap on the valve stem and unplug from 12
Volt outlet.
3. Place the TIREFIT kit in its proper storage area in the vehicle.
4. Have the tire inspected and repaired or replaced at the earliest opportunity at an authorized dealer or tire
service center.
5. Replace the Sealant Bottle (1) and Sealant Hose (6) assembly at your authorized dealer as soon as pos-
sible. Refer to (F) “Sealant Bottle and Hose Replace-
ment”.
NOTE: When having the tire serviced, advise the autho-
rized dealer or service center that the tire has been sealed
using the TIREFIT service kit.
470 WHAT TO DO IN EMERGENCIES
Page 585 of 590

Storing Your Vehicle...................... .527
Stuck, Freeing ........................... .475
Sunglasses Storage ....................... .264
Sun Roof .............................. .274
Supplemental Restraint System - Airbag ..........59
Synthetic Engine Oil ...................... .489
System, Remote Starting .....................26
Tachometer ............................. .303
Telescoping Steering Column .................211
Temperature Control, Automatic (ATC) ..........362
Temperature Gauge, Engine Coolant ............312
Tilt Steering Column .......................211
Time Delay, Headlight ..................... .196
Tire and Loading Information Placard ...........418
TIREFIT ............................... .461
Tire Markings ........................... .412
Tires ................................. .104
Aging (Life of Tires) .....................432 Air Pressure
.......................... .423
Chains .............................. .434
Compact Spare ........................ .429
General Information .....................423
High Speed .......................... .426
Inflation Pressures ...................... .424
Life of Tires .......................... .432
Load Capacity ........................ .418
Pressure Monitor System (TPMS) ............437
Pressure Warning Light ...................304
Quality Grading ....................... .563
Radial .............................. .426
Replacement .......................... .433
Rotation ............................. .436
Safety .............................. .412
Sizes ............................... .413
Snow Tires ........................... .427
Spinning ............................ .431
T
read Wear Indicators ....................431
10
INDEX 583
Page:
< prev 1-8 9-16 17-24

The Tire Pressure Monitor System (TPMS) will warn the
driver of a low tire pressure based on the vehicle recom-
mended cold placard pressure.
The tire pressure will")