Page 496 of 590
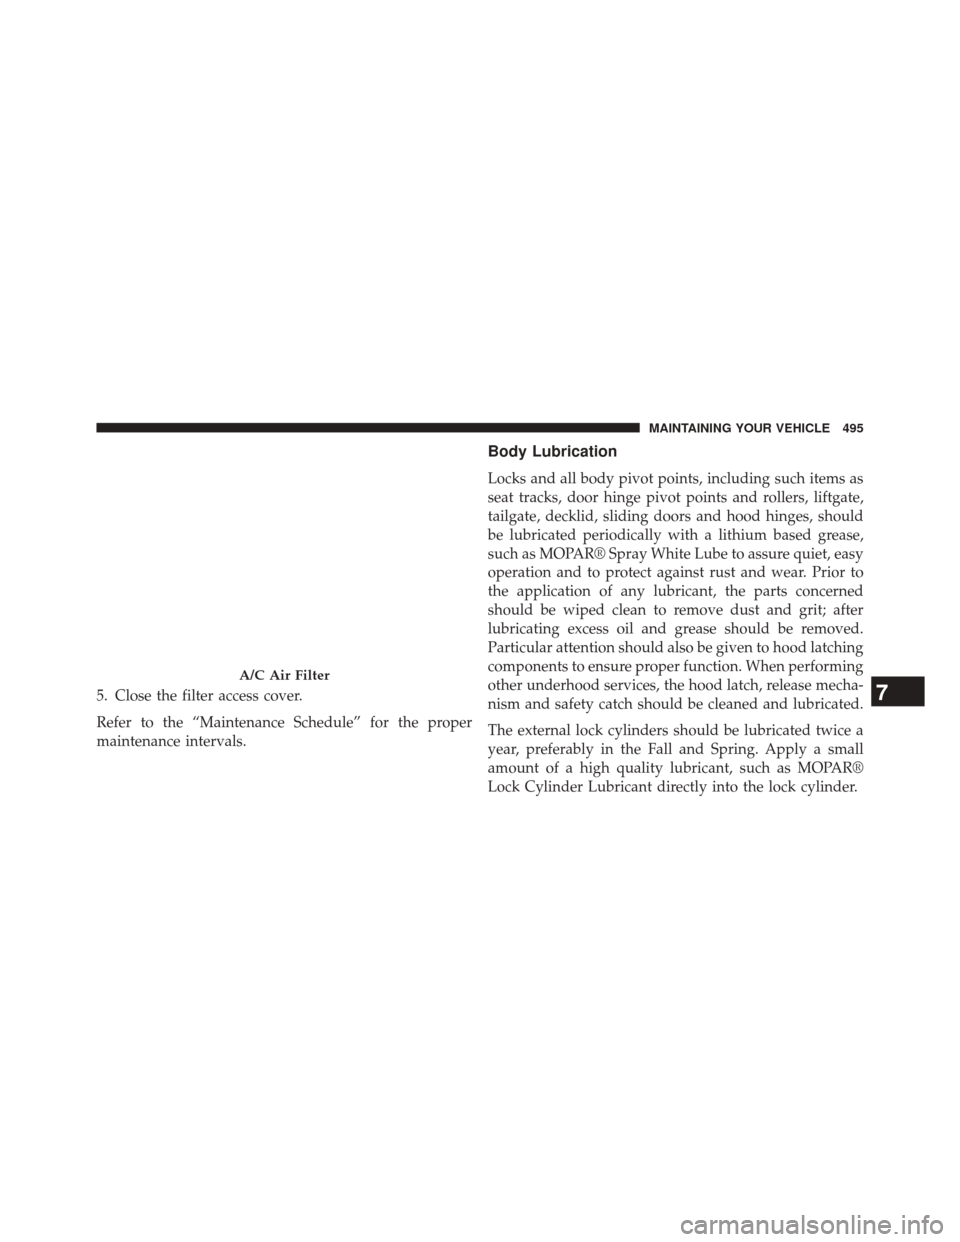
1. Remove the access door in the cowl screen by pressingthe retaining clips.
2. Unsnap both ends and lift the filter access cover. 3. Remove the used filter.
4. Install the new filter with arrows pointing in the
direction of airflow, which is toward the rear of the
vehicle (text and arrows on the filter will indicate this).
Access Door
Filter Access Cover
494 MAINTAINING YOUR VEHICLE
Page 497 of 590
5. Close the filter access cover.
Refer to the “Maintenance Schedule” for the proper
maintenance intervals.
Body Lubrication
Locks and all body pivot points, including such items as
seat tracks, door hinge pivot points and rollers, liftgate,
tailgate, decklid, sliding doors and hood hinges, should
be lubricated periodically with a lithium based grease,
such as MOPAR® Spray White Lube to assure quiet, easy
operation and to protect against rust and wear. Prior to
the application of any lubricant, the parts concerned
should be wiped clean to remove dust and grit; after
lubricating excess oil and grease should be removed.
Particular attention should also be given to hood latching
components to ensure proper function. When performing
other underhood services, the hood latch, release mecha-
nism and safety catch should be cleaned and lubricated.
The external lock cylinders should be lubricated twice a
year, preferably in the Fall and Spring. Apply a small
amount of a high quality lubricant, such as MOPAR®
Lock Cylinder Lubricant directly into the lock cylinder.
A/C Air Filter
7
MAINTAINING YOUR VEHICLE 495
Page 511 of 590

recommended fluid. No chemical flushes should be used
in any transmission; only the approved lubricant should
be used.
CAUTION!
Using a transmission fluid other than the manufac-
turer ’s recommended fluid may cause deterioration
in transmission shift quality and/or torque converter
shudder, and will require more frequent fluid and
filter changes. Refer to “Fluids, Lubricants, and
Genuine Parts” in this section for fluid specifica-
tions.
Special Additives
The manufacturer strongly recommends against using
any special additives in the transmission.Automatic Transmission Fluid (ATF) is an engineered
product and its performance may be impaired by supple-
mental additives. Therefore, do not add any fluid addi-
tives to the transmission. The only exception to this
policy is the use of special dyes for diagnosing fluid
leaks. Avoid using transmission sealers as they may
adversely affect seals.
CAUTION!
Do not use chemical flushes in your transmission as
the chemicals can damage your transmission compo-
nents. Such damage is not covered by the New
Vehicle Limited Warranty.
Fluid Level Check
The fluid level is preset at the factory and does not
require adjustment under normal operating conditions.
Routine fluid level checks are not required, therefore the
7
MAINTAINING YOUR VEHICLE 509
Page 532 of 590
WARNING!
A transient high voltage occurs at the bulb sockets of
HID headlamps when the headlamp switch is turned
ON. It may cause serious electrical shock or electro-
cution if not serviced properly. See your authorized
dealer for service.
NOTE: On vehicles equipped with HID headlamps,
when the headlamps are turned on, there is a blue hue to
the lights. This diminishes and becomes more white after
approximately 10 seconds, as the system charges.
Standard Low Beam And High Beam Headlamp
1. Open the hood.
NOTE: Removal of the air cleaner filter housing may be
necessary prior to replacing bulbs in the headlamp
assembly on the driver side of the vehicle. 2. Reach behind the headlamp housing to access the
headlamp (outboard) bulb cap.
3. Firmly grasp the cap and rotate it counterclockwise to unlock it.
4. Twist the headlamp bulb assembly counterclockwise, and then pull it out of the headlamp assembly.
5. Disconnect the bulb from the wiring assembly and install the replacement bulb.
6. Reinstall the bulb and wiring assembly into the head- lamp assembly, and then turn it clockwise.
7. Install the headlamp bulb cap in the headlamp hous- ing and rotate it clockwise to lock it.
530 MAINTAINING YOUR VEHICLE
Page 533 of 590
CAUTION!
Do not touch the new bulb with your fingers. Oil
contamination will severely shorten bulb life. If the
bulb comes in contact with an oily surface, clean the
bulb with rubbing alcohol.
Front Turn Signal Lamps
1. Open the hood.
NOTE:Removal of the air cleaner filter housing may be
necessary prior to replacing bulbs in the headlamp
assembly on the driver side of the vehicle.
2. Reach behind the headlamp housing to access the turn signal (inboard) bulb cap.
3. Firmly grasp the cap and rotate it counterclockwise to unlock it. 4. Squeeze the two tabs on the side of the bulb socket and
pull straight out from the lamp assembly.
5. Disconnect the bulb from the wiring connector and install the replacement bulb.
6. Install the bulb and connector assembly straight into the lamp until it locks in place.
7. Install the turn signal bulb cap in the headlamp housing and rotate clockwise to lock in place.
Rear Backup Lamp And Turn Signal Lamps
1. Open the trunk.
2. Remove the trunk trim by removing the grocery hook(using a T-20 torque driver or similar tool), remove the
fastener, and pull back the weather strip.
3. Pull back the trunk liner to gain access to the tail lamp wing nuts.
7
MAINTAINING YOUR VEHICLE 531
Page 542 of 590
6,000 Miles (10,000 km) or
6 Months Maintenance
Service Schedule
❏Change the engine oil and engine oil
filter.
❏ Rotate tires.
Odometer Reading Date
Repair Order #Dealer Code
Signature, Authorized Service Center
12,000 Miles (20,000 km) or 12 Months Maintenance Service
Schedule
❏Change the engine oil and engine oil filter.
❏ Rotate tires.
❏ If you are using your vehicle in dusty or off-road conditions, inspect the engine air
cleaner filter, and replace if necessary.
❏ Replace the air conditioning filter.
❏ Inspect the brake linings, and replace if necessary.
❏ Inspect the CV joints. Perform the first inspection at 12,000 miles (20 000 km) or
12 months.
❏ Inspect the exhaust system. Perform the first inspection at 12,000 miles (20 000 km)
or 12 months.
❏ Inspect the front suspension, tie rod ends and boot seals for cracks or leaks and all
parts for damage, wear, improper looseness or end play; replace if necessary.
Odometer Reading Date
Repair Order #Dealer Code
Signature, Authorized Service Center
8
M
A I
N T
E
N
A
N
C E
S
C
H E
D
U L
E
S540 MAINTENANCE SCHEDULES
Page 543 of 590
18,000 Miles (30,000 km) or
18 Months Maintenance
Service Schedule
❏Change the engine oil and engine oil
filter.
❏ Rotate tires.
❏ Inspect the rear axle fluid.
Odometer Reading Date
Repair Order #Dealer Code
Signature, Authorized Service Center
24,000 Miles (40,000 km) or 24 Months Maintenance Service
Schedule
❏Change the engine oil and engine oil filter.
❏ Rotate tires.
❏ If you are using your vehicle in dusty or off-road conditions, inspect the engine air
cleaner filter, and replace if necessary.
❏ Replace the air conditioning filter.
❏ Inspect the brake linings, and replace if necessary.
❏ Inspect the CV joints.
❏ Inspect the exhaust system.
❏ Inspect the front suspension, tie rod ends and boot seals for cracks or leaks and all
parts for damage, wear, improper looseness or end play; replace if necessary.
Odometer Reading Date
Repair Order #Dealer Code
Signature, Authorized Service Center
8
M
A I
N T
E
N
A
N
C E
S
C
H E
D
U L
E
SMAINTENANCE SCHEDULES 541
Page 544 of 590
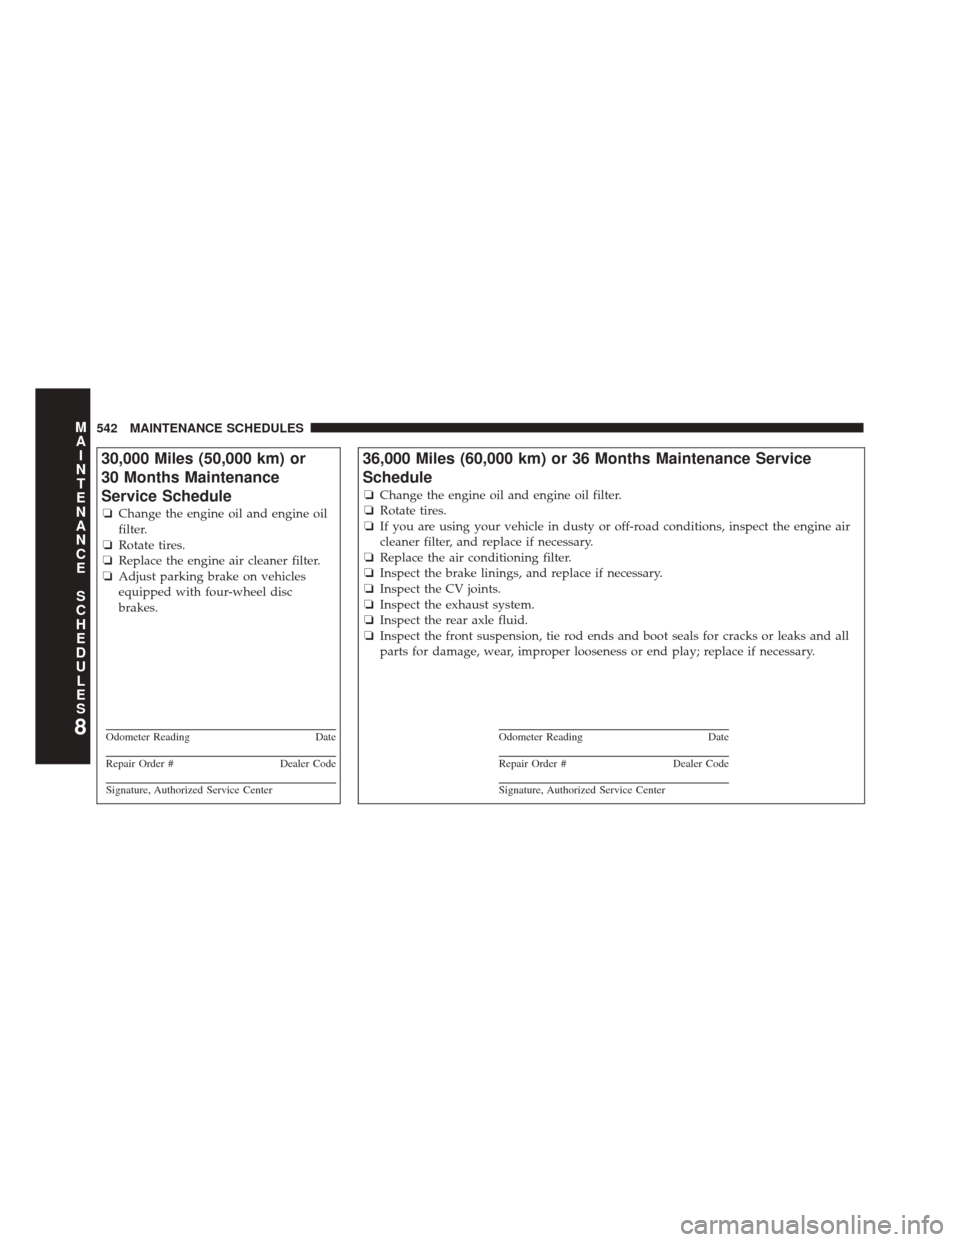
30,000 Miles (50,000 km) or
30 Months Maintenance
Service Schedule
❏Change the engine oil and engine oil
filter.
❏ Rotate tires.
❏ Replace the engine air cleaner filter.
❏ Adjust parking brake on vehicles
equipped with four-wheel disc
brakes.
Odometer Reading Date
Repair Order #Dealer Code
Signature, Authorized Service Center
36,000 Miles (60,000 km) or 36 Months Maintenance Service
Schedule
❏Change the engine oil and engine oil filter.
❏ Rotate tires.
❏ If you are using your vehicle in dusty or off-road conditions, inspect the engine air
cleaner filter, and replace if necessary.
❏ Replace the air conditioning filter.
❏ Inspect the brake linings, and replace if necessary.
❏ Inspect the CV joints.
❏ Inspect the exhaust system.
❏ Inspect the rear axle fluid.
❏ Inspect the front suspension, tie rod ends and boot seals for cracks or leaks and all
parts for damage, wear, improper looseness or end play; replace if necessary.
Odometer Reading Date
Repair Order #Dealer Code
Signature, Authorized Service Center
8
M
A I
N T
E
N
A
N
C E
S
C
H E
D
U L
E
S542 MAINTENANCE SCHEDULES