2014 CHRYSLER 300 SRT suspension
[x] Cancel search: suspensionPage 227 of 590
NOTE:Any chassis/suspension modifications to the
vehicle will effect the performance of the Adaptive Cruise
Control.
Activating Adaptive Cruise Control (ACC)
You can only activate ACC if the vehicle speed is above
20 mph (32 km/h).
When the system is turned on and in the READY state,
the Electronic Vehicle Information Center (EVIC) dis-
plays “Adaptive Cruise Ready.”
When the system is OFF, the EVIC displays “Adaptive
Cruise Control Off.” NOTE:
You cannot enable ACC under the following
conditions:
• When you apply the brakes.
• When the parking brake is set.
• When the automatic transmission is in PARK, RE-
VERSE or NEUTRAL.
• When pushing the RES +button without a previously
set speed in memory.
To Activate
Push and release the ON/OFF button. The ACC menu in
the EVIC displays “Adaptive Cruise Control Ready.”
3
UNDERSTANDING THE FEATURES OF YOUR VEHICLE 225
Page 310 of 590
13. Sport ShiftingThis light will illuminate when Track mode is
selected. When Track Mode is selected, the
EVIC will display “Track Mode Activated (Sus-
pension and Transmission)”. In addition to
SPORT suspension, Track mode also affects transmission
shifting in either Auto or Manual mode. Refer to
“AutoStick” in “Starting And Operating” for further
information. The transmission has a sportier, more ag-
gressive shift pattern. In Manual mode, the transmission
will hold gear at redline during manual shifting (console
shifter or paddle switches).
14. Sport Suspension
The light will illuminate when Sport or Track
mode is selected. When Sport mode is selected,
the EVIC will display “Sport Mode Active
(Suspension)”. This mode provides perfor-
mance based tuning with improved handling through an electronic controlled damping system. This system re-
duces body roll and pitch in many driving situations
including cornering, acceleration and braking. When
Track Mode is Selected, the EVIC will display “Track
Mode Activated (Suspension and Transmission)”. In ad-
dition to SPORT suspension, Track mode also affects
transmission shifting. Refer to “AutoStick” in “Starting
And Operating” for further information.
15. Anti-Lock Brake (ABS) Light
This light monitors the Anti-Lock Brake System
(ABS). The light will turn on when the ignition
switch is turned to the ON/RUN position and
may stay on for as long as four seconds.
If the ABS light remains on or turns on while driving, it
indicates that the Anti-Lock portion of the brake system
is not functioning and that service is required. However,
the conventional brake system will continue to operate
normally if the BRAKE warning light is not on.
308 UNDERSTANDING YOUR INSTRUMENT PANEL
Page 350 of 590
The Performance Features include the following:
•Home
• Timers
• Engine Values
• Digital Gauge Displays
• 0-60 mph (0-100 km/h)
• Braking Distance
• 1/8 Mile
• 1/4 Mile
• Instantaneous G-Force
• Peak G-Force
• Digital Speedometer
• Options The following describes each feature and its operation:
Home
When selected, this screen allows you to choose Sport
Track mode.
•
This mode provides performance based suspension
tuning with improved handling and acceleration
through an electronic controlled dampening system.
• This system reduces body roll and pitch in many
driving situations including cornering, acceleration
and braking.
Timers
0-60 mph (0-100 km/h), 1/8 Mile, 1/4 Mile
When selected, this screen displays the time it takes for
the vehicle to go from 0 to 60 mph (0 to 100 km/h),
1/8 mile or 1/4 mile.
348 UNDERSTANDING YOUR INSTRUMENT PANEL
Page 391 of 590
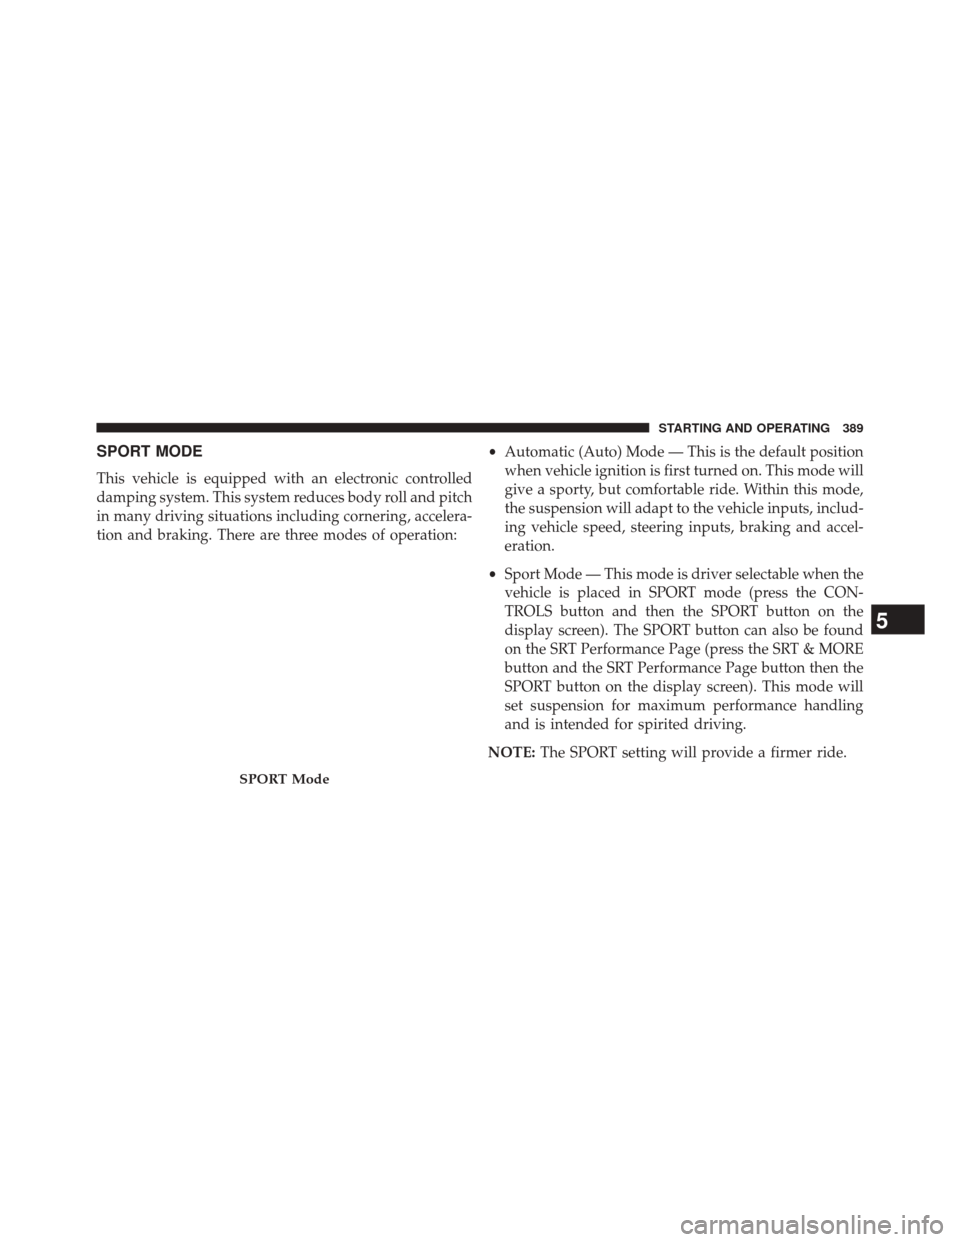
SPORT MODE
This vehicle is equipped with an electronic controlled
damping system. This system reduces body roll and pitch
in many driving situations including cornering, accelera-
tion and braking. There are three modes of operation:•
Automatic (Auto) Mode — This is the default position
when vehicle ignition is first turned on. This mode will
give a sporty, but comfortable ride. Within this mode,
the suspension will adapt to the vehicle inputs, includ-
ing vehicle speed, steering inputs, braking and accel-
eration.
• Sport Mode — This mode is driver selectable when the
vehicle is placed in SPORT mode (press the CON-
TROLS button and then the SPORT button on the
display screen). The SPORT button can also be found
on the SRT Performance Page (press the SRT & MORE
button and the SRT Performance Page button then the
SPORT button on the display screen). This mode will
set suspension for maximum performance handling
and is intended for spirited driving.
NOTE: The SPORT setting will provide a firmer ride.
SPORT Mode
5
STARTING AND OPERATING 389
Page 392 of 590
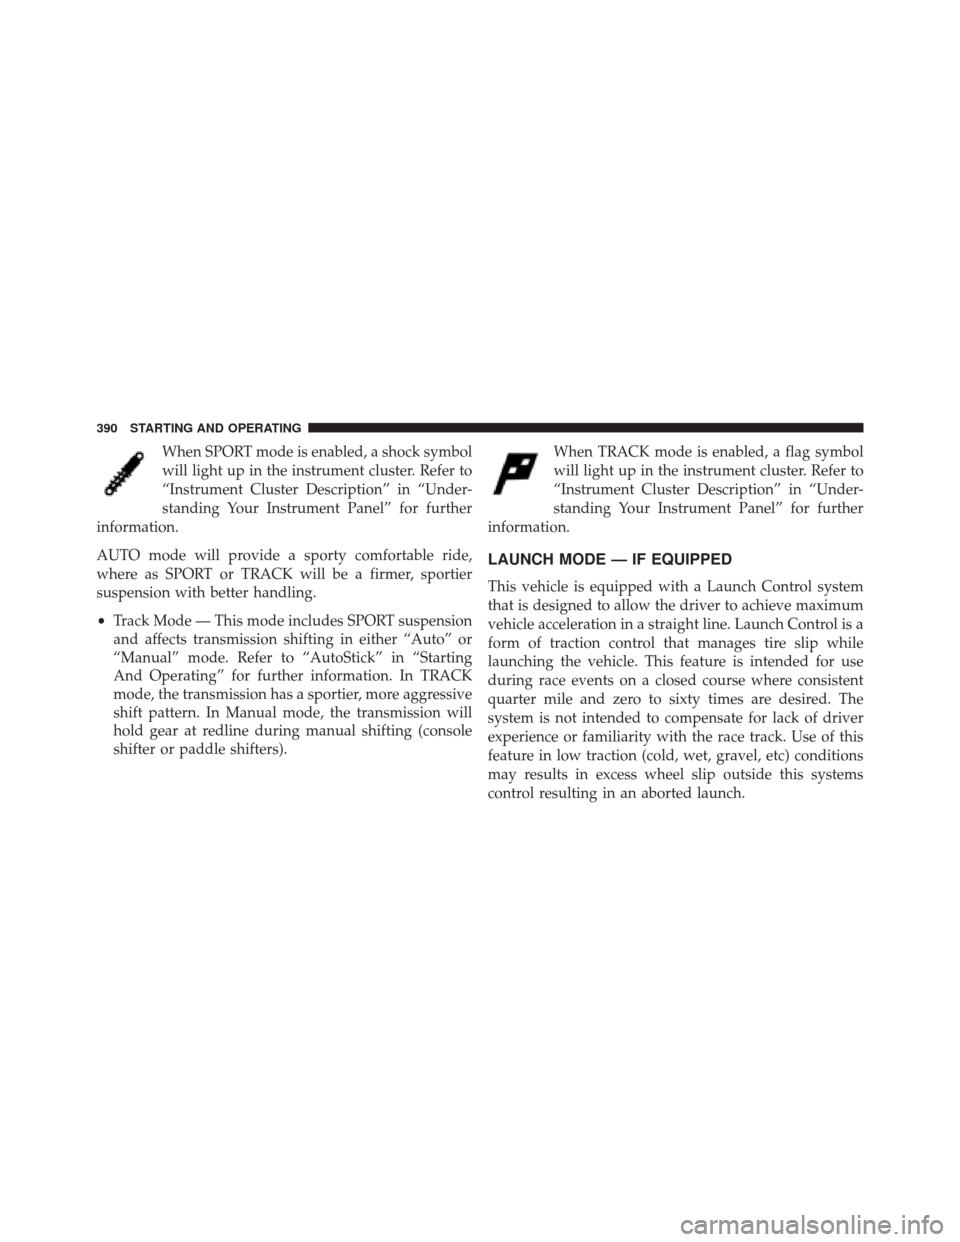
When SPORT mode is enabled, a shock symbol
will light up in the instrument cluster. Refer to
“Instrument Cluster Description” in “Under-
standing Your Instrument Panel” for further
information.
AUTO mode will provide a sporty comfortable ride,
where as SPORT or TRACK will be a firmer, sportier
suspension with better handling.
• Track Mode — This mode includes SPORT suspension
and affects transmission shifting in either “Auto” or
“Manual” mode. Refer to “AutoStick” in “Starting
And Operating” for further information. In TRACK
mode, the transmission has a sportier, more aggressive
shift pattern. In Manual mode, the transmission will
hold gear at redline during manual shifting (console
shifter or paddle shifters). When TRACK mode is enabled, a flag symbol
will light up in the instrument cluster. Refer to
“Instrument Cluster Description” in “Under-
standing Your Instrument Panel” for further
information.
LAUNCH MODE — IF EQUIPPED
This vehicle is equipped with a Launch Control system
that is designed to allow the driver to achieve maximum
vehicle acceleration in a straight line. Launch Control is a
form of traction control that manages tire slip while
launching the vehicle. This feature is intended for use
during race events on a closed course where consistent
quarter mile and zero to sixty times are desired. The
system is not intended to compensate for lack of driver
experience or familiarity with the race track. Use of this
feature in low traction (cold, wet, gravel, etc) conditions
may results in excess wheel slip outside this systems
control resulting in an aborted launch.
390 STARTING AND OPERATING
Page 437 of 590
CAUTION!
To avoid damage to your vehicle or tires, observe the
following precautions:
•Because of restricted chain clearance between tires
and other suspension components, it is important
that only chains in good condition are used. Broken
chains can cause serious damage. Stop the vehicle
immediately if noise occurs that could indicate
chain breakage. Remove the damaged parts of the
chain before further use.
• Install chains on the rear wheels as tightly as
possible and then retighten after driving about ½
mile (0.8 km).
• Do not exceed 30 mph (48 km/h).
• Drive cautiously and avoid severe turns and large
bumps, especially with a loaded vehicle.
• Use on rear wheels only.
(Continued)
CAUTION! (Continued)
•Do not drive for a prolonged period on dry pave-
ment.
• Observe the tire chain manufacturer’s instructions
on the method of installation, operating speed, and
conditions for use. Always use the lower suggested
operating speed of the chain manufacturer if dif-
ferent from the speed recommended by the manu-
facturer.
NOTE: In order to avoid damage to tires, chains, and
your vehicle do not drive for a prolonged period on dry
pavement. Observe the tire chain manufacturer’s instruc-
tions on method of installation, operating speed, and
conditions for usage.
5
STARTING AND OPERATING 435
Page 456 of 590
Gross Vehicle Weight Rating (GVWR)
The GVWR is the total allowable weight of your vehicle.
This includes driver, passengers, and cargo. The total
load must be limited so that you do not exceed the
GVWR.
Gross Axle Weight Rating (GAWR)
The GAWR is the maximum capacity of the front and rear
axles. Distribute the load over the front and rear axles
evenly. Make sure that you do not exceed either front or
rear GAWR.
WARNING!
Because the front wheels steer the vehicle, it is
important that you do not exceed the maximum front
or rear GAWR. A dangerous driving condition can
result if either rating is exceeded. You could lose
control of the vehicle and have a collision.
Overloading
The load carrying components (axle, springs, tires,
wheels, etc.) of your vehicle will provide satisfactory
service as long as you do not exceed the GVWR and the
front and rear GAWR.
The best way to figure out the total weight of your
vehicle is to weigh it when it is fully loaded and ready for
operation. Weigh it on a commercial scale to ensure that
it is not over the GVWR.
Figure out the weight on the front and rear of the vehicle
separately. It is important that you distribute the load
evenly over the front and rear axles.
Overloading can cause potential safety hazards and
shorten useful service life. Heavier axles or suspension
components do not necessarily increase the vehicle’s
GVWR.
454 STARTING AND OPERATING
Page 481 of 590
CAUTION!
•Do not use sling type equipment when towing.
Damage to the fascia will occur.
• When securing the vehicle to a flatbed truck, do not
attach to the front or rear suspension components.
Damage to your vehicle may result from improper
towing.
• Do not push or tow this vehicle with another
vehicle as damage to the bumper fascia and trans-
mission may result.
• The ignition switch must be in the ON/RUN posi-
tion, not in the OFF or ACC position.
• If the vehicle being towed requires steering, the
ignition switch must be in the ON/RUN position,
not in the OFF or ACC position.
•
The manufacturer does not recommend towing this
vehicle using a tow dolly. Vehicle damage may occur.
The manufacturer recommends towing your vehicle with
all four wheels OFF the ground using a flatbed.
If flatbed equipment is not available, and the transmis-
sion is operable, this vehicle may be towed (with rear
wheels on the ground) under the following conditions:
• The transmission must be in NEUTRAL.
• The towing speed must not exceed 30 mph (48 km/h).
• The towing distance must not exceed 15 miles (24 km).
6
WHAT TO DO IN EMERGENCIES 479