2014 CHEVROLET SILVERADO start stop button
[x] Cancel search: start stop buttonPage 36 of 546
Black plate (30,1)Chevrolet Silverado Owner Manual (GMNA-Localizing-U.S./Canada/Mexico-
5853506) - 2014 - crc 2nd - 5/15/13
1-30 In Brief
Resetting the Oil Life System
To reset the Engine Oil Life System:
1. Display OIL LIFE REMAININGon the DIC. See Driver
Information Center (DIC) (Base
Level) on page 5-30 orDriver
Information Center (DIC)
(Uplevel) on page 5-32. If the
vehicle does not have DIC
buttons, the vehicle must be in
P (Park) to access this display.
2. Press and hold the
Vbutton on
the DIC, or the trip odometer
reset stem if the vehicle does
not have DIC buttons, for
several seconds. The oil life will
change to 100%.
The oil life system can also be reset
as follows:
1. Turn the ignition to ON/RUN with the engine off.
2. Fully press the accelerator pedal slowly three times within
five seconds. 3. Display OIL LIFE REMAINING
on the DIC. If the display shows
100%, the system is reset.
See Engine Oil Life System on
page 10-13.
E85 or FlexFuel
Vehicles with a yellow fuel cap can
use either unleaded gasoline or
ethanol fuel containing up to 85%
ethanol (E85). See E85 or FlexFuel
on page 9-74. For all other vehicles,
use only the unleaded gasoline
described under Fuel on page 9-72.
Driving for Better Fuel
Economy
Driving habits can affect fuel
mileage. Here are some driving tips
to get the best fuel economy
possible.
.Avoid fast starts and accelerate
smoothly.
.Brake gradually and avoid
abrupt stops.
.Avoid idling the engine for long
periods of time.
.When road and weather
conditions are appropriate, use
cruise control.
.Always follow posted speed
limits or drive more slowly when
conditions require.
.Keep vehicle tires properly
inflated.
.Combine several trips into a
single trip.
.Replace the vehicle's tires with
the same TPC Spec number
molded into the tire's sidewall
near the size.
.Follow recommended scheduled
maintenance.
Page 69 of 546
Black plate (7,1)Chevrolet Silverado Owner Manual (GMNA-Localizing-U.S./Canada/Mexico-
5853506) - 2014 - crc 2nd - 5/15/13
Seats and Restraints 3-7
Storing Memory Positions
To save positions to the“1”and “2”
buttons:
1. Adjust the driver seat, outside mirrors, and adjustable pedals (if
equipped) to the desired driving
positions.
2. Press and hold SET and “1”at
the same time until a beep
sounds.
3. Repeat Steps 1 and 2 for a second driver using “2.”
To save positions to the
B(Exit)
button and easy exit features:
1. Adjust the driver seat, adjustable pedals (if equipped), and the
outside mirrors on some vehicles
to the desired positions for
getting out of the vehicle.
2. Press and hold SET and
Bat
the same time until a beep
sounds. Manually Recalling Memory
Positions
If the vehicle is off, or in ON/RUN/
START but not in P (Park), press
and hold "1," "2," or
Bto manually
recall the previously stored memory
positions. Releasing "1,” "2," or
B
before the stored positions are
reached stops the recall.
If the vehicle is in ON/RUN/START
and in P (Park), press and release
“1,” “2,”or
Bto manually recall the
previously stored memory positions.
Placing the ignition in OFF/LOCK
before the stored positions are
reached stops the recall.
If something has blocked the driver
seat and/or adjustable pedals while
recalling a memory position, the
recall may stop. Remove the
obstruction; then press and hold the
appropriate manual control for the
memory item that is not recalling for
two seconds. Try recalling the
memory position again by pressing
the appropriate memory button. If the memory position is still not
recalling, see your dealer for
service.
Automatically Recalling Memory
Positions (Auto Memory Recall)
The Auto (Automatic) Memory
Recall feature automatically recalls
the current driver
’s previously stored
“1” or“2” position when entering the
vehicle.
If the Auto Memory Recall feature is
enabled in the vehicle
personalization menu, memory “1”
or “2” positions are recalled in the
following ways:
.PressKon the RKE transmitter
and open the driver door.
.PressKon the RKE transmitter
when the driver door is
already open.
See Vehicle Personalization on
page 5-46.
Page 142 of 546
Black plate (4,1)Chevrolet Silverado Owner Manual (GMNA-Localizing-U.S./Canada/Mexico-
5853506) - 2014 - crc 2nd - 5/15/13
5-4 Instruments and Controls
Heated Steering Wheel
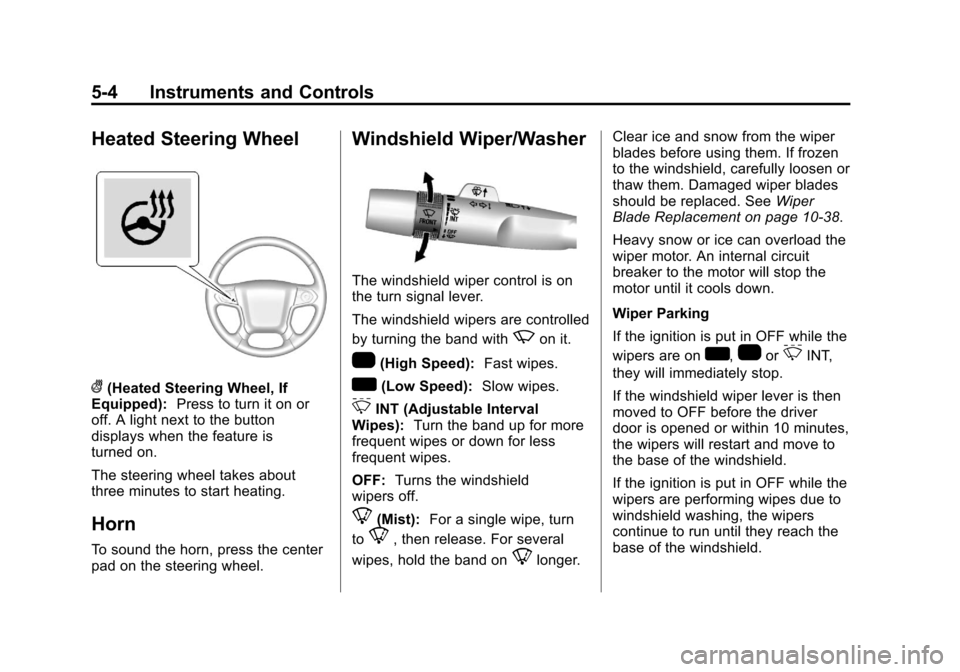
((Heated Steering Wheel, If
Equipped): Press to turn it on or
off. A light next to the button
displays when the feature is
turned on.
The steering wheel takes about
three minutes to start heating.
Horn
To sound the horn, press the center
pad on the steering wheel.
Windshield Wiper/Washer
The windshield wiper control is on
the turn signal lever.
The windshield wipers are controlled
by turning the band with
zon it.
1(High Speed): Fast wipes.
w(Low Speed):Slow wipes.
3INT (Adjustable Interval
Wipes): Turn the band up for more
frequent wipes or down for less
frequent wipes.
OFF: Turns the windshield
wipers off.
8(Mist): For a single wipe, turn
to
8, then release. For several
wipes, hold the band on
8longer. Clear ice and snow from the wiper
blades before using them. If frozen
to the windshield, carefully loosen or
thaw them. Damaged wiper blades
should be replaced. See
Wiper
Blade Replacement on page 10-38.
Heavy snow or ice can overload the
wiper motor. An internal circuit
breaker to the motor will stop the
motor until it cools down.
Wiper Parking
If the ignition is put in OFF while the
wipers are on
w,1or3INT,
they will immediately stop.
If the windshield wiper lever is then
moved to OFF before the driver
door is opened or within 10 minutes,
the wipers will restart and move to
the base of the windshield.
If the ignition is put in OFF while the
wipers are performing wipes due to
windshield washing, the wipers
continue to run until they reach the
base of the windshield.
Page 296 of 546
Black plate (28,1)Chevrolet Silverado Owner Manual (GMNA-Localizing-U.S./Canada/Mexico-
5853506) - 2014 - crc 2nd - 5/15/13
9-28 Driving and Operating
damage, this system also
prevents cranking if the engine
is already running. Engine
cranking can be stopped by
turning the ignition switch to the
ACC/ACCESSORY or LOCK/
OFF position.
When the low fuel warning light
is on and the FUEL LEVEL LOW
message is displayed in the
Driver Information Center (DIC),
the Computer-Controlled
Cranking System is disabled to
prevent possible vehicle
component damage. When this
happens, hold the ignition switch
in the START position to
continue engine cranking.
{Caution
Cranking the engine for long
periods of time, by returning the
ignition to the START position
immediately after cranking has
ended, can overheat and damage(Continued)
Caution (Continued)
the cranking motor, and drain the
battery. Wait at least 15 seconds
between each try, to let the
cranking motor cool down.
2. If the engine does not start after five to 10 seconds, especially in
very cold weather (below
−18°C or 0°F), it could be
flooded with too much gasoline.
Try pushing the accelerator
pedal all the way to the floor and
holding it there while holding the
key in START for up to
15 seconds. Wait at least
15 seconds between each try, to
allow the cranking motor to cool
down. When the engine starts,
let go of the key and accelerator.
If the vehicle starts briefly but
then stops again, do the same
thing. This clears the extra
gasoline from the engine. Do not
race the engine immediately
after starting it. Operate the engine and transmission gently
until the oil warms up and
lubricates all moving parts.
Fast Idle System
If equipped, this feature is available
only with cruise control. The manual
fast idle switch is operated using the
cruise control buttons on the left
side of the steering wheel.
This system can be used to
increase engine idle speed
whenever the following conditions
are met:
.The parking brake is set.
.The brake pedal is not pressed.
.The vehicle must not be moving
and the accelerator must not be
pressed.
To control the fast idle:
.To enable the Fast Idle System,
press and release the cruise
control on/off button and ensure
that the switch indicator light
is lit.
Page 305 of 546
Black plate (37,1)Chevrolet Silverado Owner Manual (GMNA-Localizing-U.S./Canada/Mexico-
5853506) - 2014 - crc 2nd - 5/15/13
Driving and Operating 9-37
M (Manual Mode):This position
allows selection of a range of gears
appropriate for current driving
conditions. If equipped, see “Range
Selection Mode” underManual
Mode on page 9-37.
{Caution
Spinning the tires or holding the
vehicle in one place on a hill
using only the accelerator pedal
may damage the transmission.
The repair will not be covered by
the vehicle warranty. If you are
stuck, do not spin the tires. When
stopping on a hill, use the brakes
to hold the vehicle in place.
Normal Mode Grade Braking
If equipped with a gasoline engine
and an automatic transmission,
Normal Mode Grade Braking is
enabled when the vehicle is started,
but is not enabled in Range
Selection Mode. It assists in
maintaining desired vehicle speeds when driving on downhill grades by
using the engine and transmission
to slow the vehicle. The first time
the system engages for each
ignition key cycle, a DIC message
will be displayed. See
Transmission
Messages on page 5-43.
To disable or enable Normal Mode
Grade Braking within the current
ignition key cycle, press and hold
the Tow/Haul button for
five seconds. When the button is
released, the requested mode
change is made. A DIC message
displays. See Transmission
Messages on page 5-43.
For other forms of grade braking,
see Tow/Haul Mode on page 9-39
and Cruise Control on page 9-60.
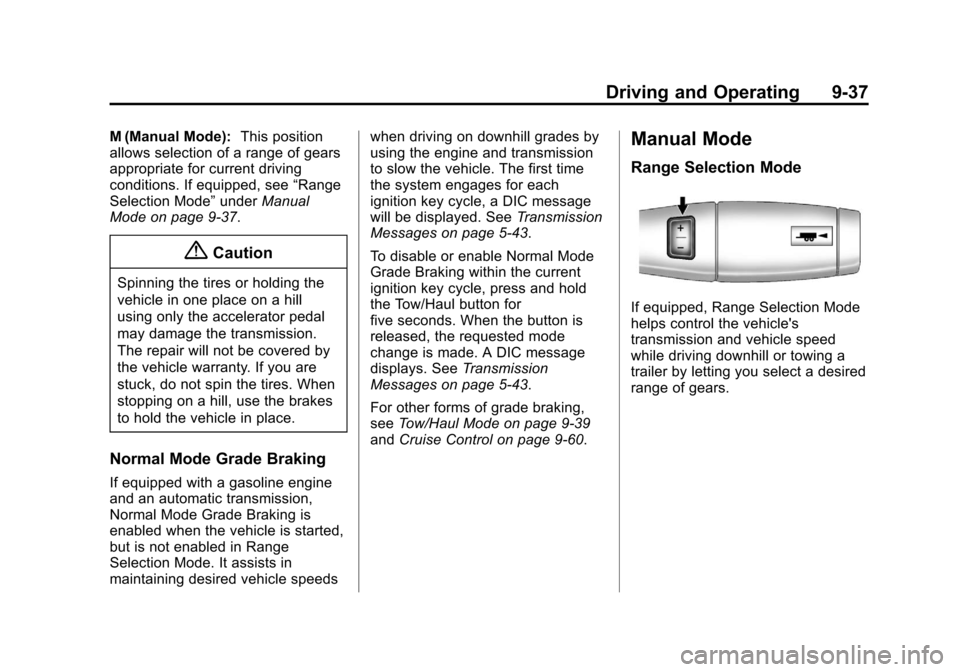
Manual Mode
Range Selection Mode
If equipped, Range Selection Mode
helps control the vehicle's
transmission and vehicle speed
while driving downhill or towing a
trailer by letting you select a desired
range of gears.
Page 327 of 546
Black plate (59,1)Chevrolet Silverado Owner Manual (GMNA-Localizing-U.S./Canada/Mexico-
5853506) - 2014 - crc 2nd - 5/15/13
Driving and Operating 9-59
Turning the Systems Off
and On
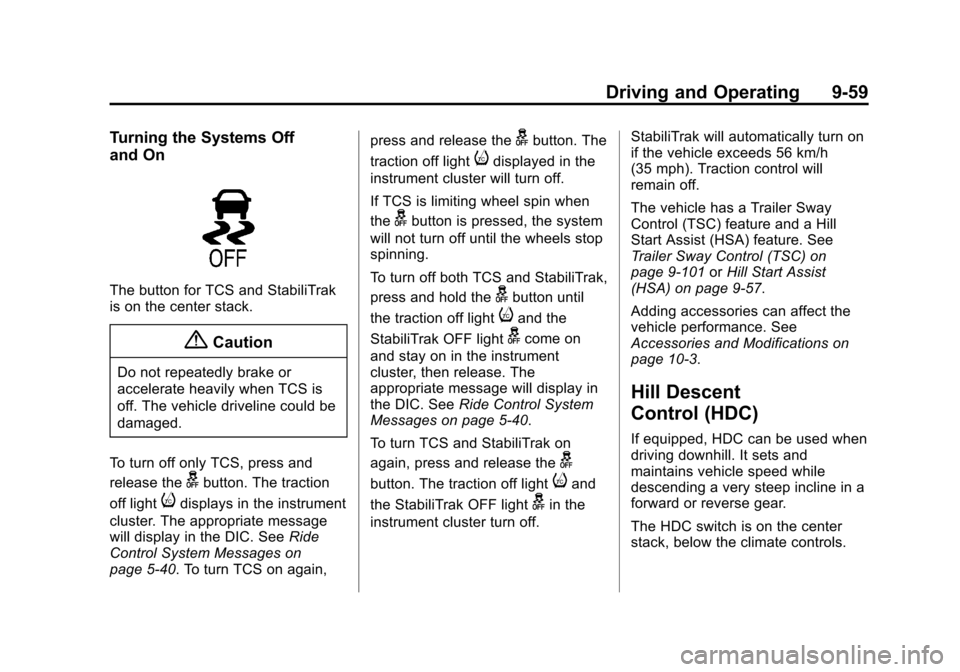
The button for TCS and StabiliTrak
is on the center stack.
{Caution
Do not repeatedly brake or
accelerate heavily when TCS is
off. The vehicle driveline could be
damaged.
To turn off only TCS, press and
release the
gbutton. The traction
off light
idisplays in the instrument
cluster. The appropriate message
will display in the DIC. See Ride
Control System Messages on
page 5-40. To turn TCS on again, press and release the
gbutton. The
traction off light
idisplayed in the
instrument cluster will turn off.
If TCS is limiting wheel spin when
the
gbutton is pressed, the system
will not turn off until the wheels stop
spinning.
To turn off both TCS and StabiliTrak,
press and hold the
gbutton until
the traction off light
iand the
StabiliTrak OFF light
gcome on
and stay on in the instrument
cluster, then release. The
appropriate message will display in
the DIC. See Ride Control System
Messages on page 5-40.
To turn TCS and StabiliTrak on
again, press and release the
g
button. The traction off lightiand
the StabiliTrak OFF light
gin the
instrument cluster turn off. StabiliTrak will automatically turn on
if the vehicle exceeds 56 km/h
(35 mph). Traction control will
remain off.
The vehicle has a Trailer Sway
Control (TSC) feature and a Hill
Start Assist (HSA) feature. See
Trailer Sway Control (TSC) on
page 9-101
orHill Start Assist
(HSA) on page 9-57.
Adding accessories can affect the
vehicle performance. See
Accessories and Modifications on
page 10-3.
Hill Descent
Control (HDC)
If equipped, HDC can be used when
driving downhill. It sets and
maintains vehicle speed while
descending a very steep incline in a
forward or reverse gear.
The HDC switch is on the center
stack, below the climate controls.
Page 440 of 546
Black plate (66,1)Chevrolet Silverado Owner Manual (GMNA-Localizing-U.S./Canada/Mexico-
5853506) - 2014 - crc 2nd - 5/15/13
10-66 Vehicle Care
wheels on the vehicle that prevent
the TPMS from functioning properly.
Always check the TPMS malfunction
telltale after replacing one or more
tires or wheels on your vehicle to
ensure that the replacement or
alternate tires and wheels allow the
TPMS to continue to function
properly.
SeeTire Pressure Monitor
Operation on page 10-66.
See Radio Frequency Statement on
page 13-15.
Tire Pressure Monitor
Operation
This vehicle may have a Tire
Pressure Monitor System (TPMS).
The TPMS is designed to warn the
driver when a low tire pressure
condition exists. TPMS sensors are
mounted onto each tire and wheel
assembly, excluding the spare tire
and wheel assembly. The TPMS
sensors monitor the air pressure in the tires and transmit the tire
pressure readings to a receiver
located in the vehicle.
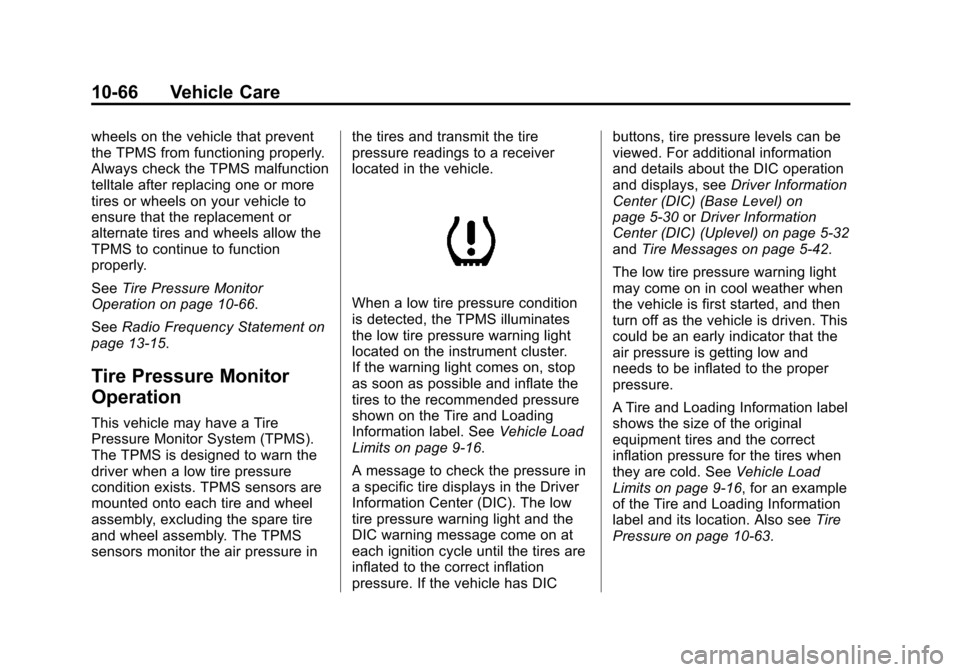
When a low tire pressure condition
is detected, the TPMS illuminates
the low tire pressure warning light
located on the instrument cluster.
If the warning light comes on, stop
as soon as possible and inflate the
tires to the recommended pressure
shown on the Tire and Loading
Information label. See
Vehicle Load
Limits on page 9-16.
A message to check the pressure in
a specific tire displays in the Driver
Information Center (DIC). The low
tire pressure warning light and the
DIC warning message come on at
each ignition cycle until the tires are
inflated to the correct inflation
pressure. If the vehicle has DIC buttons, tire pressure levels can be
viewed. For additional information
and details about the DIC operation
and displays, see
Driver Information
Center (DIC) (Base Level) on
page 5-30 orDriver Information
Center (DIC) (Uplevel) on page 5-32
and Tire Messages on page 5-42.
The low tire pressure warning light
may come on in cool weather when
the vehicle is first started, and then
turn off as the vehicle is driven. This
could be an early indicator that the
air pressure is getting low and
needs to be inflated to the proper
pressure.
A Tire and Loading Information label
shows the size of the original
equipment tires and the correct
inflation pressure for the tires when
they are cold. See Vehicle Load
Limits on page 9-16, for an example
of the Tire and Loading Information
label and its location. Also see Tire
Pressure on page 10-63.
Page 442 of 546
Black plate (68,1)Chevrolet Silverado Owner Manual (GMNA-Localizing-U.S./Canada/Mexico-
5853506) - 2014 - crc 2nd - 5/15/13
10-68 Vehicle Care
.Operating electronic devices or
being near facilities using radio
wave frequencies similar to the
TPMS could cause the TPMS
sensors to malfunction.
If the TPMS is not functioning
properly, it cannot detect or signal a
low tire condition. See your dealer
for service if the TPMS malfunction
light and DIC message come on
and stay on.
TPMS Sensor Matching
Process
Each TPMS sensor has a unique
identification code. The identification
code needs to be matched to a new
tire/wheel position after rotating the
vehicle’s tires or replacing one or
more of the TPMS sensors. Also,
the TPMS sensor matching process
should be performed after replacing
a spare tire with a road tire
containing the TPMS sensor. The
malfunction light and the DIC
message should go off at the next
ignition cycle. The sensors are
matched to the tire/wheel positions, using a TPMS relearn tool, in the
following order: driver side front tire,
passenger side front tire, passenger
side rear tire, and driver side rear.
See your dealer for service or to
purchase a relearn tool.
There are two minutes to match the
first tire/wheel position, and
five minutes overall to match all four
tire/wheel positions. If it takes
longer, the matching process stops
and must be restarted.
The TPMS sensor matching
process is:
1. Set the parking brake.
2. Turn the ignition to ON/RUN with
the engine off.
3. Uplevel DIC Only: Make sure the Tire Pressure info page option is
turned on. The info pages on the
DIC can be turned on and off
through the Settings menu. See
Driver Information Center (DIC)
(Base Level) on page 5-30 or
Driver Information Center (DIC)
(Uplevel) on page 5-32. 4. If the vehicle has an uplevel
DIC, use the DIC controls on the
right side of the steering wheel
to scroll to the Tire Pressure
screen under the DIC info page.
If the vehicle has a base level
DIC, use the trip odometer reset
stem to scroll to the Tire
Pressure screen.
5. If the vehicle has an uplevel DIC, press and hold the
V(Set/
Reset) button located in the
center of the DIC controls.
If the vehicle has a base level
DIC, press and hold the trip
odometer reset stem for about
five seconds. A message asking
if the process should begin
should appear. Select yes and
press the trip odometer reset
stem to confirm the selection.
The horn sounds twice to signal
the receiver is in relearn mode
and the TIRE LEARNING
ACTIVE message displays on
the DIC screen.