Page 177 of 259

Connecting electrical
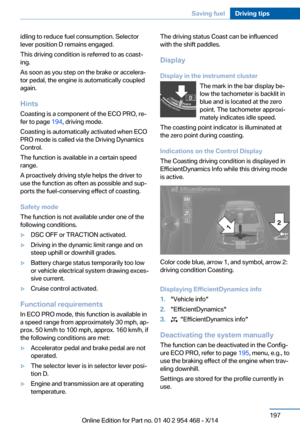
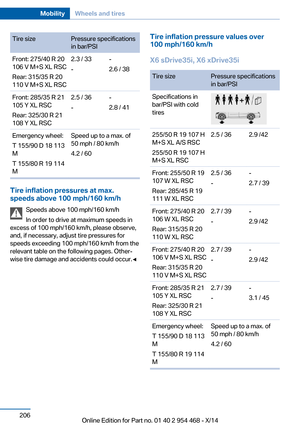
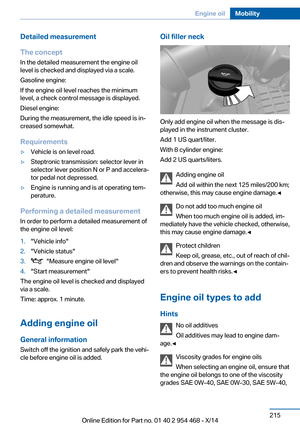
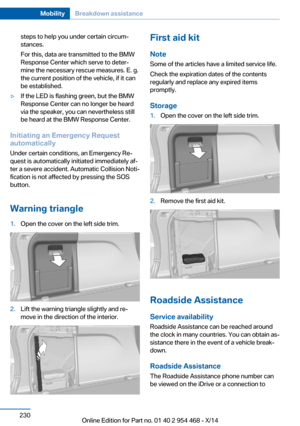
devices
Hints Do not connect charging devices to the
12 volt socket in the vehicle
Do not connect battery chargers to the fac‐
tory-installed 12 volt sockets in the vehicle as
this may damage the vehicle battery due to an
increased power consumption.◀
Replace the cover after use
Reinsert the lighter or socket cover after
use, otherwise objects may get into the lighter
socket or fixture and cause a short circuit.◀
Sockets
General information
The lighter socket can be used as a socket for
electrical equipment while the engine is run‐
ning or when the ignition is switched on.
NoteThe total load of all sockets must not exceed140 watts at 12 volts.
Do not damage the socket by using unsuitable
connectors.
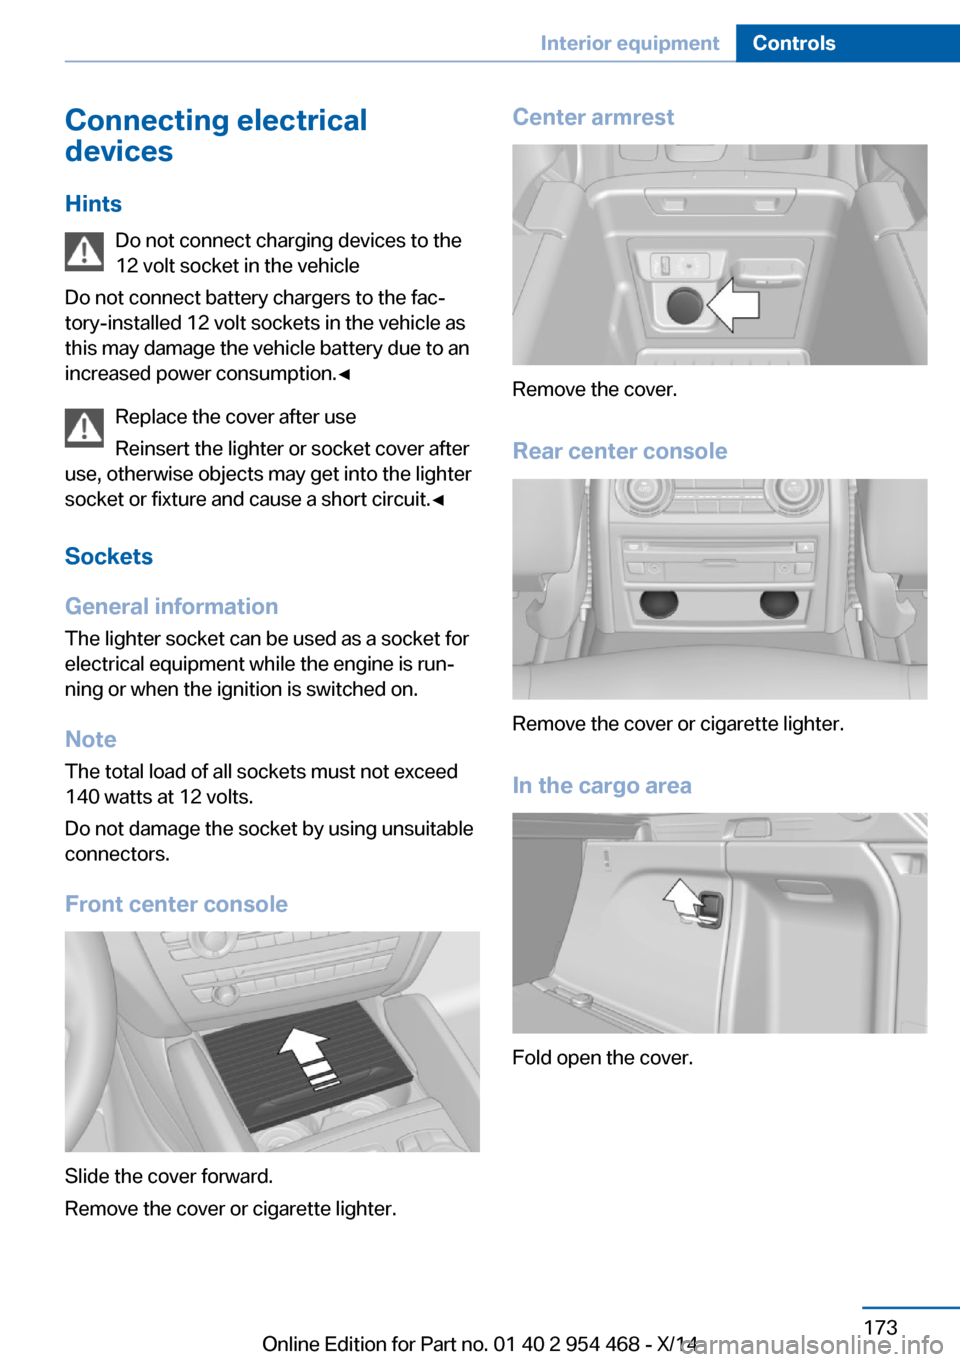
Front center console
Slide the cover forward.
Remove the cover or cigarette lighter.
Center armrest
Remove the cover.
Rear center console
Remove the cover or cigarette lighter.
In the cargo area
Fold open the cover.
Seite 173Interior equipmentControls173
Online Edition for Part no. 01 40 2 954 468 - X/14
Page 178 of 259

USB interface for data
transfer
The concept Connection for importing and exporting data
on USB devices, e.g.:▷Personal Profile settings, refer to page 35.▷Music collection, see user's manual for
Navigation, Entertainment and Communi‐
cation.
Hints
Observe the following when connecting:
▷Do not use force when plugging the con‐
nector into the USB interface.▷Do not connect devices such as fans or
lights to the USB interface.▷Do not connect USB hard drives.▷Do not use the USB interface for recharg‐
ing external devices.
With navigation system Professional
or TV: at a glance
The USB interface is located in the center arm‐
rest.
Rear cooler
Note Immediately close cooler again
Close the cooler immediately after use
while driving; otherwise, injury may occur dur‐
ing accidents.◀
Folding down the middle section
Reach into the recess and pull forward.
Opening
Pull on the opener and fold the cooler forward. Switching onThe cooler can be operated at two levels.
1.Switch on the ignition.2. Press button once for each cooling
level.
The highest cooling power is active when
two LEDs are lit.
Seite 174ControlsInterior equipment174
Online Edition for Part no. 01 40 2 954 468 - X/14
Page 179 of 259

If the cooler was switched on the last time the
ignition was switched on, it will likewise be
switched on the next time the ignition is
switched on.
Switch off
Press button repeatedly until the LEDs go out.
Removing1.Pull handles on both sides, arrows.2.Fold both release levers up.3.Pull cooler downward and remove it.Installing1.Push the cooler forward onto the contact
up to the stop.2.Fold both release levers down.3.Pull handles, arrows 1, and press the re‐
lease levers, arrows 2, into the rails, until
they latch.
Malfunction
The cooler cannot be switched on or switches
off, e.g., when the cooling system overheats or
if the battery voltage is low. One of the LEDs
flashes.
Remedy the problem
1.If necessary, allow the refrigerator cooling
system to cool down.2.Start the engine.3.Switch on cooler.
If the LED flashes even after a short time, have
the cooler checked by the service center.
Seite 175Interior equipmentControls175
Online Edition for Part no. 01 40 2 954 468 - X/14
Page 180 of 259

Cargo area
Cargo cover
Note Do not deposit heavy objects
Do not deposit heavy or hard objects on
the cargo cover. Otherwise, they may pose a
risk to occupants, such as during braking and
evasive maneuvers.◀
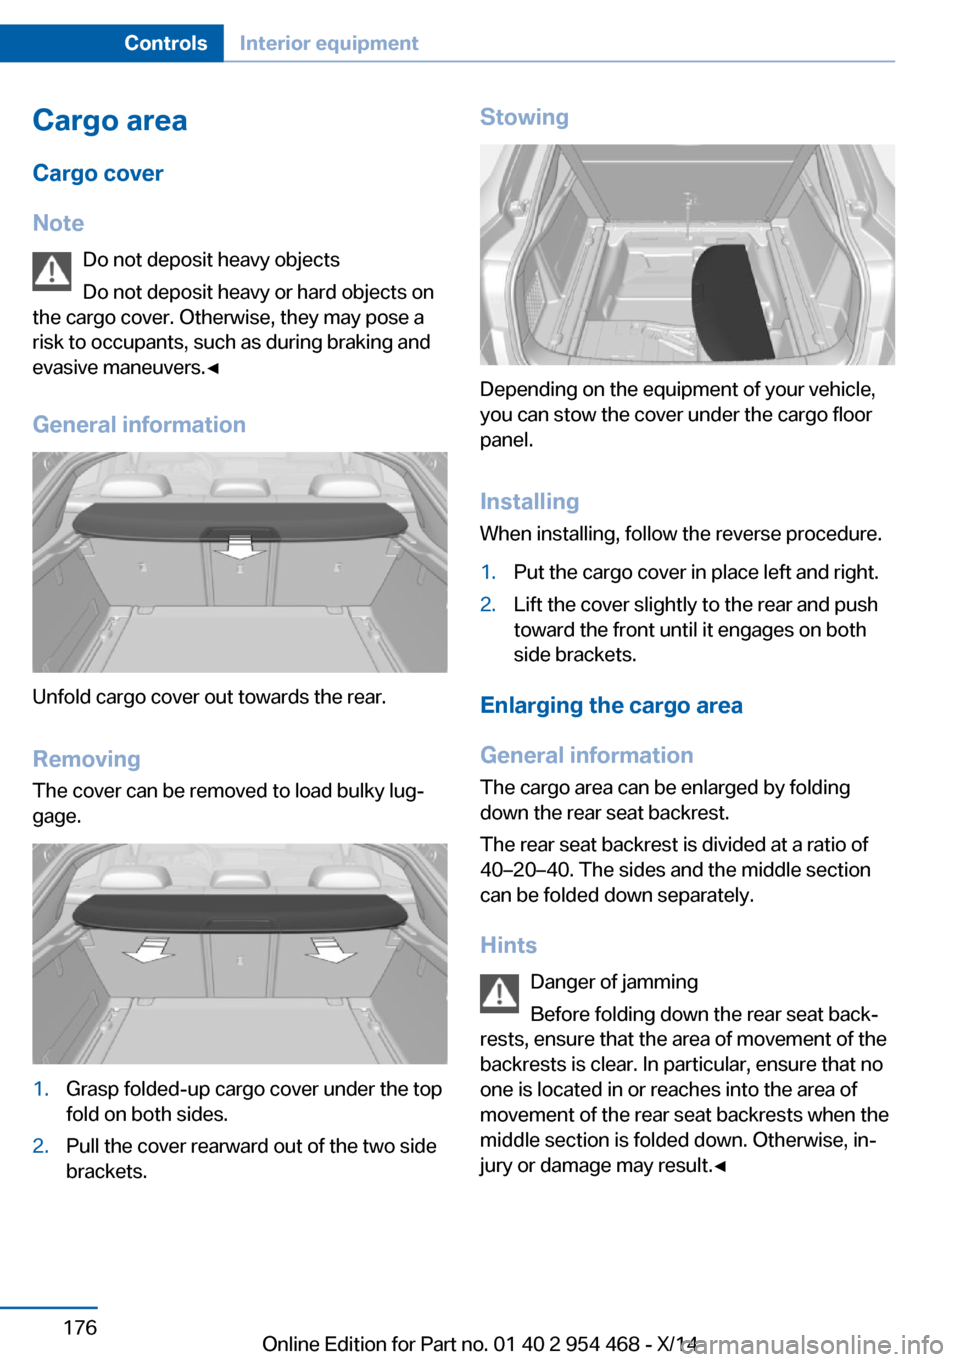
General information
Unfold cargo cover out towards the rear.
RemovingThe cover can be removed to load bulky lug‐
gage.
1.Grasp folded-up cargo cover under the top
fold on both sides.2.Pull the cover rearward out of the two side
brackets.Stowing
Depending on the equipment of your vehicle,
you can stow the cover under the cargo floor
panel.
Installing When installing, follow the reverse procedure.
1.Put the cargo cover in place left and right.2.Lift the cover slightly to the rear and push
toward the front until it engages on both
side brackets.
Enlarging the cargo area
General information
The cargo area can be enlarged by folding
down the rear seat backrest.
The rear seat backrest is divided at a ratio of
40–20–40. The sides and the middle section
can be folded down separately.
Hints Danger of jamming
Before folding down the rear seat back‐
rests, ensure that the area of movement of the
backrests is clear. In particular, ensure that no
one is located in or reaches into the area of
movement of the rear seat backrests when the
middle section is folded down. Otherwise, in‐
jury or damage may result.◀
Seite 176ControlsInterior equipment176
Online Edition for Part no. 01 40 2 954 468 - X/14
Page 181 of 259

Ensuring the stability of the child seat
When installing child restraint systems,
make sure that the child seat is securely fas‐
tened to the backrest of the seat. Angle and
headrest of the backrest might need to be ad‐
justed or possibly be removed. Make sure that
all backrests are securely locked. Otherwise
the stability of the child seat can be affected,
and there is an increased risk of injury because
of unexpected movement of the rear seat
backrest.◀
Ensure that the lock is securely engaged
When you fold back the backrest make
sure that it locks in place. When this happens
the red warning field on the seat disappears.
Otherwise transported cargo could shoot into
the car's interior during braking or evasive ma‐
neuvers and endanger occupants.◀
Using the middle safety belt
If the middle safety belt in the rear is
used, the larger side of the backrest must be
locked. Otherwise, the safety belt will not have
a restraining effect.◀
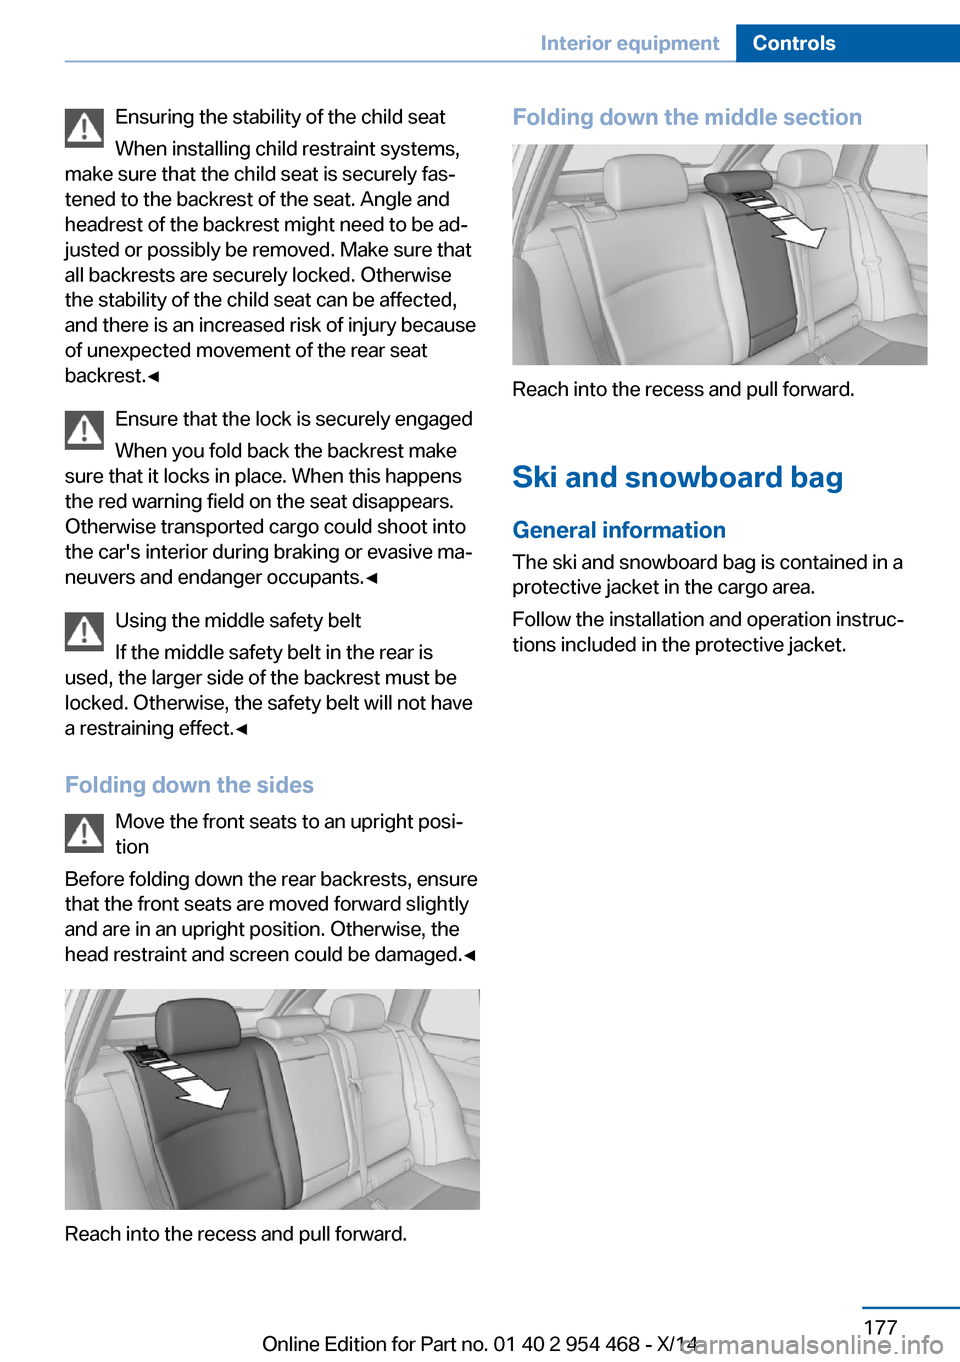
Folding down the sides Move the front seats to an upright posi‐
tion
Before folding down the rear backrests, ensure
that the front seats are moved forward slightly
and are in an upright position. Otherwise, the
head restraint and screen could be damaged.◀
Reach into the recess and pull forward.
Folding down the middle section
Reach into the recess and pull forward.
Ski and snowboard bag General information
The ski and snowboard bag is contained in a
protective jacket in the cargo area.
Follow the installation and operation instruc‐
tions included in the protective jacket.
Seite 177Interior equipmentControls177
Online Edition for Part no. 01 40 2 954 468 - X/14
Page 182 of 259

Storage compartmentsVehicle features and optionsThis chapter describes all standard, country-
specific and optional features offered with the
series. It also describes features that are not
necessarily available in your car, e. g., due to
the selected options or country versions. This
also applies to safety-related functions and
systems.
Hints No loose objects in the car's interior
Do not stow any objects in the car's inte‐
rior without securing them; otherwise, they
may present a danger to occupants e.g., during
braking and evasive maneuvers.◀
Do not place anti-slip mats on the dash‐
board
Do not place anti-slip mats on the dashboard.
The mat materials could damage the dash‐
board.◀
Storage compartments The following storage compartments are avail‐
able in the vehicle interior:▷Glove compartment on the front passenger
side, refer to page 178.▷Glove compartment on the driver's side,
refer to page 179.▷Compartments in the doors, refer to
page 179.▷Storage compartment on the center arm‐
rest, refer to page 179.▷Center armrest, refer to page 179.▷Glasses compartment, refer to page 180.Glove compartment
Front passenger side
Note Close the glove compartment again im‐
mediately
Close the glove compartment immediately af‐
ter use while driving; otherwise, injury may oc‐
cur during accidents.◀
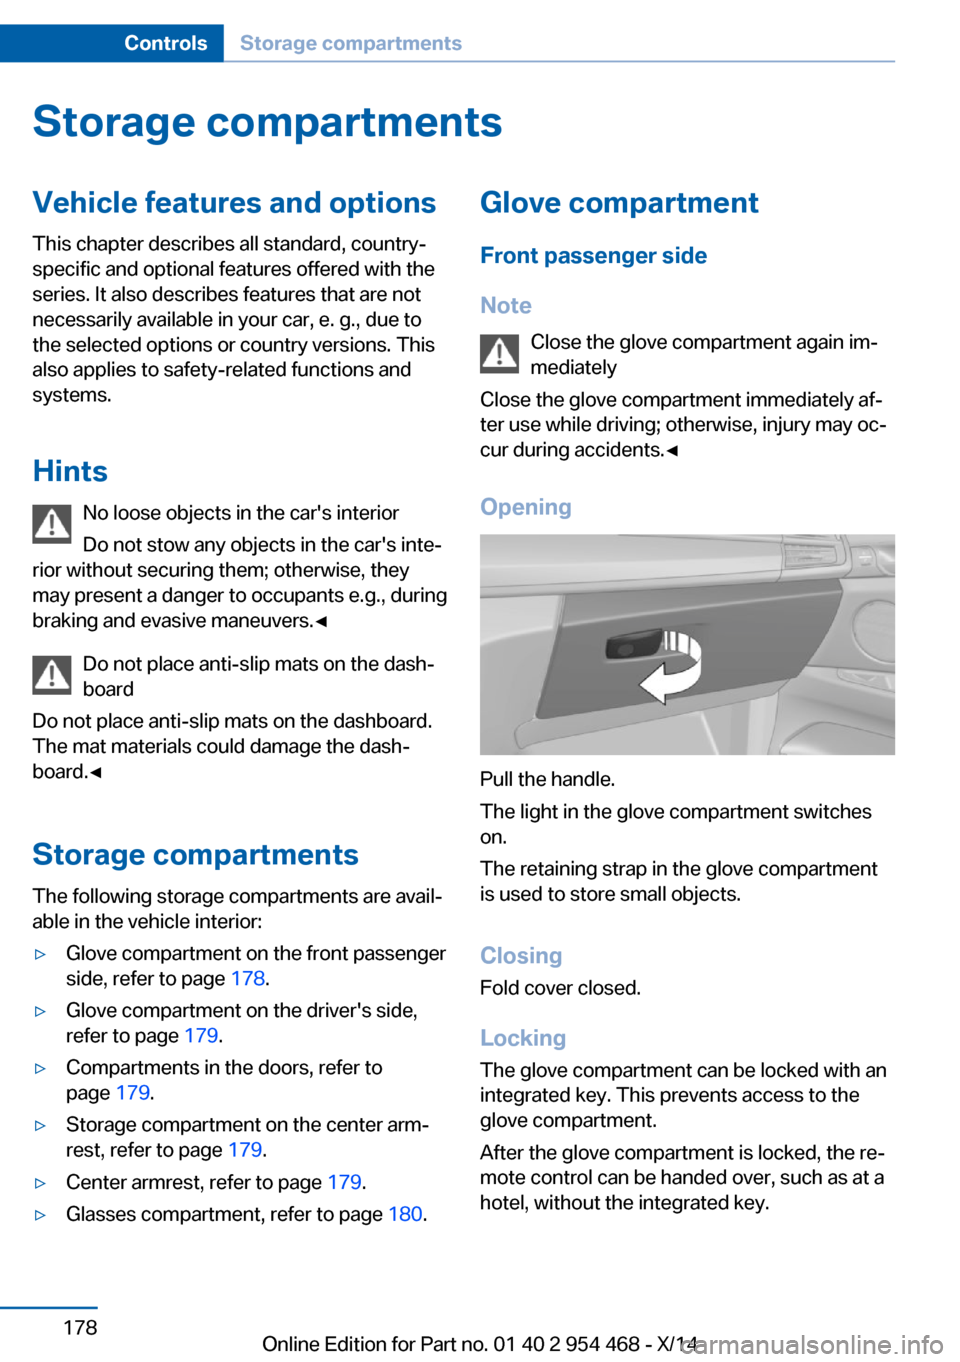
Opening
Pull the handle.
The light in the glove compartment switches
on.
The retaining strap in the glove compartment
is used to store small objects.
ClosingFold cover closed.
Locking
The glove compartment can be locked with an
integrated key. This prevents access to the
glove compartment.
After the glove compartment is locked, the re‐
mote control can be handed over, such as at a
hotel, without the integrated key.
Seite 178ControlsStorage compartments178
Online Edition for Part no. 01 40 2 954 468 - X/14
Page 183 of 259
Driver's side
Note Close the glove compartment again im‐
mediately
Close the glove compartment immediately af‐
ter use while driving; otherwise, injury may oc‐
cur during accidents.◀
Opening
Pull the handle.
ClosingFold cover closed.
Compartments in the doors Do not stow any breakable objects
Do not store any breakable objects, e. g.
glass bottles, in the compartments, or there is
an increased risk of injury in the event of an ac‐
cident.◀
Storage compartment on the
center console
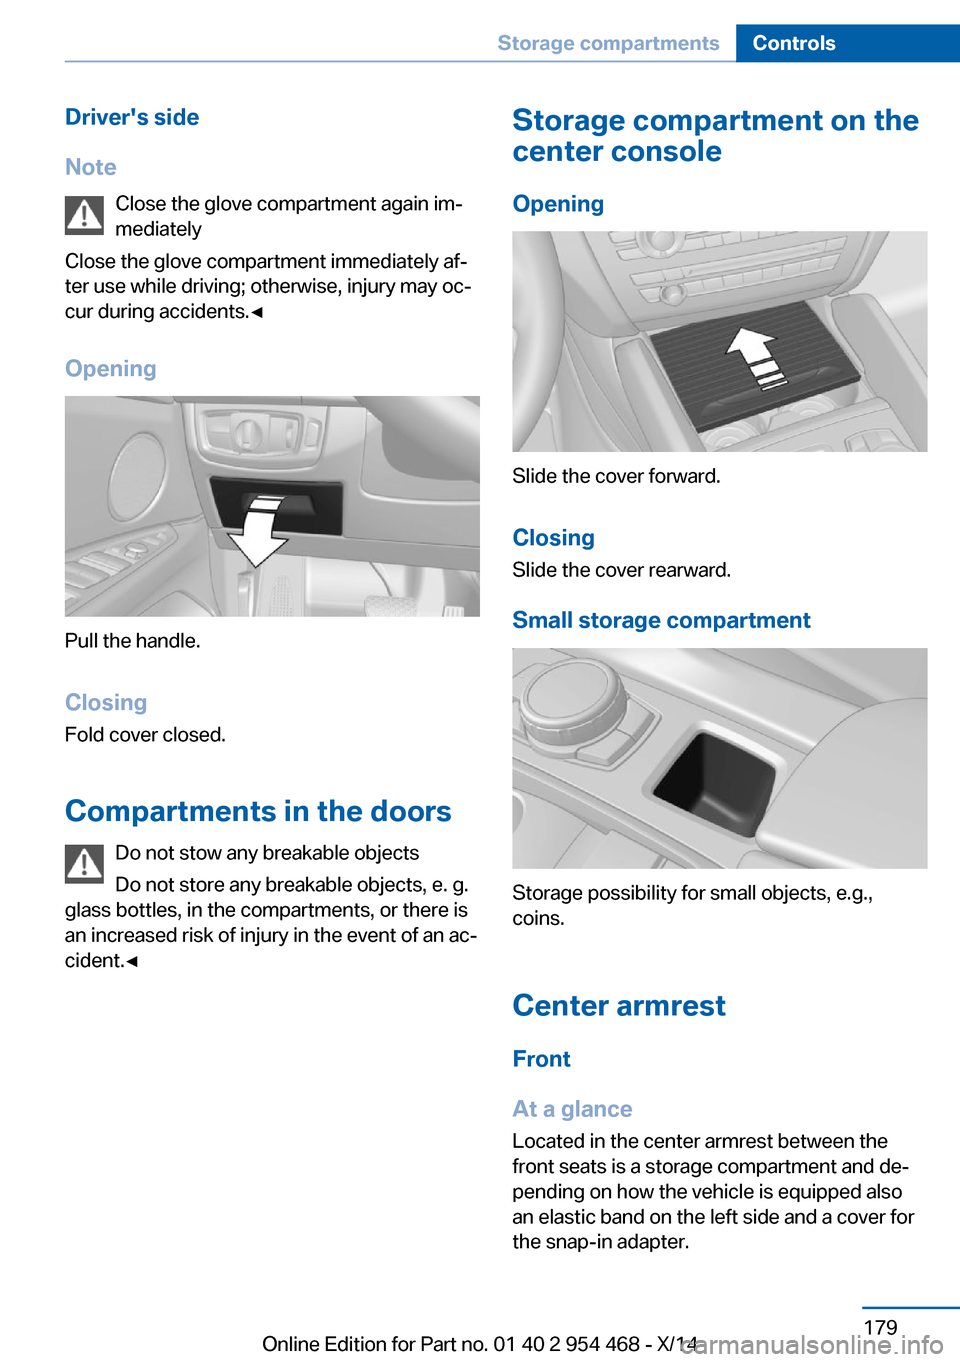
Opening
Slide the cover forward.
Closing Slide the cover rearward.
Small storage compartment
Storage possibility for small objects, e.g.,
coins.
Center armrest Front
At a glance
Located in the center armrest between the
front seats is a storage compartment and de‐ pending on how the vehicle is equipped also
an elastic band on the left side and a cover for
the snap-in adapter.
Seite 179Storage compartmentsControls179
Online Edition for Part no. 01 40 2 954 468 - X/14
Page 184 of 259
Opening
Push the cover down slightly and press the
button, see arrow. The respective cover folds
up.
ClosingFold the respective cover down until it latches.
Connection for an external audio
device
An external audio device, e.g.,
an MP3 player, can be con‐
nected via the AUX-IN port or
the USB audio interface in the
center armrest.
Rear
At a glance A storage compartment is located in the center
armrest between the seats.
Opening
1.Pull the loop and fold down the center arm‐
rest.2.Pull the handle.
Closing
Press cover down until it latches.
Glasses compartment At a glance
The compartment for eye glasses is located
between the interior mirror and interior lights.
Opening
Press button.
Closing Press the cover up until it latches.
Seite 180ControlsStorage compartments180
Online Edition for Part no. 01 40 2 954 468 - X/14