2014 BMW 640I GRAN COUPE auto stop
[x] Cancel search: auto stopPage 13 of 243

Automatic headlamp con‐
trol 88
Daytime running lights 88
Adaptive Light Control 88
High-beam Assistant 89Instrument lighting 907Steering column stalk, leftTurn signal 65High beams, head‐
lamp flasher 65High-beam Assistant 89Roadside parking lamps 88Computer 838Shift paddles 709Steering wheel buttons, leftStore speed 134, 125Resume speed 136, 128Cruise control on/off, interrupt‐
ing 126Cruise control on/off, interrupt‐
ing 134Reduce distance 128Increase distance 128Congestion Assistant ON/OFF,
Pause 131Congestion Assistant: setting
cruise control distance 125Cruise control rocker switch 136, 12710Instrument cluster 7211Steering wheel buttons, rightEntertainment sourceVolumeVoice activation 22Telephone, see user's manual for
Navigation, Entertainment and
CommunicationThumbwheel for selection lists 8312Steering column stalk, rightWindshield wipers 65Rain sensor 66Clean the windshields and head‐
lamps 6713Start/stop the engine and switch
the ignition on/off 5914Automatic Engine Start/Stop
Function 6015Horn16Steering wheel heating 5317Adjust the steering wheel 5318Unlocking the hoodSeite 13CockpitAt a glance13
Online Edition for Part no. 01 40 2 909 877 - VI/13
Page 31 of 243

Take the used battery to a recycling
center or to your service center.
New remote controls You can obtain new remote controls from your
service center.
Loss of the remote controls Lost remote controls can be blocked by your
service center.
Emergency detection of remote
control
It is possible to switch on the ignition or start
the engine in situations such as the following:▷Interference of radio transmission to re‐
mote control by external sources.▷Discharged battery in the remote control.▷Interference of radio transmission by mo‐
bile devices in close proximity to the re‐
mote control.▷Interference of radio transmission by
charger while charging items such as mo‐
bile devices in the vehicle.
A Check Control message is displayed if an at‐
tempt is made to switch on the ignition or start
the engine.
Starting the engine with emergency
detection of the remote control
If a corresponding Check Control message ap‐
pears, hold the remote control vertically
against the marked area on the steering col‐
umn and press the Start/Stop button within
10 seconds while pressing the brake.
Personal Profile The conceptYou can set several of your vehicle's functions
to suit your personal needs and preferences.▷The settings are automatically saved in the
profile currently activated.▷The remote control used is detected when
the vehicle is unlocked and the stored pro‐
file is called up.▷Your personal settings will be recognized
and called up again even if the vehicle has
been used in the meantime by someone
else with another remote control.
The individual settings are stored for three
Personal Profiles and one guest profile.
Transmitting the settings
Your personal settings can be taken with you
to another vehicle equipped with the Personal
Profile function. For more information, contact
your service center.
Transmission takes place via:
▷The USB interface in the center armrest
onto a USB device.▷BMW Online.
Profile management
Opening the profiles A different profile can be called up than the
one associated with the remote control cur‐
rently in use.
1."Settings"2."Profiles"3.Select a profile.
Called up profile is assigned to the remote
control being used at the time.
Seite 31Opening and closingControls31
Online Edition for Part no. 01 40 2 909 877 - VI/13
Page 41 of 243

After 10 seconds, the indicator lamp
flashes continuously. Interior motion sen‐
sor and tilt alarm sensor are not active.▷The indicator lamp goes out after unlock‐
ing:
The vehicle has not been tampered with.▷The indicator lamp flashes after unlocking
until the engine ignition is switched on, but
no longer than approx. 5 minutes:
An alarm has been triggered.
Tilt alarm sensor The tilt of the vehicle is monitored.
The alarm system responds in situations such
as attempts to steal a wheel or when the car is
towed.
Interior motion sensor The windows and glass sunroof must be
closed for the system to function properly.
Avoiding unintentional alarms The tilt alarm sensor and interior motion sen‐
sor can be switched off together, such as in
the following situations:
▷In automatic car washes.▷In duplex garages.▷During transport on car-carrying trains, at
sea or on a trailer.▷When animals are to remain in the vehicle.
Switching off the tilt alarm sensor and
interior motion sensor
Press the remote control button again
within 10 seconds as soon as the vehicle
is locked.
The indicator lamp lights up for approx. 2 sec‐
onds and then continues to flash.
The tilt alarm sensor and interior motion sen‐
sor are switched off until the vehicle is locked
again.
Power windows
General information Take the remote control with you
Take the remote control with you when
leaving the vehicle so that children, for exam‐
ple, cannot operate the power windows and in‐
jure themselves.◀
Opening
▷ Press the switch to the resistance
point.
The window opens while the switch is held.▷ Press the switch beyond the resist‐
ance point.
The window opens automatically.
Pressing the switch again stops the motion.
Convenient opening, refer to page 34, via the
remote control.
Closing Keep the closing path clear
Monitor the closing process and make
sure that the closing path of the window is
clear; otherwise, injuries may result.◀
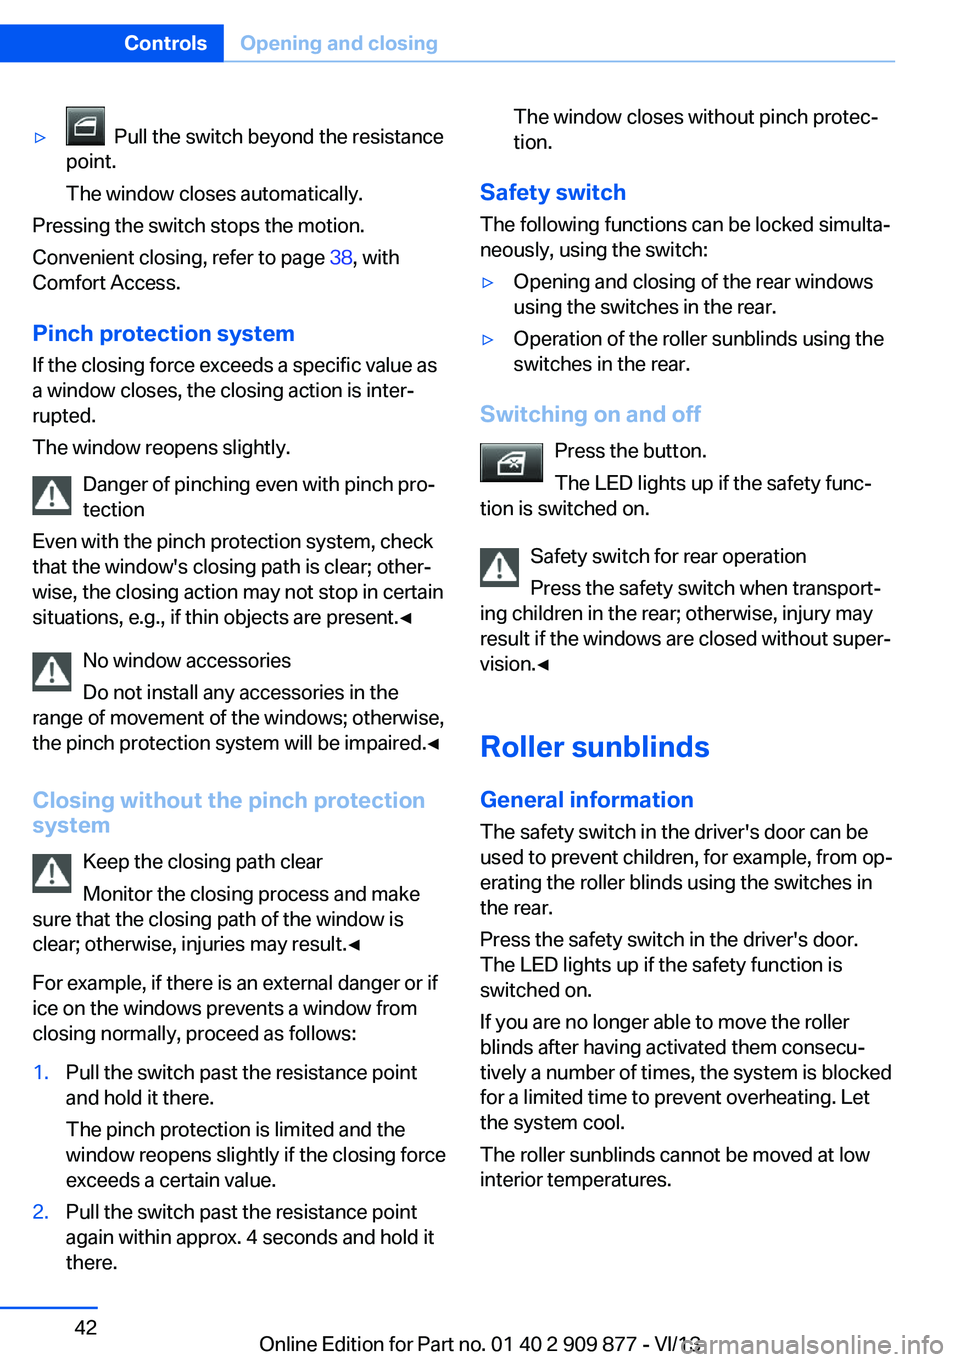
▷ Pull the switch to the resistance
point.
The window closes while the switch is
held.
Seite 41Opening and closingControls41
Online Edition for Part no. 01 40 2 909 877 - VI/13
Page 42 of 243

▷ Pull the switch beyond the resistance
point.
The window closes automatically.
Pressing the switch stops the motion.
Convenient closing, refer to page 38, with
Comfort Access.
Pinch protection system If the closing force exceeds a specific value as
a window closes, the closing action is inter‐
rupted.
The window reopens slightly.
Danger of pinching even with pinch pro‐
tection
Even with the pinch protection system, check
that the window's closing path is clear; other‐
wise, the closing action may not stop in certain
situations, e.g., if thin objects are present.◀
No window accessories
Do not install any accessories in the
range of movement of the windows; otherwise,
the pinch protection system will be impaired.◀
Closing without the pinch protection
system
Keep the closing path clear
Monitor the closing process and make
sure that the closing path of the window is
clear; otherwise, injuries may result.◀
For example, if there is an external danger or if
ice on the windows prevents a window from
closing normally, proceed as follows:
1.Pull the switch past the resistance point
and hold it there.
The pinch protection is limited and the
window reopens slightly if the closing force
exceeds a certain value.2.Pull the switch past the resistance point
again within approx. 4 seconds and hold it
there.The window closes without pinch protec‐
tion.
Safety switch
The following functions can be locked simulta‐
neously, using the switch:
▷Opening and closing of the rear windows
using the switches in the rear.▷Operation of the roller sunblinds using the
switches in the rear.
Switching on and off
Press the button.
The LED lights up if the safety func‐
tion is switched on.
Safety switch for rear operation
Press the safety switch when transport‐
ing children in the rear; otherwise, injury may
result if the windows are closed without super‐
vision.◀
Roller sunblinds
General information
The safety switch in the driver's door can be
used to prevent children, for example, from op‐
erating the roller blinds using the switches in
the rear.
Press the safety switch in the driver's door.
The LED lights up if the safety function is
switched on.
If you are no longer able to move the roller
blinds after having activated them consecu‐
tively a number of times, the system is blocked
for a limited time to prevent overheating. Let
the system cool.
The roller sunblinds cannot be moved at low
interior temperatures.
Seite 42ControlsOpening and closing42
Online Edition for Part no. 01 40 2 909 877 - VI/13
Page 44 of 243

Closed roof is raised and the
sliding visor moves all the
way back.▷To close the switch, press upward briefly
or twice forward past the resistance point.
Convenient operation, refer to page 34, via the
remote control.
Convenient closing, refer to page 38, with
Comfort Access.
Opening/closing the sliding visor
▷Press the switch in the de‐
sired direction to the resist‐
ance point and hold it there.
The sliding visor moves
while the switch is being
held.▷Press the switch in the desired direction
past the resistance point.
The sliding visor moves automatically.
Pressing the switch again stops the mo‐
tion.
Pinch protection system
If the closing force exceeds a specific value as
a glass sunroof closes, the closing action is in‐
terrupted.
The sunroof is tilted again.
Danger of pinching even with pinch pro‐
tection
Despite the pinch protection system, check
that the roof's closing path is clear; otherwise,
the closing action may not be interrupted in
certain extreme situations, such as when thin
objects are present.◀
Closing without the pinch protection
system
If there is an external danger or if, e. g., icing of
the glass sunroof prevents automatic closing,
push the switch forward past the resistance
point and hold it.
The roof closes without pinch protection.
Initializing after a power failure
After a power failure during the opening or
closing process, the roof can only be operated
to a limited extent.
Initializing the system The system can be initialized when the vehicle
is stationary and the engine is running.
During the initialization, the roof closes without
pinch protection.
Keep the closing path clear
Monitor the closing process and make
sure that the closing path of the glass sunroof
is clear; otherwise, injuries may result.◀
Press the switch up and hold ituntil the initialization is com‐
plete:▷Initialization begins within
15 seconds and is com‐
pleted when the sunroof and
sliding visor are completely
closed.▷The roof closes without pinch protection.Seite 44ControlsOpening and closing44
Online Edition for Part no. 01 40 2 909 877 - VI/13
Page 47 of 243

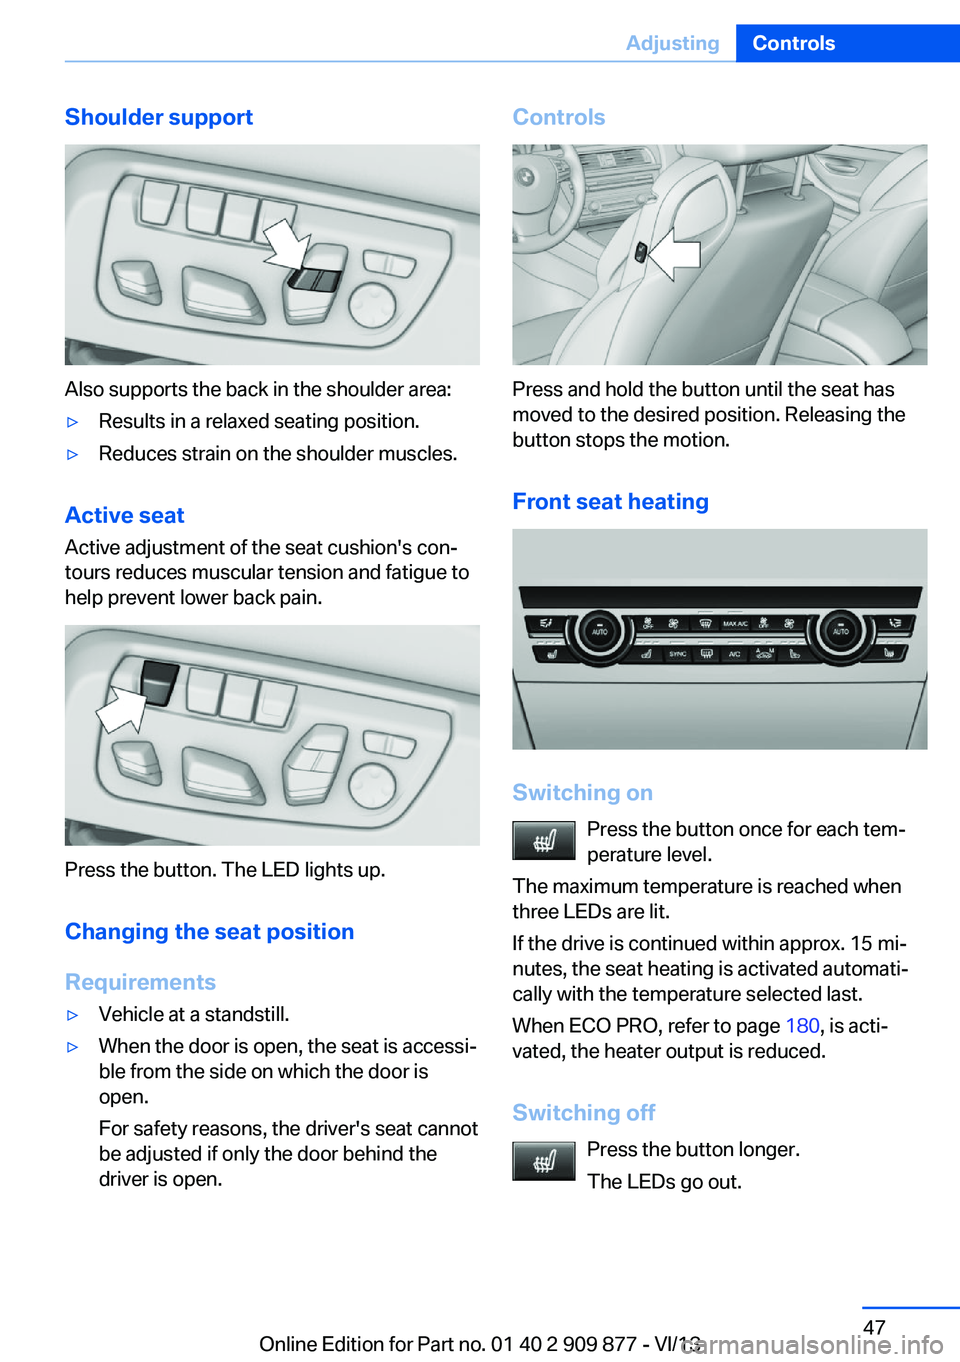
Shoulder support
Also supports the back in the shoulder area:
▷Results in a relaxed seating position.▷Reduces strain on the shoulder muscles.
Active seatActive adjustment of the seat cushion's con‐
tours reduces muscular tension and fatigue to
help prevent lower back pain.
Press the button. The LED lights up.
Changing the seat position
Requirements
▷Vehicle at a standstill.▷When the door is open, the seat is accessi‐
ble from the side on which the door is
open.
For safety reasons, the driver's seat cannot
be adjusted if only the door behind the
driver is open.Controls
Press and hold the button until the seat has
moved to the desired position. Releasing the
button stops the motion.
Front seat heating
Switching on Press the button once for each tem‐
perature level.
The maximum temperature is reached when
three LEDs are lit.
If the drive is continued within approx. 15 mi‐
nutes, the seat heating is activated automati‐
cally with the temperature selected last.
When ECO PRO, refer to page 180, is acti‐
vated, the heater output is reduced.
Switching off Press the button longer.
The LEDs go out.
Seite 47AdjustingControls47
Online Edition for Part no. 01 40 2 909 877 - VI/13
Page 51 of 243

Seat, mirror, and steering
wheel memory
General information
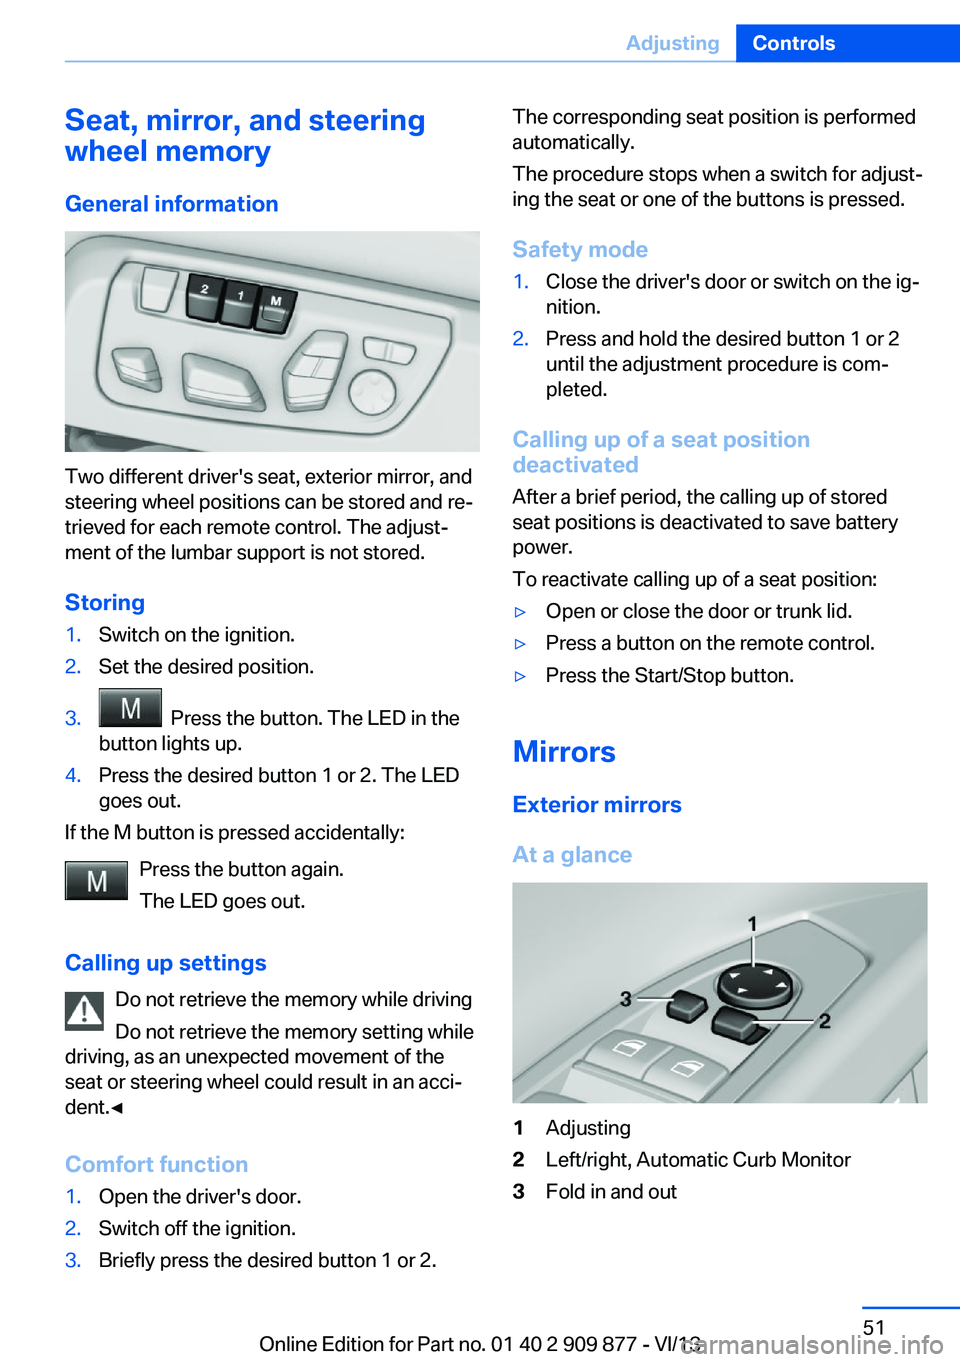
Two different driver's seat, exterior mirror, and
steering wheel positions can be stored and re‐
trieved for each remote control. The adjust‐
ment of the lumbar support is not stored.
Storing
1.Switch on the ignition.2.Set the desired position.3. Press the button. The LED in the
button lights up.4.Press the desired button 1 or 2. The LED
goes out.
If the M button is pressed accidentally:
Press the button again.
The LED goes out.
Calling up settings Do not retrieve the memory while driving
Do not retrieve the memory setting while
driving, as an unexpected movement of the
seat or steering wheel could result in an acci‐
dent.◀
Comfort function
1.Open the driver's door.2.Switch off the ignition.3.Briefly press the desired button 1 or 2.The corresponding seat position is performed
automatically.
The procedure stops when a switch for adjust‐
ing the seat or one of the buttons is pressed.
Safety mode1.Close the driver's door or switch on the ig‐
nition.2.Press and hold the desired button 1 or 2
until the adjustment procedure is com‐
pleted.
Calling up of a seat position
deactivated
After a brief period, the calling up of stored
seat positions is deactivated to save battery
power.
To reactivate calling up of a seat position:
▷Open or close the door or trunk lid.▷Press a button on the remote control.▷Press the Start/Stop button.
Mirrors
Exterior mirrors
At a glance
1Adjusting2Left/right, Automatic Curb Monitor3Fold in and outSeite 51AdjustingControls51
Online Edition for Part no. 01 40 2 909 877 - VI/13
Page 58 of 243

DrivingVehicle equipment
All standard, country-specific and optional
equipment that is offered in the model series is
described in this chapter. Therefore, equip‐
ment is also described that is not available in a
vehicle, e. g., because of the selected optional
equipment or country variant. This also applies
for safety-related functions and systems.
Start/Stop button The concept Pressing the Start/Stop button
switches the ignition on or off
and starts the engine.
The engine starts if the brake
pedal is pressed when you press
the Start/Stop button.
Ignition onPress the Start/Stop button and do not press
on the brake pedal at the same time.
All vehicle systems are ready for operation.
Most of the indicator and warning lamps in the
instrument cluster light up for varying lengths
of time.
To save battery power when the engine is off,
switch off the ignition and any unnecessary
electronic systems/power consumers.
The ignition switches off automatically:▷When locking the vehicle, even if the low
beams are switched on.▷Shortly before the battery is discharged
completely, so that the engine can still be
started.Note
If the engine is switched off and the ignition is
switched on, the system automatically
switches to the radio ready state when the
door is opened if the lights are switched off or
the daytime running lights are switched on.
Ignition off
Press the Start/Stop button again and do not
press on the brake pedal at the same time.
All indicator lamps in the instrument cluster go
out.
To save battery power when the engine is off,
switch off the ignition and any unnecessary
electronic systems/power consumers.
Transmission position P with the ignition
off
When the ignition is switched off, position P is
engaged automatically. When in an automatic
car wash, for example, ensure that the ignition
is not switched off accidentally.◀
The ignition automatically cuts off while the
vehicle is stationary and the engine is stopped:▷When locking the vehicle, and when the
low beams are activated.▷Shortly before the battery is discharged
completely, so that the engine can still be
started. This function is only available
when the low beams are switched off.▷When opening or closing the driver door, if
the driver's seat belt is unbuckled and the
low beams are switched off.▷While the driver's seat belt is unbuckled, if
the driver's door is open and the low
beams are switched off.
When the ignition is switched off, by opening
or closing the driver's door or unbuckling the
driver's seat belt, the radio ready state remains
active.
Seite 58ControlsDriving58
Online Edition for Part no. 01 40 2 909 877 - VI/13