2014 BMW 535I XDRIVE ignition
[x] Cancel search: ignitionPage 65 of 267
Engine stop
Hints Take the remote control with youTake the remote control with you when
leaving the vehicle so that children, for exam‐
ple, cannot start the engine.◀
Set the parking brake and further secure
the vehicle as required
Set the parking brake firmly when parking; oth‐
erwise, the vehicle could roll. On steep upward
and downward inclines, further secure the ve‐
hicle, for example, by turning the steering
wheel in the direction of the curb. ◀
Before driving into a car wash
In order for the vehicle to be able to roll into a
car wash, pay attention to the information re‐
garding Washing in automatic car washes, re‐
fer to page 246.
Automatic transmission
Switching off the engine1.Engage selector lever position P with the
vehicle stopped.2.Press the Start/Stop button.
The engine is switched off.
The radio ready state is switched on.3.Set the parking brake.
Manual transmission
Switching off the engine
1.With the vehicle at a standstill, press the
Start/Stop button.2.Shift into first gear or reverse.3.Set the parking brake.Automatic Engine Start/Stop
Function
The concept The Auto Start/Stop function helps save fuel.
The system switches off the engine during a
stop, e.g., in traffic congestion or at traffic
lights. The ignition remains switched on. The
engine starts again automatically for driving
off.
Automatic mode
After every start of the engine using the Start/
Stop button, the Auto Start/Stop function is in
the last selected state, refer to page 67.
When the Auto Start Stop function is active, it
is available when the vehicle is traveling faster
than about 3 mph, approx. 5 km/h.
Engine stop
The engine is switched off automatically dur‐
ing a stop under the following conditions:
Automatic transmission:▷The selector lever is in selector lever posi‐
tion D.▷The brake pedal remains pressed while the
vehicle is stationary or the vehicle is held
by Automatic Hold.▷The driver's safety belt is buckled or the
driver's door is closed.
Manual transmission:
▷Neutral is engaged and the clutch pedal is
not pressed.▷The driver's safety belt is buckled or the
driver's door is closed.
The air flow of the air conditioner is reduced
when the engine is switched off.
Seite 65DrivingControls65
Online Edition for Part no. 01 40 2 928 000 - II/14
Page 67 of 267

Activating/deactivating the system
manually
Using the button
Press the button.
▷LED comes on: Auto Start Stop function is
deactivated.
The engine is started during an automatic
engine stop.
The engine can only be stopped or started
via the Start/Stop button.▷LED goes out: Auto Start Stop function is
activated.
Switching off the vehicle during an
automatic engine stop
During an automatic engine stop, the vehicle
can be switched off permanently, e.g., when
leaving it.
1.Press the Start/Stop button. The ignition is
switched off. The Auto Start/Stop function
is deactivated.
Selector lever position P is engaged auto‐
matically.2.Set the parking brake.
Engine start as usual via Start/Stop button.
Automatic deactivation
In certain situations, the Auto Start/Stop func‐
tion is deactivated automatically for safety rea‐
sons, such as when the driver is detected to be
absent.
Malfunction
The Auto Start/Stop function no longer
switches of the engine automatically. A Check
Control message is displayed. It is possible to
continue driving. Have the system checked.
Parking brake The conceptThe parking brake is used to prevent the vehi‐
cle from rolling when it is parked.
Setting
Pull the switch.
The LED lights up.
The indicator lamp lights up red. The
parking brake is set.
Lower lamp: indicator lamp in Canadian
models
Set the parking brake and further secure
the vehicle as required
Set the parking brake firmly when parking; oth‐
erwise, the vehicle could roll. On steep upward
and downward inclines, further secure the ve‐
hicle, for example, by turning the steering
wheel in the direction of the curb. ◀
While driving
Use while driving serves as an emergency
braking function:
Seite 67DrivingControls67
Online Edition for Part no. 01 40 2 928 000 - II/14
Page 68 of 267
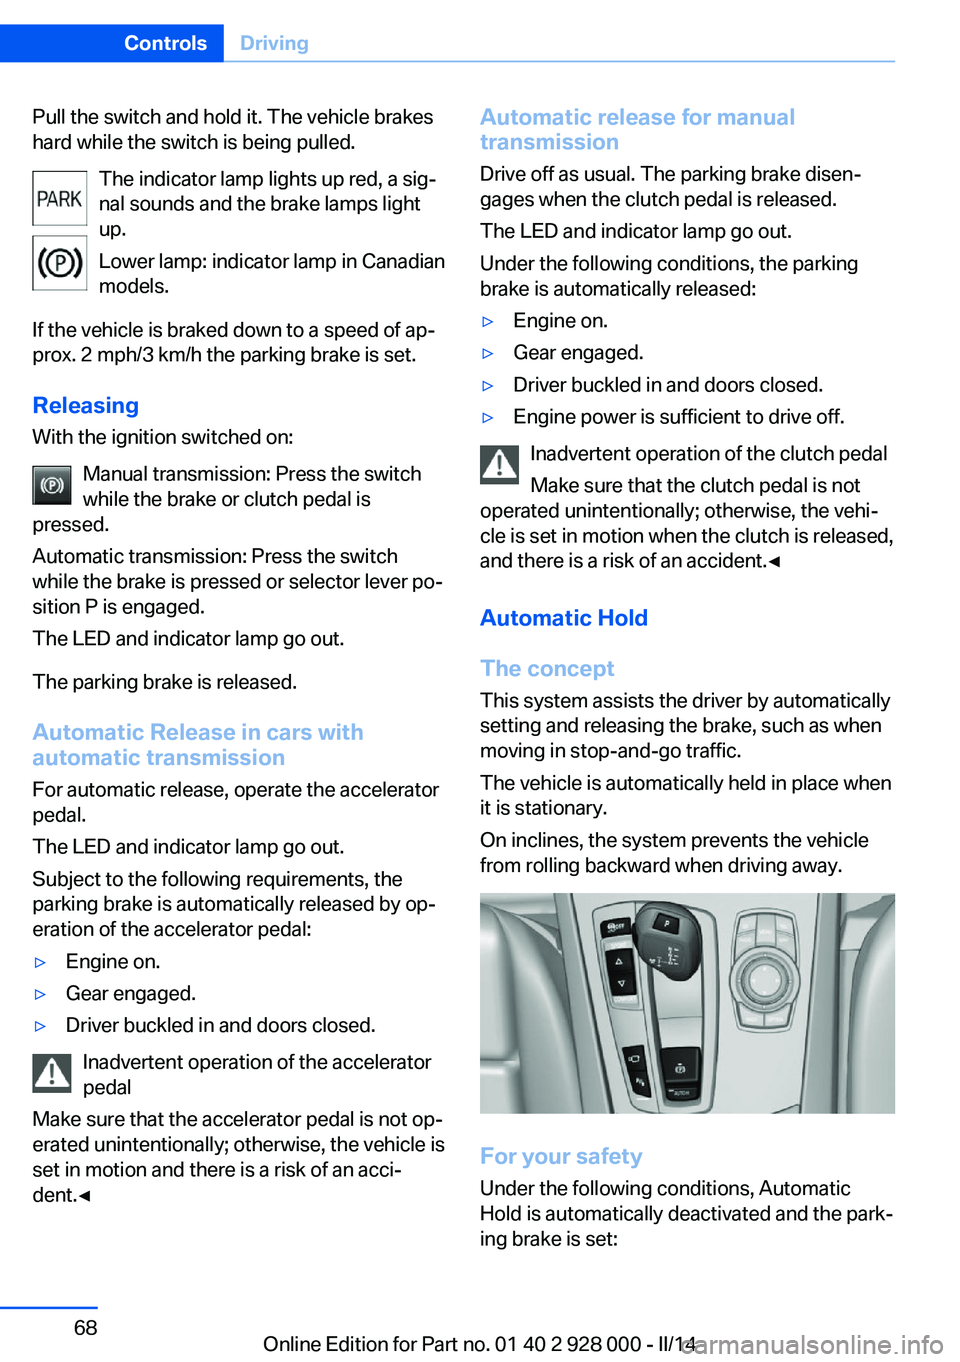
Pull the switch and hold it. The vehicle brakes
hard while the switch is being pulled.
The indicator lamp lights up red, a sig‐
nal sounds and the brake lamps light
up.
Lower lamp: indicator lamp in Canadian
models.
If the vehicle is braked down to a speed of ap‐
prox. 2 mph/3 km/h the parking brake is set.
Releasing
With the ignition switched on:
Manual transmission: Press the switch
while the brake or clutch pedal is
pressed.
Automatic transmission: Press the switch
while the brake is pressed or selector lever po‐
sition P is engaged.
The LED and indicator lamp go out.
The parking brake is released.
Automatic Release in cars with
automatic transmission
For automatic release, operate the accelerator
pedal.
The LED and indicator lamp go out.
Subject to the following requirements, the
parking brake is automatically released by op‐
eration of the accelerator pedal:▷Engine on.▷Gear engaged.▷Driver buckled in and doors closed.
Inadvertent operation of the accelerator
pedal
Make sure that the accelerator pedal is not op‐
erated unintentionally; otherwise, the vehicle is
set in motion and there is a risk of an acci‐
dent.◀
Automatic release for manual
transmission
Drive off as usual. The parking brake disen‐
gages when the clutch pedal is released.
The LED and indicator lamp go out.
Under the following conditions, the parking
brake is automatically released:▷Engine on.▷Gear engaged.▷Driver buckled in and doors closed.▷Engine power is sufficient to drive off.
Inadvertent operation of the clutch pedal
Make sure that the clutch pedal is not
operated unintentionally; otherwise, the vehi‐
cle is set in motion when the clutch is released,
and there is a risk of an accident.◀
Automatic Hold
The concept
This system assists the driver by automatically
setting and releasing the brake, such as when
moving in stop-and-go traffic.
The vehicle is automatically held in place when
it is stationary.
On inclines, the system prevents the vehicle
from rolling backward when driving away.
For your safety
Under the following conditions, Automatic
Hold is automatically deactivated and the park‐
ing brake is set:
Seite 68ControlsDriving68
Online Edition for Part no. 01 40 2 928 000 - II/14
Page 70 of 267
ing using a wheel chock, for example, when
leaving it.
After a power failure Only put the parking brake into operation
after a power failure
The parking brake should only be put into op‐
eration again if it was manually released due to
an interruption in the supply of electrical
power. Otherwise, it cannot be ensured that
the parking brake will function properly.◀
Putting the parking brake into
operation1.Switch on the ignition.2. Press the switch while the brake is
depressed or selector lever position P is
engaged.
It may take several seconds for the brake to be
put into operation. Any sounds associated with
this are normal.
The indicator lamp in the instrument
cluster goes out as soon as the parking
brake is ready for operation.
Lower lamp: indicator lamp in Canadian
models.
Turn signal, high beams, headlamp flasher
Turn signal Do not fold in the exterior mirrors
Do not fold in the exterior mirror while
driving and when the turn signals/warning
flashers are working, or else the additional
flasher lights in the exterior mirror will no lon‐
ger be in the prescribed position and will be
difficult to see.◀
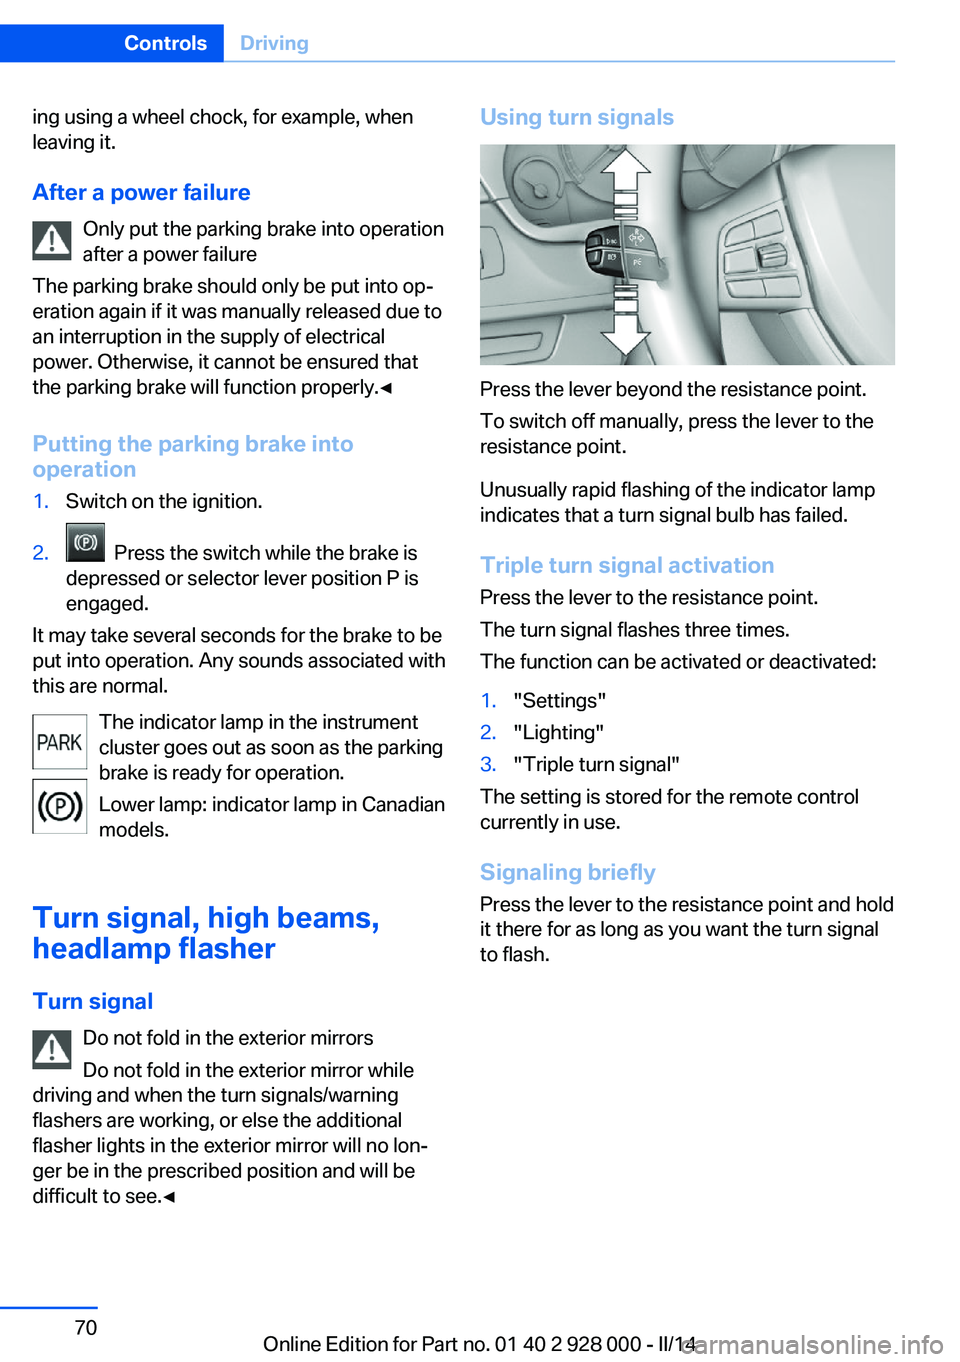
Using turn signals
Press the lever beyond the resistance point.
To switch off manually, press the lever to the
resistance point.
Unusually rapid flashing of the indicator lamp
indicates that a turn signal bulb has failed.
Triple turn signal activation Press the lever to the resistance point.
The turn signal flashes three times.
The function can be activated or deactivated:
1."Settings"2."Lighting"3."Triple turn signal"
The setting is stored for the remote control
currently in use.
Signaling briefly
Press the lever to the resistance point and hold
it there for as long as you want the turn signal
to flash.
Seite 70ControlsDriving70
Online Edition for Part no. 01 40 2 928 000 - II/14
Page 72 of 267

Activating/deactivating
Press the button on the wiper lever.
The LED in the wiper lever lights up and a wip‐
ing operation is started. If there is frost, wiper
operation is not started.
Deactivate the rain sensor in car washes
Deactivate the rain sensor when passing
through an automatic car wash; otherwise,
damage could be caused by undesired wiper
activation.◀
Rain sensor, sensitivity
Turn the thumbwheel.
Clean the windshield, headlamps
Pull the wiper lever.
The system sprays washer fluid on the wind‐
shield and activates the wipers briefly.
In addition, the headlamps are cleaned at regu‐
lar intervals when the vehicle lights are
switched on.
Do not use the washer system at freezing
temperatures
Do not use the washers if there is any danger
that the fluid will freeze on the windshield; oth‐
erwise, your vision could be obscured. For this
reason, use antifreeze.
Avoid using the washer when the reservoir is
empty; otherwise, you could damage the
pump.◀
Windshield washer nozzles
The windshield washer nozzles are automati‐
cally heated while the ignition is switched on.
Fold-out position of the wipers Required when changing the wiper blades or
under frosty conditions, for example.
1.Switch the ignition on and off again.2.Under frosty conditions, ensure that the
wiper blades are not frozen onto the wind‐
shield.3.Press the wiper lever up beyond the point
of resistance and hold it for approx. 3 sec‐
onds, until the wiper remains in a nearly
vertical position.Seite 72ControlsDriving72
Online Edition for Part no. 01 40 2 928 000 - II/14
Page 73 of 267
After the wipers are folded back down, the
wiper system must be reactivated.
Fold the wipers back down
Before switching the ignition on, fold the
wipers back down to the windshield; other‐
wise, the wipers may become damaged when
they are switched on.◀1.Switch on the ignition.2.Press the wiper levers down. The wipers
move to their resting position and are
ready for operation.
Washer fluid
General information Antifreeze for washer fluid
Antifreeze is flammable and can cause
injury if it is used incorrectly.
Therefore, keep it away from sources of igni‐
tion.
Only keep it in the closed original container
and inaccessible to children.
Follow the notes and instructions on the con‐
tainer.
United States: The washer fluid mixture ratio is
regulated by the U.S. EPA and many individual
states; do not exceed the allowable washer
fluid dilution ratios limits that apply. Follow the
usage instructions on the washer fluid con‐
tainer. Use BMW’s Windshield Washer Con‐
centrate or the equivalent.◀
Washer fluid reservoir Adding washer fluid
Only add washer fluid when the engine is
cool, and then close the cover completely to
avoid contact between the washer fluid and
hot engine parts.
Otherwise, there is the danger of fire and a risk
to personal safety if the fluid is spilled.◀
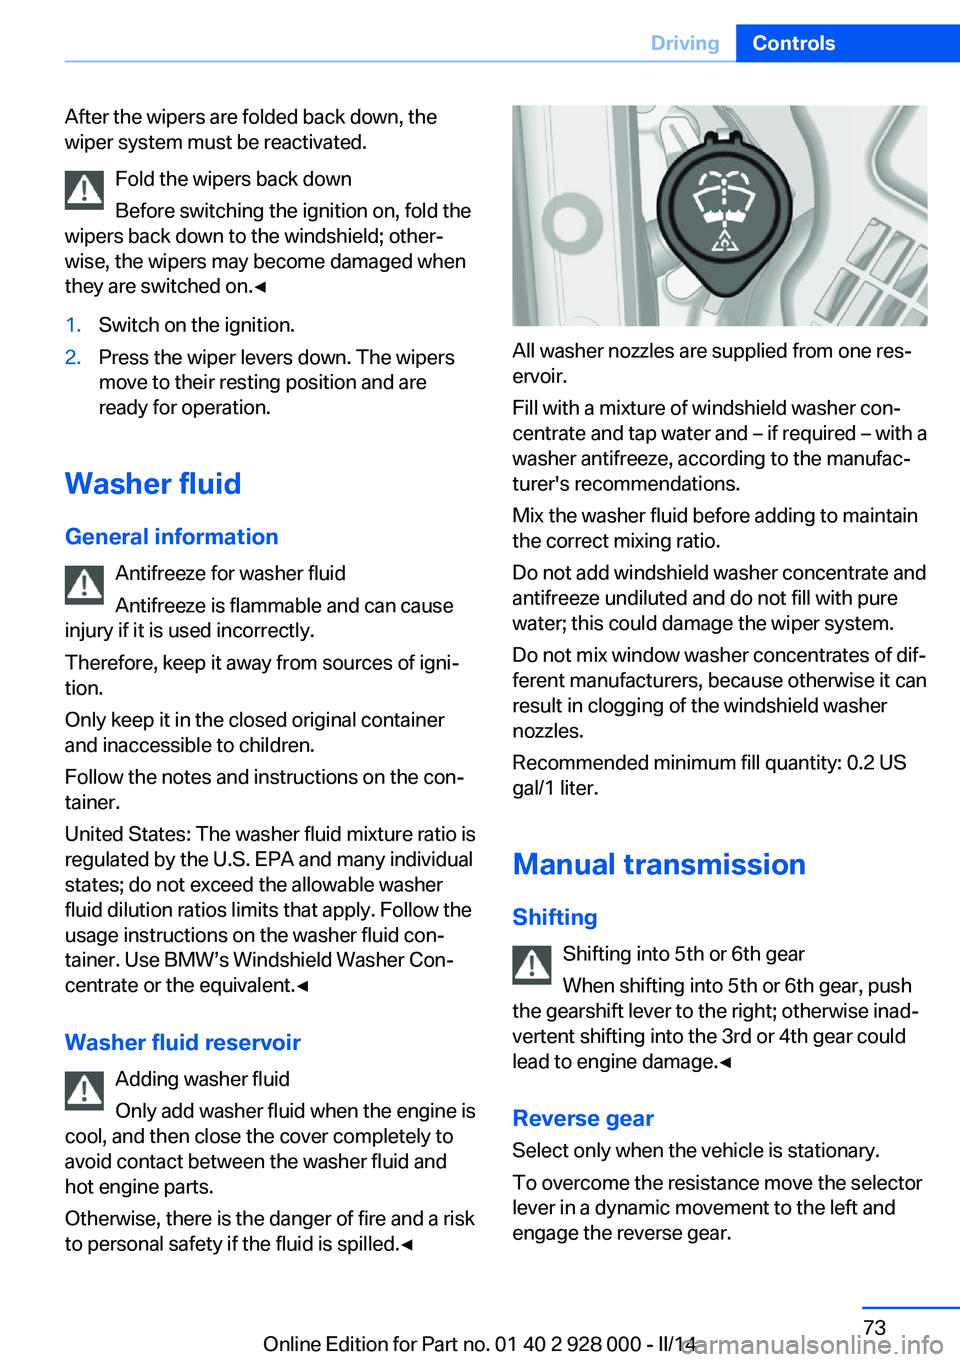
All washer nozzles are supplied from one res‐
ervoir.
Fill with a mixture of windshield washer con‐
centrate and tap water and – if required – with a
washer antifreeze, according to the manufac‐
turer's recommendations.
Mix the washer fluid before adding to maintain
the correct mixing ratio.
Do not add windshield washer concentrate and
antifreeze undiluted and do not fill with pure
water; this could damage the wiper system.
Do not mix window washer concentrates of dif‐
ferent manufacturers, because otherwise it can
result in clogging of the windshield washer
nozzles.
Recommended minimum fill quantity: 0.2 US
gal/1 liter.
Manual transmission Shifting Shifting into 5th or 6th gear
When shifting into 5th or 6th gear, push
the gearshift lever to the right; otherwise inad‐
vertent shifting into the 3rd or 4th gear could
lead to engine damage.◀
Reverse gear
Select only when the vehicle is stationary.
To overcome the resistance move the selector
lever in a dynamic movement to the left and
engage the reverse gear.
Seite 73DrivingControls73
Online Edition for Part no. 01 40 2 928 000 - II/14
Page 74 of 267
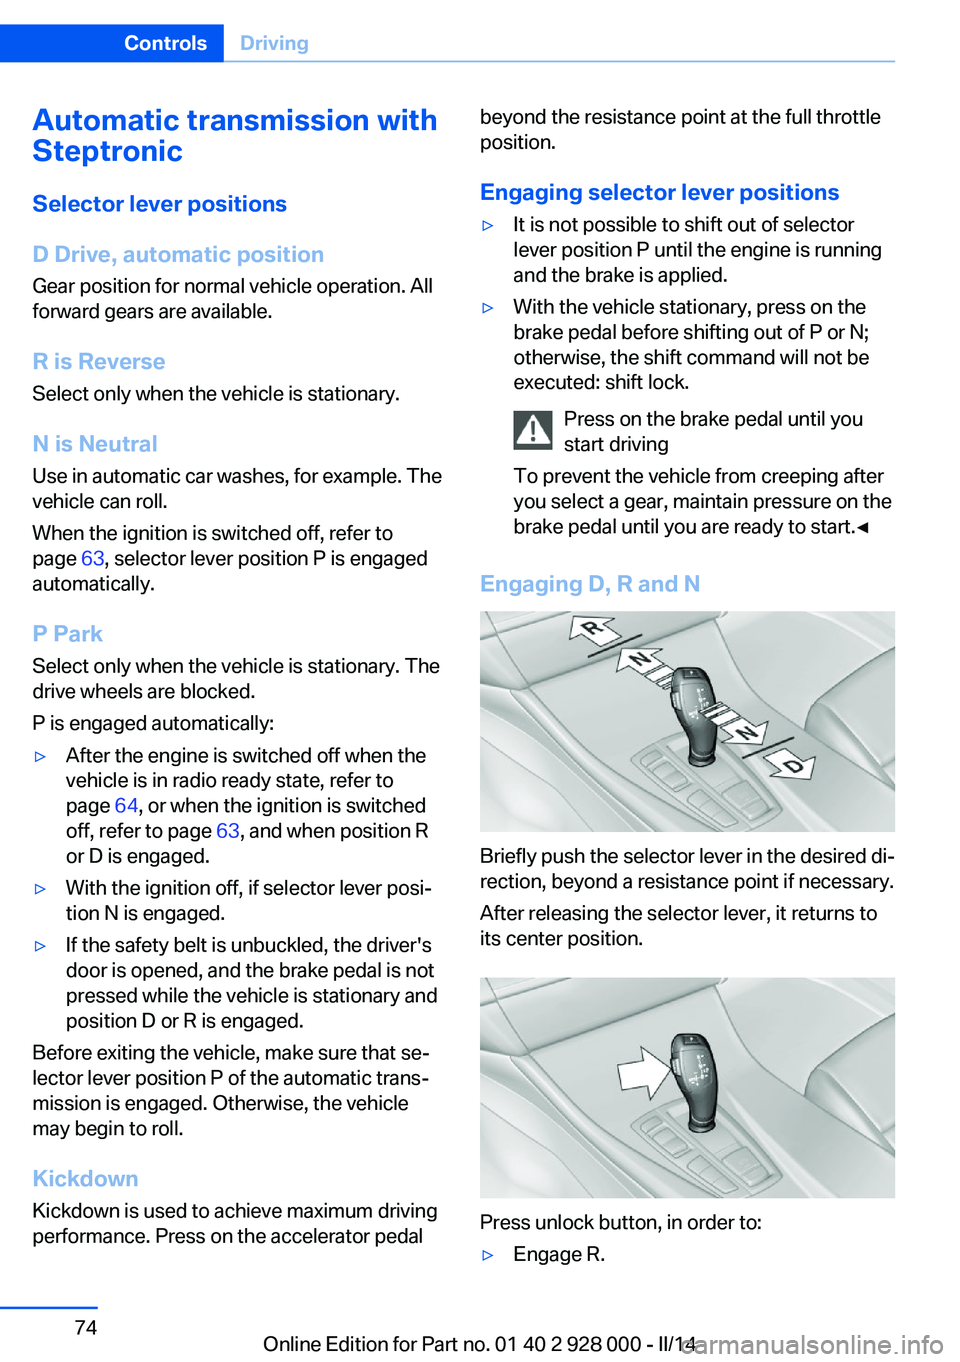
Automatic transmission with
Steptronic
Selector lever positions
D Drive, automatic position Gear position for normal vehicle operation. All
forward gears are available.
R is Reverse
Select only when the vehicle is stationary.
N is Neutral
Use in automatic car washes, for example. The
vehicle can roll.
When the ignition is switched off, refer to
page 63, selector lever position P is engaged
automatically.
P Park Select only when the vehicle is stationary. The
drive wheels are blocked.
P is engaged automatically:▷After the engine is switched off when the
vehicle is in radio ready state, refer to
page 64, or when the ignition is switched
off, refer to page 63, and when position R
or D is engaged.▷With the ignition off, if selector lever posi‐
tion N is engaged.▷If the safety belt is unbuckled, the driver's
door is opened, and the brake pedal is not
pressed while the vehicle is stationary and
position D or R is engaged.
Before exiting the vehicle, make sure that se‐
lector lever position P of the automatic trans‐
mission is engaged. Otherwise, the vehicle
may begin to roll.
Kickdown Kickdown is used to achieve maximum driving
performance. Press on the accelerator pedal
beyond the resistance point at the full throttle
position.
Engaging selector lever positions▷It is not possible to shift out of selector
lever position P until the engine is running
and the brake is applied.▷With the vehicle stationary, press on the
brake pedal before shifting out of P or N;
otherwise, the shift command will not be
executed: shift lock.
Press on the brake pedal until you
start driving
To prevent the vehicle from creeping after
you select a gear, maintain pressure on the
brake pedal until you are ready to start.◀
Engaging D, R and N
Briefly push the selector lever in the desired di‐
rection, beyond a resistance point if necessary.
After releasing the selector lever, it returns to
its center position.
Press unlock button, in order to:
▷Engage R.Seite 74ControlsDriving74
Online Edition for Part no. 01 40 2 928 000 - II/14
Page 85 of 267

▷Current engine speed is displayed in the
tachometer.▷Arrow 1: successive yellow illuminated
fields indicate an increase in the speed.▷Arrow 2: successive orange illuminated
fields indicate the upcoming upshift mo‐
ment.▷Arrow 3: fields are illuminated in red. Do
not wait any further to shift.
When the maximum possible speed is
reached, the entire display flashes. When the
maximum speed is exceeded, the supply of
fuel is interrupted in order to protect the en‐
gine. Speeds in this range must be avoided.
Check Control
The concept The Check Control system monitors functions
in the vehicle and notifies you of malfunctions
in the monitored systems.
A Check Control message is displayed as a
combination of indicator or warning lamps and
text messages in the instrument cluster and in
the Head-up Display.
In addition, an acoustic signal may be output and a text message may appear on the ControlDisplay.
Indicator/warning lamps The indicator and warning lamps in the instru‐
ment cluster can light up in a variety of combi‐
nations and colors.
Several of the lamps are checked for proper
functioning and light up temporarily when the
engine is started or the ignition is switched on.
Overview: indicator/warning lampsSymbolFunction or systemTurn signal.Parking brake.In Canadian models
Parking brake.Automatic hold.Front fog lamps.High beams.High-beam Assistant.Parking lamps, headlamp control.Active Cruise Control.Vehicle detection, Active Cruise
Control: collision warning.Pedestrian warning.Cruise control.Lane departure warning.DSC Dynamic Stability Control.Seite 85DisplaysControls85
Online Edition for Part no. 01 40 2 928 000 - II/14