2014 BMW 5 SERIES GRAN TURISMO heating
[x] Cancel search: heatingPage 19 of 259

Front fog lights 105Parking lights 102Low beams 102Automatic headlight con‐
trol 103
Daytime running lights 103
Adaptive Light Control 103
High-beam Assistant 104Instrument lighting 1058Steering column stalk, leftTurn signal 77High beams, head‐
light flasher 77High-beam Assistant 104Roadside parking lights 103Computer 969Steering wheel buttons, leftStore speed 149, 143Resume speed 149, 144Increase distance 144Cruise control rocker reel 149 14310Instrument cluster 8411Steering wheel buttons, rightEntertainment sourceVolumeVoice activation 26Telephone, see user's manual for
Navigation, Entertainment and
CommunicationThumbwheel for selection lists 9612Steering column stalk, rightWiper 78Rain sensor 79Clean the windshields and head‐
lights 7813Start/stop the engine and reel the
ignition on/off 71Auto Start/Stop function 7114Horn15Steering wheel heating 6416Adjust the steering wheel 64Seite 15CockpitAt a glance15
Online Edition for Part no. 01 40 2 956 191 - X/14
Page 54 of 259
Closing without the pinch protection
system
Keep the closing path clear
Monitor closing and make sure that the
closing path of the window is clear; otherwise,
injuries may result.◀
E.g. danger from the outside or ice might pre‐
vent window from closing properly - proceed
as follows:1.Pull the reel past the resistance point and
hold it there.
The pinch protection is limited and the
window reopens slightly if the closing force
exceeds a certain margin.2.Pull the reel past the resistance point again
within approx. 4 seconds and hold it there.
The window closes without jam protection.
Safety reel
General information
The following functions can be locked simulta‐
neously, using the reel:
▷Opening and closing of the rear windows
using the switches in the rear.▷Operation of the roller sunblinds using the
switches in the rear.▷Adjustment of the power rear seats.▷Adjustment of the power head restraints in
the rear.
Switching on and off
Press button.
The LED lights up if the safety func‐
tion is switched on.
Safety reel for rear operation
Press the safety reel when transporting
children in the rear; otherwise, injury may re‐
sult if the windows are closed without supervi‐
sion.◀
Roller sunblinds
General information The safety reel in the driver's door can be used
to prevent children, e. g., from operating the roller sunblinds using the switches in the rear.
Press the safety reel in the driver's door. The
LED lights up if the safety function is switched
on.
If you are no longer able to move the roller sun‐
blinds after having activated them consecu‐
tively a number of times, the system is blocked
for a limited time to prevent overheating. Let
the system cool.
The roller sunblinds cannot be moved at low
interior temperatures.
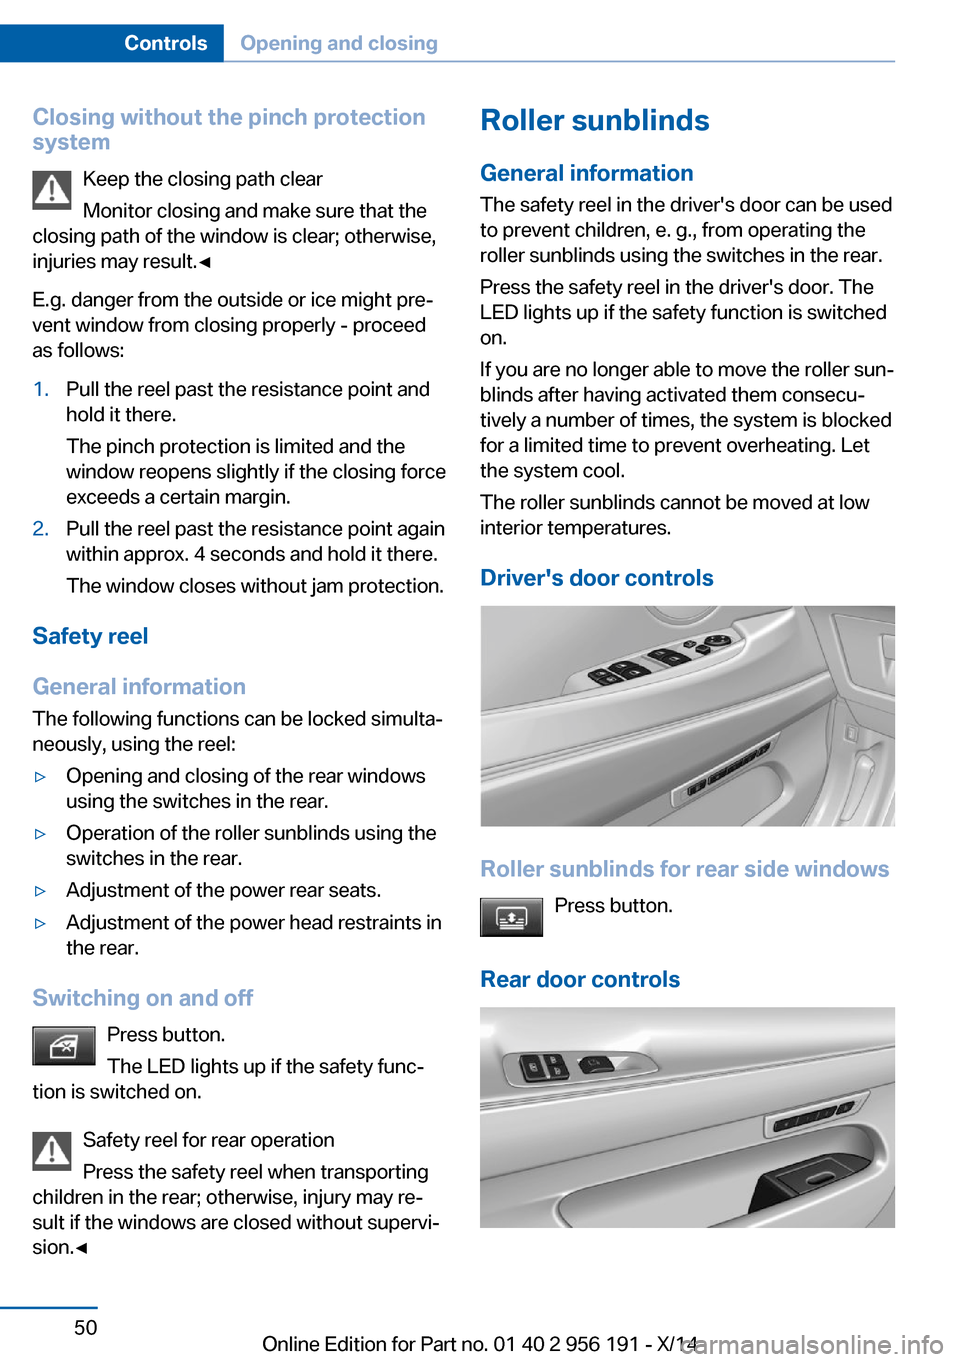
Driver's door controls
Roller sunblinds for rear side windows Press button.
Rear door controls
Seite 50ControlsOpening and closing50
Online Edition for Part no. 01 40 2 956 191 - X/14
Page 60 of 259
Backrest widthChange the width of the back‐
rest using the side wings to ad‐
just the lateral support.
To make it easier to enter and exit the vehicle,
the backrest width temporarily opens fully.
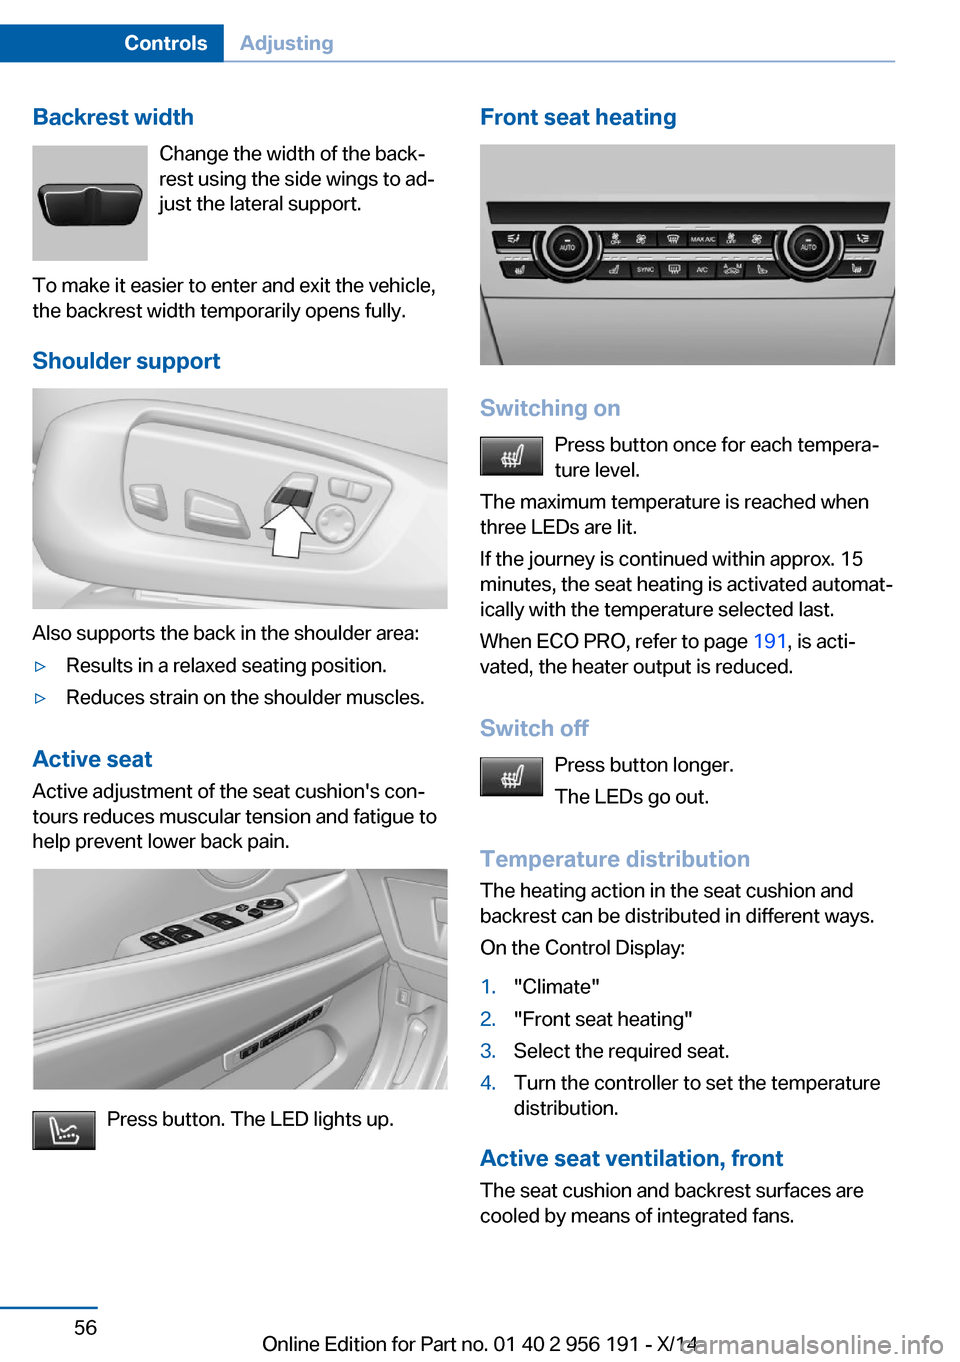
Shoulder support
Also supports the back in the shoulder area:
▷Results in a relaxed seating position.▷Reduces strain on the shoulder muscles.
Active seat Active adjustment of the seat cushion's con‐
tours reduces muscular tension and fatigue to
help prevent lower back pain.
Press button. The LED lights up.
Front seat heating
Switching on
Press button once for each tempera‐
ture level.
The maximum temperature is reached when
three LEDs are lit.
If the journey is continued within approx. 15
minutes, the seat heating is activated automat‐
ically with the temperature selected last.
When ECO PRO, refer to page 191, is acti‐
vated, the heater output is reduced.
Switch off Press button longer.
The LEDs go out.
Temperature distribution
The heating action in the seat cushion and
backrest can be distributed in different ways.
On the Control Display:
1."Climate"2."Front seat heating"3.Select the required seat.4.Turn the controller to set the temperature
distribution.
Active seat ventilation, front
The seat cushion and backrest surfaces are
cooled by means of integrated fans.
Seite 56ControlsAdjusting56
Online Edition for Part no. 01 40 2 956 191 - X/14
Page 61 of 259
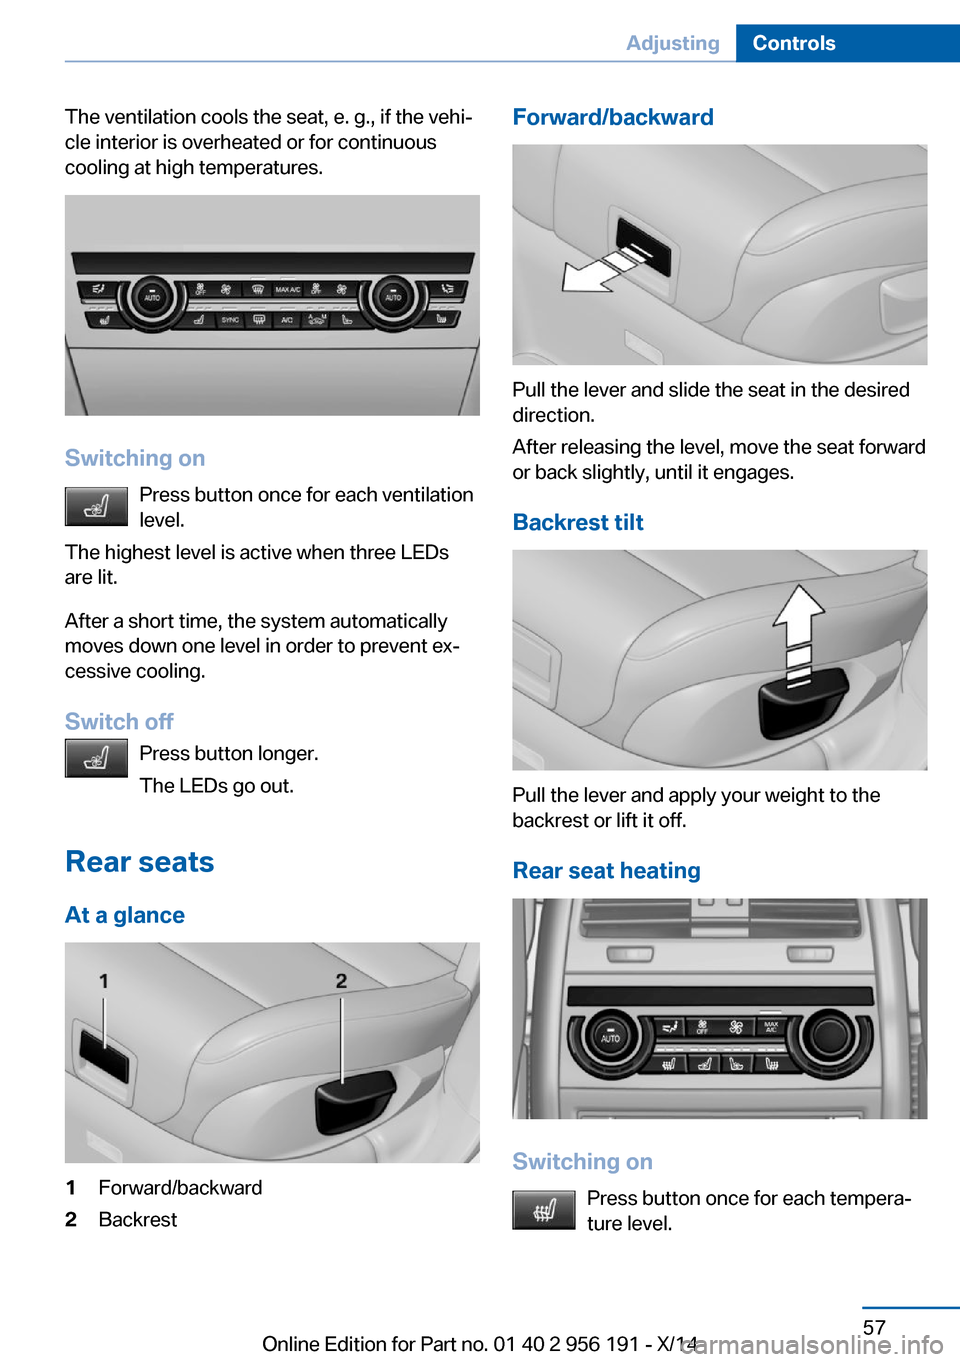
The ventilation cools the seat, e. g., if the vehi‐
cle interior is overheated or for continuous
cooling at high temperatures.
Switching on
Press button once for each ventilation
level.
The highest level is active when three LEDs
are lit.
After a short time, the system automatically
moves down one level in order to prevent ex‐
cessive cooling.
Switch off Press button longer.
The LEDs go out.
Rear seats At a glance
1Forward/backward2BackrestForward/backward
Pull the lever and slide the seat in the desired
direction.
After releasing the level, move the seat forward
or back slightly, until it engages.
Backrest tilt
Pull the lever and apply your weight to the
backrest or lift it off.
Rear seat heating
Switching on Press button once for each tempera‐
ture level.
Seite 57AdjustingControls57
Online Edition for Part no. 01 40 2 956 191 - X/14
Page 62 of 259
The maximum temperature is reached when
three LEDs are lit.
If the journey is continued within approx. 15
minutes, the seat heating is activated automat‐
ically with the temperature selected last.
When ECO PRO, refer to page 191, is acti‐
vated, the heater output is reduced.
Switch off Press button longer.
The LEDs go out.
Safety belts
Seats with safety belt The vehicle has four or five seating positions,
each of which is equipped with a safety belt.
General information
Always make sure that safety belts are being
worn by all occupants before driving off.
For the occupants' safety the belt locking
mechanism triggers early. Slowly guide the
belt out of the holder when applying it.
Although airbags enhance safety by providing
added protection, they are not a substitute for
safety belts.
The upper shoulder strap's anchorage point
will be correct for adult seat occupants of ev‐
ery build if the seat is correctly adjusted.▷The two outer safety belt buckles,
integrated into the rear seat, are for pas‐
sengers sitting on the left and right.▷The center rear safety belt buckle is solely
intended for the center passenger.Hints
One person per safety belt
Never allow more than one person to
wear a single safety belt. Never allow infants or
small children to ride on a passenger's lap.◀
Putting on the belt
Lay the belt, without twisting, snugly
across the lap and shoulders, as close to the
body as possible. Make sure that the belt lies
low around the hips in the lap area and does
not press on the abdomen. Otherwise, the belt
can slip over the hips in a frontal impact and in‐
jure the abdomen.
The safety belt must not lie across the neck,
rub on sharp edges, be routed over breakable
objects, or be pinched.◀
What reduces the restraining effect
Avoid wearing bulky clothing, and pull
the shoulder belt periodically to readjust the
tension. Make sure that the belt is not jammed;
otherwise, the belt can be damaged and the
restraining effect is reduced.◀
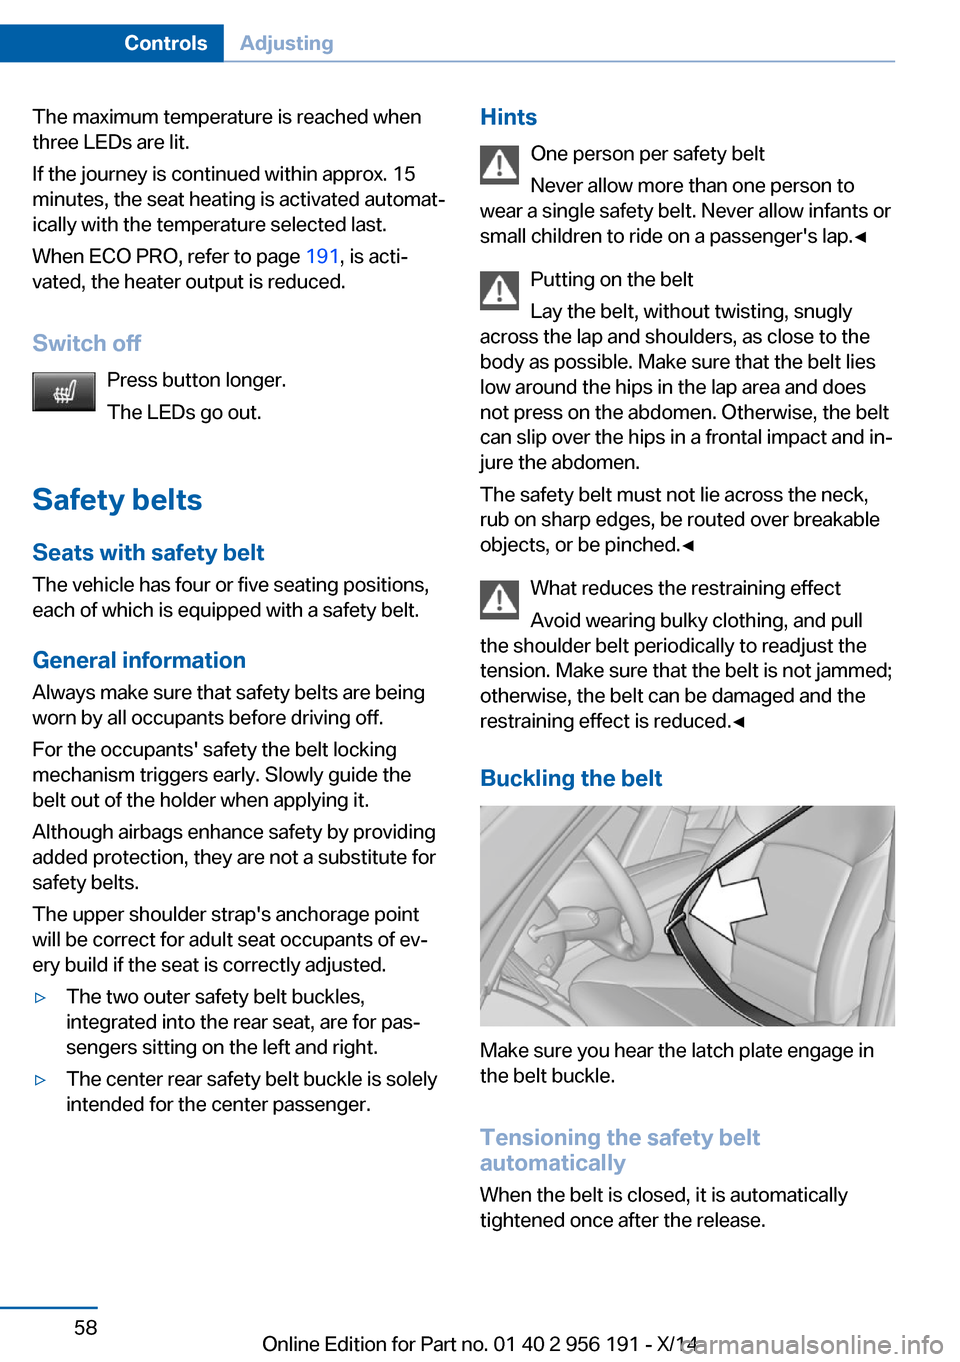
Buckling the belt
Make sure you hear the latch plate engage in
the belt buckle.
Tensioning the safety belt
automatically
When the belt is closed, it is automatically
tightened once after the release.
Seite 58ControlsAdjusting58
Online Edition for Part no. 01 40 2 956 191 - X/14
Page 67 of 259
Automatic Curb MonitorThe concept
If reverse gear is engaged, the mirror glass on
the front passenger side is tilted downward.
This improves your view of the curb and other
low-lying obstacles when parking, e.g.
Activating1. Slide the switch to the driver's side
mirror position.2.Engage selector lever position R.
Deactivating
Slide the switch to the passenger side mirror
position.
Fold in and out Press button.
Possible at speeds up to approx.
15 mph/20 km/h.
E. g. this is advantageous
▷In car washes.▷In narrow streets.▷For folding mirrors back out that were
folded away manually.
Mirrors that were folded in are folded out auto‐
matically at a speed of approx.
25 mph/40 km/h.
Fold in the mirror in a car wash
Before washing the car in an automatic
car wash, fold in the exterior mirrors by hand or
with the button; otherwise, the mirrors could
be damaged, depending on the width of the
vehicle.◀
Automatic heating
Both exterior mirrors are automatically heated
whenever the engine is running.
Automatic dimming feature
Both exterior mirrors are automatically dim‐
med. Photocells are used to control the Interior
rearview mirror, refer to page 63.
Interior rearview mirror, manually
dimmable
Turn knob
Turn the knob to reduce the blinding effect by
the interior mirror.
Interior rearview mirror, automaticdimming feature
The concept
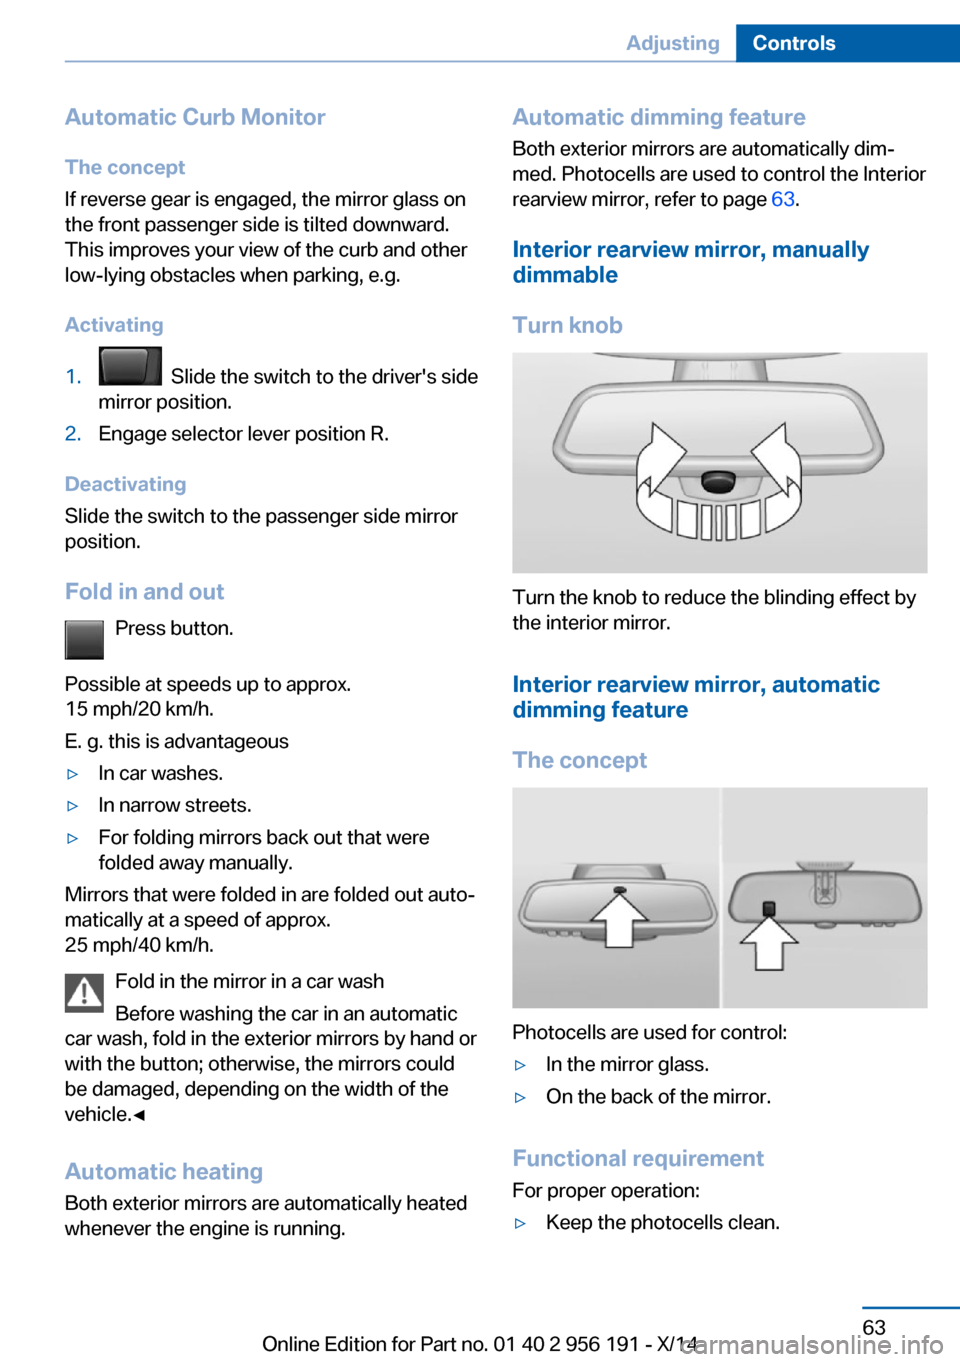
Photocells are used for control:
▷In the mirror glass.▷On the back of the mirror.
Functional requirement For proper operation:
▷Keep the photocells clean.Seite 63AdjustingControls63
Online Edition for Part no. 01 40 2 956 191 - X/14
Page 68 of 259

▷Do not cover the area between the inside
rearview mirror and the windshield.
Steering wheel
Note Do not adjust while driving
Do not adjust the steering wheel while
driving; otherwise, an unexpected movement
could result in an accident.◀
Manual steering wheel adjustment
1.Fold the lever down.2.Move the steering wheel to the preferred
height and angle to suit your seating posi‐
tion.3.Fold the lever back.
Power steering wheel adjustment
The steering wheel can be adjusted in four di‐
rections.
Storing the position
Seat, mirror, and steering wheel memory, refer
to page 61.
Steering wheel heating
Press button.
▷On: the LED lights up.▷Off: the LED goes out.
If the trip is resumed within approx. 15 min,
steering wheel heating is automatically acti‐
vated again.
Seite 64ControlsAdjusting64
Online Edition for Part no. 01 40 2 956 191 - X/14
Page 75 of 259

▷When the vehicle is locked using the cen‐
tral locking system.▷Shortly before the battery is discharged
completely, so that the engine can still be
started.
The radio-ready state remains active if, e.g.,
the ignition is automatically switched off for the
following reasons:
▷Opening or closing the driver's door.▷Unfastening of the driver's safety belt.▷When automatically switching from low
beams to parking lights.
Starting the engine
Hints Enclosed areas
Do not let the engine run in enclosed
areas, since breathing in exhaust fumes may
lead to loss of consciousness and death. The
exhaust gases contain carbon monoxide, an
odorless and colorless but highly toxic gas.◀
Unattended vehicle
Do not leave the vehicle unattended with
the engine running; doing so poses a risk of
danger.
Before leaving the vehicle with the engine run‐
ning, set the parking brake and place the trans‐
mission in selector lever position P or N to pre‐
vent the vehicle from moving.◀
Repeated starting in quick succession
Avoid trying to start the vehicle repeat‐
edly and in quick succession. Otherwise, the fuel is not burned or is inadequately burned,
posing a risk of overheating and damage to the
catalytic converter.◀
Do not wait for the engine to warm-up while
the vehicle remains stationary. Start driving at
moderate engine speeds.
Starting the engine
Press on the brake pedal and
press the Start/Stop button.
The engine is cranked until it
starts.
Engine stop
Hints Take the remote control with youTake the remote control with you when
leaving the vehicle so that children, e.g., can‐
not start the engine.◀
Apply parking brake and further secure
the vehicle if needed.
Set the parking brake firmly when parking; oth‐
erwise, the vehicle could roll. On steep upward
and downward inclines, further secure the ve‐
hicle, e.g., by turning the steering wheel in the
direction of the curb.◀
Before driving into a car wash
So that the vehicle can roll into a car wash ob‐
serve instructions for going into an automatic
car wash, refer to page 233.
Switching off the engine1.Engage transmission position P with the
vehicle stopped.2.Press the Start/Stop button.
The engine is switched off.
The radio-ready state is switched on.3.Set the parking brake.
Auto Start/Stop function
The concept The Auto Start/Stop function helps save fuel.
The system switches off the engine during a
Seite 71DrivingControls71
Online Edition for Part no. 01 40 2 956 191 - X/14