Page 384 of 653

Onceadeviceislinked,thenameof
thedevicewillappearonthescreen.
Pressing the TITLE button switches
the center display between the
Audio and the device
name.
If more than one phone is paired to
the HFL system, there will be a
delay bef ore the system begins to
play. In the following conditions, the
display shows ‘‘NO CONNECT’’
message af ter pressing the TITLE
button.
The phone is not linked to HFL.
The phone is not turned on.
The phone is not in the vehicle.
Another HFL compatible phone,
which is not compatible f or
Audio, is already
connected. You can select the AUX mode by
using the voice control buttons, but
cannot operate the play mode
f unctions.
Press the side of the SKIP bar
to skip f orward to the next f ile, and
press the side to skip backward
to the beginning of the current f ile.
Push the side again to skip to
the previous f ile.
If your
Audio compatible
phone does not operate as described,
make sure it is an Acura approved
phone. To f ind out if your phone is
approved, go to (in Canada,), or call the
HandsFreeLink
consumer support
at 1-888-528-7876. The skip f unction may not be
available on some phone devices.
Adevicenamemaynotbe
displayed on some phone devices.
Bluetooth
BluetoothBluetooth
www.acura.com/
handsf reelink www.
handsf reelink.ca Voice Cont rol Syst em
T o skip a f ile
BluetoothAudio System (Models with navigation system)
378
NOTE:
NOTE:
12/07/20 11:18:29 31TK4640_383
Page 385 of 653
The resume/pause mode can stop
playing a f ile temporarily.Turn the interface dial to switch the
setting between the resume/pause
mode and the sound setup mode.
Select Resume/Pause, then press
ENTER to set your selection. Each
time you press ENTER, the system
switches between the resume mode
and pause mode.
Thepausefunctionmaynot
be available on some phone devices.
Press the AUDIO button to display
the audio control display. Turn the
dial to switch the setting between
theresume/pausemodeandthe
sound setup mode. Select Sound
Setup, then press ENTER to set your
selection.
CONT INUED
T o pause or resume a f ile T o change sound settings
BluetoothAudio System (Models with navigation system)
Features
379
NOTE:
12/07/20 11:18:36 31TK4640_384
Page 386 of 653
Turn the dial to select a sound setup
mode, then press ENTER to set your
selection. See page f or more
sound setting inf ormation.Switching to another mode pauses
the music playing f rom your phone.
If you receive a call when the
Audio is playing, press the
PICK-UPbuttononthesteering
wheel. The screen and the center
displayswitchtotheHFLmode(see
page ).
Af ter ending the call, press the
HANG-UP button to go back to the
Audio mode. Select any other audio mode by
pressing a button; AM/FM, ,
DISC, or HDD/AUX on the audio
control panel, or press the MODE
buttononthesteeringwheelto
select another audio mode.
This device complies with the
appropriate requirements or the
required standards. See page f or
more inf ormation.
427 296
628
Bluetooth
Bluetooth T o t urn of f t he Bluet oot h
Audio
mode
T o switch to HFL mode
BluetoothAudio System (Models with navigation system)
380
12/07/20 11:18:43 31TK4640_385
Page 391 of 653

Those bands cover these f requen-
cies:
AM band: 530 to 1,710 kHz
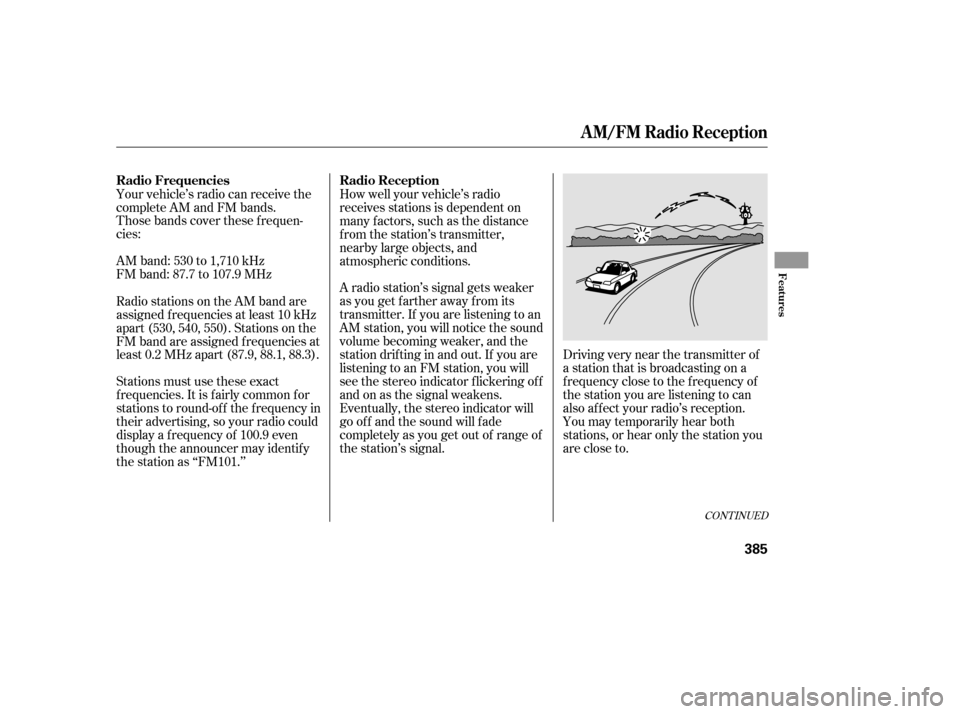
FM band: 87.7 to 107.9 MHzA radio station’s signal gets weaker
as you get f arther away f rom its
transmitter. If you are listening to an
AM station, you will notice the sound
volume becoming weaker, and the
stationdriftinginandout.If youare
listening to an FM station, you will
see the stereo indicator f lickering of f
and on as the signal weakens.
Eventually, the stereo indicator will
go of f and the sound will f ade
completely as you get out of range of
the station’s signal.Driving very near the transmitter of
a station that is broadcasting on a
f requency close to the f requency of
the station you are listening to can
also af f ect your radio’s reception.
You may temporarily hear both
stations,orhearonlythestationyou
are close to.
Your vehicle’s radio can receive the
complete AM and FM bands.
How well your vehicle’s radio
receives stations is dependent on
many f actors, such as the distance
from the station’s transmitter,
nearby large objects, and
atmospheric conditions.
Radio stations on the AM band are
assigned f requencies at least 10 kHz
apart (530, 540, 550). Stations on the
FM band are assigned f requencies at
least 0.2 MHz apart (87.9, 88.1, 88.3).
Stations must use these exact
f requencies. It is f airly common f or
stations to round-of f the f requency in
their advertising, so your radio could
display a f requency of 100.9 even
though the announcer may identif y
the station as ‘‘FM101.’’
CONT INUED
Radio Frequencies Radio Reception
A M/FM Radio Reception
Features
385
12/07/20 11:19:29 31TK4640_390
Page 395 of 653
The auxiliary input jack is inside the
console compartment. The system
will accept auxiliary input f rom
standard audio accessories using a
1/8 inch (3.5 mm) stereo miniplug.Whenyoupluginamini-jackcable
between a compatible audio unit and
the jack, you will see AUX in the
display and the system automatically
switches to AUX mode.
When a compatible audio unit is
connected to the jack, press the
HDD/AUX button (AUX button on
models without navigation system)
to select it.
Auxiliary Input Jack
Features
389
AUXILIARY INPUT JACK
12/07/20 11:19:52 31TK4640_394
Page 396 of 653

If your vehicle’s battery is
disconnected or goes dead, the audio
system disables itself . If this happens,
you will see ‘‘ENTER CODE’’ in the
f requency display next time you turn
on the system. Use the preset
buttons to enter the five-digit code.
ThecodeisontheAnti-theft
Identification Card included in your
owner’s manual kit. When it is
entered correctly, the radio will start
playing.
The Anti-thef t Identif ication Card
also lists your audio serial number. It
is best to store the card in a saf e
place at home. In addition, you
should write the audio system’s
serial number in this owner’s manual.
If you make a mistake entering the
code, do not start over; complete the
f ive-digit sequence, then enter the
correct code. You have ten tries to
enter the correct code. If you are
unsuccessful in ten attempts, youmust then leave the system on for
one hour bef ore trying again.
The system will retain your AM and
FM presets even if power is
disconnected.
If you have an Acura Owners
account, it is easy to retrieve the anti-
thef t code online without having to
access the serial number.
We recommend that you register the
security code at Acura Owners
(myacura.com). If you lose the Anti-
thef t Identif ication Card bef ore
registering the code at Acura
Owners, you must obtain the code
f rom your dealer or
.Todothis,you
will need the audio system’s serial
number. If you do not have the serial
number with you, ask your dealer or
go to f or inf ormation on how to retrieve it.
If you lose the Anti-thef t
Identif ication Card, you must obtain
thecodefromyourdealer.Todothis,
you will need the audio system’s
serial number. If you do not have the
serial number with you, ask your
dealer how to retrieve it.
You need to enter a separate code
f or the navigation system to
reactivate. The Anti-theft Card also
lists the navigation system’s security
code and serial number. Follow the
same procedure to retrieve the serial
number and obtain the code, and
read the navigation system manual
f or details.
https://radio-
navicode.acura.com/
https://radio-navicode.acura.com/ Canadian owners
Models with navigation system
U.S. owners
Radio T hef t Protection
390
NOTE:
13/04/02 19:11:38 31TK4640_395
Page 397 of 653
To set the time, press the CLOCK
button until you hear a beep. The
displayed time begins to blink.
Change the hours by pressing the H
(hour) button until the numbers
advance to the desired time. Change
the minutes by pressing the M
(minute) button until the numbers
advance to the desired time.
Press the CLOCK button again to
enter the set time.
CONT INUED
On models without navigation system
Setting the Clock
Features
391
On models without navigation systemMINUTE BUTTON
(PRESET 5) RESET BUTTON
(PRESET 6) CLOCK BUTTON
HOUR BUTTON
(PRESET 4)
12/07/20 11:20:06 31TK4640_396
Page 398 of 653

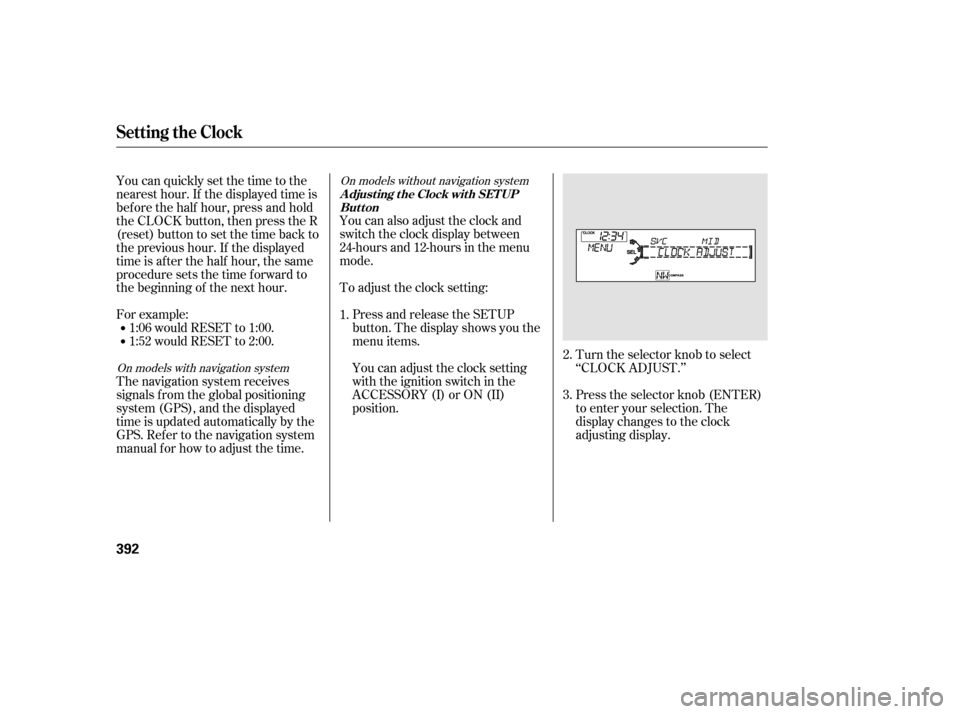
Turn the selector knob to select
‘‘CLOCK ADJUST.’’
Press the selector knob (ENTER)
to enter your selection. The
display changes to the clock
adjusting display.
You can also adjust the clock and
switch the clock display between
24-hours and 12-hours in the menu
mode.
To adjust the clock setting:
Press and release the SETUP
button. The display shows you the
menu items.
You can adjust the clock setting
with the ignition switch in the
ACCESSORY (I) or ON (II)
position.
You can quickly set the time to the
nearest hour. If the displayed time is
bef ore the half hour, press and hold
the CLOCK button, then press the R
(reset) button to set the time back to
the previous hour. If the displayed
time is af ter the half hour, the same
procedure sets the time f orward to
the beginning of the next hour.
For example:
The navigation system receives
signals f rom the global positioning
system (GPS), and the displayed
time is updated automatically by the
GPS. Ref er to the navigation system
manual f or how to adjust the time.
1:06 would RESET to 1:00.
1:52 would RESET to 2:00.
1.
2.
3.
On models with navigation systemOn models without navigation system
Setting the Clock
A djust ing t he Clock wit h SET UP
Button
392
12/07/20 11:20:16 31TK4640_397