Page 192 of 518

191
uuAudio SystemuAudio System Theft Protection
Features
Audio System Theft ProtectionThe audio system is disabled when it is disconnected from the power source, such as
when the battery is disconnected or goes dead.■Reactivating the audio system
1.Set the power mode to ON, and turn on the audio system.
uIf you set the power mode to ACCESSORY, you will be requested to enter the
audio security code. See step 3.
2.Press and hold the power button again for more than two seconds.
uThe audio system is reactivated when the system’s control unit recognizes that
the system is in your vehicle.
If the control unit fails to recognize, Enter PIN Code appears on the audio/
information screen.
3.Enter the audio security code using the On Demand Multi-Use Display
TM. If you
enter an incorrect digit, continue to the last digit, then try again. If you do not
enter code correctly after 10 tries, leave the system for one hour before trying
again, or visit a dealer to have the system reset.
1Audio System Theft Protection
Find the audio system’s security code and serial
number label in your owner’s manual kit.
We recommend that you write down the serial
number, but not the security code, in this owner’s
manual.
Do not store the label in your vehicle. If you lose the
label, you must first retrieve the serial number, and
then obtain the code.
You can find out about your serial number and
security code from a dealer.
You can register the security code at Acura Owners
(owners.acura.com.), and find information on how to
retrieve the serial number and obtain the code at
radio-navicode.acura.com.U.S. models
Page 194 of 518

193Features
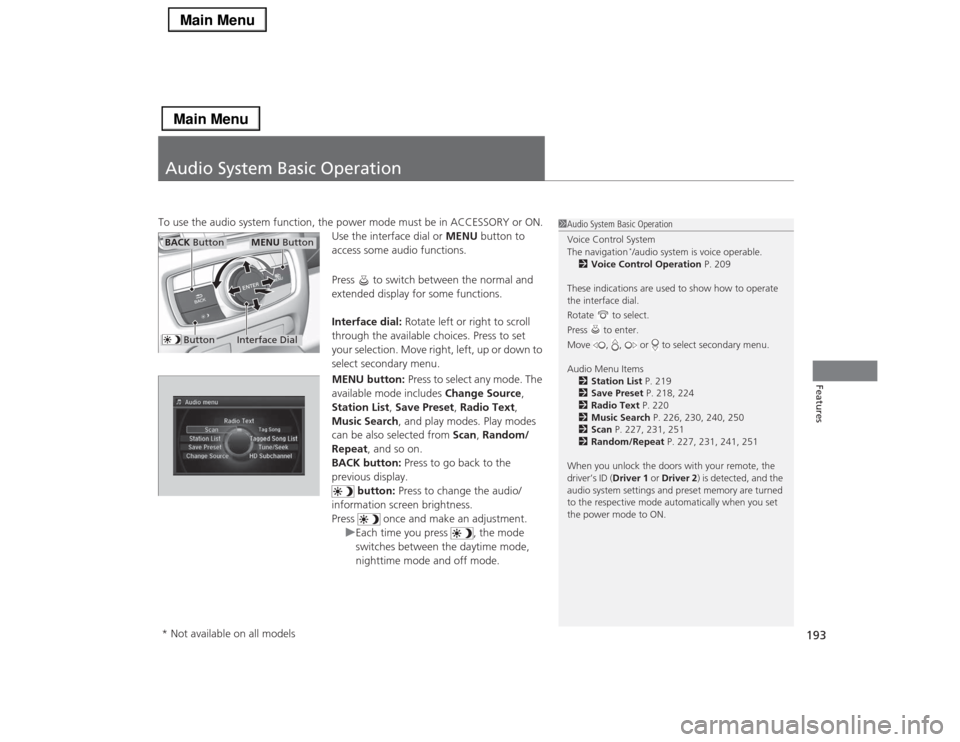
Audio System Basic OperationTo use the audio system function, the power mode must be in ACCESSORY or ON.
Use the interface dial or MENU button to
access some audio functions.
Press to switch between the normal and
extended display for some functions.
Interface dial: Rotate left or right to scroll
through the available choices. Press to set
your selection. Move right, left, up or down to
select secondary menu.
MENU button: Press to select any mode. The
available mode includes Change Source,
Station List, Save Preset, Radio Text,
Music Search, and play modes. Play modes
can be also selected from Scan, Random/
Repeat, and so on.
BACK button: Press to go back to the
previous display.
button: Press to change the audio/
information screen brightness.
Press once and make an adjustment.
uEach time you press , the mode
switches between the daytime mode,
nighttime mode and off mode.
1Audio System Basic Operation
Voice Control System
The navigation
*/audio system is voice operable.
2Voice Control Operation P. 209
These indications are used to show how to operate
the interface dial.
Rotate to select.
Press to enter.
Move , , or to select secondary menu.
Audio Menu Items
2Station List P. 219
2Save Preset P. 218, 224
2Radio Text P. 220
2Music Search P. 226, 230, 240, 250
2Scan P. 227, 231, 251
2Random/Repeat P. 227, 231, 241, 251
When you unlock the doors with your remote, the
driver’s ID (Driver 1 or Driver 2) is detected, and the
audio system settings and preset memory are turned
to the respective mode automatically when you set
the power mode to ON.
Interface Dial
MENU Button
BACK Button
Button
* Not available on all models
Page 195 of 518
194
uuAudio System Basic OperationuOn Demand Multi-Use Display
TM
Features
On Demand Multi-Use Display
TM
Use the On Demand Multi-Use Display
TM to operate the audio system.
Select Audio Source, then select an icon on the source list to switch the audio
source.
Select More to display the menu items.
■
Selecting an Audio Source
1On Demand Multi-Use Display
TM
Icons that appear on the screen vary by the source
selected.
Select to go back to the previous screen.
Use the / / / icons to turn the page.
X
■
Displaying the Menu Items
Select Audio Source.
Source List Icons
Select More.
Menu Items
Page 197 of 518
uuAudio System Basic OperationuOn Demand Multi-Use Display
TM
196Features
■Places
*
You can store up to six addresses, and the home address for your preset
destinations.
To store an address on the selected preset
number:
1.Select Shortcuts.
2.Select Places.
3.Select Edit or No Entry.
uIf you select No Entry, go to step 6.
4.Select Add.
uAll the six preset icons appear.
5.Select the preset number to which you
want to store an address.
6.The screen changes to a list of addresses
stored in your address book.
7.Select an address you want to store as a
preset.
To enter one of the preset addresses, or
Home as your destination:
1.Select Shortcuts.
2.Select Places.
3.Select a preset number or Home.
uThe system starts to calculate the route
to your selected destination.
1Places
*
See the Navigation System Manual for how to store
address book entries, and enter your home address.
* Not available on all models
Page 199 of 518
uuAudio System Basic OperationuOn Demand Multi-Use Display
TM
198Features
■Phone
You can preset five speed dial entries, and make a call from one of the preset
numbers, or call history when the phone is paired and connected to the vehicle‘s
Bluetooth® HandsFreeLink® (HFL) system.
2 Phone Setup P. 293
To preset a speed dial:
1.Select Shortcuts.
2.Select Phone.
3.Select Speed Dial.
4.Select Edit or No Entry.
uIf you select No Entry, go to step 6.
5.Select Add.
uFive presets appear. Select a No Entry
preset or an existing preset.
uThe screen changes to a list of previously
stored speed dial entries.
6.Select a number you want to store as a
shortcut.
To make a call from a speed dial entry:
1.Select Shortcuts.
2.Select Phone.
3.Select Speed Dial.
4.Select a preset number.
uDialing starts automatically.
1Phone
Dial icon
You can make a call using the keyboard on the On
Demand Multi-Use Display
TM to input numbers.
2To make a call using a phone number
P. 315
Page 203 of 518

uuAudio System Basic OperationuOn Demand Multi-Use Display
TM
202Features
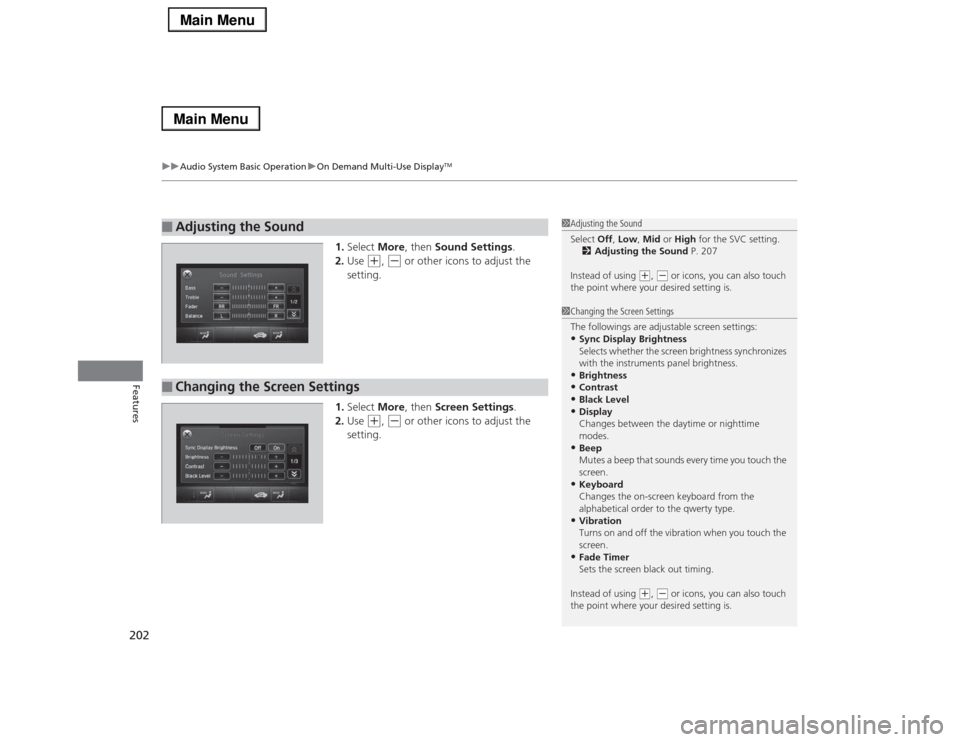
1.Select More, then Sound Settings.
2.Use
(+
, (-
or other icons to adjust the
setting.
1.Select More, then Screen Settings.
2.Use
(+
, (-
or other icons to adjust the
setting.
■
Adjusting the Sound
1Adjusting the Sound
Select Off, Low, Mid or High for the SVC setting.
2Adjusting the Sound P. 207
Instead of using
(+, (- or icons, you can also touch
the point where your desired setting is.
■
Changing the Screen Settings
1Changing the Screen Settings
The followings are adjustable screen settings:•Sync Display Brightness
Selects whether the screen brightness synchronizes
with the instruments panel brightness.•Brightness•Contrast•Black Level•Display
Changes between the daytime or nighttime
modes.•Beep
Mutes a beep that sounds every time you touch the
screen.•Keyboard
Changes the on-screen keyboard from the
alphabetical order to the qwerty type.•Vibration
Turns on and off the vibration when you touch the
screen.•Fade Timer
Sets the screen black out timing.
Instead of using
(+, (- or icons, you can also touch
the point where your desired setting is.
Page 204 of 518
203
uuAudio System Basic OperationuAudio/Information Screen
Continued
Features
Audio/Information ScreenDisplays the audio status and wallpaper. From this screen, you can go to various
setup options.
Press the NAV
*, PHONE, INFO and AUDIO buttons to go to the corresponding
display.
■
Switching the Display
Audio Info Navigation
*
Phone
AUDIO Button
NAV Button
*
PHONE Button
INFO ButtonModels without navigation systemPHONE
ButtonINFO
ButtonAUDIO
Button
* Not available on all models
Page 205 of 518

204
uuAudio System Basic OperationuAudio/Information Screen
Features
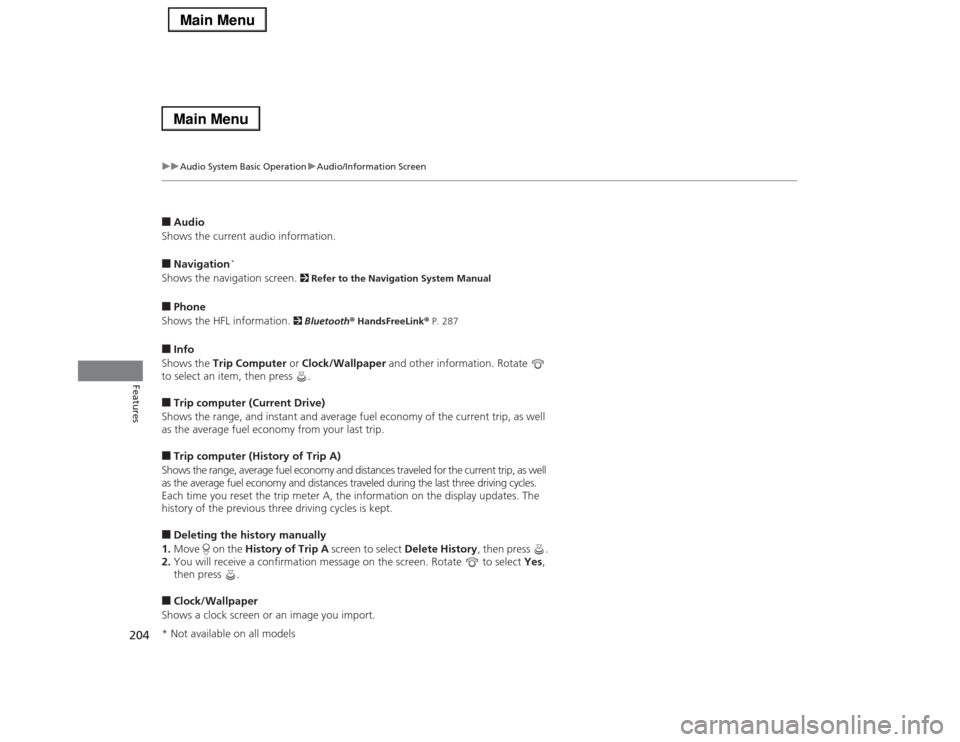
■Audio
Shows the current audio information.■Navigation
*
Shows the navigation screen.
2 Refer to the Navigation System Manual
■Phone
Shows the HFL information.
2 Bluetooth® HandsFreeLink® P. 287
■Info
Shows the Trip Computer or Clock/Wallpaper and other information. Rotate
to select an item, then press .■Trip computer (Current Drive)
Shows the range, and instant and average fuel economy of the current trip, as well
as the average fuel economy from your last trip.■Trip computer (History of Trip A)
Shows the range, average fuel economy and distances traveled for the current trip, as well
as the average fuel economy and distances traveled during the last three driving cycles.
Each time you reset the trip meter A, the information on the display updates. The
history of the previous three driving cycles is kept.■Deleting the history manually
1.Move on the History of Trip A screen to select Delete History, then press .
2.You will receive a confirmation message on the screen. Rotate to select Yes,
then press .■Clock/Wallpaper
Shows a clock screen or an image you import.* Not available on all models