Page 4 of 343

3Quick Reference Guide
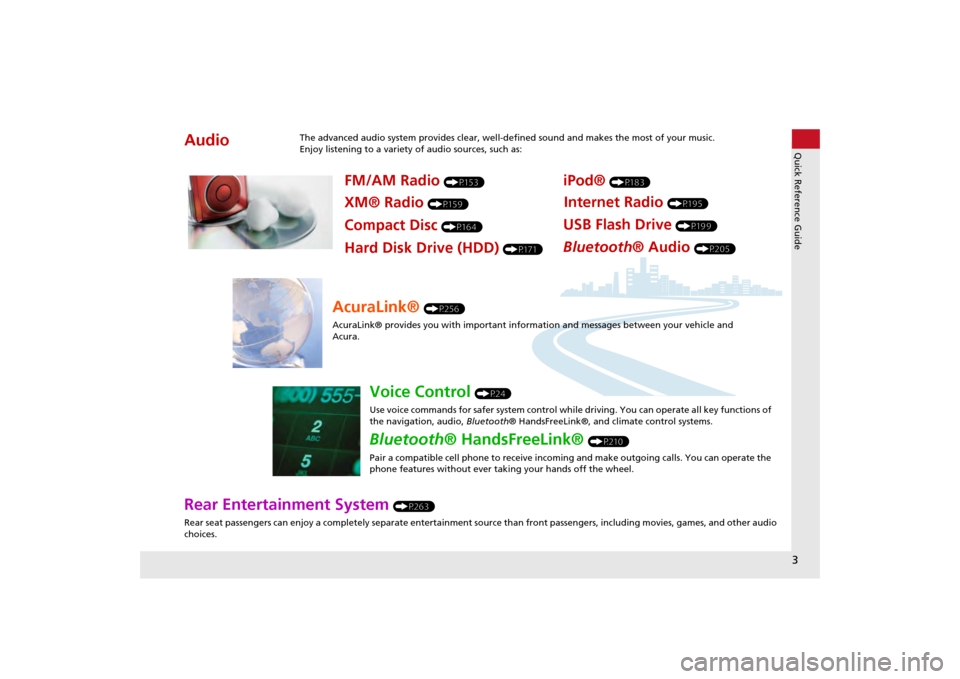
Rear Entertainment System
(P263)
Rear seat passengers can enjoy a completely separate entertainment source than front passengers, including movies, games, and other audio
choices.
Audio
The advanced audio system provides clear, well-defined sound and makes the most of your music.
Enjoy listening to a variety of audio sources, such as:
FM/AM Radio
(P153)
XM® Radio
(P159)
Compact Disc
(P164)
iPod®
(P183)
USB Flash Drive
(P199)
Bluetooth® Audio
(P205)
Hard Disk Drive (HDD)
(P171)
Internet Radio
(P195)
AcuraLink®
(P256)
AcuraLink® provides you with important info rmation and messages between your vehicle and
Acura.
Voice Control
(P24)
Use voice commands for safer system control while driving. You can operate all key functions of
the navigation, audio, Bluetooth® HandsFreeLink®, and climate control systems.
Bluetooth® HandsFreeLink®
(P210)
Pair a compatible cell phone to receive incoming and make outgoing calls. You can operate the
phone features without ever taking your hands off the wheel.
Page 23 of 343
22System Setup
Start-upThe navigation system starts automatically when you set the power mode to
ACCESSORY or ON. At start-up, the follow ing Confirmation screen is displayed.
1.Press u to select OK.
If you do not select OK, the map
screen is displayed after a
certain period of time.
Your current position is
displayed on the map screen.
2. Press the NAV button if a different
mode is selected.
Your current position is
displayed on the map screen.
1Start-up
If the navigation system loses power at any time,
you may need to press and hold the 9 (Power)
button for more than two seconds, or you may
be prompted for the five-digit security code.
2 System Initialization P. 308
At start-up, the driver’s keyless access remote is
automatically detected and the address book
settings, setup preferences, wa llpapers, and
audio settings for that driver (e.g., Driver 1) are
loaded.
“OK” on the Confirmati on screen cannot be
selected by using a voice command.
Page 87 of 343

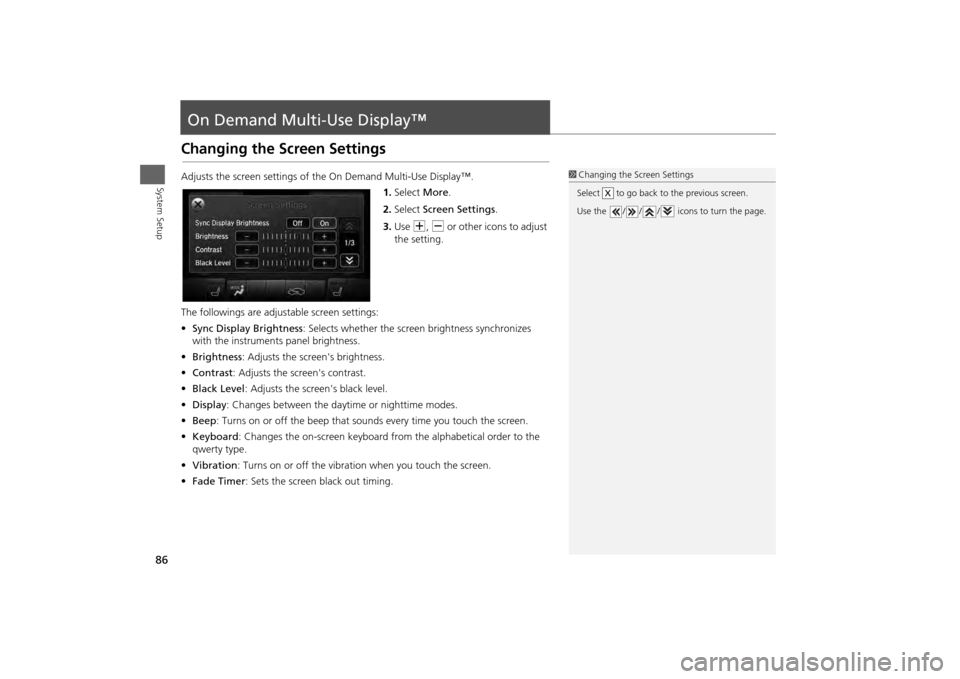
86System Setup
On Demand Multi-Use Display™Changing the Screen SettingsAdjusts the screen settings of the On Demand Multi-Use Display™.1.Select More.
2. Select Screen Settings .
3. Use N, B or other icons to adjust
the setting.
The followings are adju stable screen settings:
• Sync Display Brightness : Selects whether the screen brightness synchronizes
with the instruments panel brightness.
• Brightness : Adjusts the screen's brightness.
• Contrast : Adjusts the screen's contrast.
• Black Level : Adjusts the screen's black level.
• Display : Changes between the daytime or nighttime modes.
• Beep : Turns on or off the beep that sounds every time you touch the screen.
• Keyboard : Changes the on-screen keyboard fro m the alphabetical order to the
qwerty type.
• Vibration : Turns on or off the vibration when you touch the screen.
• Fade Timer : Sets the screen black out timing.
1Changing the Screen Settings
Select to go back to the previous screen.
Use the / / / icons to turn the page.
X
Page 99 of 343
98
Entering a Destination
Place Category
Navigation
Place CategoryHMENU button
Place Category
Select the category of a place (e.g., Banking, Lodging, Restaurant) stored in the map
database to search for the destination. 1.Rotate i to select a category.
Press u.
2. Rotate i to select a subcategory.
Press u.
2List of Categories
P. 336
1Place Category
This option is convenient if you do not know the
exact name of a place or if you want to narrow
down the number of matche s returned for places
with a common name.
Move y to select Category History to access
your recently used place categories. Up to 30
categories can be stored.
You can also delete your recently used place
categories.
2 Category History P. 49
Search POI Categories helps you to search the
subcategory. When you enter a keyword and
select OK, the list of appropria te subcategories is
displayed.
Page 101 of 343
100
Entering a Destination
Local Search
Navigation
Local SearchHMENU button
Local Search
Select a place via Local Search database as the destination. 1.Rotate i to select a category
(e.g., Community ). Press u.
2. Rotate i to select a subcategory.
Press u.
1Local Search
When you select Search by keyword , the list of
appropriate categor ies is displayed.
The screen in this section may differ from the
actual ones.
Local Search is a subscription service. For more
information, contact an Acura dealer or visit
owners.acura.com .
Page 223 of 343
222
Bluetooth® HandsFreeLink®
Setting Up Speed Dialing
Bluetooth ® HandsFreeLink®
You can preset five previously stored speed dial entries, and make a call from one of
the preset numbers, or call history when the phone is paired and connected to the
vehicle‘s Bluetooth ® HandsFreeLink® (HFL) system. 2Setting Up Speed Dialing
P. 219
■To preset a speed dial
1. Select Shortcuts .
2. Select Phone .
3. Select Speed Dial .
4. Select Edit or No Entry .
If you select No Entry, go to
step 6.
5. Select Add.
Five presets appear. Select a No
Entry preset or an existing
preset.
The screen changes to a list of
previously stored speed dial
entries.
■ Setting Phone Shortcuts
1 Setting Phone ShortcutsDial
icon
You can make a call using the keyboard on the
On Demand Multi-Use Display™ to input
numbers.
2 Entering a Phone Number P. 237
Page 231 of 343
230
Bluetooth® HandsFreeLink®
Phone Settings
Bluetooth ® HandsFreeLink®
Phone SettingsHSETTINGS button
Phone Settings
Set HFL options and features.
H SETTINGS button Phone Settings
Bluetooth Device List
You can protect each of the six cell phones with a security PIN.
1.Rotate i to select the phone you
want to add a security PIN to. Press
u .
2. Rotate i to select Edit PIN. Press
u .
3. Enter a new four-digit number.
Rotate i to select OK to enter
the security PIN.
Move w to delete.
4. Re-enter the four-digit number.
The screen returns to the screen
in step 4.
■Editing a Security PIN
1 Editing a Security PIN
If the phone is already security PIN protected, you
need to enter the current security PIN before
clearing the PIN or creating a new one.
You can use the keyboard on the On Demand
Multi-Use Display™ to input numbers.
Select numbers, then OK.
Page 232 of 343
231
Bluetooth® HandsFreeLink®
Phone Settings
Bluetooth ® HandsFreeLink®
HSETTINGS button
Phone Settings
Bluetooth Device List
Edit the user name of a paired phone as follows: 1.Rotate i to select a phone you
want to edit. Press u.
2. Rotate i to select Edit Device
Name. Press u.
3. Enter a new name of the phone.
Rotate i or move r to select
OK to enter the name. Press u.
Move w to delete.
■Editing User Name
1 Editing User Name
You can use the keyboard on the On Demand
Multi-Use Display™ to input numbers.