Page 86 of 234
85
Entering a DestinationMap Input
Navigation
Map Input
HDEST/ROUTE button Dest. MENU 2 Map Input
Use the Interface Dial to manually select an icon or a location on the map screen as
the destination.
You are prompted to define the map area to display.
1.Rotate i to select an item. Press
u .
The following items are available:
• Current Position : Your current location is centred on the map.
• City : You are prompted to select the city.
2Selecting a City P. 68
• Province : You are prompted to select the province.
2Selecting the State or Province P. 67
• USA, Canada and Mexico : Your current location is displayed on a map of the
country.
Continued
Page 87 of 234
86
Entering a DestinationMap Input
Navigation
2.Scroll the map to position the
cursor over your desired
destination, adjusting the map
scale as necessary. Press u.
If the address is not the desired
location, scroll the map to
another location and try again.
3. Press u again to display the route
calculation menu.
2 Calculating the Route P. 87
4. Rotate i to select Set as Dest.
Press u.
1Map Input
A yellow box (shown at scales above 400 m)
denotes the area that can be viewed when you
press u on the current map.
Information icons are displayed at scales from
1.6 km to 400 m. Place/landmark icons are
displayed at 200 m or less. Roads are displayed at
400 m or less.
If you select multiple icons within the cursor
radius, you are prompted to select one of the
items from a list.
2 Selecting a Destination on the Map P. 118
Page 88 of 234

87
Navigation
Calculating the Route
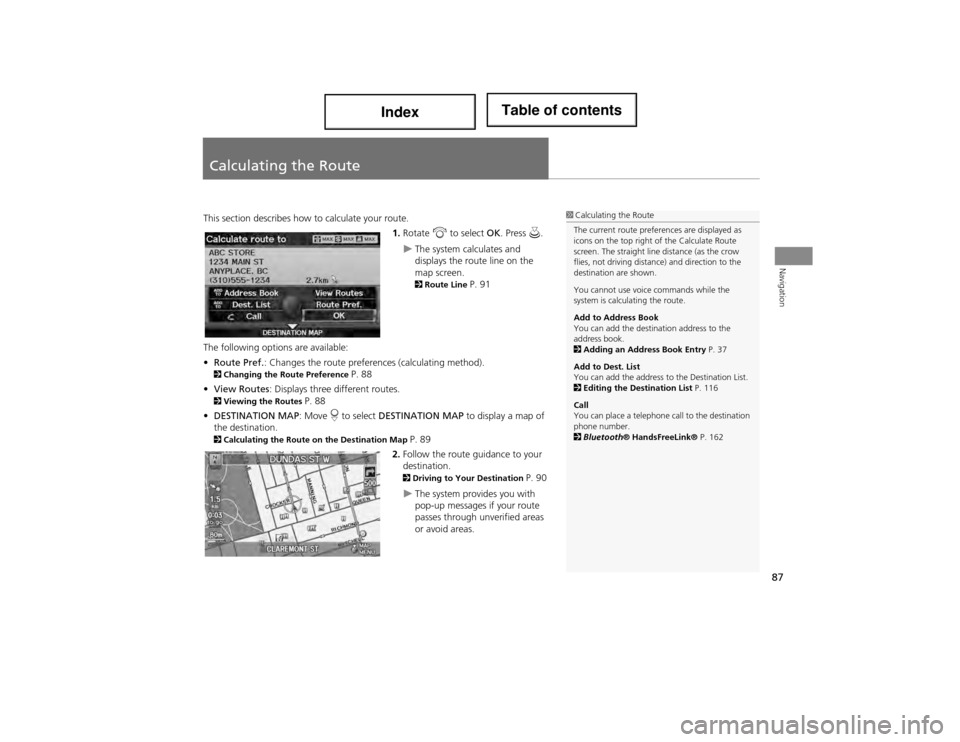
This section describes how to calculate your route.1.Rotate i to select OK. Press u.
The system calculates and
displays the route line on the
map screen.
2Route Line P. 91
The following options are available:
• Route Pref. : Changes the route prefer ences (calculating method).
2Changing the R oute Preference P. 88
• View Routes : Displays three different routes.
2Viewing the Routes P. 88
• DESTINATION MAP : Move r to select DESTINATION MAP to display a map of
the destination.
2 Calculating the Route on the Destination Map P. 89
2. Follow the route guidance to your
destination.
2 Driving to Your Destination P. 90
The system provides you with
pop-up messages if your route
passes through unverified areas
or avoid areas.
1Calculating the Route
The current route preferences are displayed as
icons on the top right of the Calculate Route
screen. The straight line distance (as the crow
flies, not driving distance) and direction to the
destination are shown.
You cannot use voice commands while the
system is calculating the route.
Add to Address Book
You can add the destination address to the
address book.
2 Adding an Address Book Entry P. 37
Add to Dest. List
You can add the address to the Destination List.
2 Editing the Destination List P. 116
Call
You can place a telephone call to the destination
phone number.
2 Bluetooth ® HandsFreeLink® P. 162
Page 89 of 234

88
Calculating the RouteChanging the Route Preference
Navigation
Changing the Route Preference
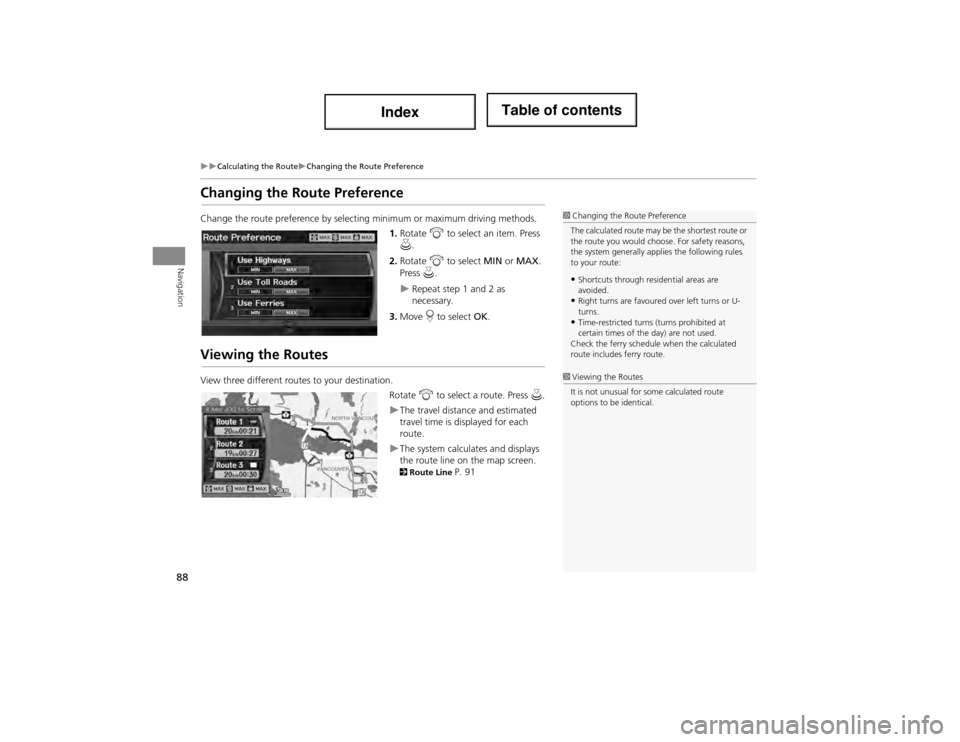
Change the route preference by selecting minimum or maximum driving methods.1.Rotate i to select an item. Press
u .
2. Rotate i to select MIN or MAX .
Press u.
Repeat step 1 and 2 as
necessary.
3. Move r to select OK.
Viewing the Routes
View three different routes to your destination.
Rotate i to select a route. Press u.
The travel distance and estimated
travel time is displayed for each
route.
The system calculates and displays
the route line on the map screen.
2Route Line P. 91
1Changing the Route Preference
The calculated route may be the shortest route or
the route you would choose. For safety reasons,
the system generally ap plies the following rules
to your route:
•Shortcuts through residential areas are
avoided.
•Right turns are favoured over left turns or U-
turns.
•Time-restricted turns (turns prohibited at
certain times of the day) are not used.
Check the ferry schedule when the calculated
route includes ferry route.
1 Viewing the Routes
It is not unusual for some calculated route
options to be identical.
Page 90 of 234
89
Calculating the RouteCalculating the Route on the Destination Map
Navigation
Calculating the Route on the Destination Map
Calculate the route from the map of the destination address.
Rotate i to select Calculate Route .
Press u.
The system calculates and displays
the route line on the map screen.
2Route Line P. 91
1Calculating the Route on the Destination Map
d “Display Destination Map” (when en route)
Page 91 of 234

90
Navigation
Driving to Your Destination
This section describes how to follow the route guidance to your destination and
choose the icons displayed on the map screen.
Viewing the Route
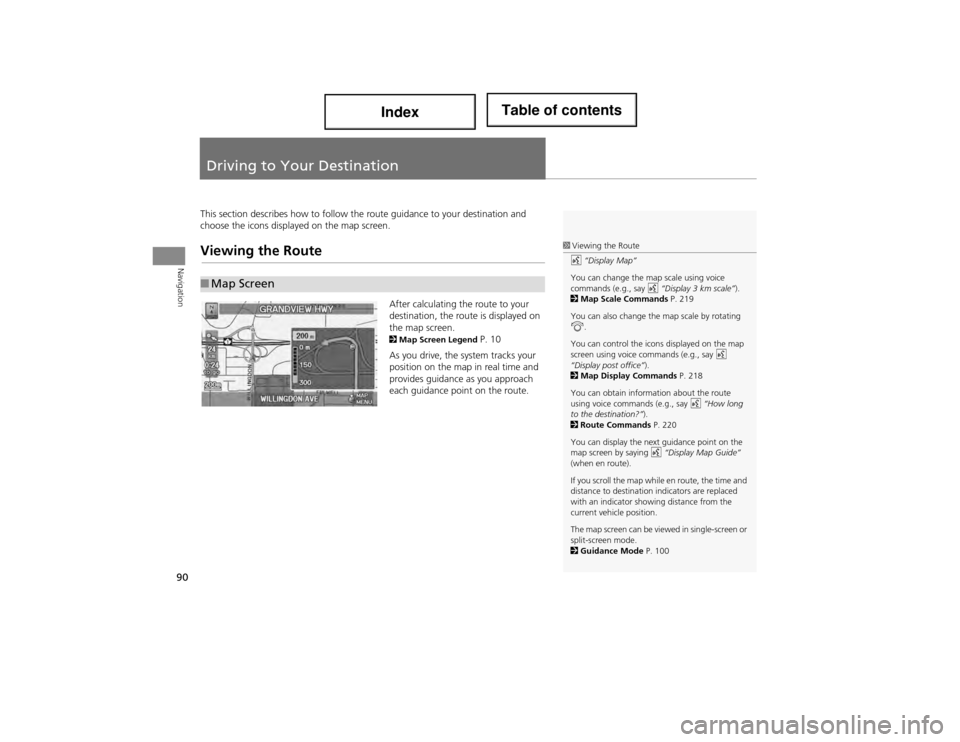
After calculating the route to your
destination, the route is displayed on
the map screen.
2Map Screen Legend P. 10
As you drive, the system tracks your
position on the map in real time and
provides guidance as you approach
each guidance point on the route.
■ Map Screen
1 Viewing the Route
d “Display Map”
You can change the map scale using voice
commands (e.g., say d “Display 3 km scale” ).
2 Map Scale Commands P. 219
You can also change the map scale by rotating
i .
You can control the icons displayed on the map
screen using voice commands (e.g., say d
“Display post office” ).
2 Map Display Commands P. 218
You can obtain information about the route
using voice comma nds (e.g., say d “How long
to the destination?” ).
2 Route Commands P. 220
You can display the next guidance point on the
map screen by saying d “Display Map Guide”
(when en route).
If you scroll the map while en route, the time and
distance to destination indicators are replaced
with an indicator showing distance from the
current vehicle position.
The map screen can be viewed in single-screen or
split-screen mode.
2 Guidance Mode P. 100
Page 92 of 234

91
Driving to Your DestinationViewing the Route
Navigation
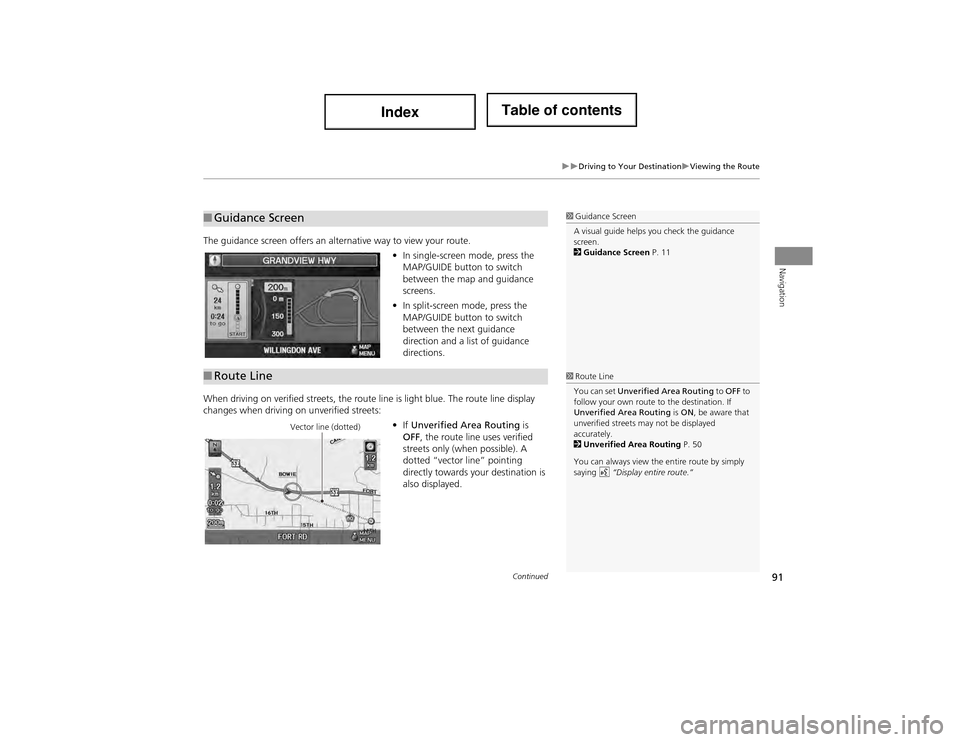
The guidance screen offers an alternative way to view your route.•In single-screen mode, press the
MAP/GUIDE button to switch
between the map and guidance
screens.
• In split-screen mode, press the
MAP/GUIDE button to switch
between the next guidance
direction and a list of guidance
directions.
When driving on verified streets, the route line is light blue. The route line display
changes when driving on unverified streets: •If Unverified Area Routing is
OFF , the route line uses verified
streets only (when possible). A
dotted “vector line” pointing
directly towards your destination is
also displayed.
■ Guidance Screen1 Guidance Screen
A visual guide helps you check the guidance
screen.
2 Guidance Screen P. 11
■Route Line1 Route Line
You can set Unverified Area Routing to OFF to
follow your own route to the destination. If
Unverified Area Routing is ON , be aware that
unverified streets ma y not be displayed
accurately.
2 Unverified Area Routing P. 50
You can always view the entire route by simply
saying d “Display entire route.”
Vector line (dotted)
Continued
Page 93 of 234
92
Driving to Your DestinationViewing the Route
Navigation
•If Unverified Area Routing is ON ,
the route line changes to a dashed
blue-pink line to indicate that the
route line uses unverified streets.
If you leave the calculated r oute, the system automatically recalculates a route to the
desired destination based on your current location and direction.
2 Rerouting P. 49
Blue-pink route line
■Deviating From the Planned Route1 Deviating From the Planned Route
If Rerouting is set to MANUAL and you go off
route, the system wait s for you to manually
initiate recalculation. Rotate i to select
Recalculation and press u.
2 Rerouting P. 49