2014.5 Peugeot Bipper fuel
[x] Cancel search: fuelPage 36 of 192
34
Bipper_en_Chap03_pret-a-partir_ed02-2014
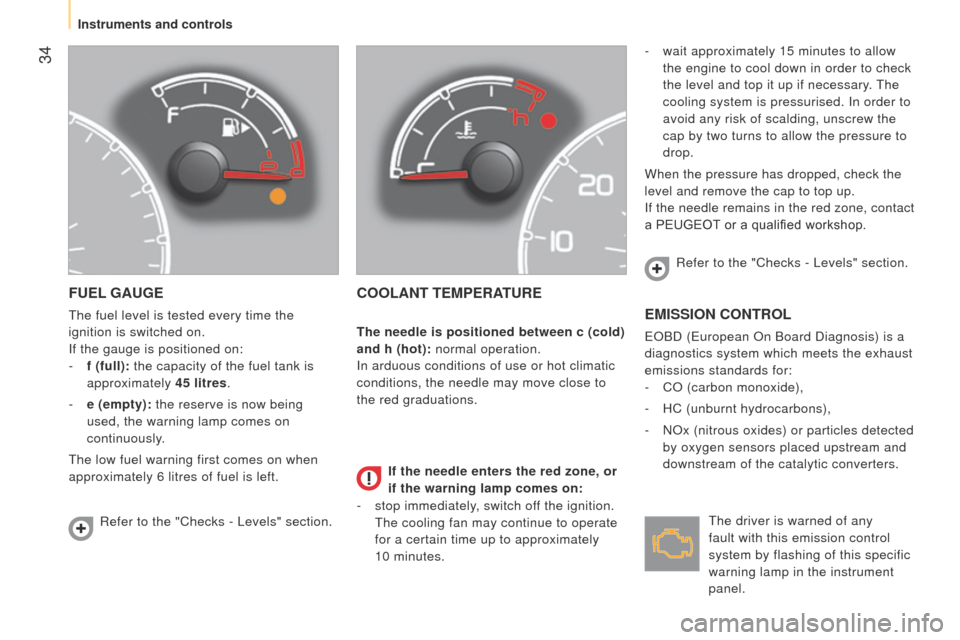
FUEL GAUGE
the fuel level is tested every time the
ignition is switched on.
If the gauge is positioned on:
-
f (full):
the capacity of the fuel tank is
approximately 45 litres.
-
e (empty):
the reserve is now being
used, the warning lamp comes on
continuously.
t
he low fuel warning first comes on when
approximately 6 litres of fuel is left.
COOLANT TEMPERATURE
- wait approximately 15 minutes to allow
the engine to cool down in order to check
the level and top it up if necessary.
t
he
cooling system is pressurised. In order to
avoid any risk of scalding, unscrew the
cap by two turns to allow the pressure to
drop.
When the pressure has dropped, check the
level and remove the cap to top up.
If the needle remains in the red zone, contact
a PEUGEOT or a qualified workshop.
EMISSION CONTROL
eOBD (european On Board Diagnosis) is a
diagnostics system which meets the exhaust
emissions standards for:
-
CO (carbon monoxide),
-
HC (unburnt hydrocarbons),
-
NOx (nitrous oxides) or particles detected
by oxygen sensors placed upstream and
downstream of the catalytic converters.
Refer to the "Checks -
l
evels" section. Refer to the "Checks -
l evels" section.
t
he driver is warned of any
fault with this emission control
system by flashing of this specific
warning lamp in the instrument
panel.
If the needle enters the red zone, or
if the warning lamp comes on:
The needle is positioned between c (cold)
and h (hot): normal operation.
In arduous conditions of use or hot climatic
conditions, the needle may move close to
the red graduations.
-
stop immediately
, switch off the ignition.
t
he cooling fan may continue to operate
for a certain time up to approximately
10
minutes.
Instruments and controls
Page 40 of 192

38
Bipper_en_Chap03_pret-a-partir_ed02-2014
KEY
this locks and unlocks the doors on the
vehicle, opens and closes the fuel filler cap,
as well as starting and stopping the engine.
REMOTE CONTROL BATTERY
Reference: CR 2032/3 volts. -
use the screwdriver as a lever to extract
the battery holder housing 2,
- remove the housing and change the
battery 3 observing the polarities,
-
put the battery holder housing
2 back
inside the key and secure it by turning the
screw 1.
Changing the remote control
battery
there is a risk of damage if
the replacement battery does not
conform.
Only use batteries which are identical or of
an equivalent type to those recommended
by a P
euge O t
dealer
.
take used batteries
to an approved collection point.
-
press the button to eject the
key,
-
turn the screw
1 from the
closed padlock to the open
padlock using a screwdriver
with a thin tip,
Switching off the engine leads to a loss
of braking assistance.
Access
Page 43 of 192
41
Bipper_en_Chap03_pret-a-partir_ed02-2014
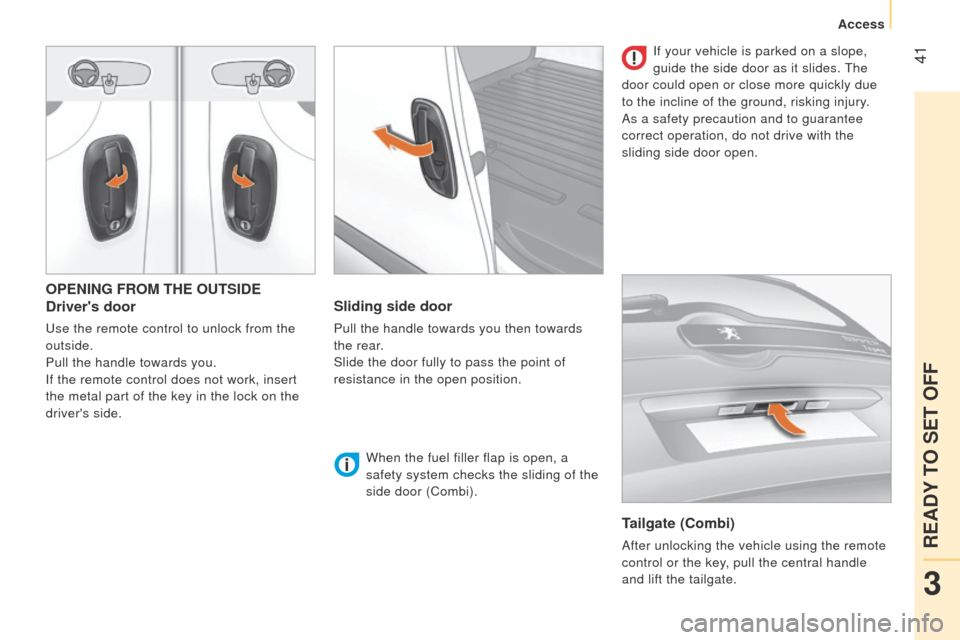
OPENING FROM THE OUTSIDE
Driver's door
use the remote control to unlock from the
outside.
Pull the handle towards you.
If the remote control does not work, insert
the metal part of the key in the lock on the
driver's side.
Sliding side door
Pull the handle towards you then towards
the rear.
Slide the door fully to pass the point of
resistance in the open position.
When the fuel filler flap is open, a
safety system checks the sliding of the
side door (Combi).
Tailgate (Combi)
After unlocking the vehicle using the remote
control or the key, pull the central handle
and lift the tailgate.If your vehicle is parked on a slope,
guide the side door as it slides.
t
he
door could open or close more quickly due
to the incline of the ground, risking injury.
As a safety precaution and to guarantee
correct operation, do not drive with the
sliding side door open.
3
READY TO SET OFF
Access
Page 58 of 192
56
Bipper_en_Chap03_pret-a-partir_ed02-2014
Stopping the vehicle
to switch off the engine, with your foot on
the brake pedal, you should:
-
select first gear or reverse.
-
apply the parking brake to immobilise the
vehicle.
-
switch of
f the ignition.
Temporarily changing gear
in AUTO mode
You can also request a gear change using
the gear lever.
t
his action does not deactivate the
automated mode, but allows temporary
use of the sequential mode functions (for
example: for overtaking another vehicle...).
"AUTO" remains displayed in the instrument
panel screen.
"ECO" economy programme
t
his programme works with the automated
mode to reduce fuel consumption.
Press button E to activate the programme.
Sequential mode
After using the automated mode, you can
return to the sequential mode by selecting
position A/M again.
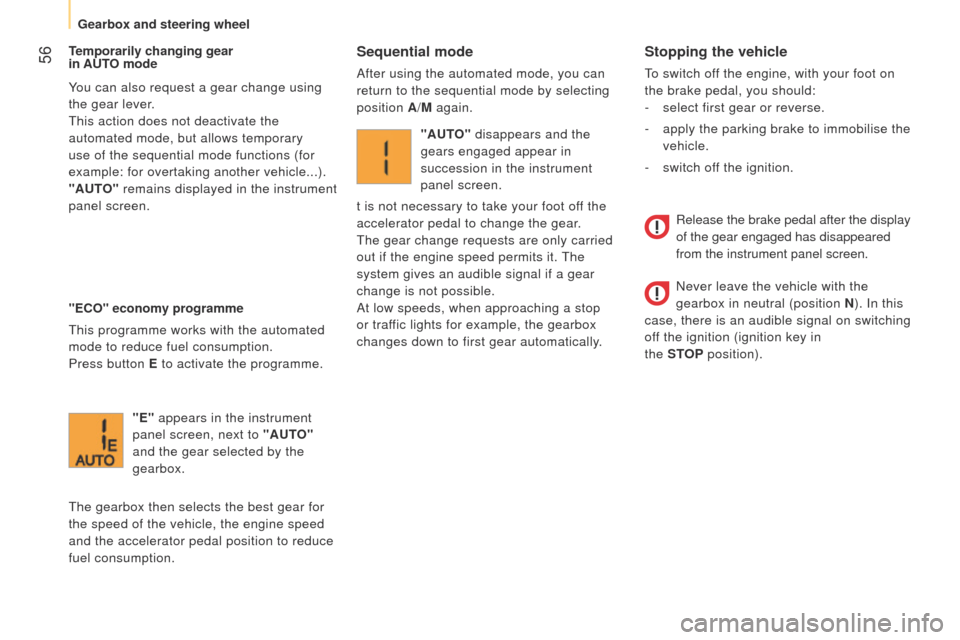
"E" appears in the instrument
panel screen, next to "AUTO"
and the gear selected by the
gearbox.
t
he gearbox then selects the best gear for
the speed of the vehicle, the engine speed
and the accelerator pedal position to reduce
fuel consumption. "AUTO" disappears and the
gears engaged appear in
succession in the instrument
panel screen.
t is not necessary to take your foot off the
accelerator pedal to change the gear.
t
he gear change requests are only carried
out if the engine speed permits it.
t
he
system gives an audible signal if a gear
change is not possible.
At low speeds, when approaching a stop
or traffic lights for example, the gearbox
changes down to first gear automatically.
Release the brake pedal after the display
of the gear engaged has disappeared
from the instrument panel screen.
Never leave the vehicle with the
gearbox in neutral (position N ). In this
case, there is an audible signal on switching
off the ignition (ignition key in
the STOP
position).
Gearbox and steering wheel
Page 60 of 192

58
Bipper_en_Chap03_pret-a-partir_ed02-2014
GEAR SHIFT INDICATOR*
* According to engine.
Operation
the system intervenes only when driving
economically .
t
he gear change recommendations must
not be considered compulsory, as the
configuration of the road, the volume of
traffic and safety remain determining factors
when choosing the best gear.
t
herefore,
the driver remains responsible for deciding
whether or not to follow the advice given by
the system.
t
his system cannot be deactivated.
e
xample:
System which reduces fuel consumption by
recommending the most suitable gear.
Display in the level 2 instrument panelIn the case of driving which
makes particular demands on the
performance of the engine (firm pressure
on the accelerator pedal, for example,
when overtaking...), the system will not
recommend a gear change.
t
he system will never suggest:
-
engaging first gear
,
-
engaging reverse.
-
Y
ou are in third gear.
-
Y
ou press the accelerator pedal
moderately.
- t he system may suggest that you engage
a higher gear, if appropriate. On vehicle fitted with a manual gearbox,
the arrow may be accompanied by the gear
recommended.
With an electronic gearbox, the system is
only active in manual mode.
t
he information appears in the form of the
word SHIFT in the instrument panel screen,
accompanied by an up arrow to changing
up.
Display in the level 1 instrument panel
Gearbox and steering wheel
Page 61 of 192
59
Bipper_en_Chap03_pret-a-partir_ed02-2014
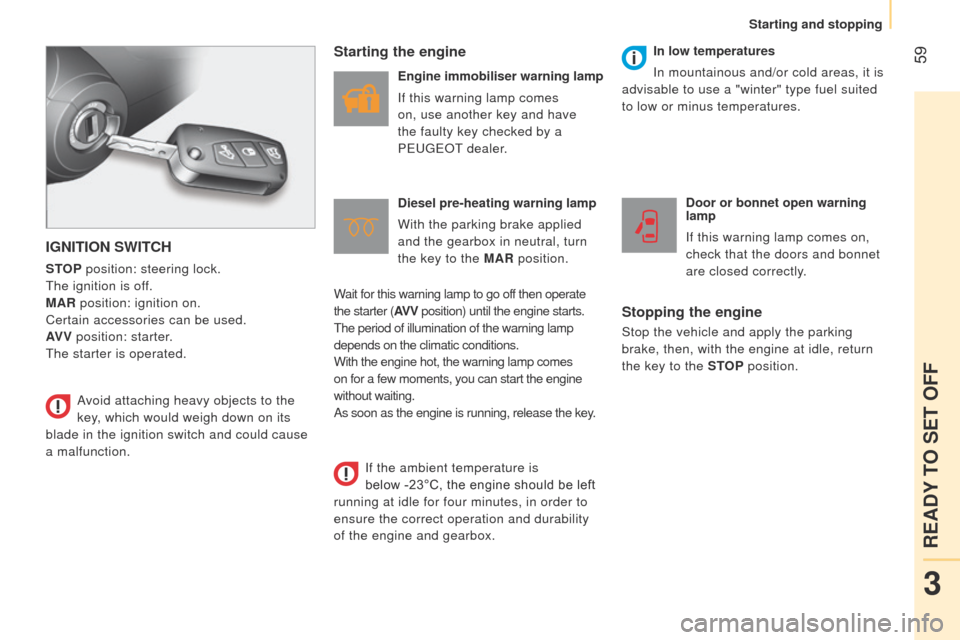
IGNITION SWITCH
STOP position: steering lock.
t
he ignition is off.
MAR position: ignition on.
Certain accessories can be used.
AV V position: starter.
t
he starter is operated.
Starting the engine
Engine immobiliser warning lamp
If this warning lamp comes
on, use another key and have
the faulty key checked by a
P euge O t
dealer
.
Diesel pre-heating warning lamp
With the parking brake applied
and the gearbox in neutral, turn
the key to the MAR position. Door or bonnet open warning
lamp
If this warning lamp comes on,
check that the doors and bonnet
are closed correctly.
Stopping the engine
Stop the vehicle and apply the parking
brake, then, with the engine at idle, return
the key to the STOP position.
Avoid attaching heavy objects to the
key, which would weigh down on its
blade in the ignition switch and could cause
a malfunction. In low temperatures
In mountainous and/or cold areas, it is
advisable to use a "winter" type fuel suited
to low or minus temperatures.
Wait for this warning lamp to go off then operate
the starter (AV V position) until the engine starts.t
he period of illumination of the warning lamp
depends on the climatic conditions.
With the engine hot, the warning lamp comes
on for a few moments, you can start the engine
without waiting.
As soon as the engine is running, release the key.
If the ambient temperature is
below
-23°C, the engine should be left
running at idle for four minutes, in order to
ensure the correct operation and durability
of the engine and gearbox.
3
READY TO SET OFF
Starting and stopping
Page 63 of 192
61
Bipper_en_Chap03_pret-a-partir_ed02-2014
- with a manual gearbox, with the vehicle
stationary, put the gear lever into neutral,
then release the clutch pedal,
-
with an electronic gearbox
, with the
vehicle stationary, hold the brake pedal
down. Special cases: STOP mode unavailable
t
he S t
OP
mode is not invoked when:
-
the driver's door is open,
-
the driver's seat belt is not fastened,
-
reverse gear is engaged,
-
some special conditions (battery
charge, engine temperature, particle
filter regeneration, braking assistance,
ambient temperature...) where the engine
is needed to assure control of a system.
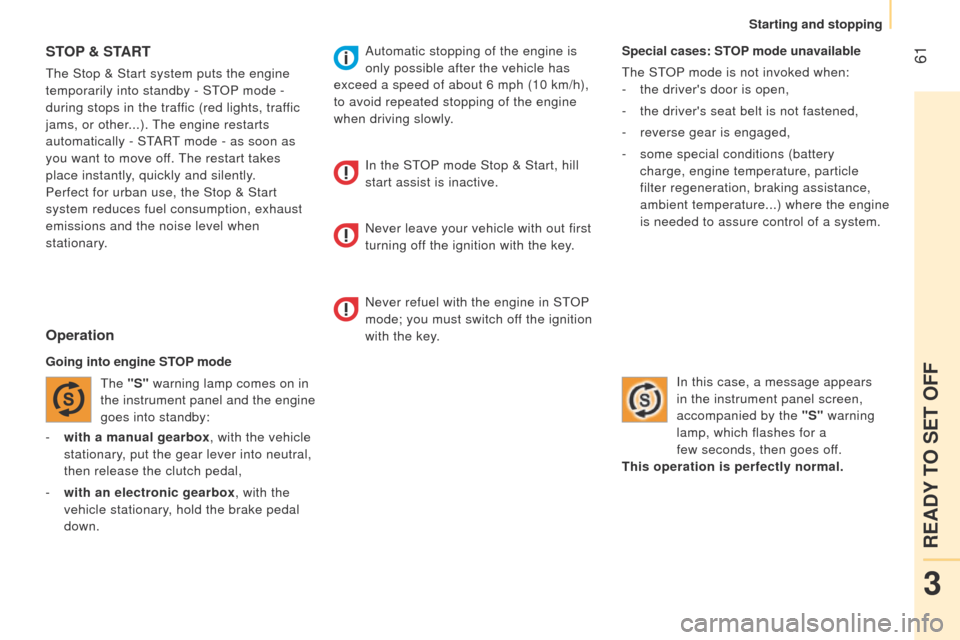
In this case, a message appears
in the instrument panel screen,
accompanied by the "S" warning
lamp, which flashes for a
few seconds, then goes off.
This operation is perfectly normal.
STOP & S TART
the Stop & Start system puts the engine
temporarily into standby - S t
OP
mode -
during stops in the traffic (red lights, traffic
jams, or other...).
t
he engine restarts
automatically - S
t
ARt mode - as soon as
you want to move off.
t
he restart takes
place instantly, quickly and silently.
Perfect for urban use, the Stop & Start
system reduces fuel consumption, exhaust
emissions and the noise level when
stationary.
Operation
Going into engine STOP mode
t
he "S" warning lamp comes on in
the instrument panel and the engine
goes into standby: Automatic stopping of the engine is
only possible after the vehicle has
exceed a speed of about 6 mph (10 km/h),
to avoid repeated stopping of the engine
when driving slowly.
In the S t
OP
mode Stop & Start, hill
start assist is inactive.
Never leave your vehicle with out first
turning off the ignition with the key.
Never refuel with the engine in S
t
OP
mode; you must switch off the ignition
with the key.
3
READY TO SET OFF
Starting and stopping
Page 85 of 192
83
Bipper_en_Chap05_technologie_ed02-2014
TRIP COMPUTER
If tRIP B is activated in the vehicle
configuration menu: -
t
rip B,
-
A
verage fuel consumption B,
-
A
verage speed B,
-
t
rip duration B.
Zero reset
Press the
TRIP button for more than two
seconds to reset the displayed data to zero.u
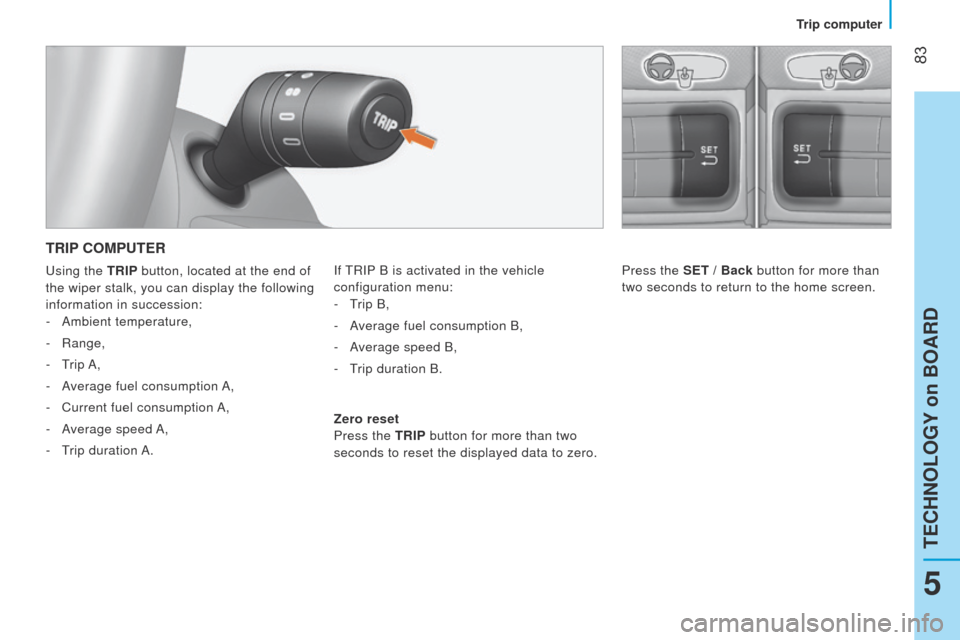
sing the TRIP button, located at the end of
the wiper stalk, you can display the following
information in succession: -
Ambient temperature,
-
Range,
-
t
rip A,
-
A
verage fuel consumption A,
-
Current fuel consumption
A,
-
A
verage speed A,
-
t
rip
duration A. Press the SET / Back button for more than
two seconds to return to the home screen.
5
TECHNOLOGY on BOARD
Trip computer