2014.5 PEUGEOT 4008 maintenance
[x] Cancel search: maintenancePage 2 of 389

On-line handbook
Select one of the following means of access to view your
handbook on-line...
Referring to the handbook on-line also gives you access to the latest information available, easily identified by the bookmark,
associated with this symbol:If the "My
Peuge
Ot" f
unction is not available on the Peuge
Ot
p
ublic website for your country, you can find your handbook at the
following address:
http://public.servicebox.peugeot.com/ddb/
the language,
the vehicle, its body style,
the print edition of your handbook appropriate for the date of registration of
your vehicle.
Select:
th
is personal space offers advice and other useful information for
the care and maintenance of your vehicle.
Find your handbook on the Peuge
Ot w
ebsite, under
"My Peuge
Ot". S
can this code for direct access to your handbook.
Page 11 of 389

9
Maintenance - technical data
engine compartment
fuses 1 88, 191-193
Running out of fuel, Diesel
2
12
Checking levels
21
3 -215
-
oil
-
b
rake fluid
-
coolant
-
s
creenwash/headlamp wash fluid
Changing bulbs
1
82-187
-
front
-
rear Petrol engines
2
19
Petrol weights
2
20 -225
Diesel engines
2
26
Diesel weights
2
27-232
Dimensions
233
Off-road performance
234
Identification markings
2
35
Bonnet
207
Petrol engine compartment
2
08
Diesel engine compartment
2
09 Bat ter y
19
4 -19 6
Automatic cut of power supply to accessories
1
97
Checking components
2
16-218
-
b
attery electrolyte
-
a
ir filter
-
o
il filter
-
p
article filter (Diesel)
-
b
rake pads / discs
.
Over view
Page 13 of 389

11
Limit the causes of excess consumption
Spread loads throughout the vehicle; place the heaviest items in the
bottom of the boot, as close as possible to the rear seats.
Limit the loads carried in the vehicle and reduce wind resistance
(roof bars, roof rack, bicycle carrier, trailer...). u
s
e a roof box in
preference.
Remove roof bars and roof racks after use.
At the end of winter, remove snow tyres and refit your summer tyres.
Observe the recommendations on
maintenance
Check the tyre pressures regularly, when cold, referring to the label in
the door aperture, driver's side.
Carry out this check in particular:
-
b
efore a long journey,
-
a
t each change of season,
-
a
fter a long period out of use.
Don't forget the spare wheel and the tyres on any trailer or caravan.
Have your vehicle serviced regularly (engine oil, oil filter, air filter...) and
observe the schedule of operations recommended by the manufacturer.
When refuelling, do not continue after the third cut-off of the nozzle to
avoid any over flow.
At the wheel of your new vehicle, it is only after the first 1 800 miles
(3
000 kilometres) that you will see the fuel consumption settle down to
a consistent average.
.
Eco-driving
Page 35 of 389

33
Service indicator
System which informs the driver when the
next service is due in accordance with the
manufacturer's servicing schedule.
th
e point at which the next service is due is
calculated from the last service indicator zero
reset.
It is determined by two parameters:
-
t
he distance travelled (in miles (km)),
-
t
he time elapsed since the last service
(in
months).
th
e distance remaining to be travelled may be
weighted by the time factor, depending on the
use made of the vehicle.
Example: the screen indicates that 7300 miles
(kilometres) remain before the next service
is due.Service overdue
Example: the screen indicates that the service
is overdue. th is service must be carried out by
a P
e
uge
Ot
dealer or a qualified workshop.
Operation
the symbol "-- " remains displayed until
the first service of a new vehicle has
been carried out.
ea
ch time the ignition is switched on, the
"ROUTINE MAINTENANCE REQUIRED"
symbol is displayed for a few seconds to indicate
that the service must be carried out without delay.
When the ignition is switched on, you must press
the
INFO button several times in succession until
the service indicator is displayed. t
he
distance
recorder display line indicates the number of miles
or kilometres remaining and the time elapsed line
indicates the number of months remaining before
the next service is due.
1
Monitoring
Page 83 of 389

81
In order for these systems to be fully effective, follow the operation and maintenance
guidelines below:
F t
o o
btain an even air distribution, take care not to obstruct the exterior air intake grilles
located at the base of the windscreen, the nozzles, the vents and the air outlets, as well
as the air extractor located in the boot.
F
D
o not cover the sunshine sensor, located on the dashboard; this is used for regulation
of the air conditioning system.
F
O
perate the air conditioning system for at least 5 to 10 minutes, once or twice a month
to keep it in per fect working order.
F
e
n
sure that the passenger compartment filter is in good condition and have the filter
elements replaced regularly.
W
e recommend the use of a combined passenger compartment filter. t
h
anks to its
special active additive, it contributes to the purification of the air breathed by the
occupants and the cleanliness of the passenger compartment (reduction of allergic
symptoms, bad odours and greasy deposits).
F
t
o e
nsure correct operation of the air conditioning system, you are also advised to have
it checked regularly as recommended in the warranty and maintenance record.
F
I
f the system does not produce cold air, switch it off and contact a P
e
uge
Ot
dealer or
a qualified workshop.
Recommendations for ventilation and air conditioning
If after an extended stop in sunshine,
the interior temperature is very high, first
ventilate the passenger compartment for
a few moments.
Put the air flow control at a setting high
enough to quickly change the air in the
passenger compartment.
th
e air conditioning system does not
contain chlorine and does not present
any danger to the ozone layer.
th
e condensation created by the air
conditioning results in a discharge
of water under the vehicle which is
perfectly normal.
When towing the maximum load on a steep gradient in high temperatures, switching off the
air conditioning increases the available engine power and so improves the towing ability.
3
Comfort
Page 115 of 389

113
the system is reactivated automatically
at every new start using the key or the
St
A
R
t/
S t
O
P button.
Reactivation
Press the "AS &G O FF " switch again.th
e system is active again; this is confirmed by
the "AS &G O FF " warning lamp going off in the
instrument panel or instrument panel screen.
Operating fault
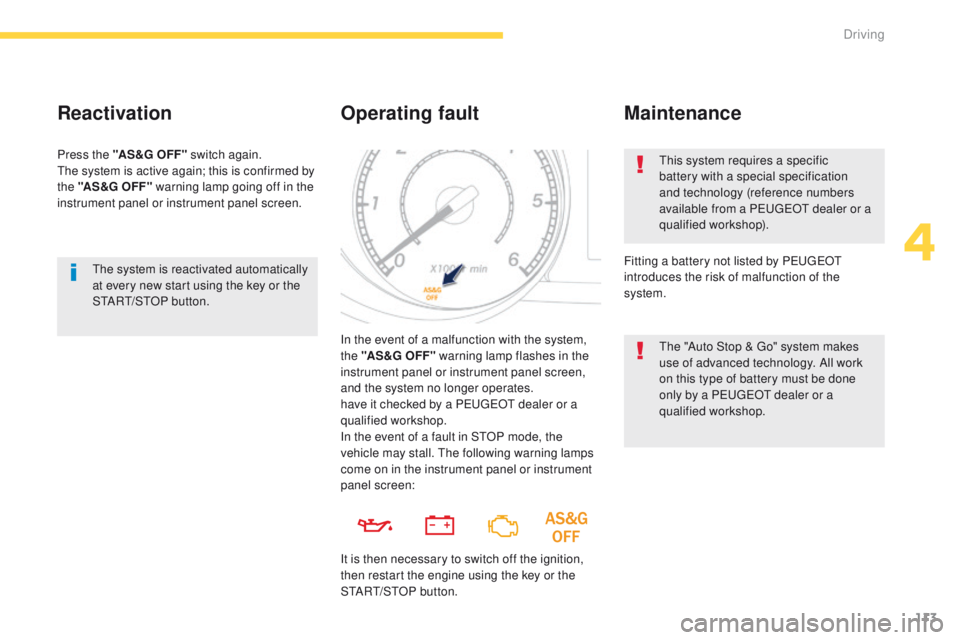
In the event of a malfunction with the system,
the "AS &G O FF " warning lamp flashes in the
instrument panel or instrument panel screen,
and the system no longer operates.
have it checked by a P
e
uge
Ot
dealer or a
qualified workshop.
th
is system requires a specific
battery with a special specification
and technology (reference numbers
available from a P
e
uge
Ot
dealer or a
qualified workshop).
Fitting a battery not listed by P
e
uge
Ot
introduces the risk of malfunction of the
system.
Maintenance
the "Auto Stop & go" s ystem makes
use of advanced technology. All work
on this type of battery must be done
only by a P
e
uge
Ot
dealer or a
qualified workshop.
In the event of a fault in S
tO
P mode, the
vehicle may stall.
t
h
e following warning lamps
come on in the instrument panel or instrument
panel screen:
It is then necessary to switch off the ignition,
then restart the engine using the key or the
S
t
A
R
t/
S
t
O
P button.
4
Driving
Page 215 of 389

213
Checking levels
take care when working under the bonnet, as certain areas of the engine may be extremely hot (risk of burns) and the cooling fan could start at
any time (even with the ignition off).
Oil level
the check of the the level is done
out with the dipstick, located under
the bonnet. Refer to the description
of your engine compartment for the
position of the dipstick.Engine oil change
Refer to the warranty and maintenance record
for details of the interval for this operation.
In order to maintain the reliability of the engine
and emission control system, never use
additives in the engine oil.
Oil specification
the oil must be the correct grade for your
engine and conform to the manufacturer's
recommendations.
Check all of these levels regularly, in line with the warranty and maintenance record.
t
o
p them up if necessary, unless other wise indicated.
If a level drops significantly, have the corresponding system checked by a P
e
uge
Ot
dealer or a qualified workshop.
Dipstick
there are two marks on the dipstick:
A = maximum
If the level is above this
mark, contact a P
e
uge
Ot
dealer or a qualified
workshop.
B = minimum
to
p up the level through the
oil filler orifice, using the
correct grade of oil for your
engine.
t
h
e level must never
be below this mark.
th
is check will only be correct if the vehicle is
on level ground and the engine has been off for
more than 30 minutes.
It is normal to top up the oil level between
two services (or oil changes). P
e
uge
Ot
recommends that you check the level, and top
up if necessary, every 3 000 miles (5 000 km).
After topping up the oil, the check when
switching on the ignition with the oil level
indicator in the instrument panel is not valid
during the 30 minutes after topping up.
8
Checks
Page 216 of 389

214
Coolant level
the coolant level should be between
the two marks.In addition, as the cooling system is
pressurised, wait at least one hour after
switching off the engine before carrying out
any
work.
to a
void any risk of scalding, unscrew the cap
by two turns to allow the pressure to drop.
When the pressure has dropped, remove the
cap and top up the level.
Fluid specification
the coolant must conform to the
manufacturer's recommendations.
th
e brake fluid level should be close
to the "MA X" mark. If it is not, check
the brake pad wear.
Brake fluid level
Changing the fluid
Refer to the warranty and maintenance record
for details of the interval for this operation.
Fluid specification
the brake fluid must conform to the
manufacturer's recommendations and meet
the
DO
t3 o
r DO
t4 s
tandard.
The cooling fan may star t after switching
off the engine; take care with ar ticles and
clothing that might become caught by the
fan blades. When the engine is warm, the temperature of
the coolant is regulated by the fan.
Checks